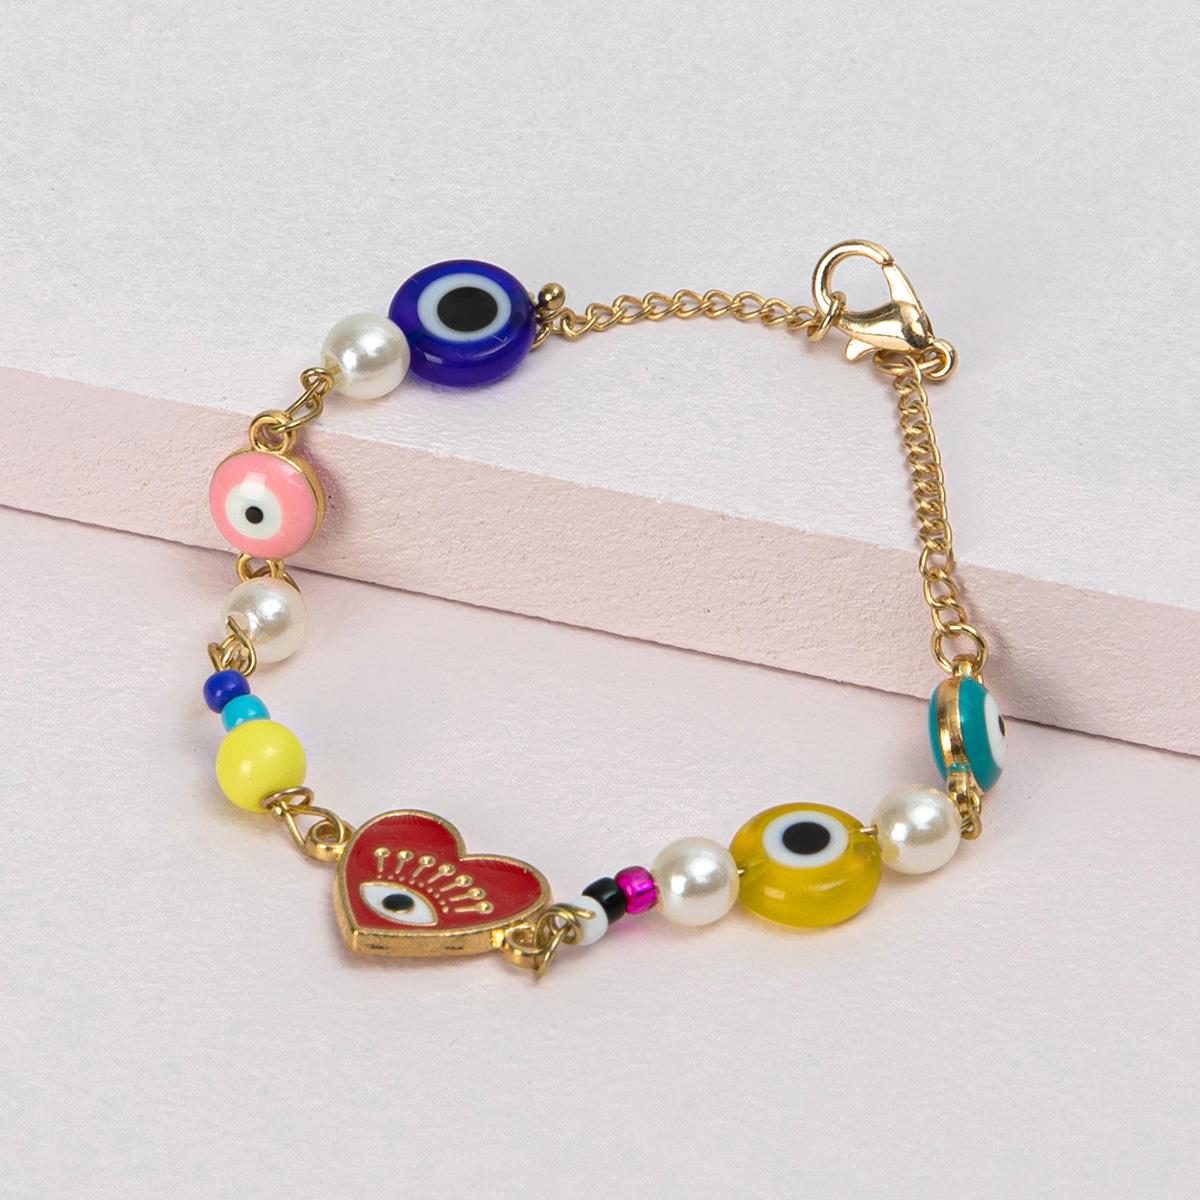
To create your own jewellery is almost meditative. When you have the thin needle between your fingers, adding colourful beads, one by one, you slowly see a little masterpiece taking form. Whether you want to add your jewellery to your personal style, or you want to give it to someone special - is entirely up to you.
Make the right decisions
If you feel like making a few fast and creative projects, jewellery making is perfect for you. Here, we will guide you through some material choices, you need to make, before you get started with creating the fine art pieces. Then it will be easier for you to get started with all the projects!
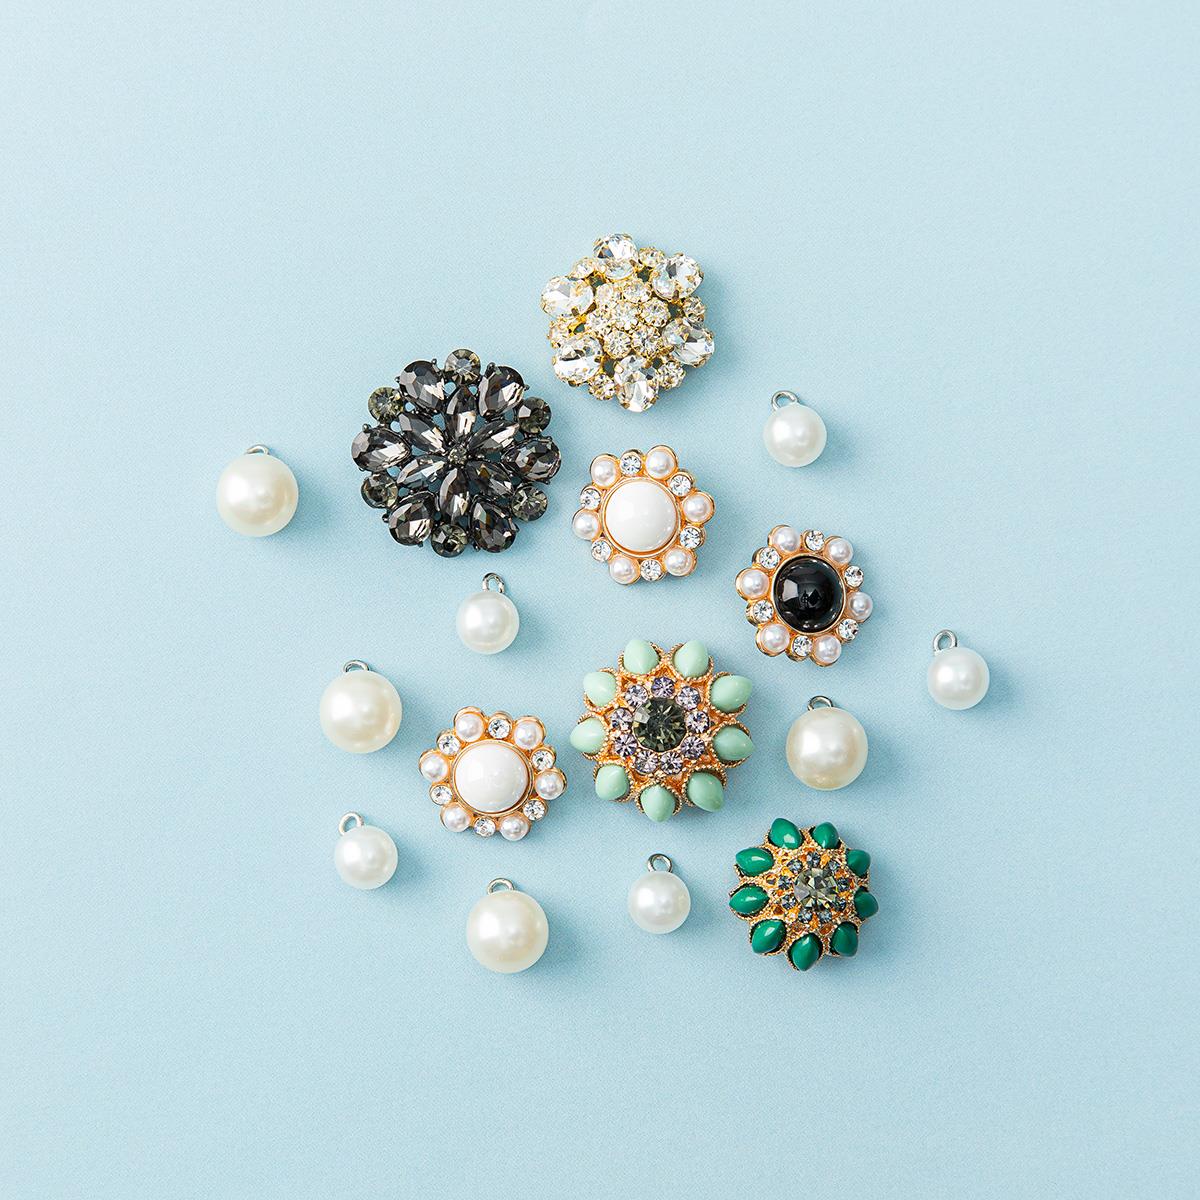
Which bead to choose?
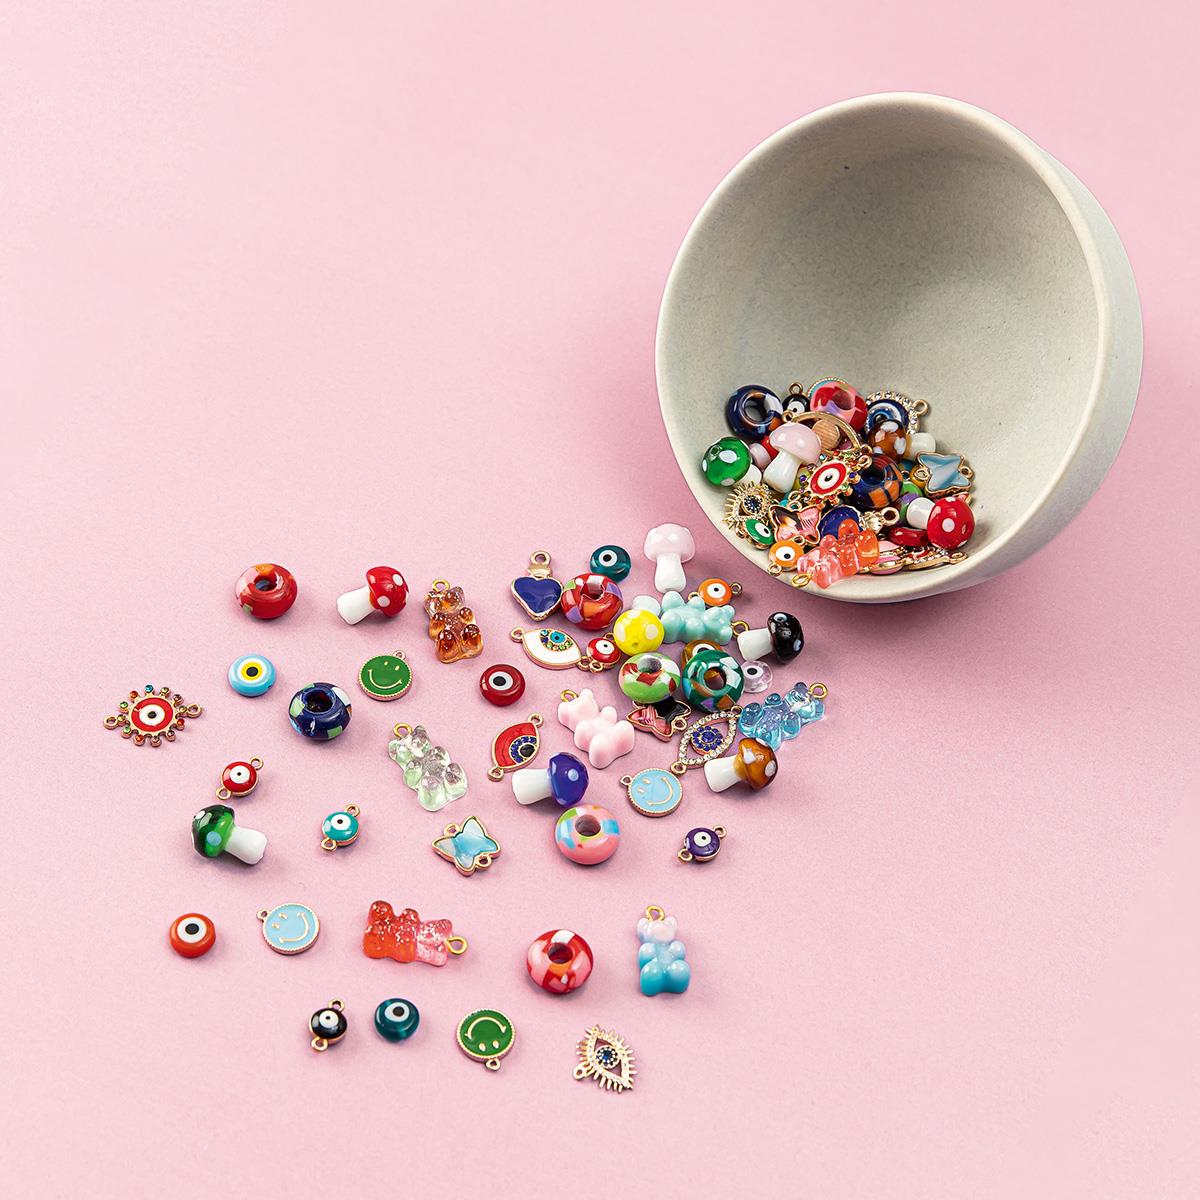
When you have chosen the project, you want to make, you have to choose suitable beads therefore. We have a great selection, you can choose from, e.g. we have wooden beads, beads of glass, beads of mother of pearl, beads of porcelain, plastic and many more. The most important is finding beads, than you like and is suitable for your project.
Naturally, you can mix the beads and create your own expression. Mix our Matsuno beads of glass with our smaller Miyuki beads of glass to create some really exciting creations.
Thread, elastic or wire?
Whether you should choose thread, elastic or wire for your jewellery, is depeding on your project. At first, you decide your project. Please notice, the chosen thread must fit the neddle, you choose. Make sure that the needle and tread are fitting the beads, as well.
Generally, thread is good if you want firmness in your jewellery making. This can e.g. be for beads sewing for hairpins, earrings, armbands or necklaces.
Wire is perfect for projects, where the jewellery must be able to stand on its own or keep a certain shape, e.g. an armband.
If you choose to work with elastic, you can make flexible jewellery, easy to take on and off.
It is so easy to work with elastic, that even the children can join in.
Bead needle, split needle or…?
When you have decided which thread to use for your project, it is important, you choose the right needle for it.
If you choose a needle with an eye, you have to make sure, that the eye is big enough for the chosen thread or elastic. They must be able to get through the eye. Our beading threads fit all our beading needles, and this combination is suitable for most of our beads, including our small Miyuki beads of glass. The needles are very thin.
If you choose to use a split needle, you can use both thread and elastic. The needle is splitting in the middle, and therefore the thread or the elastic can easily get through. NB. Make sure to pick a bead which is big enough for the needle and thread.
If you have chosen the wire, it can be easier to make your jewellery project without a needle. Just use the end of the wire to put on the beads.
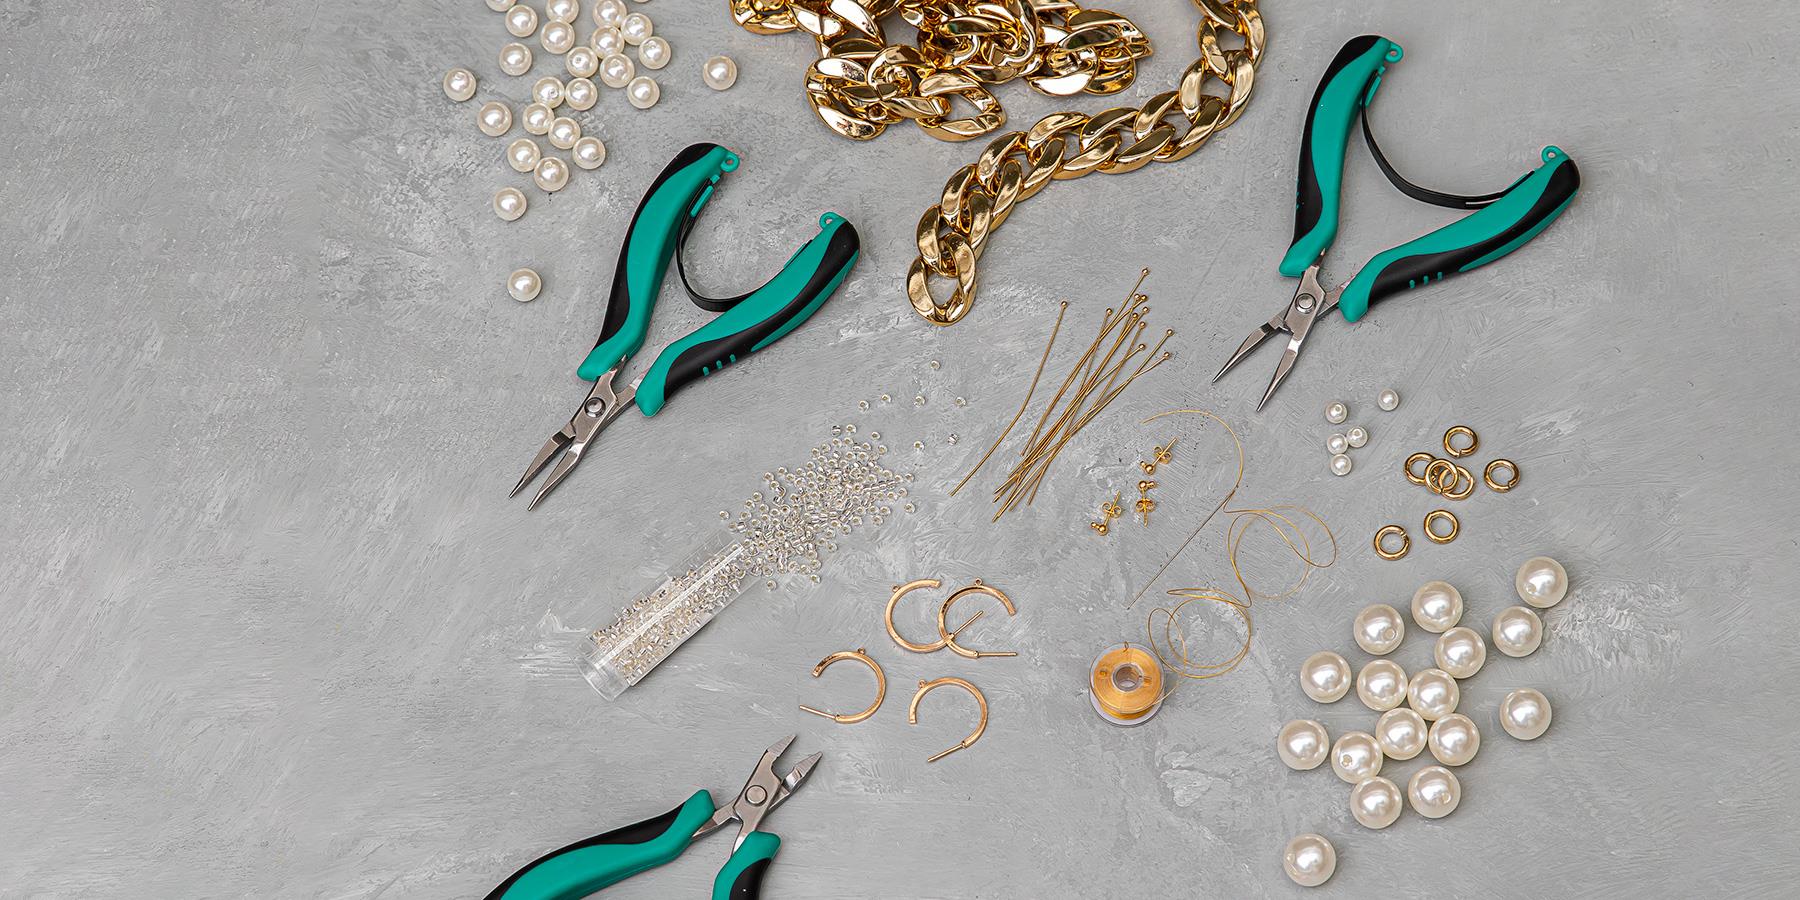
Tools
Depending on your jewellery project, you may need a set of pliers, for e.g. making earrings. A set of pliers have a plier with round nose, a flat nose and a wire-cutter. They are essential, if you want to create pendants. If you create jewellery with elastic, where you finish your jewellery with a knot, jewelley glue can be a good reinforcement for the knot.
If you have any questions regarding our threads, needles or other jewellery making accessories, you are welcome to contact our Customer Service. They are always ready to help you with good advices and guidance.
Here, you get a couple of jewellery projects which are easy, if you want to make a quick gift for a special someone. Or maybe for yourself?
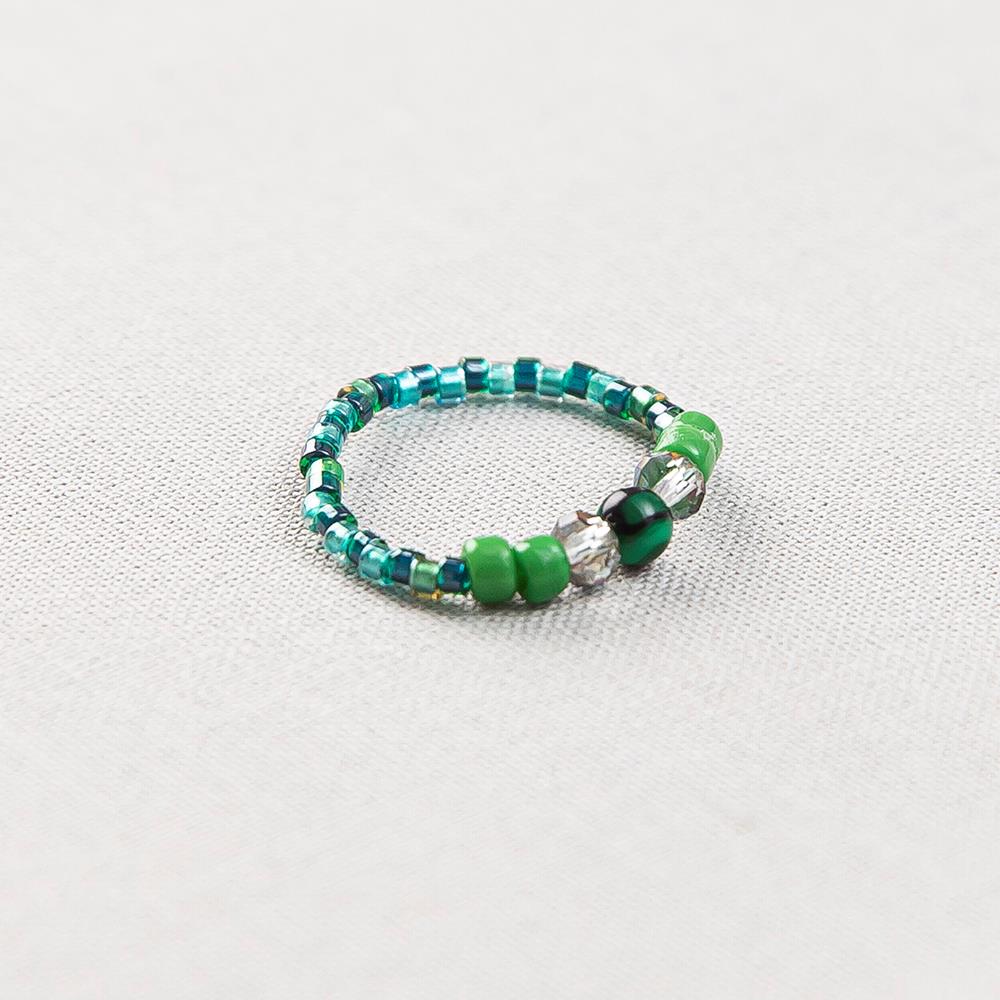
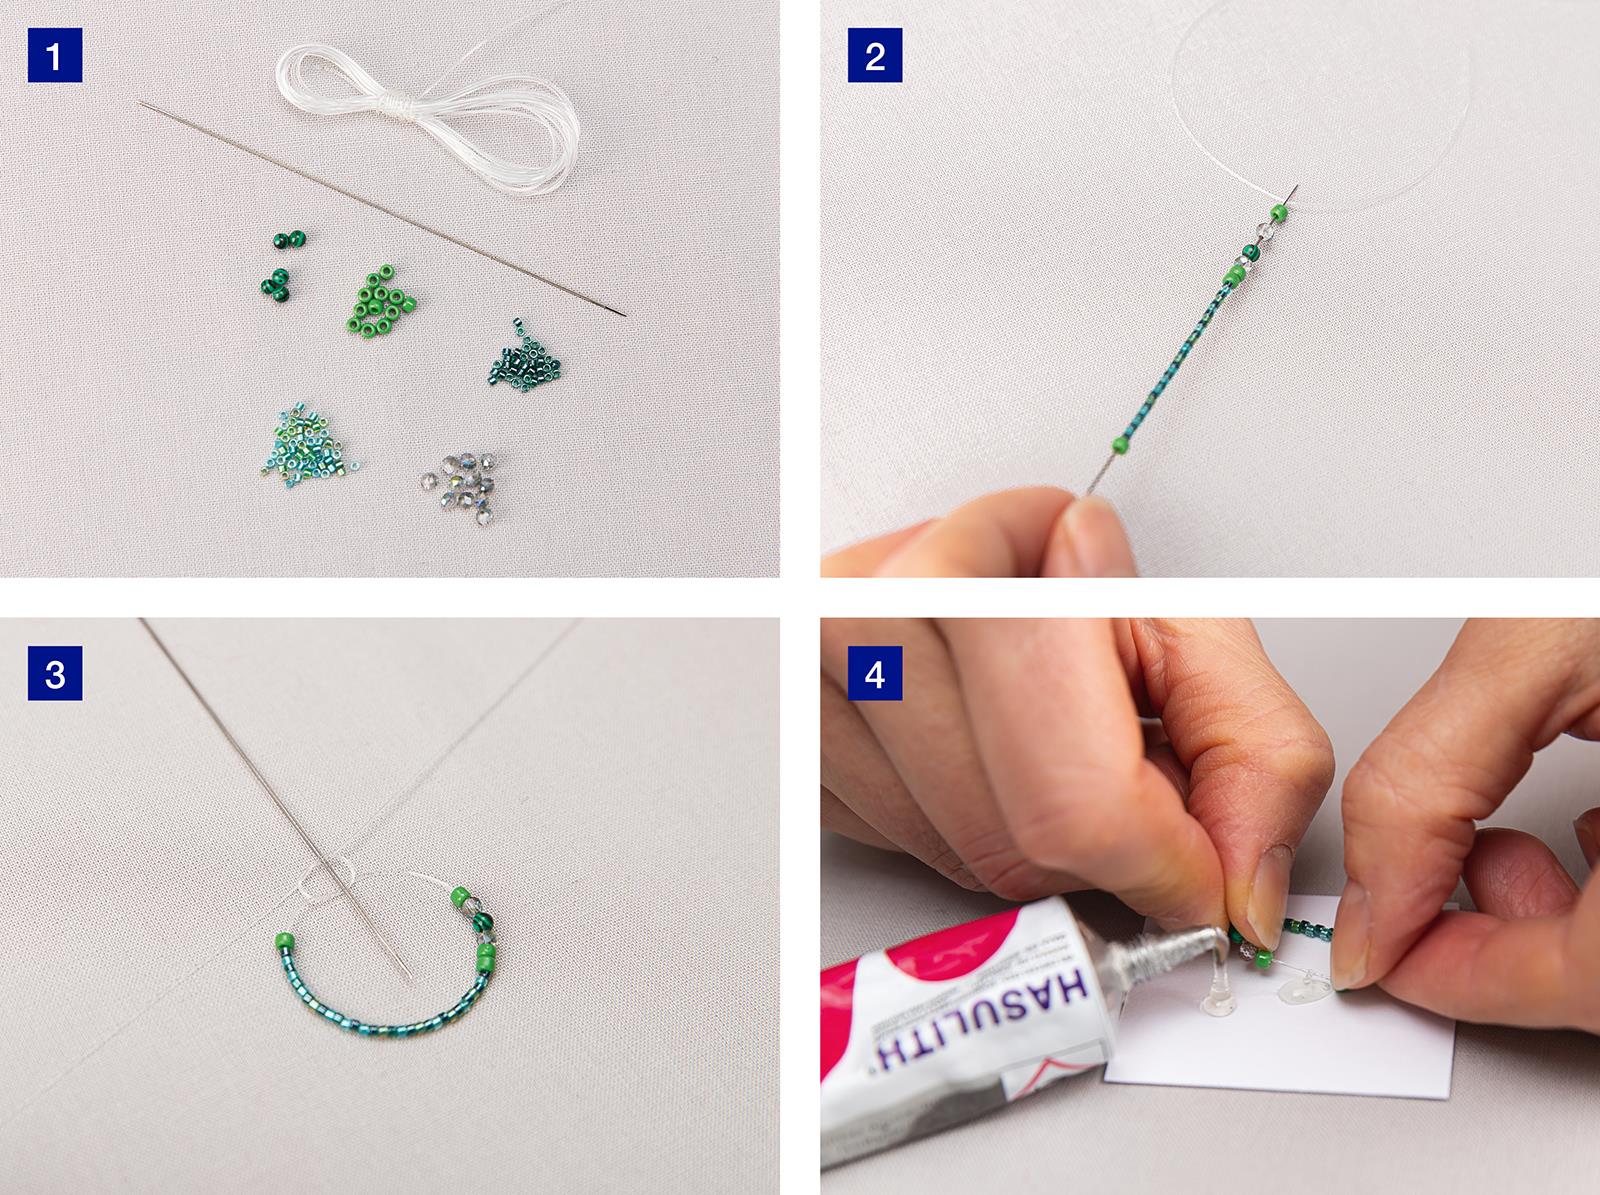
1:
Find all materials. The smart splitting needle with double wire makes it easy to thread the elastic, as you split the needle in the middle and just put in the elastic.
2:
Slide all the beads you need to make the ring onto the long beading needle. To conceal the knot, start and finish with a bead that has a larger hole.
3:
Tie a reef knot, pull taut and then tie an extra knot. Tighten the knot.
4:
Cut elastic ends, and e.g. dab a little glue on the knot. To conceal the knot, push it inside a large-holed bead.
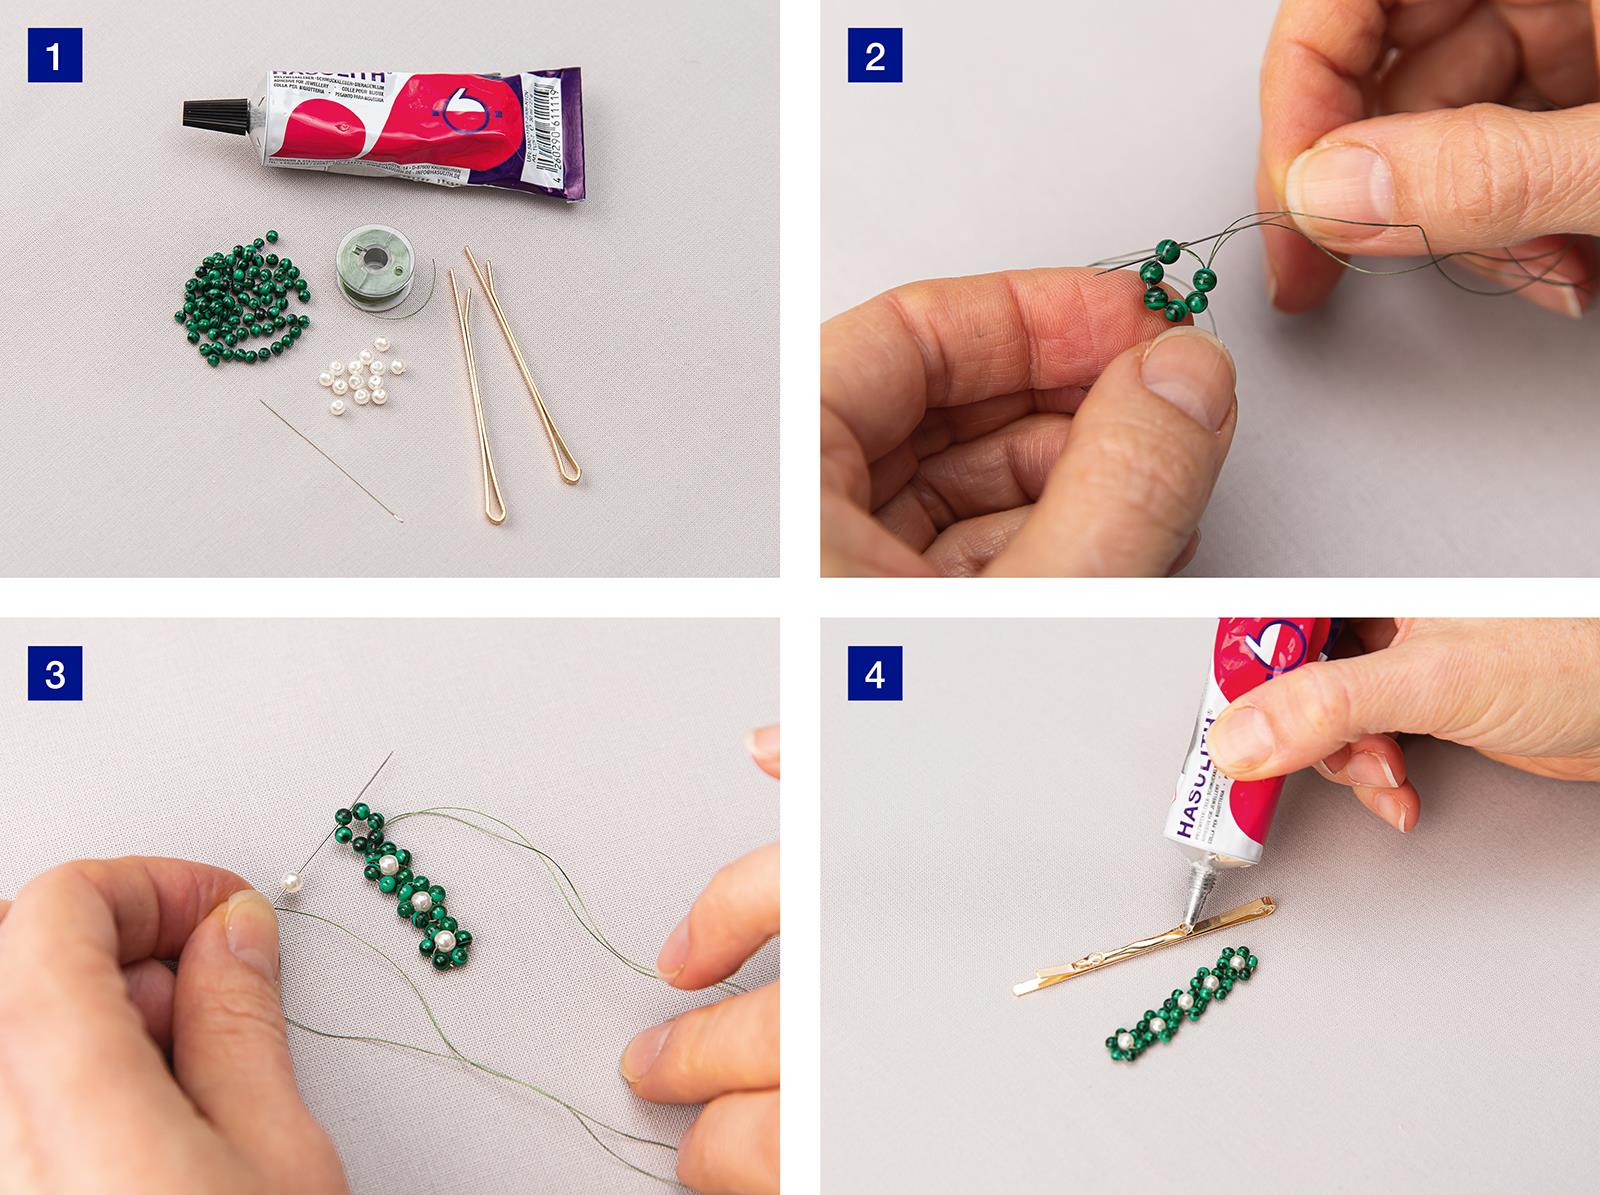
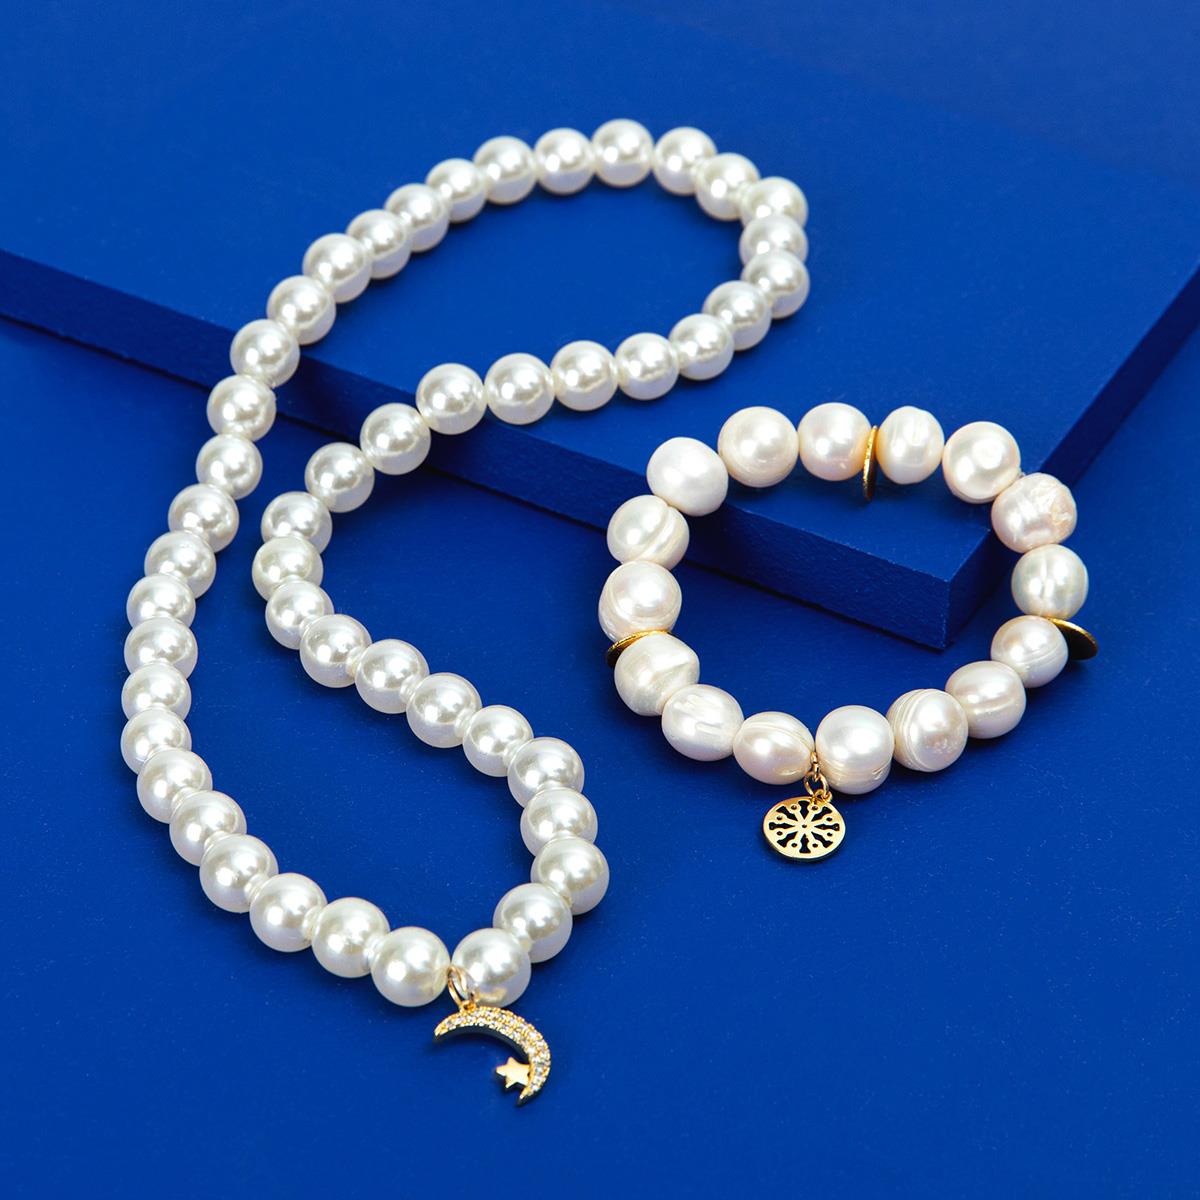
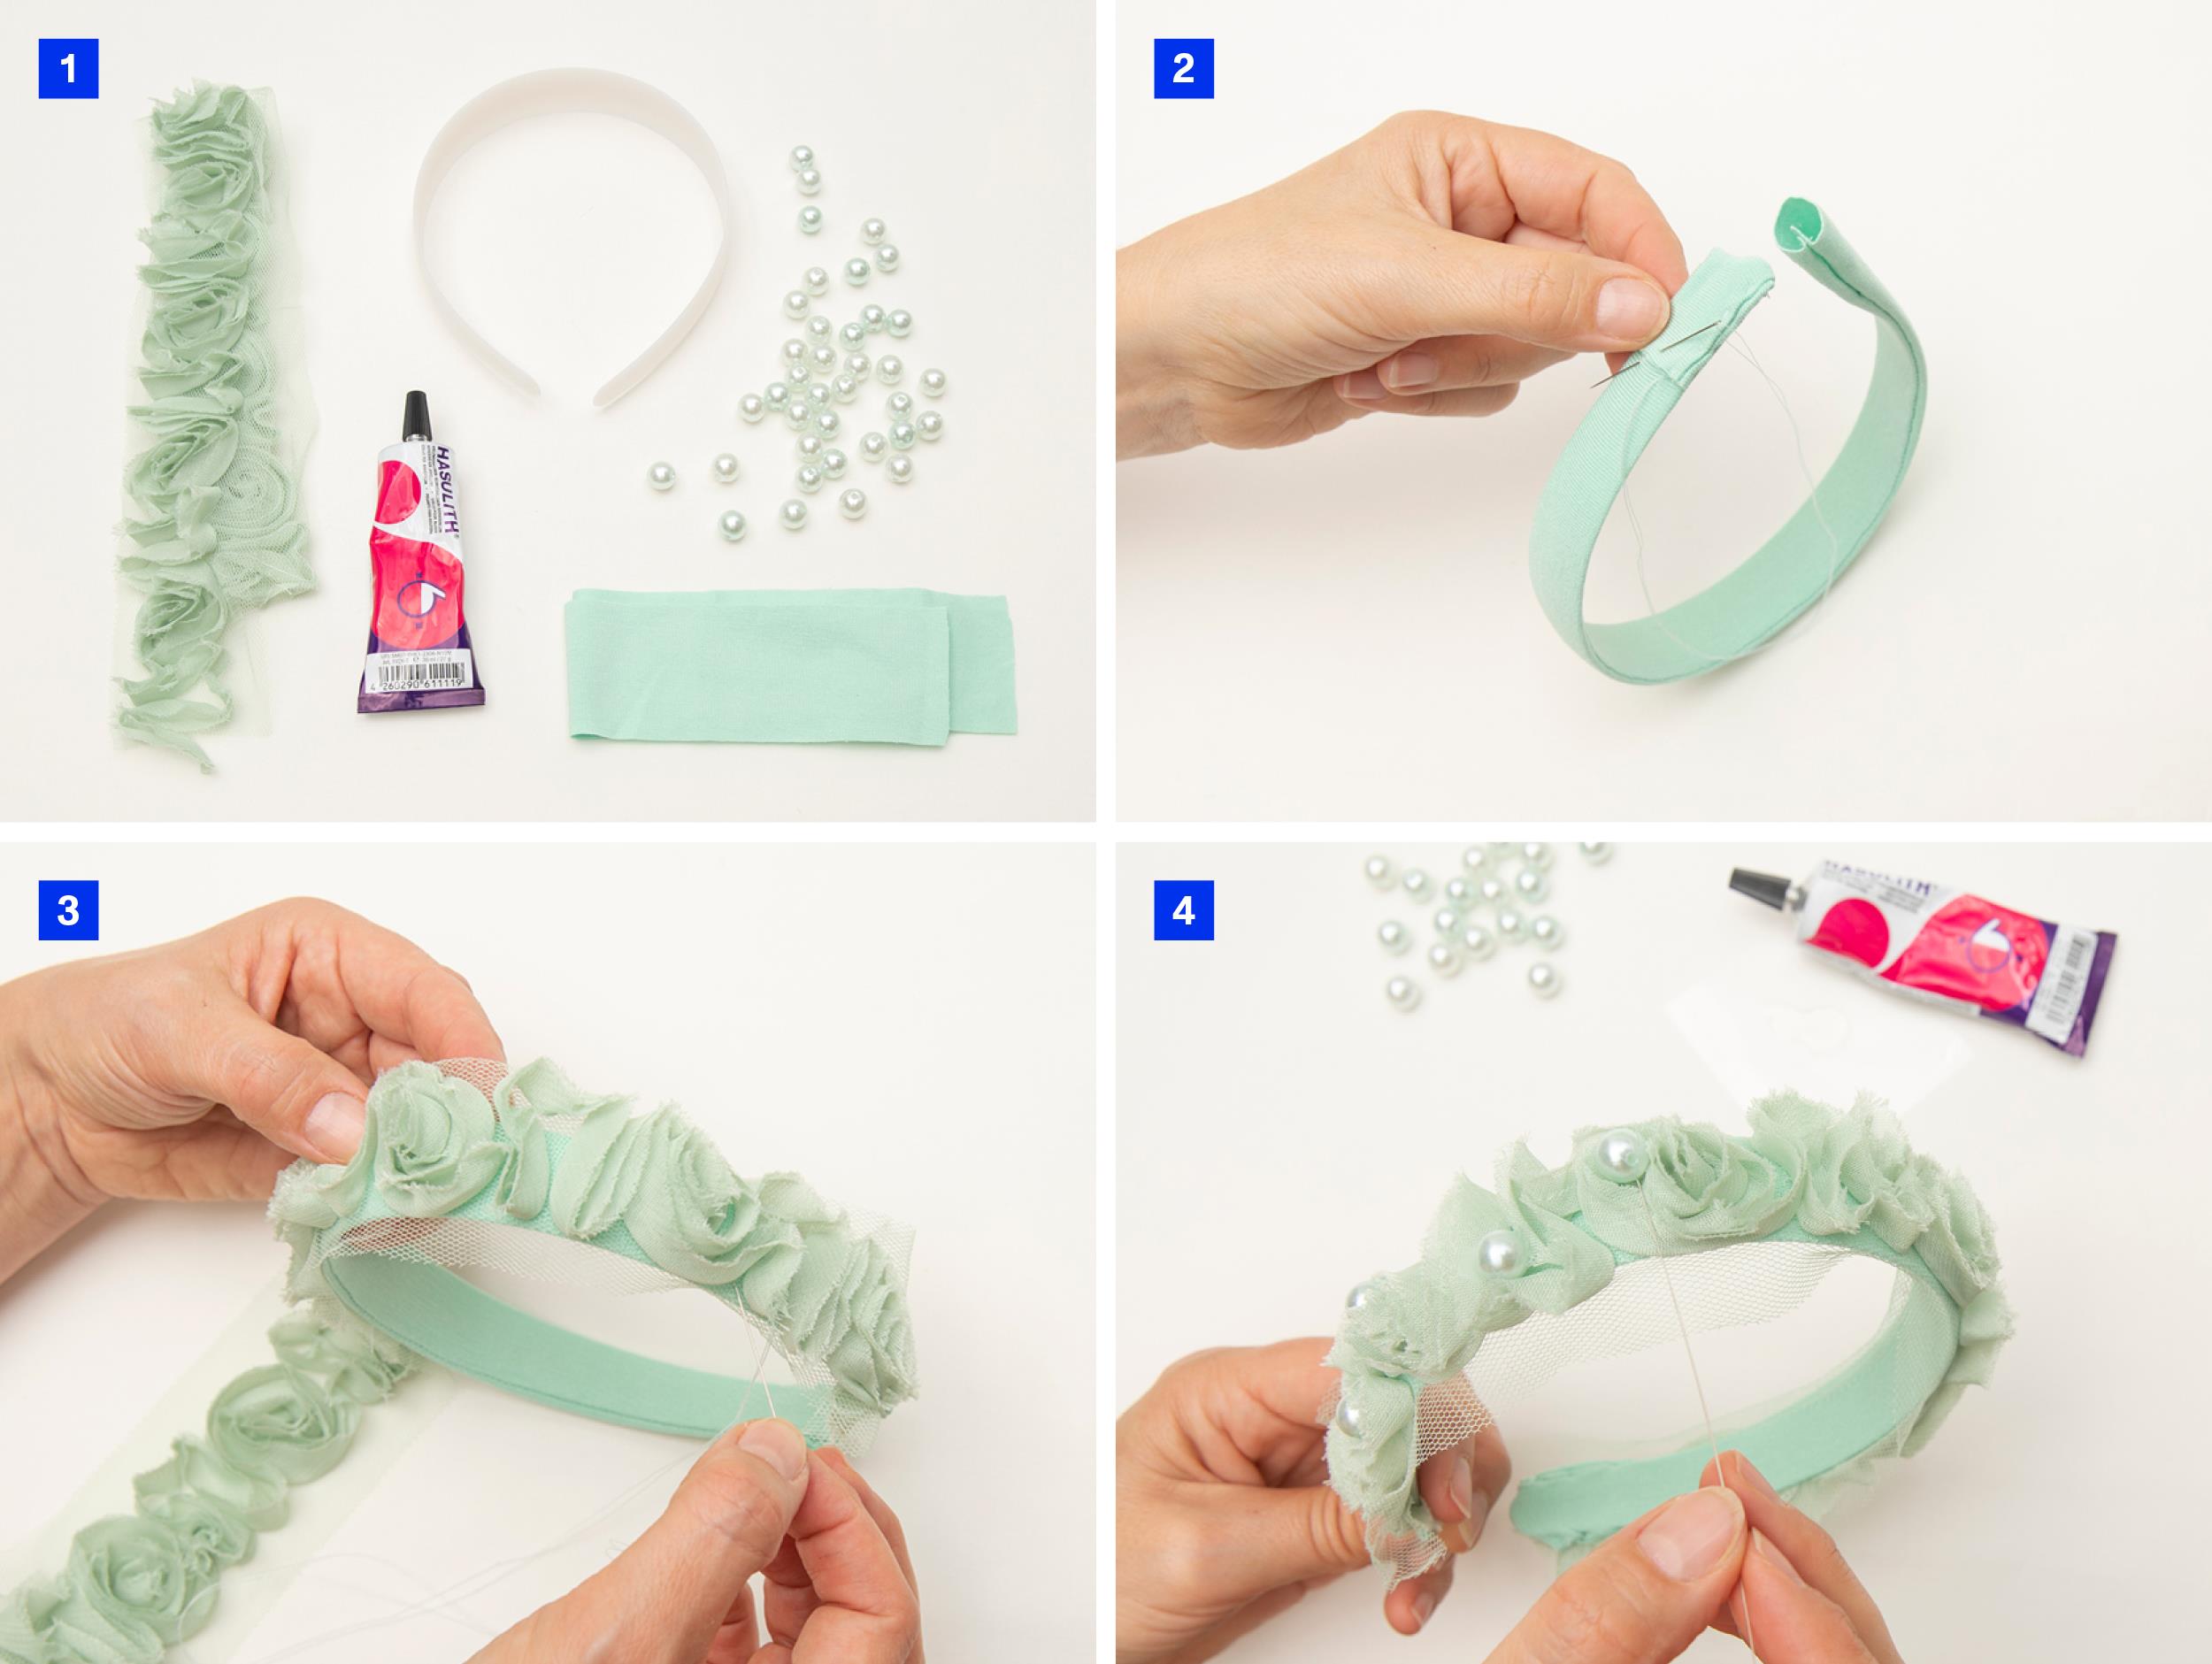
1:
Find all materials. Thread a bead needle with the beading thread, and slide 6 beads onto a length of wire.
2:
Using double wire makes the beads easier to handle. Sew through the beads to form a circle. Sew through a further 3 beads to tie off the circle. Cut off the wire tail, and sew on the centre bead. To tie off, sew through bead no 3.
3:
Slide 6 beads onto your length of wire. Sew through the first bead again to form a circle. Pull taut. Sew on the centre bead. To tie off, sew through bead no 3. Continue. Hereafter, repeat till you got all the flowers in your bead vine, you wish for.
4:
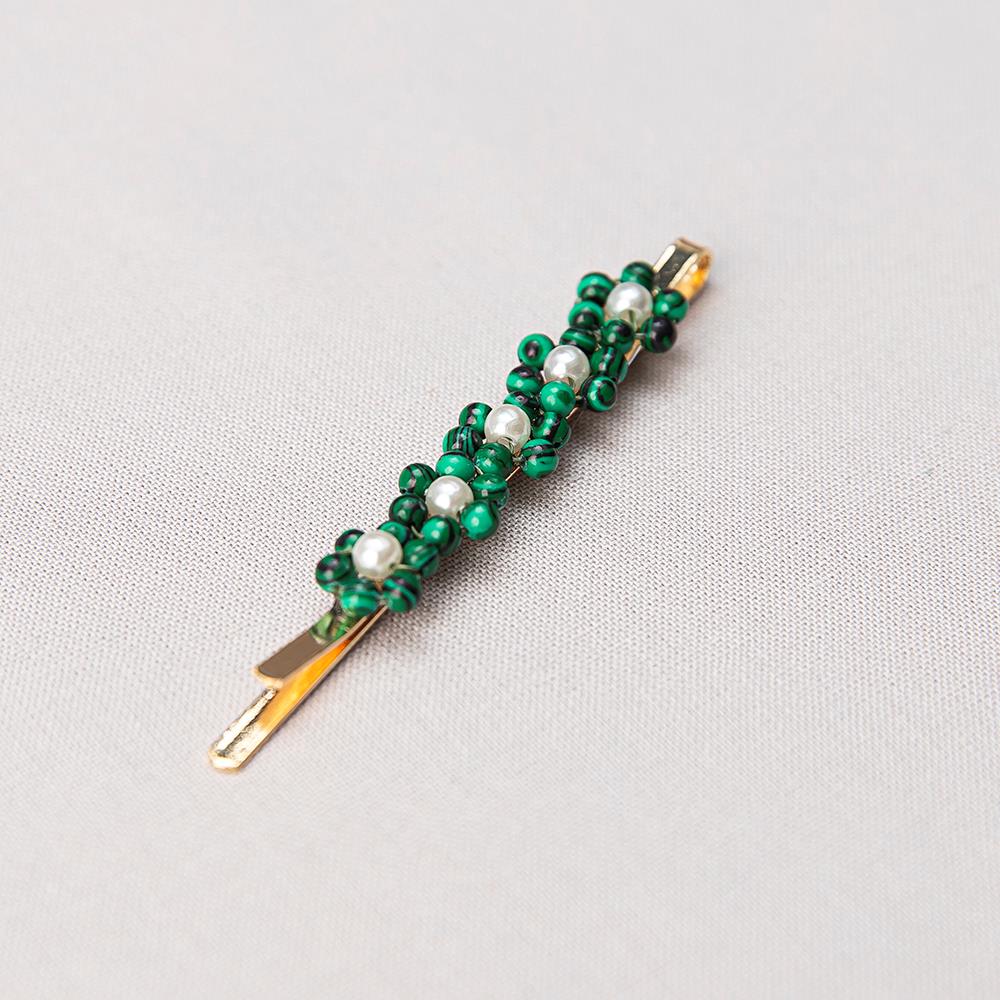
To finish, tie off the wire and trim the tail. Glue the daisy chain to a hairclip/hairpin. You can also use the daisy chain to make a neckless or the like.
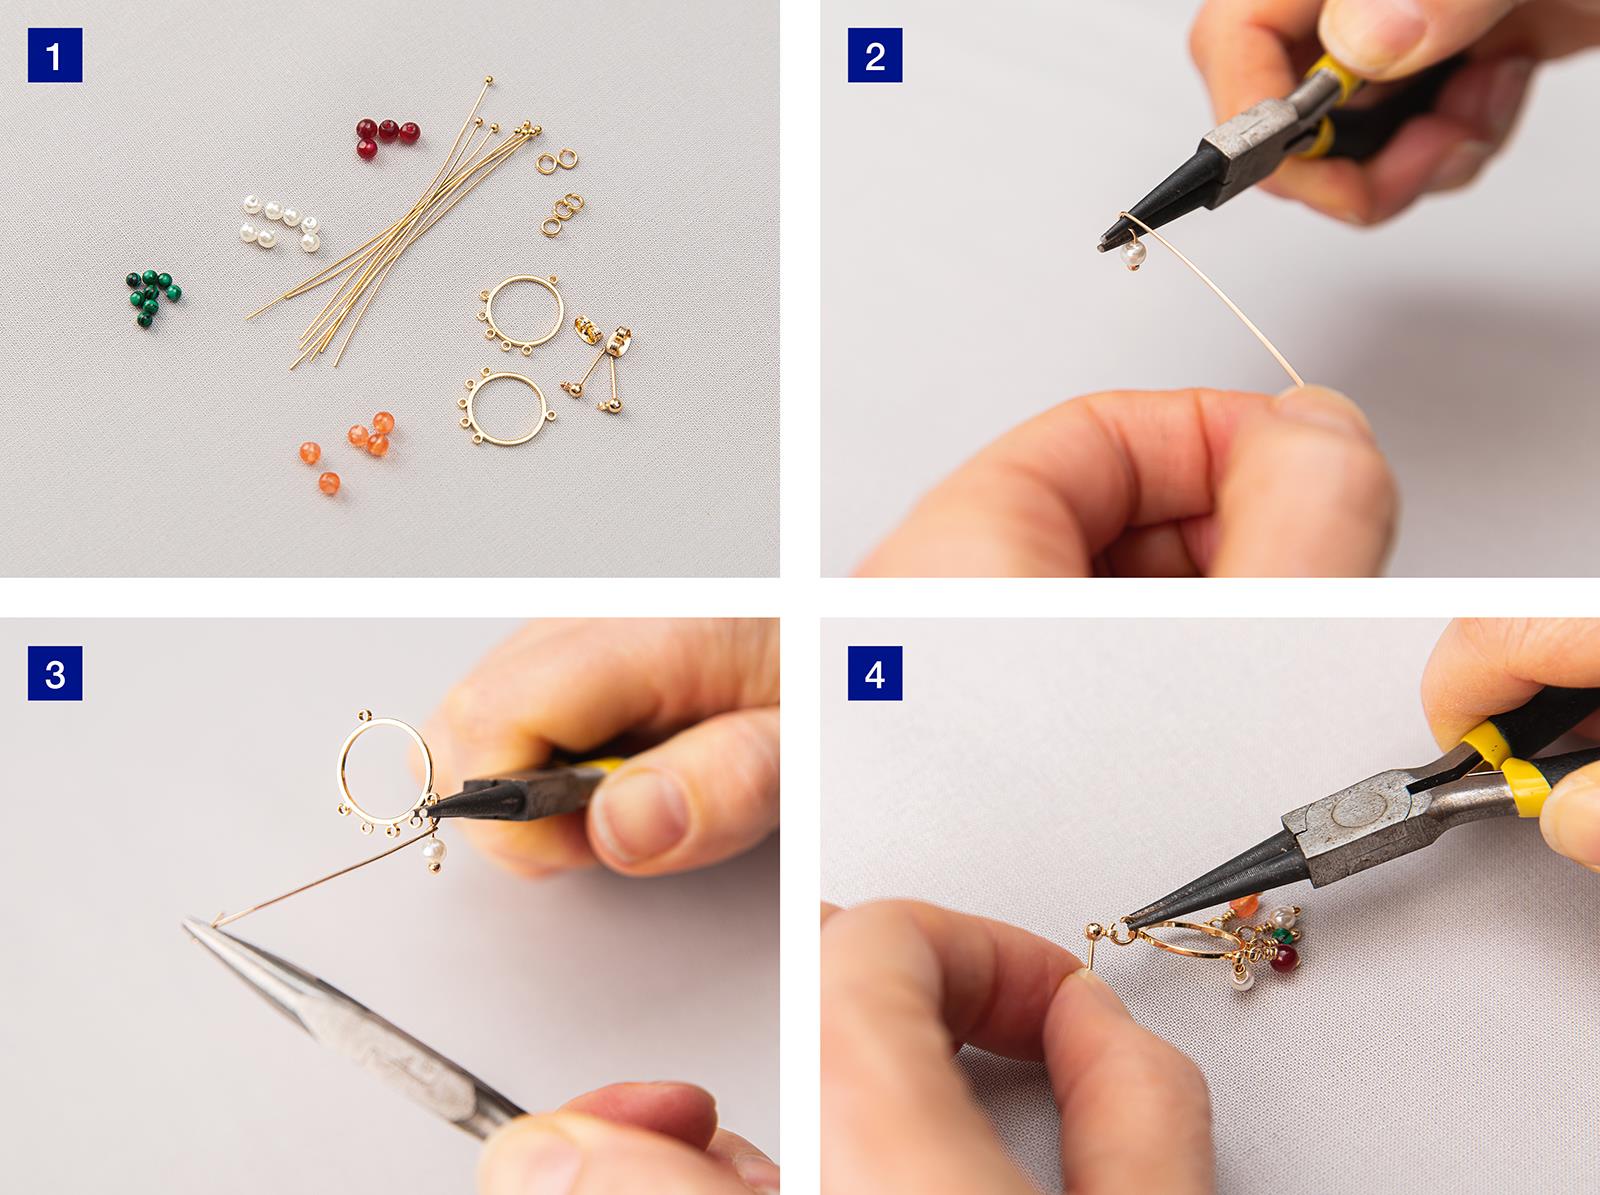
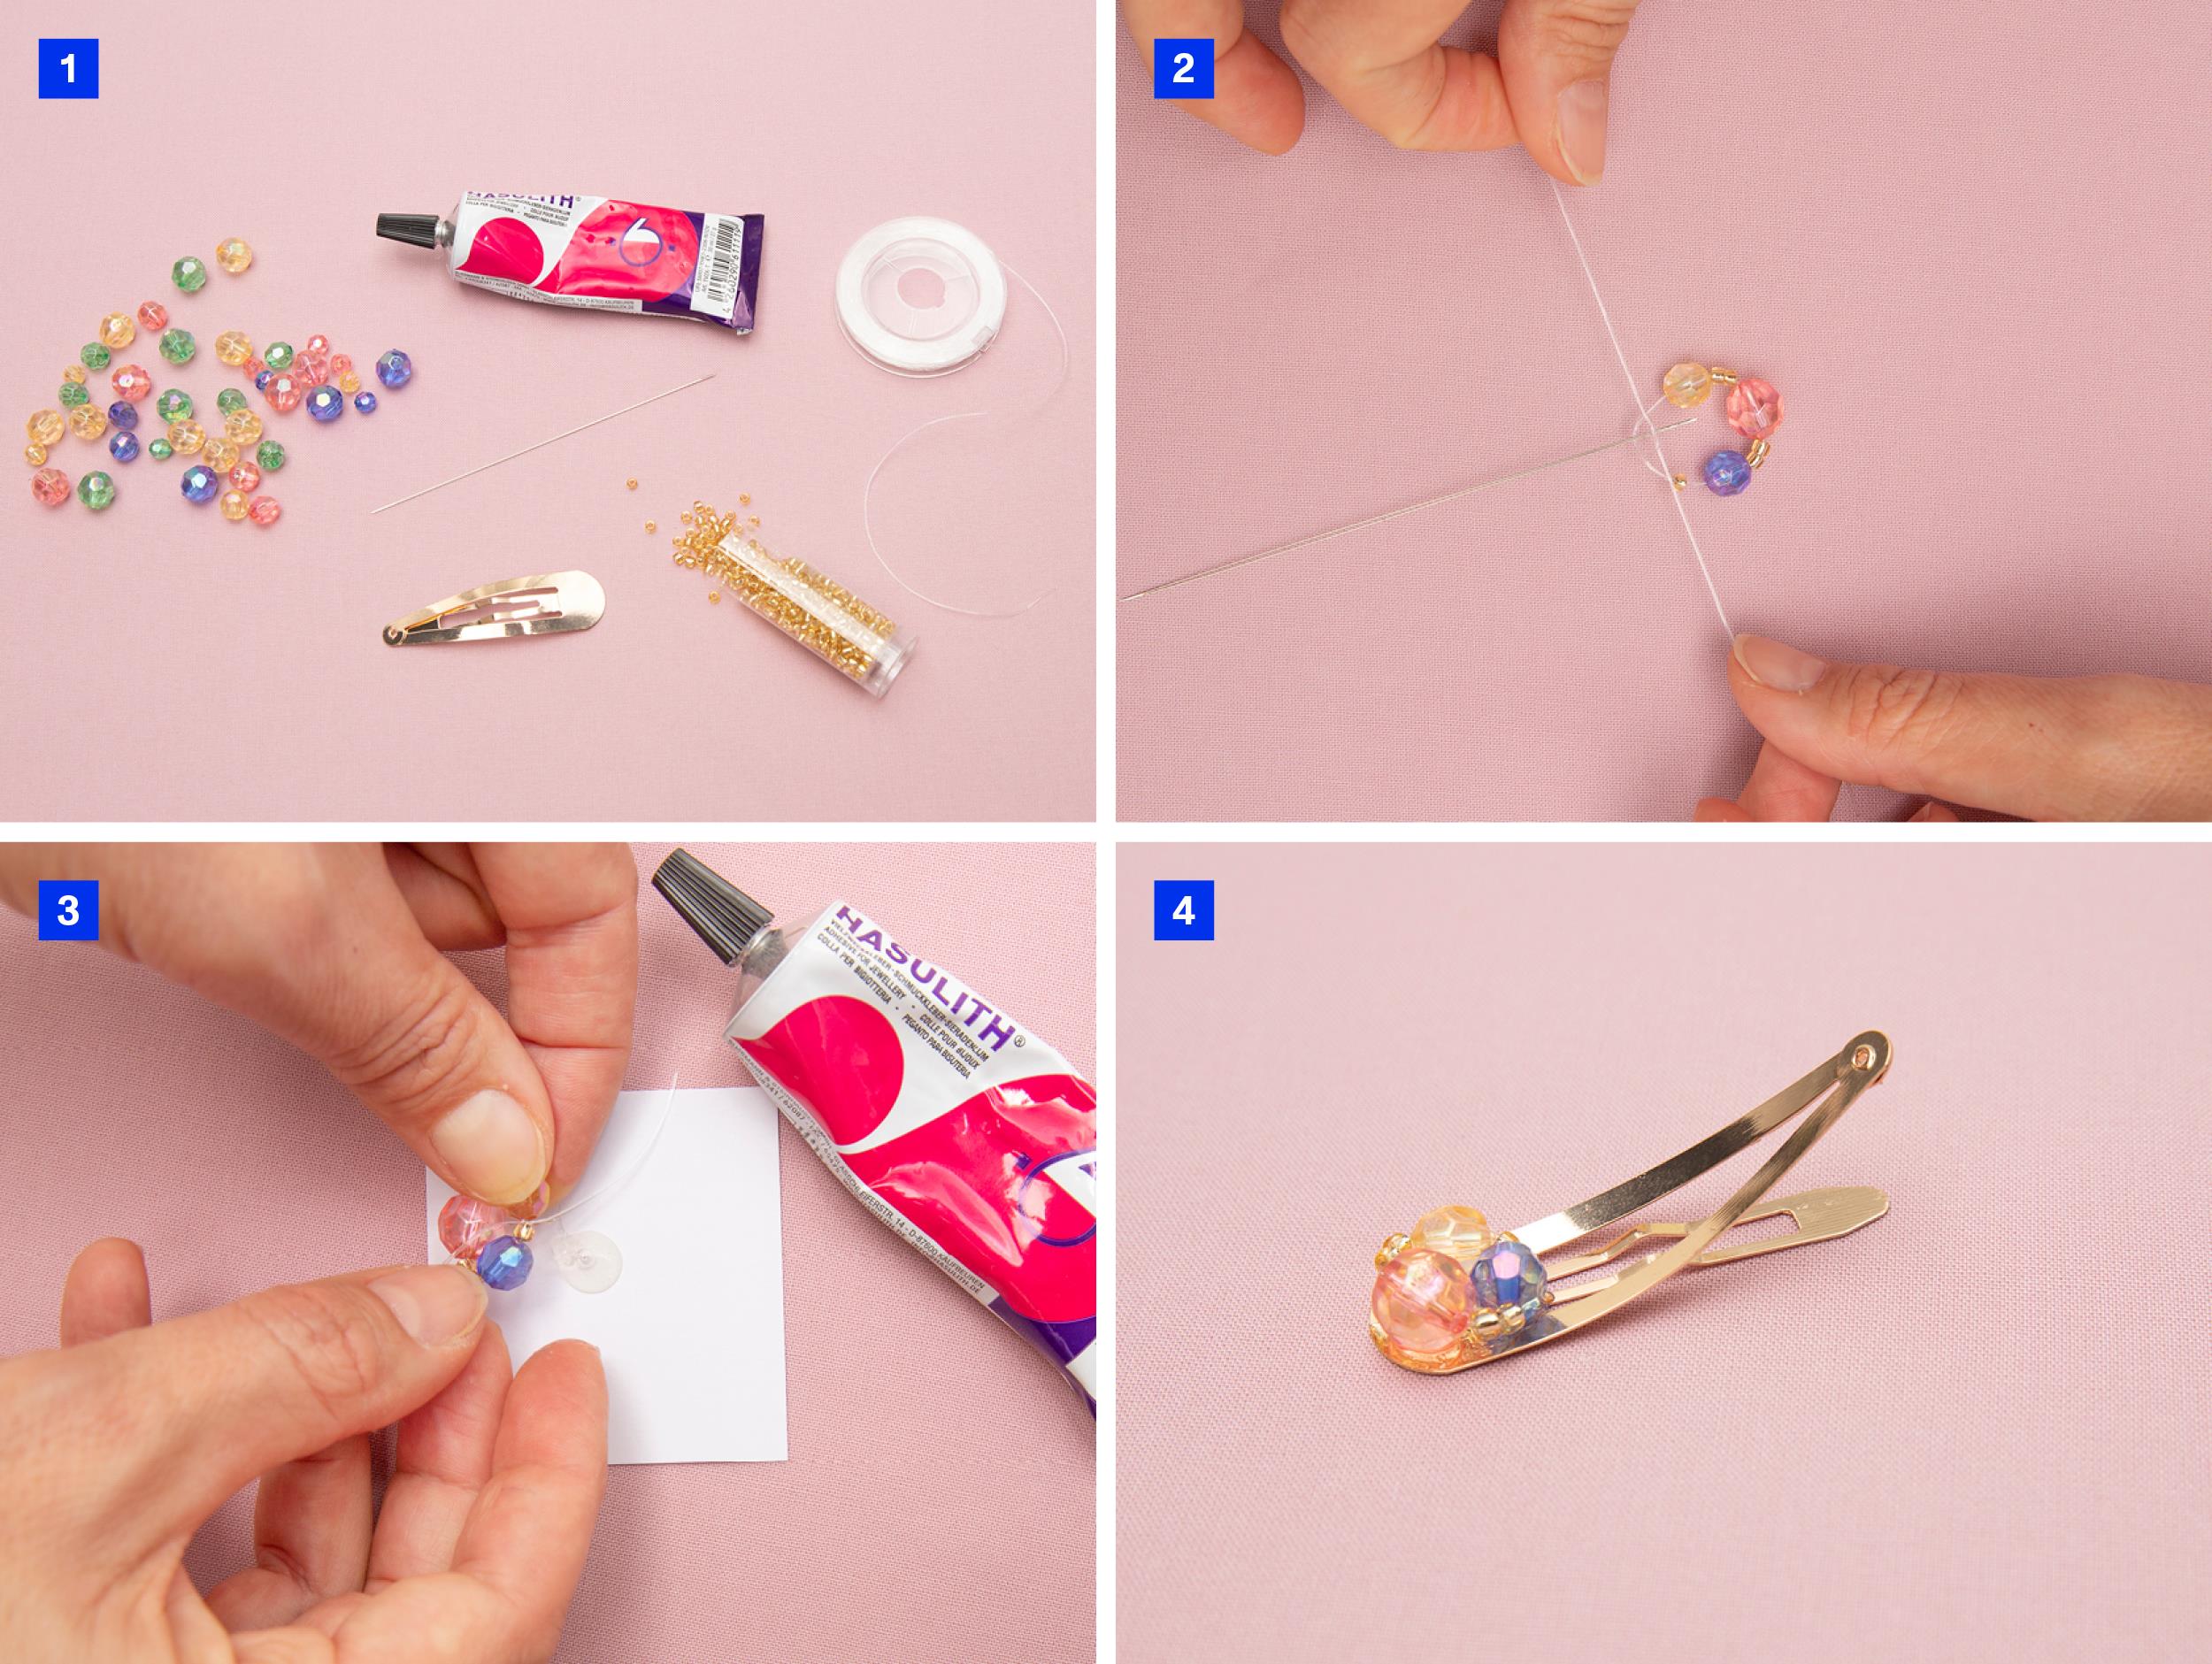
1:
Make sure you have everything you need.
2:
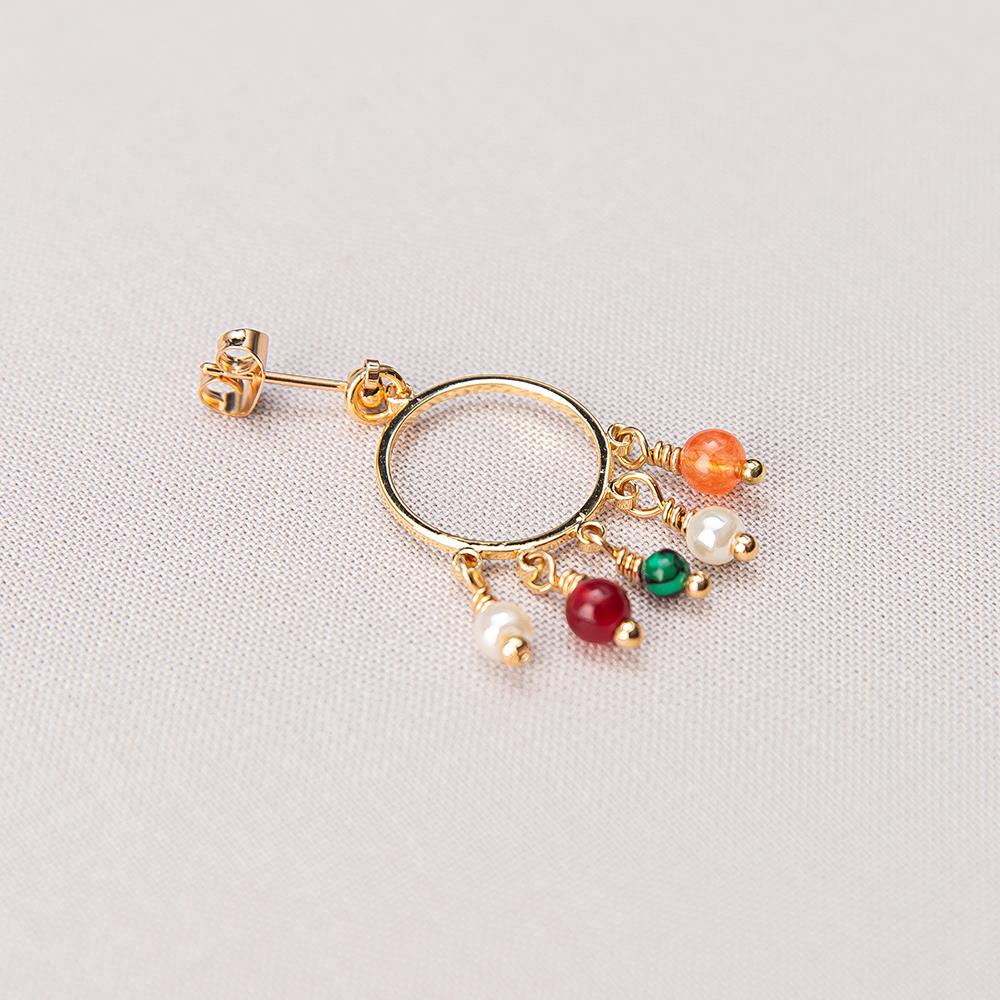
Set a bead on a jewellery pin and bend the end of the jewellery pin away from you. Now move the pliers so that the pincers bite at the top of the pin above the bend. Shape an eye, and set the bead in the eye of the earring.
3:
Wrap 3 twists above the bead. Use round nose pliers to hold the earring and flat nose pliers to wrap with. Cut off excess length of jewellery pin, and squeeze on the cut tip. This way, you mount beads in all the eyes.
4:
To assemble the earring, join the ear post using an o-ring.