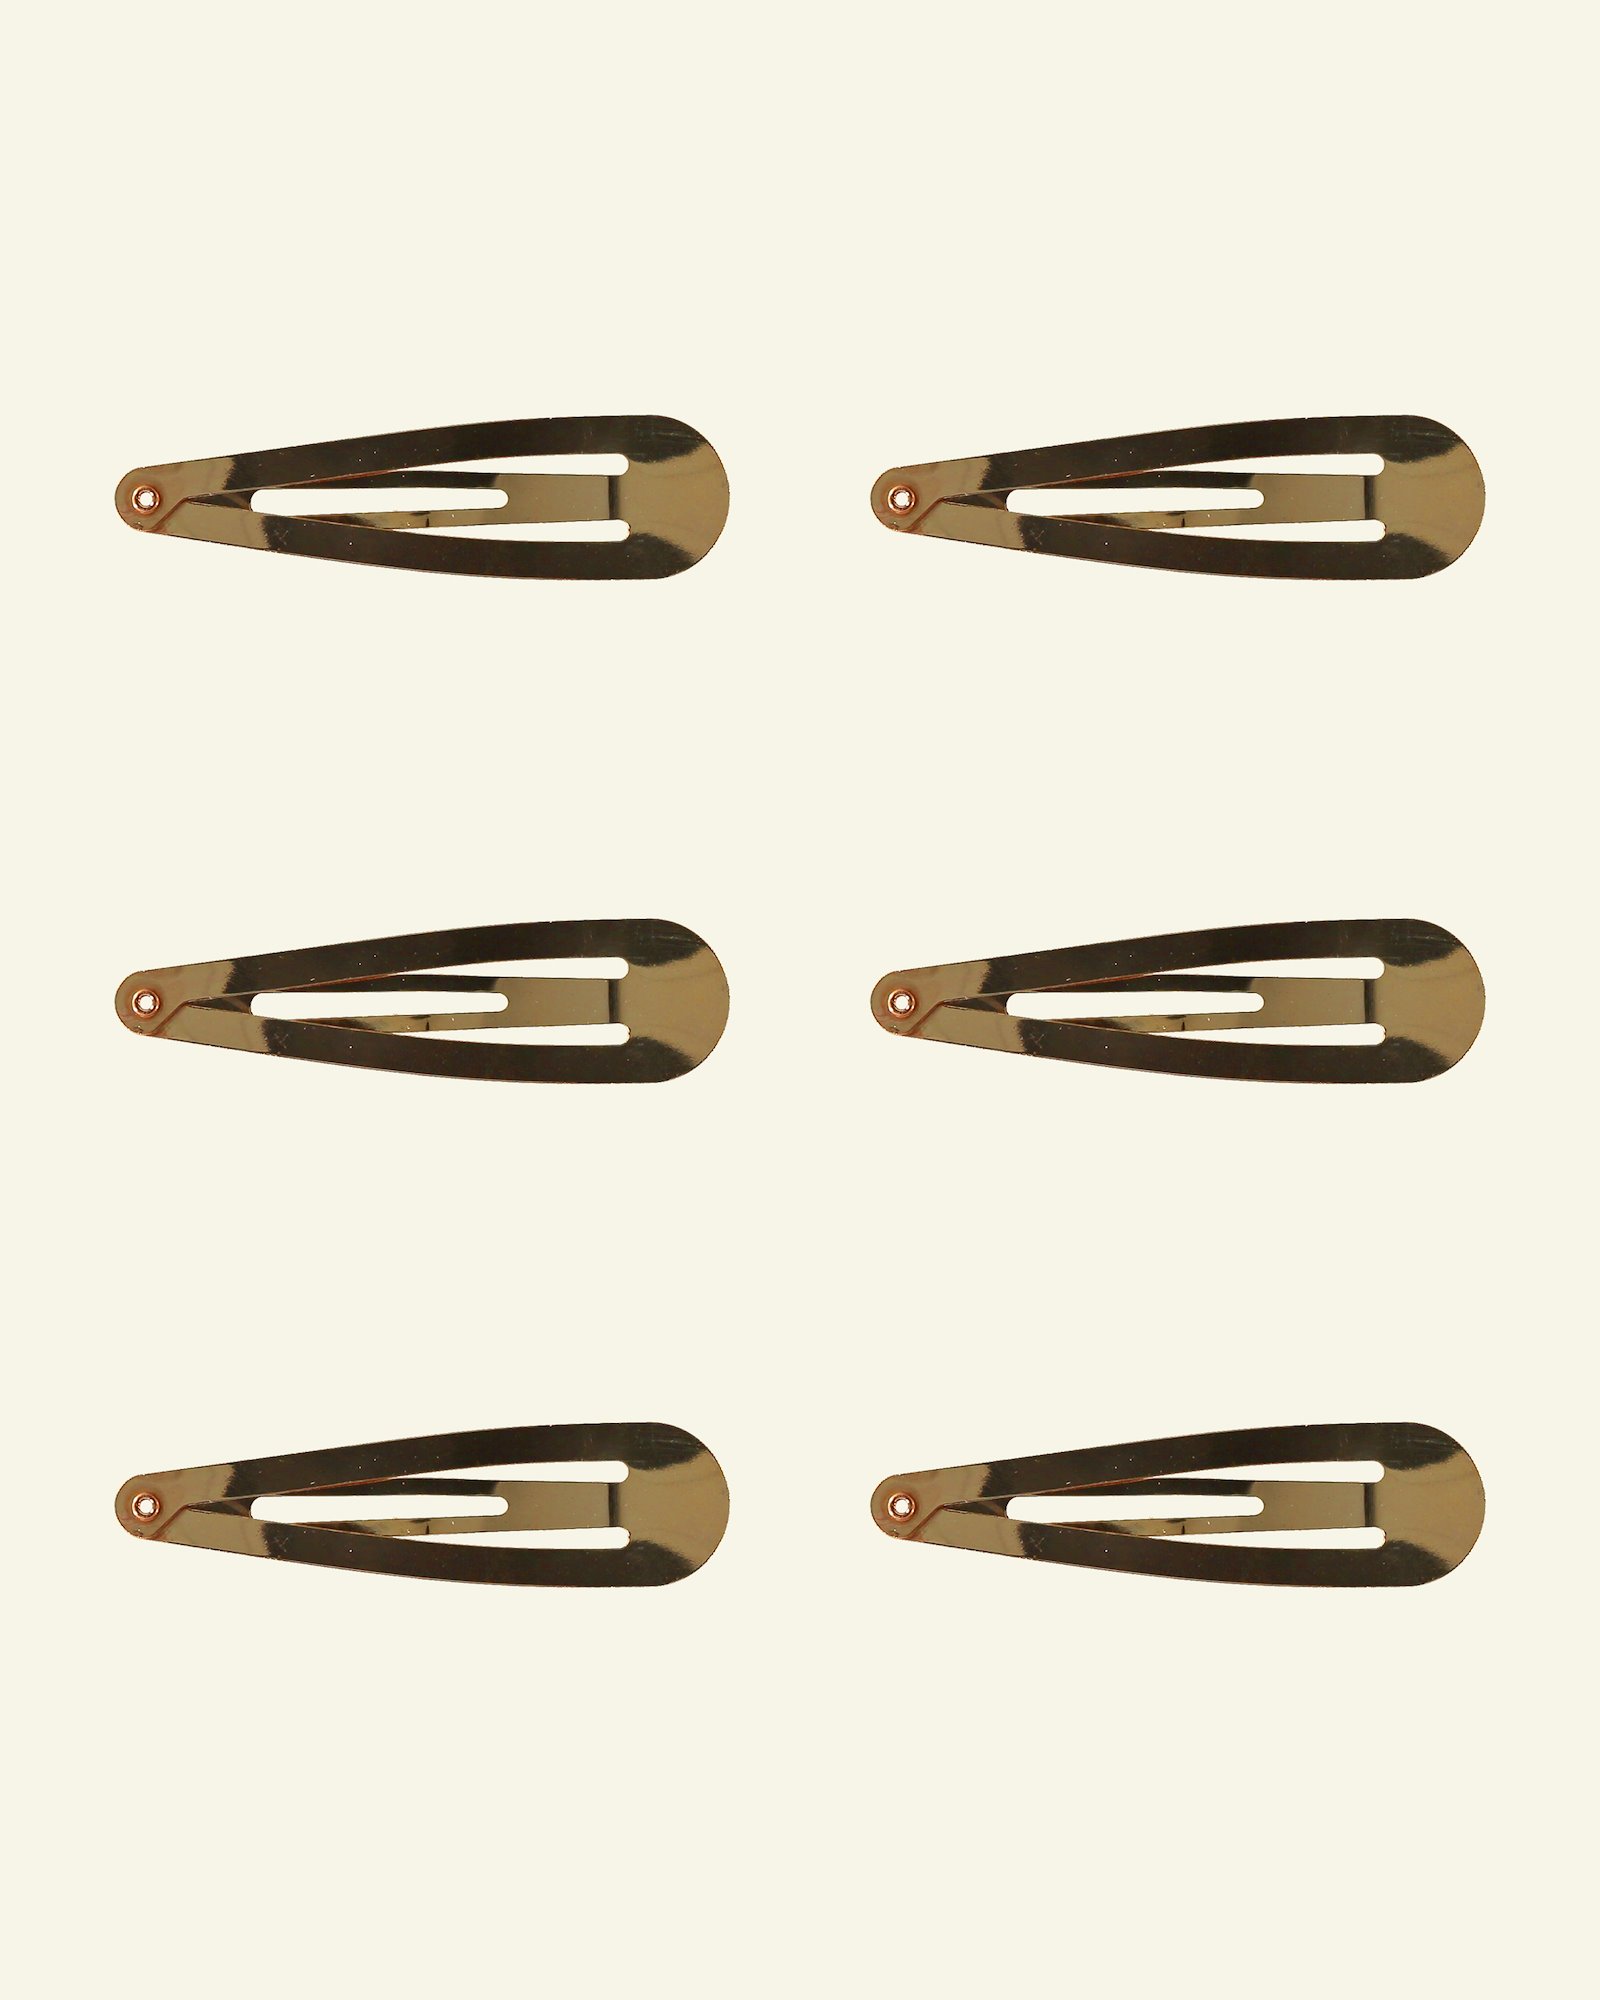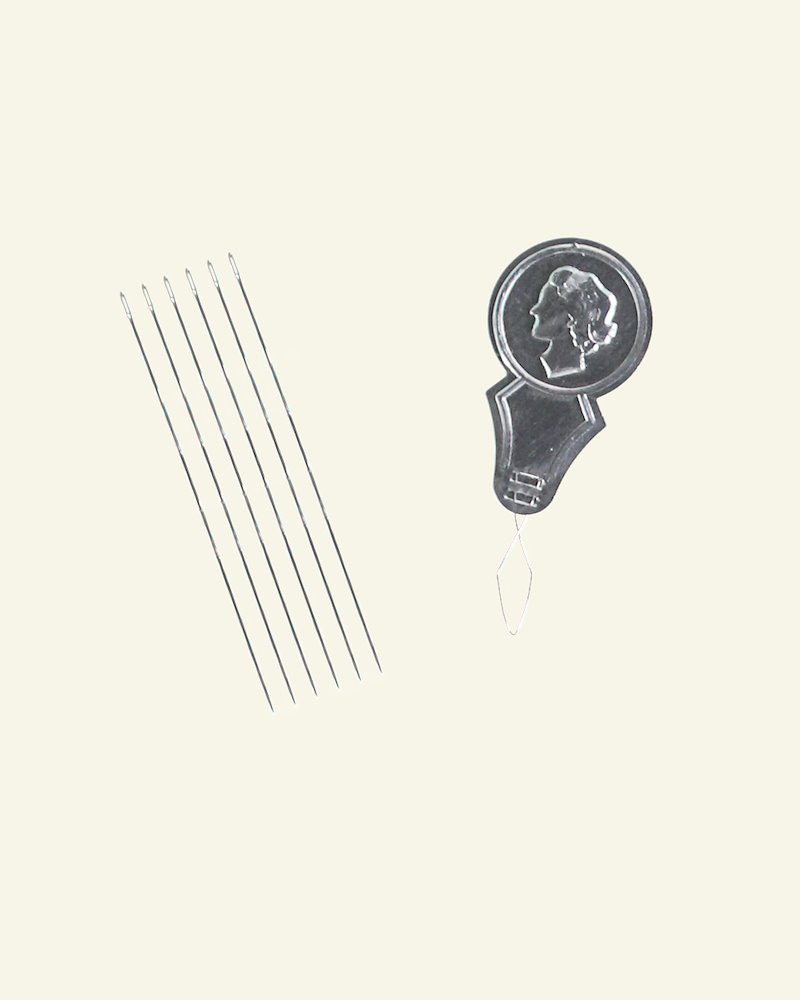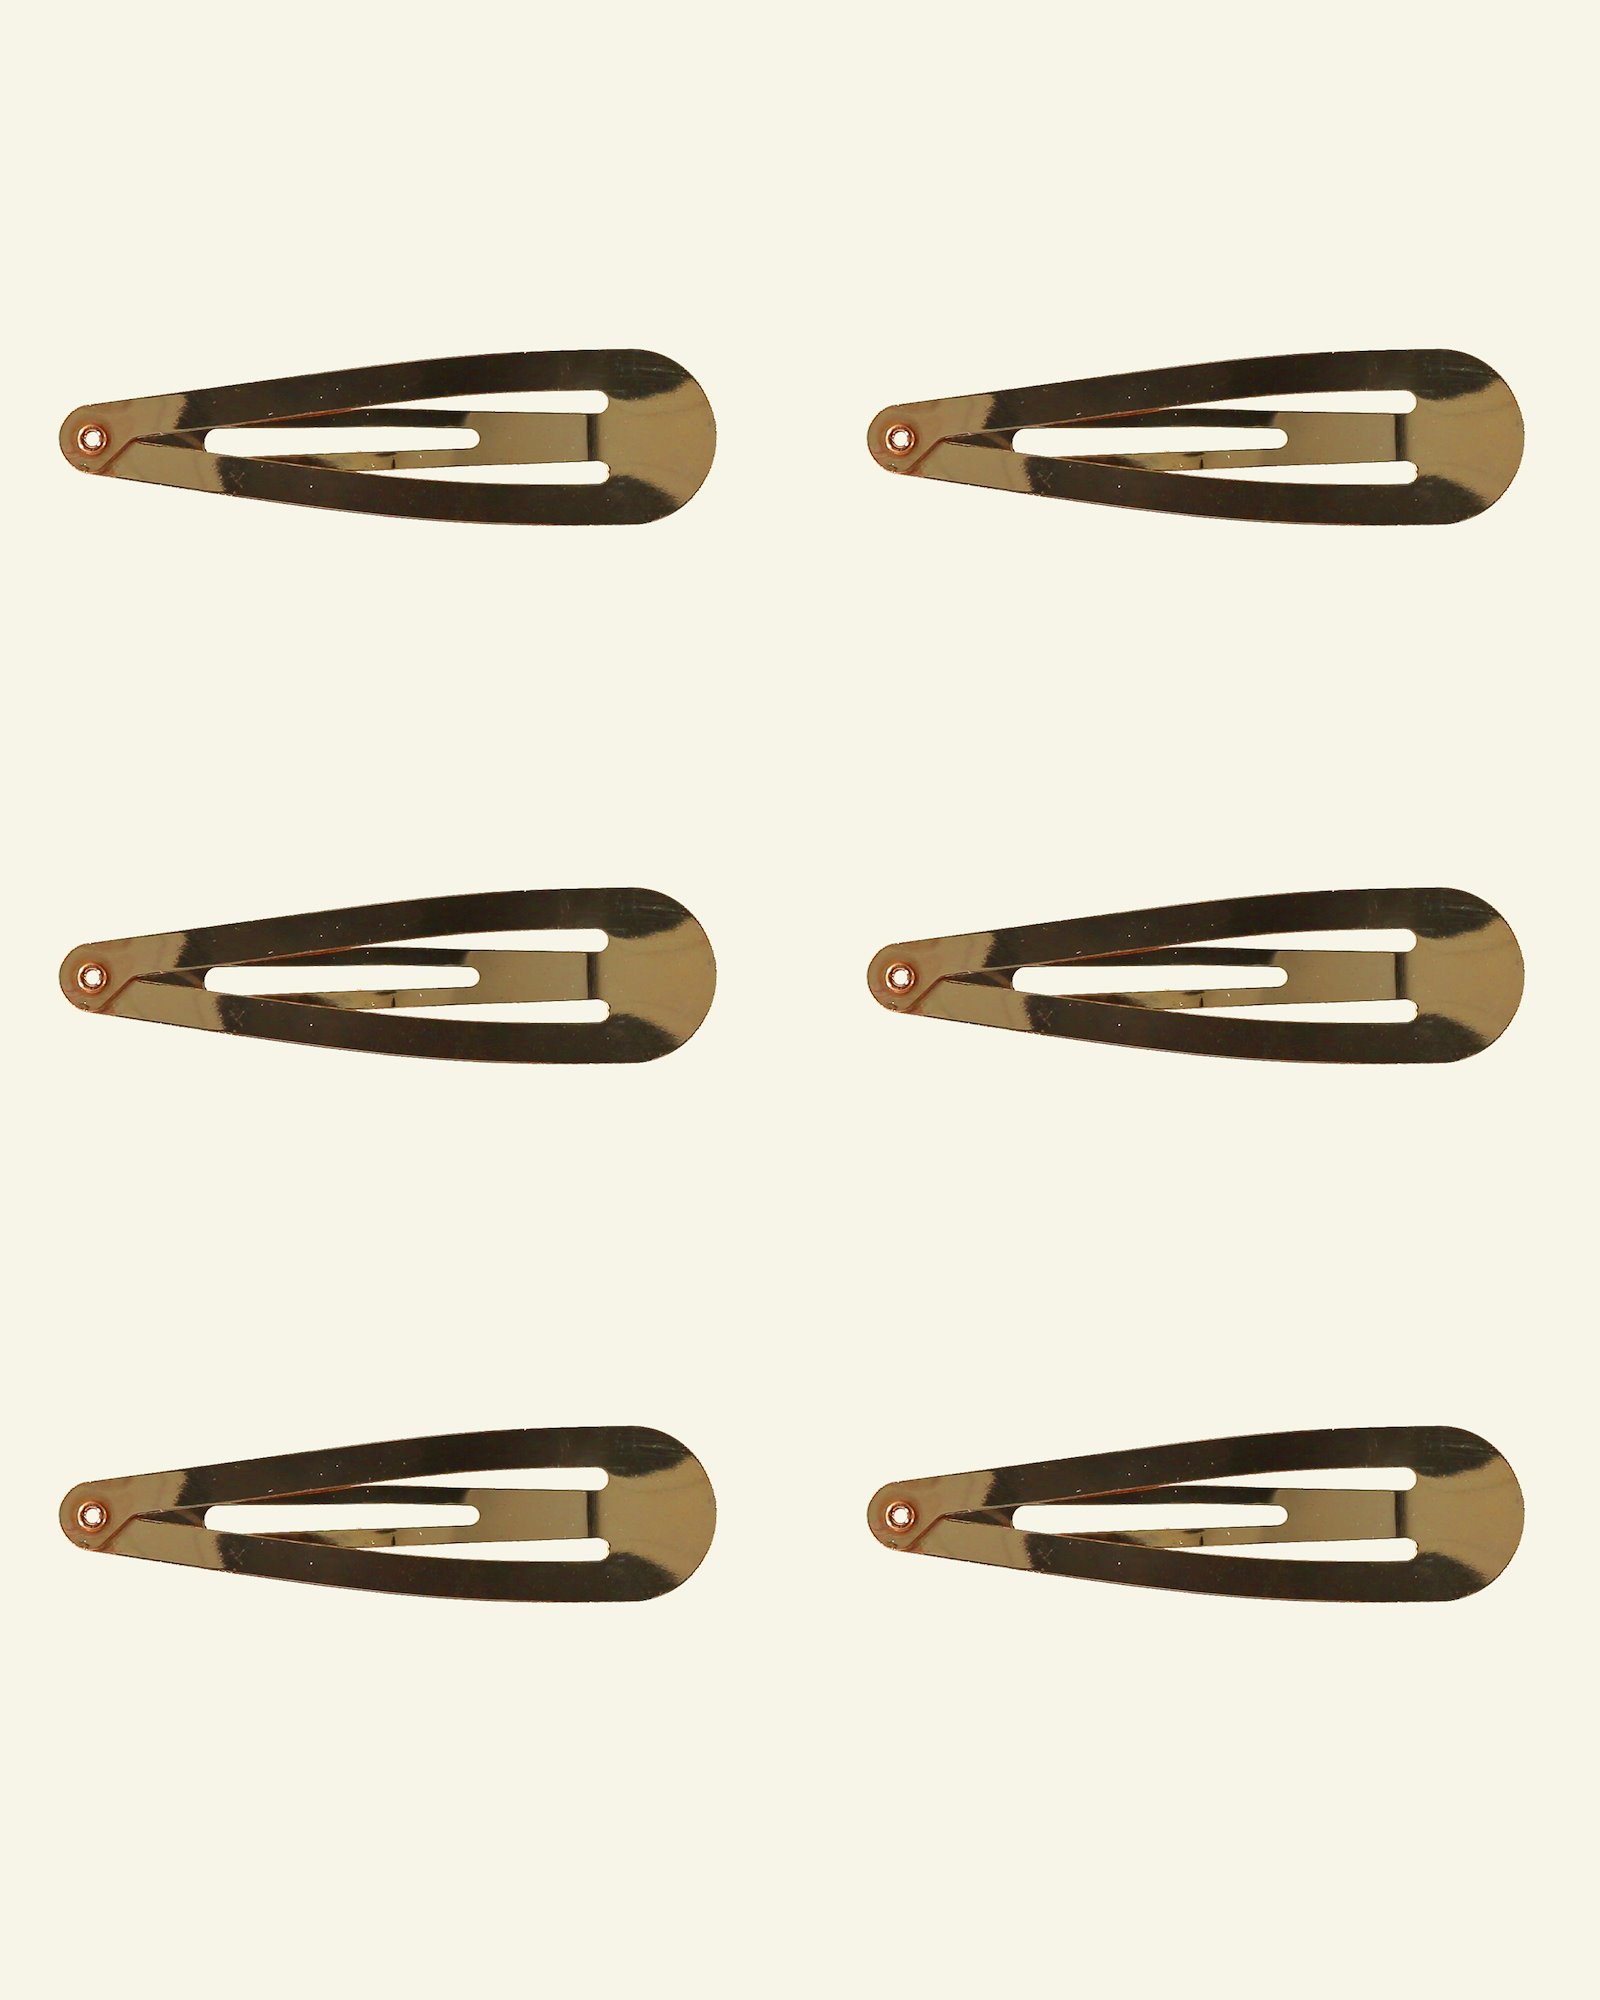
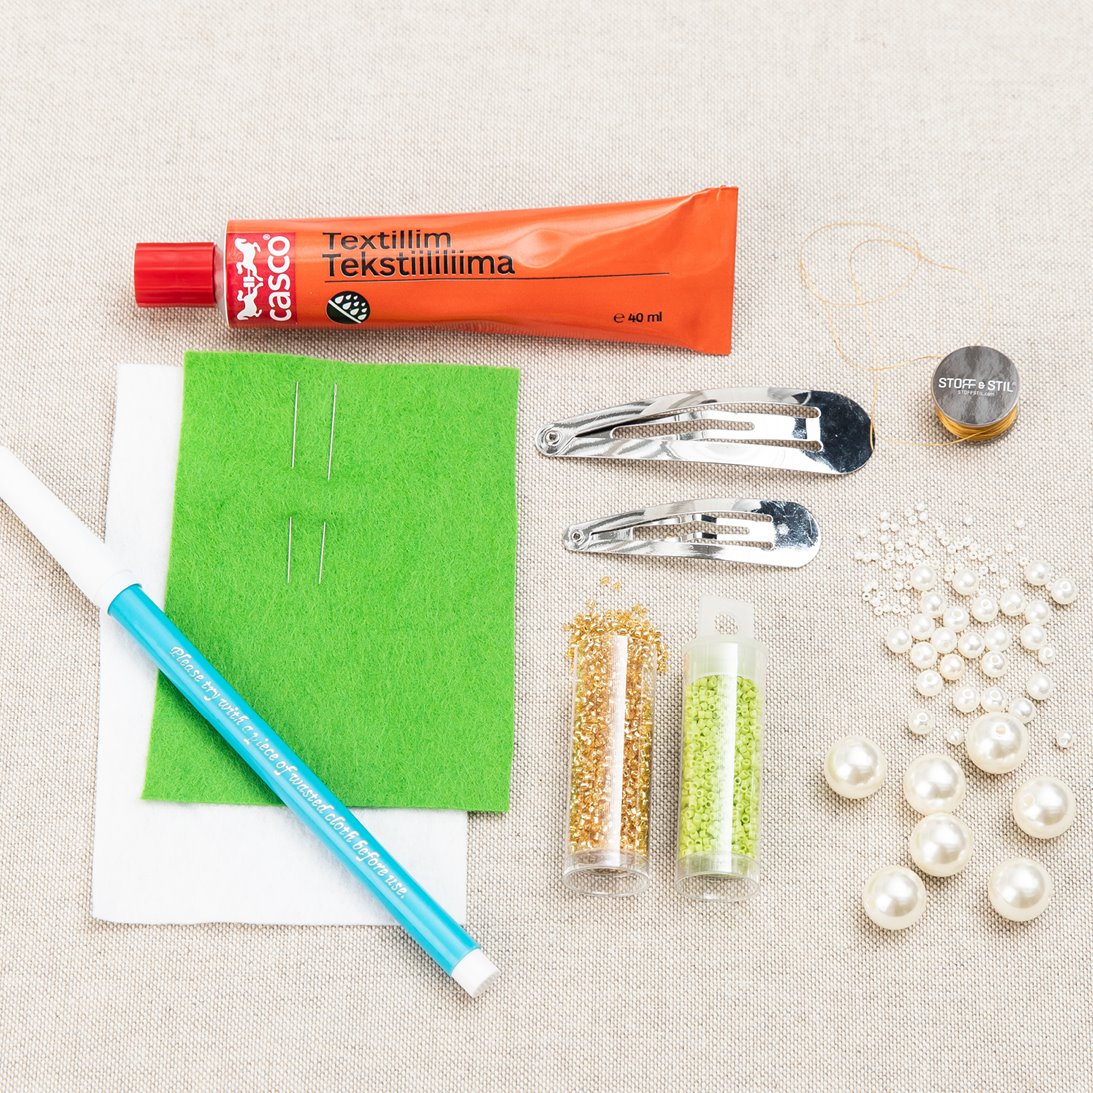
1.Make sure you have all the materials you need. 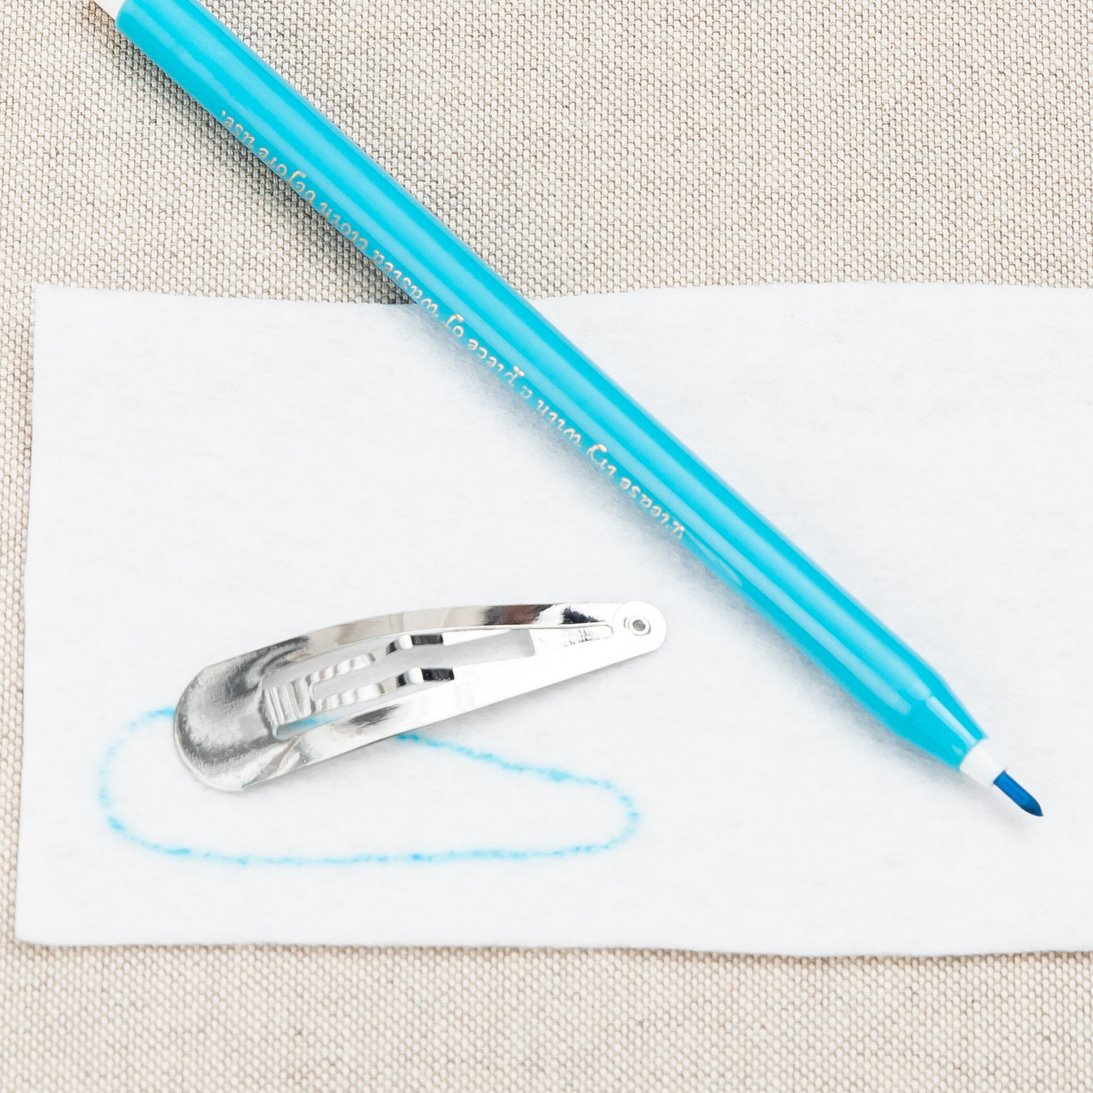
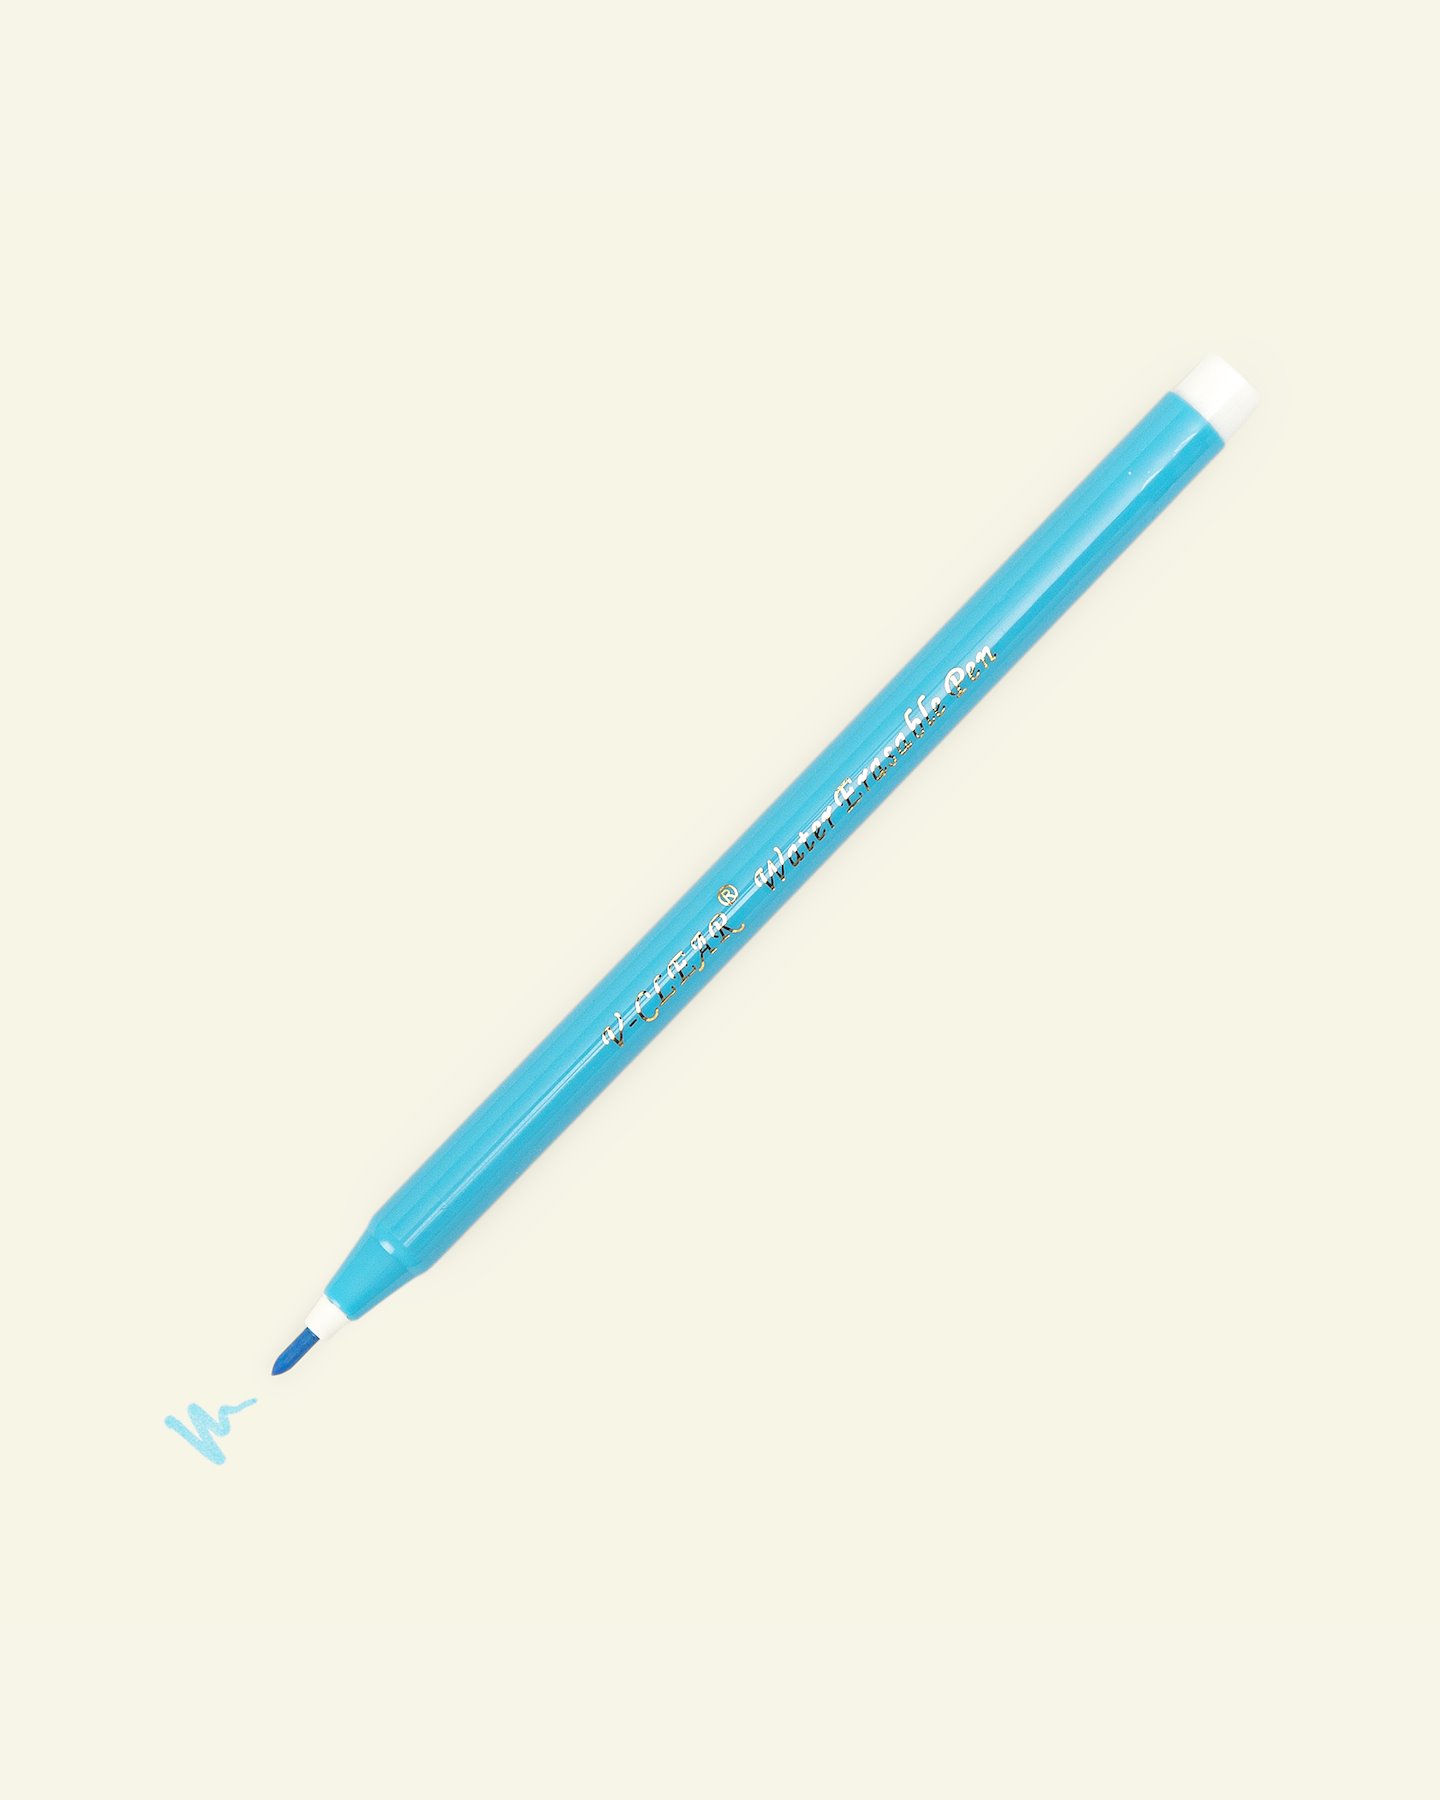
2.Using a marker, draw around the clip on a piece of felt. 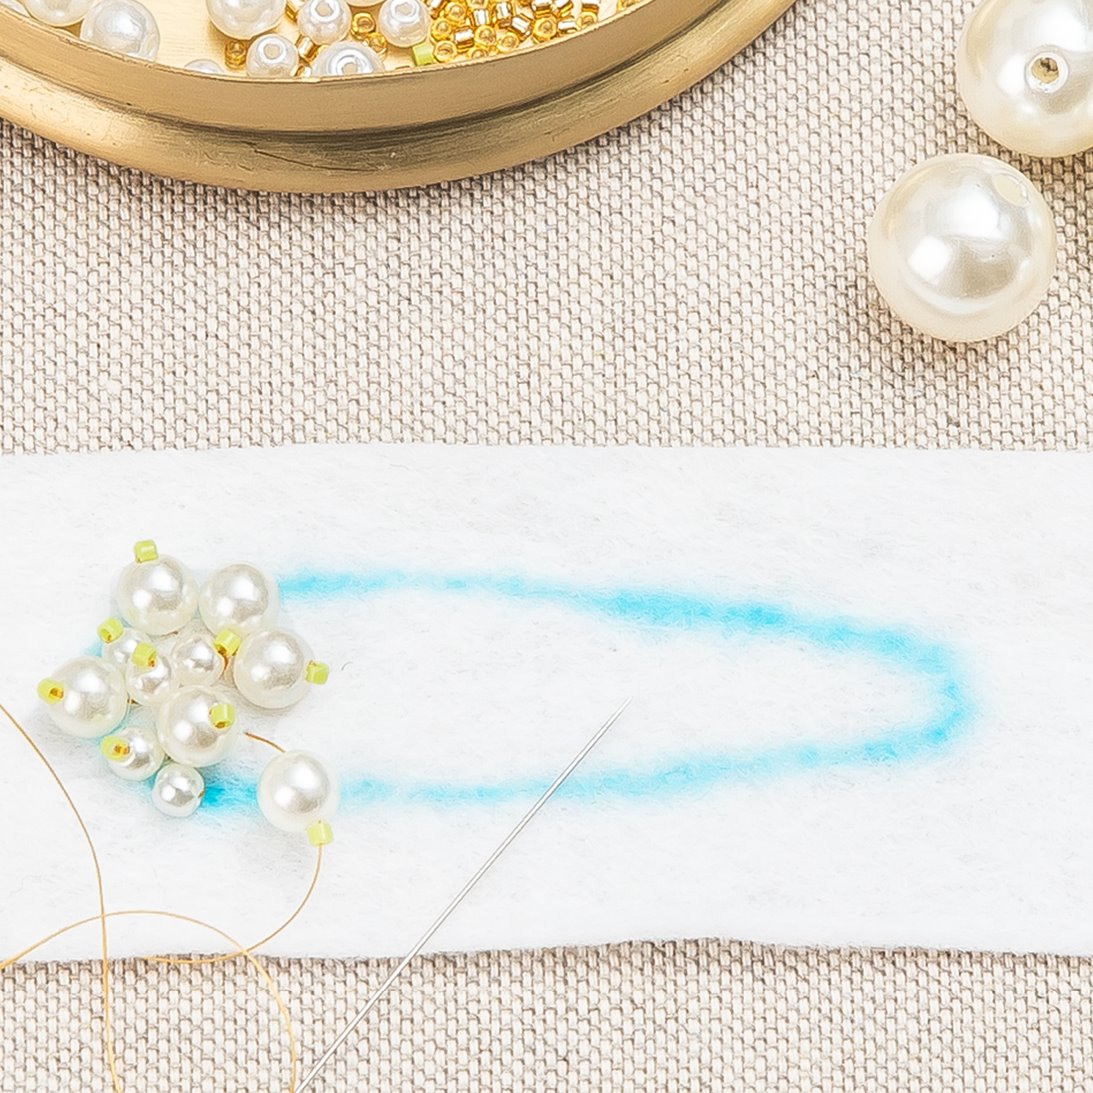
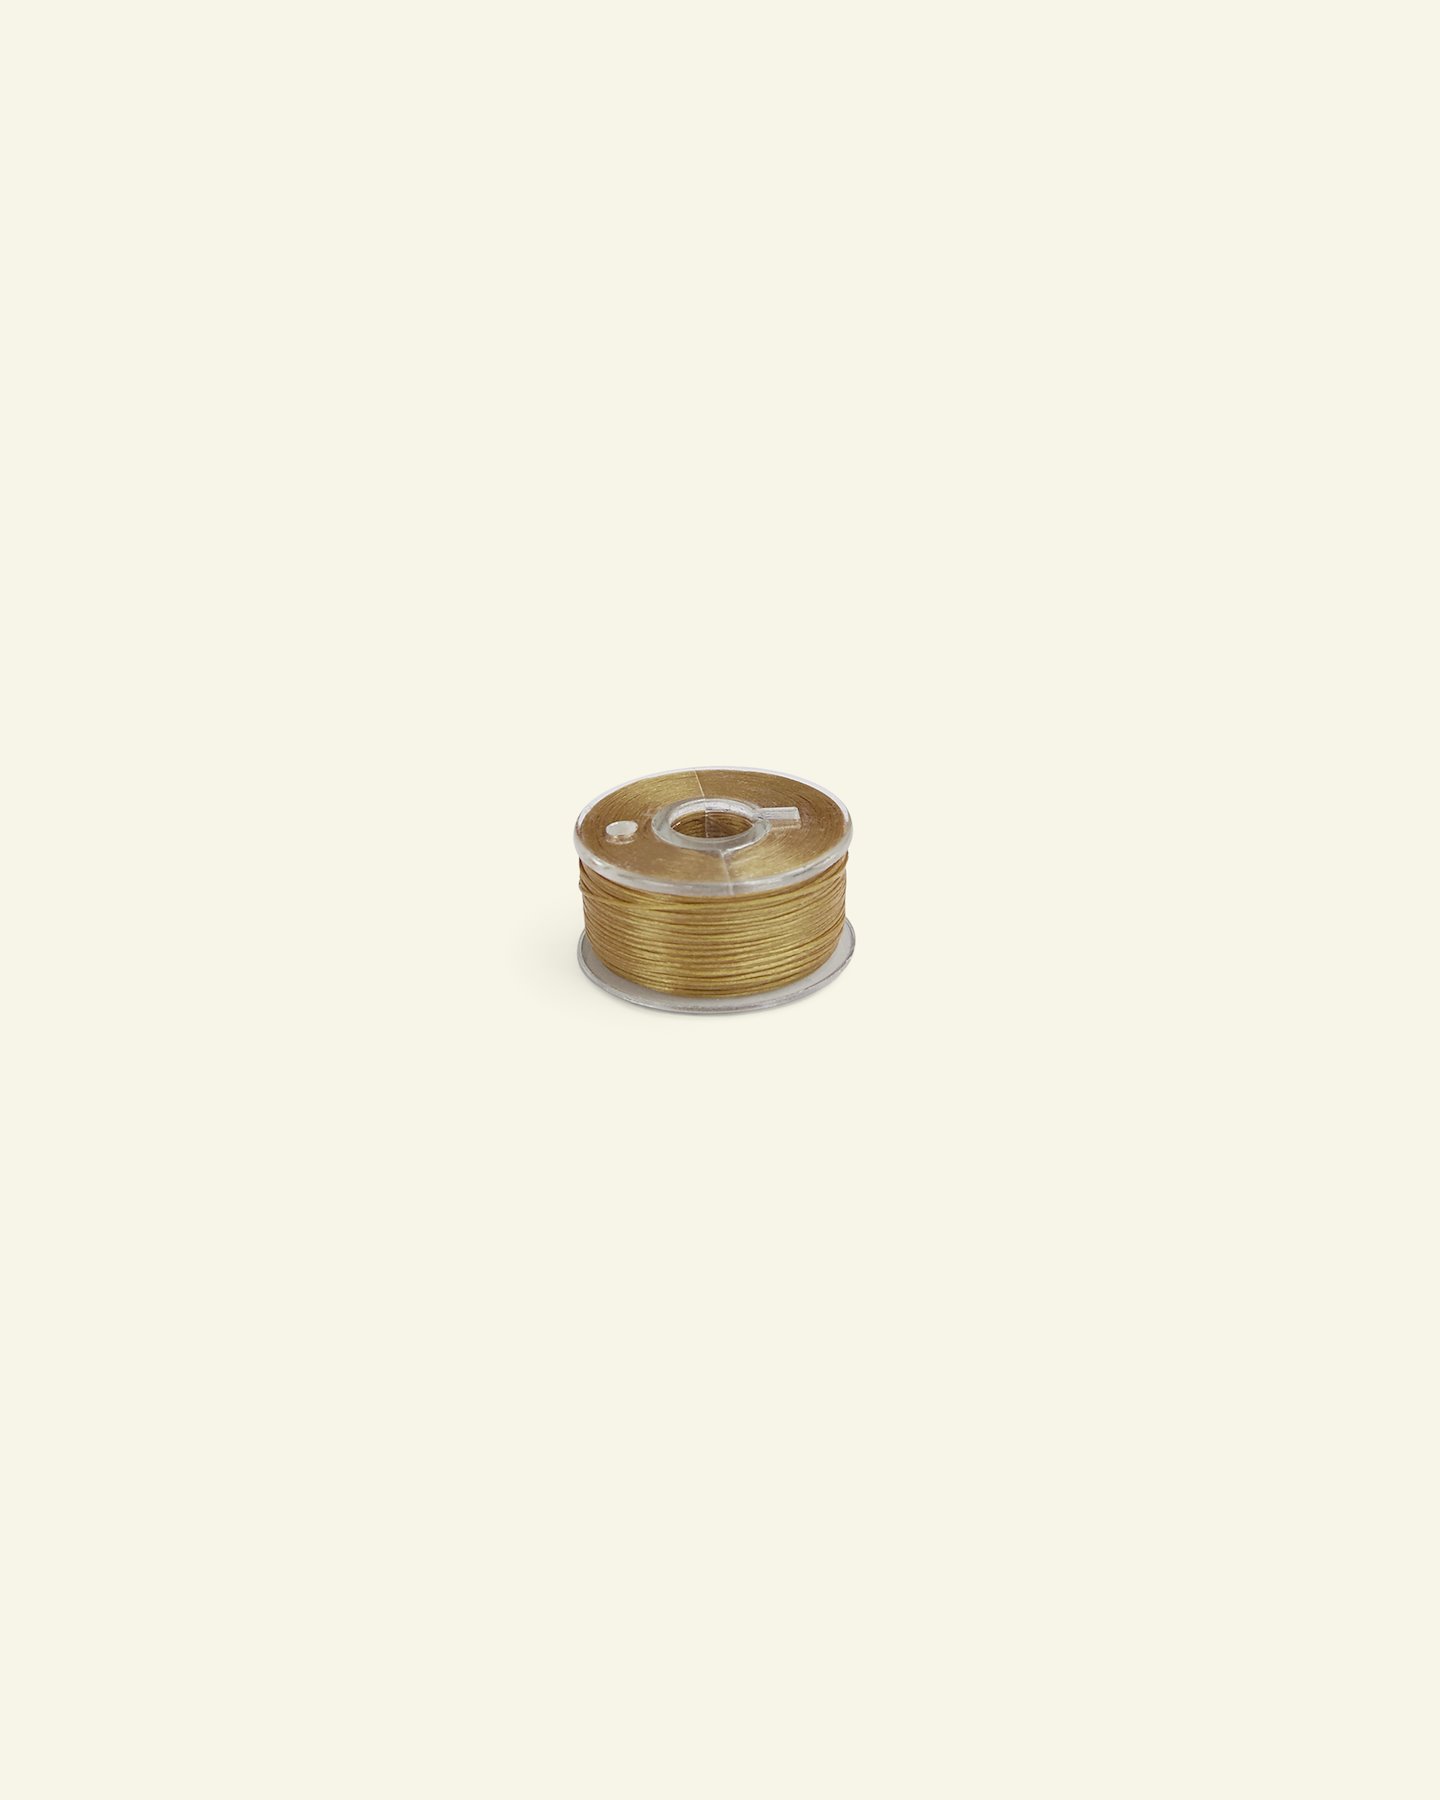
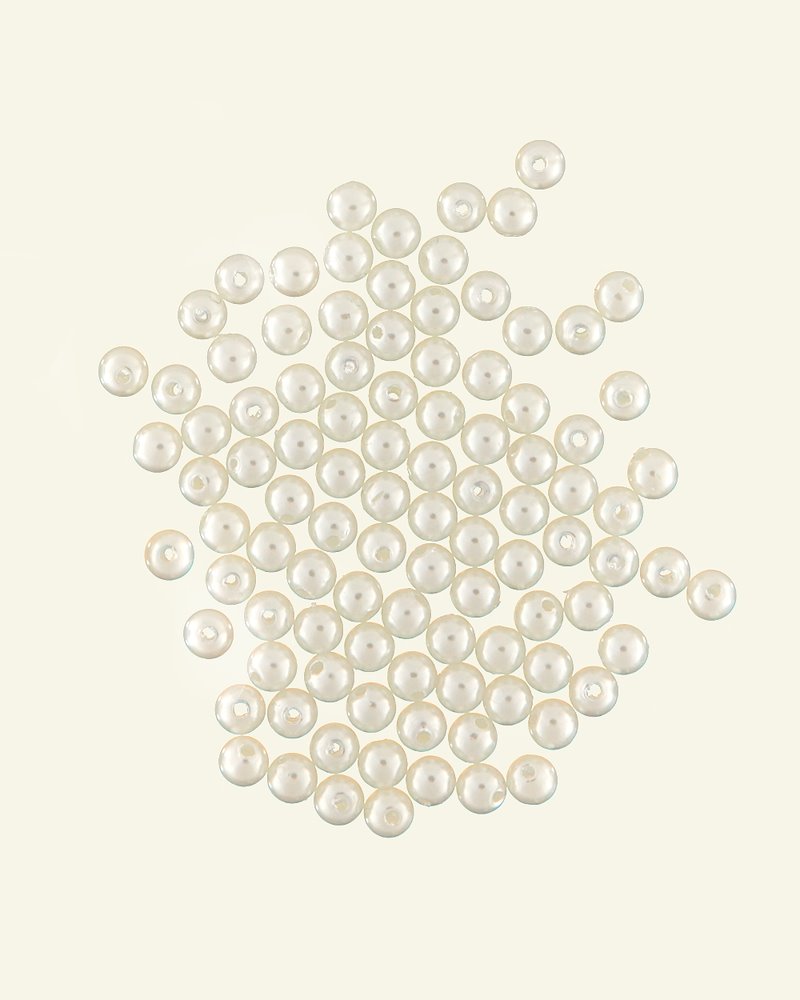
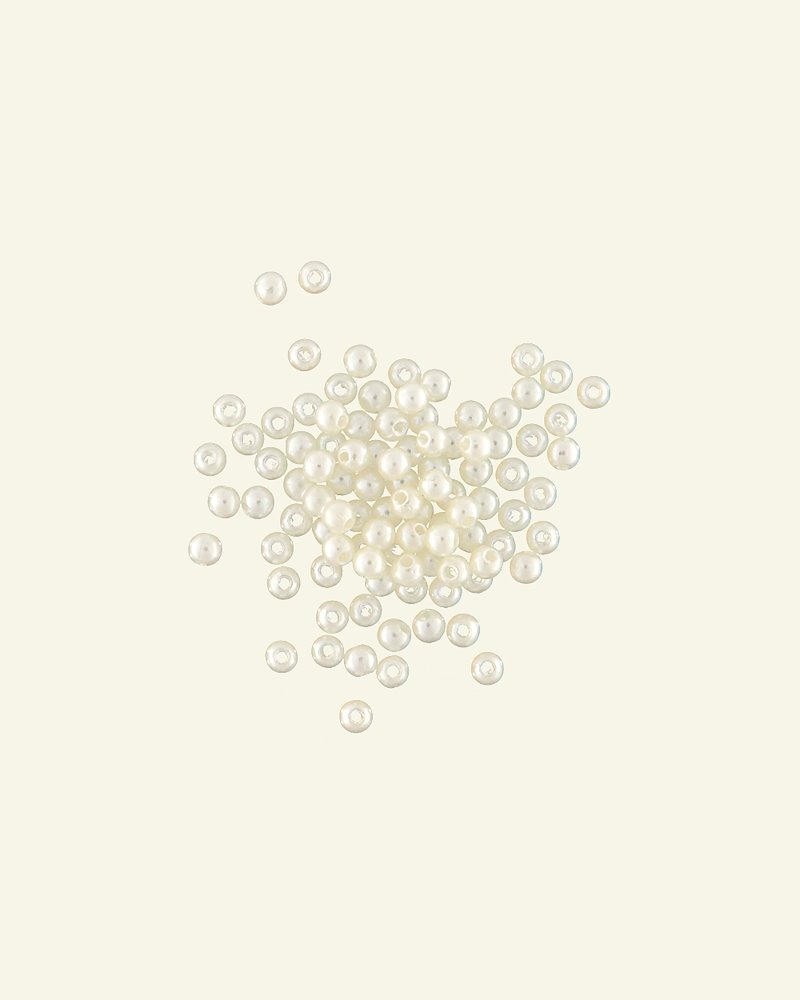
3.Working from one end and using a beading needle, sew various sizes of beads onto the felt. Here, a Miyuki bead in a contrasting colour is sewn onto the end of a bead. 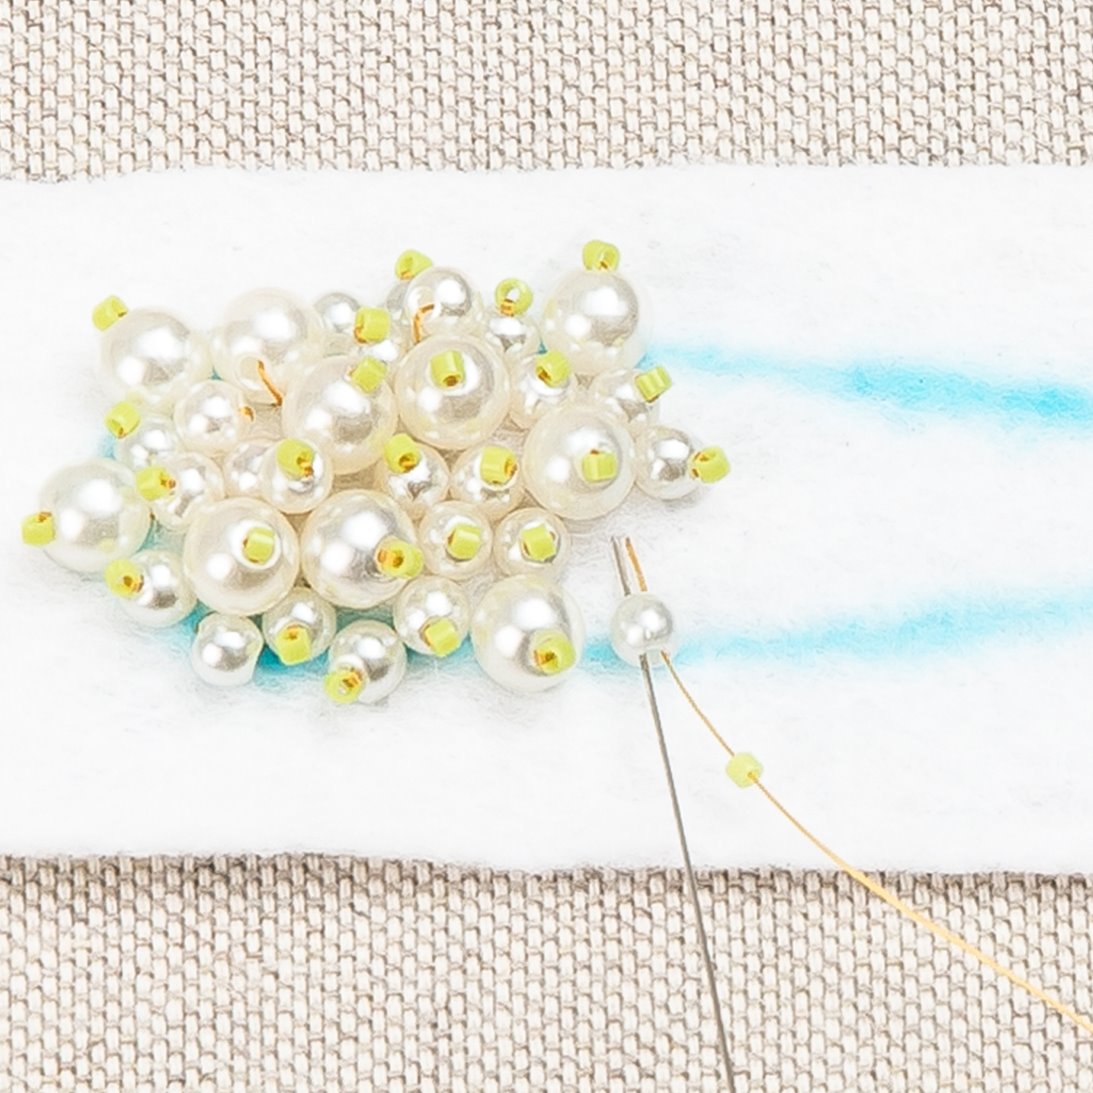
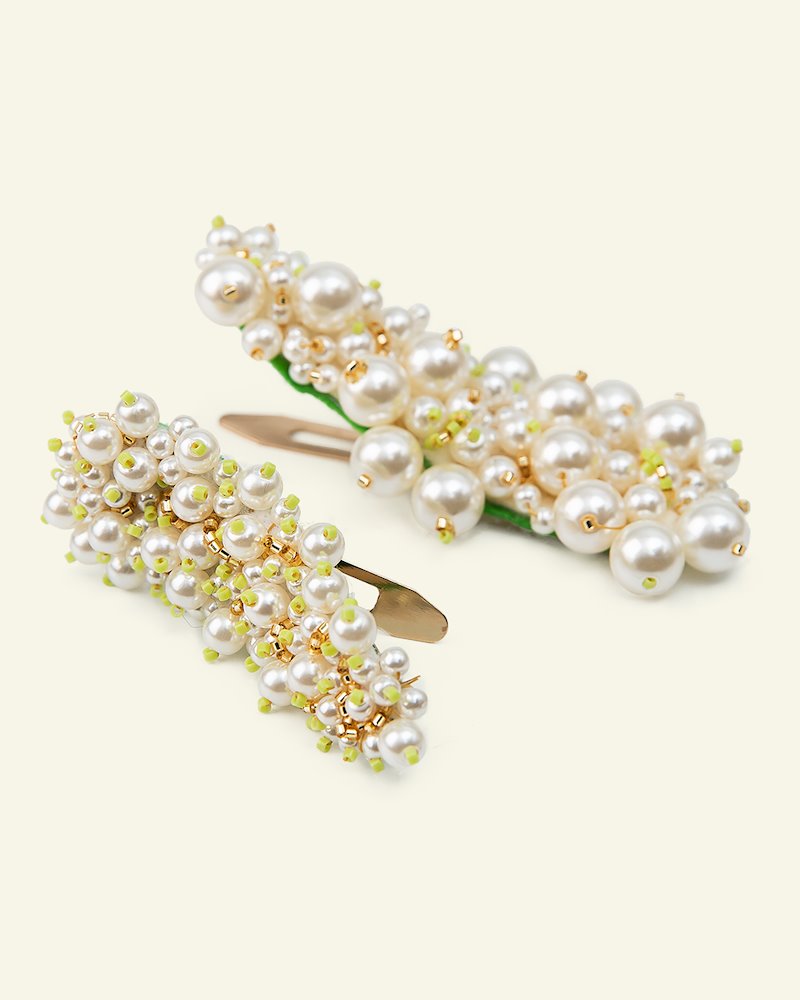
4.Vary your design and create something unique. If you wish, you can use different sizes of beads. 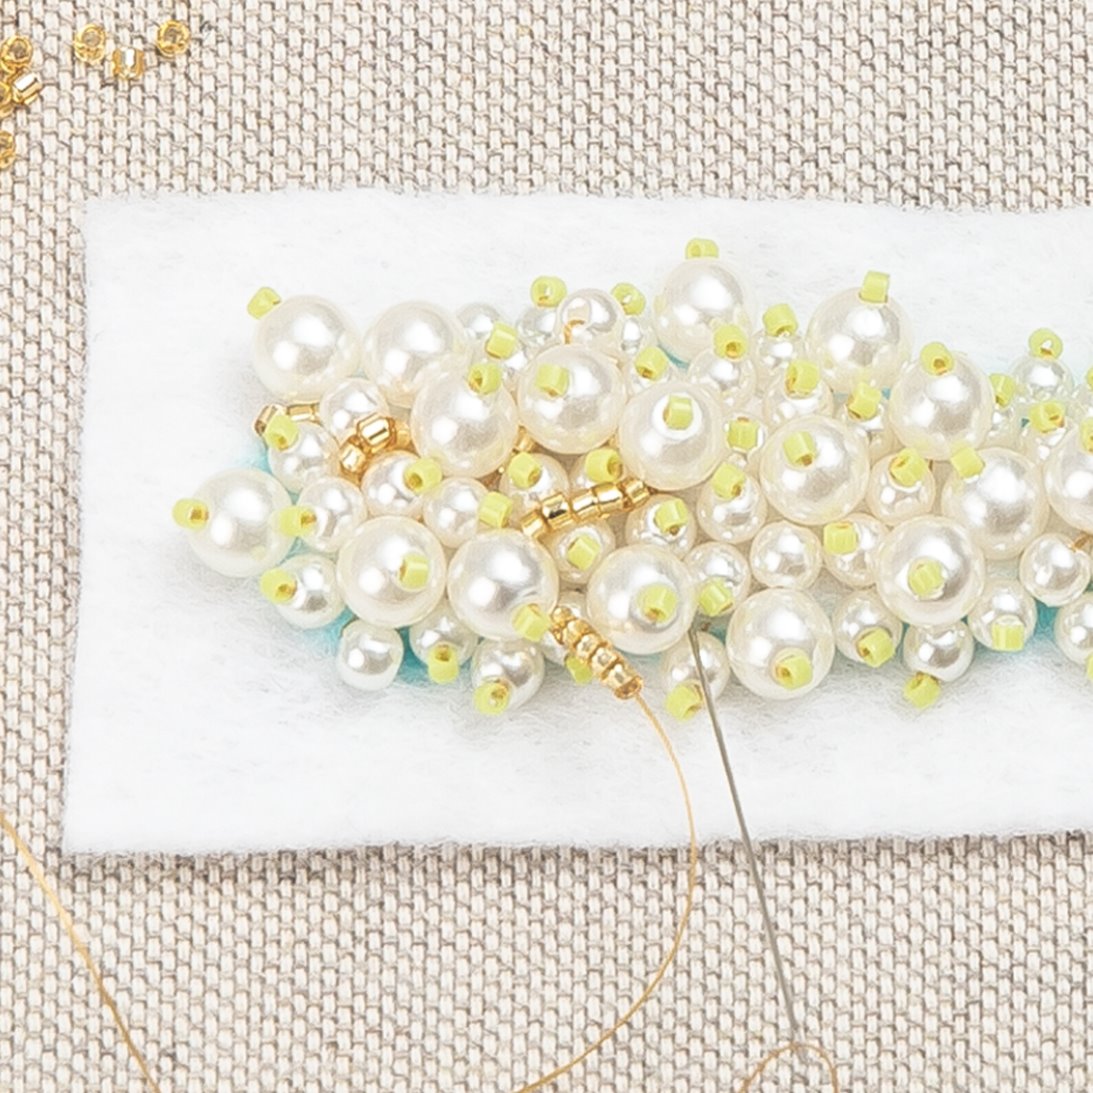
5.Thread a number of small beads onto the thread. Push the needle back down into the felt to make a loop. Repeat at random between the beads to fill any gaps between them. 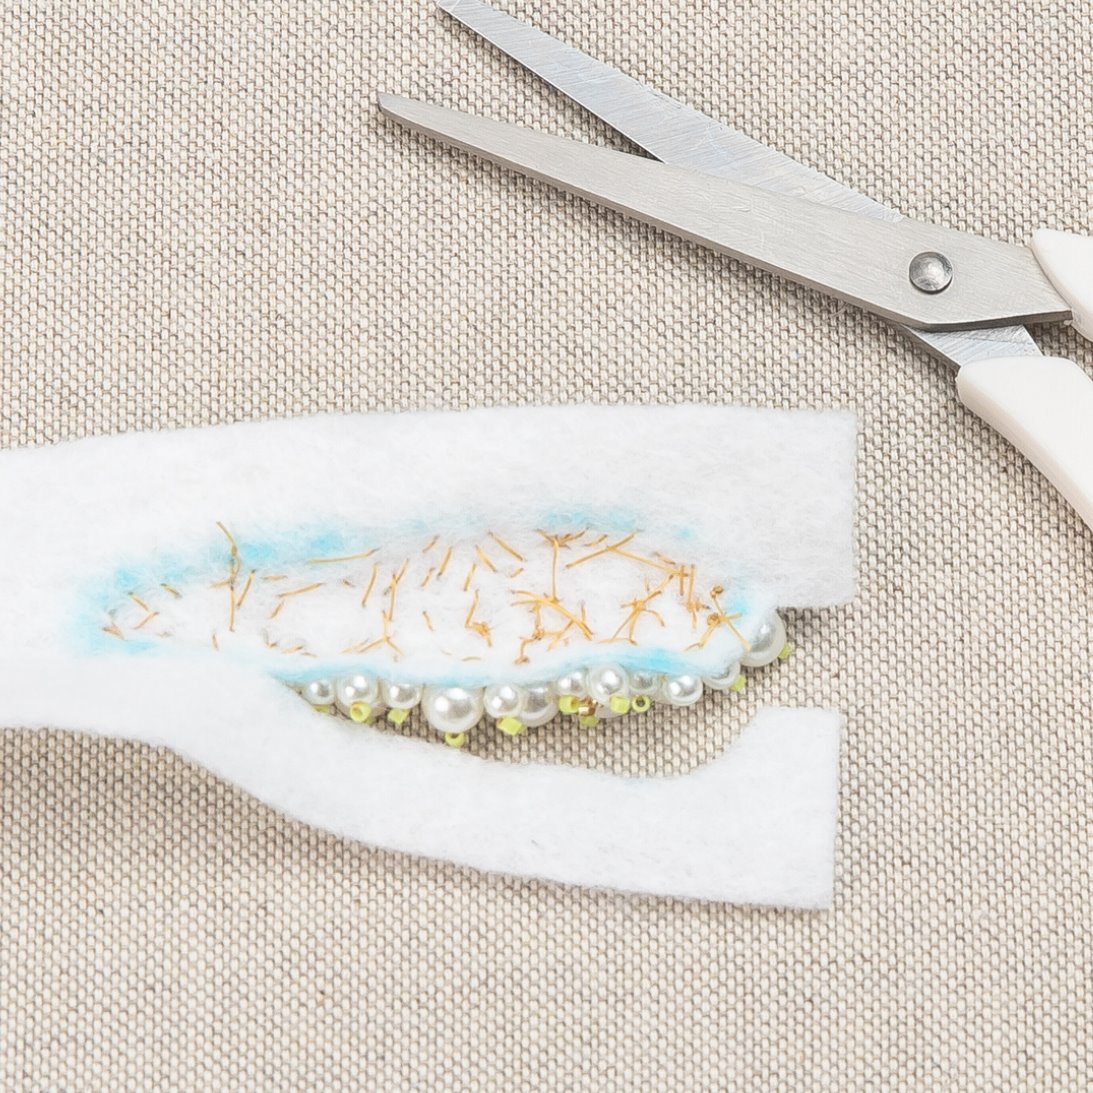
6.Cut off any excess felt at the edge. Take care not to cut the threads. To remove pen marks, dab with cold water. 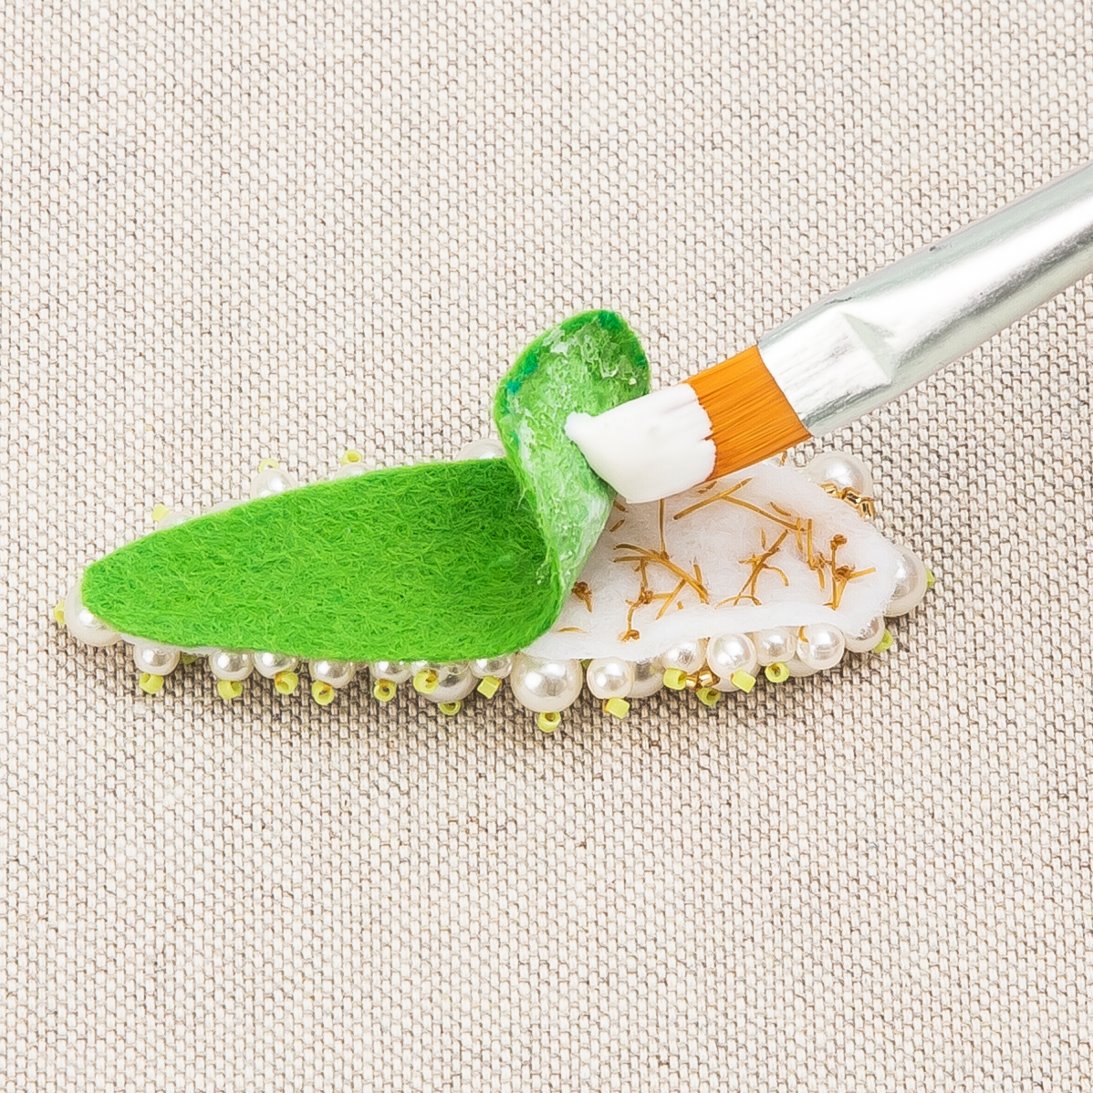
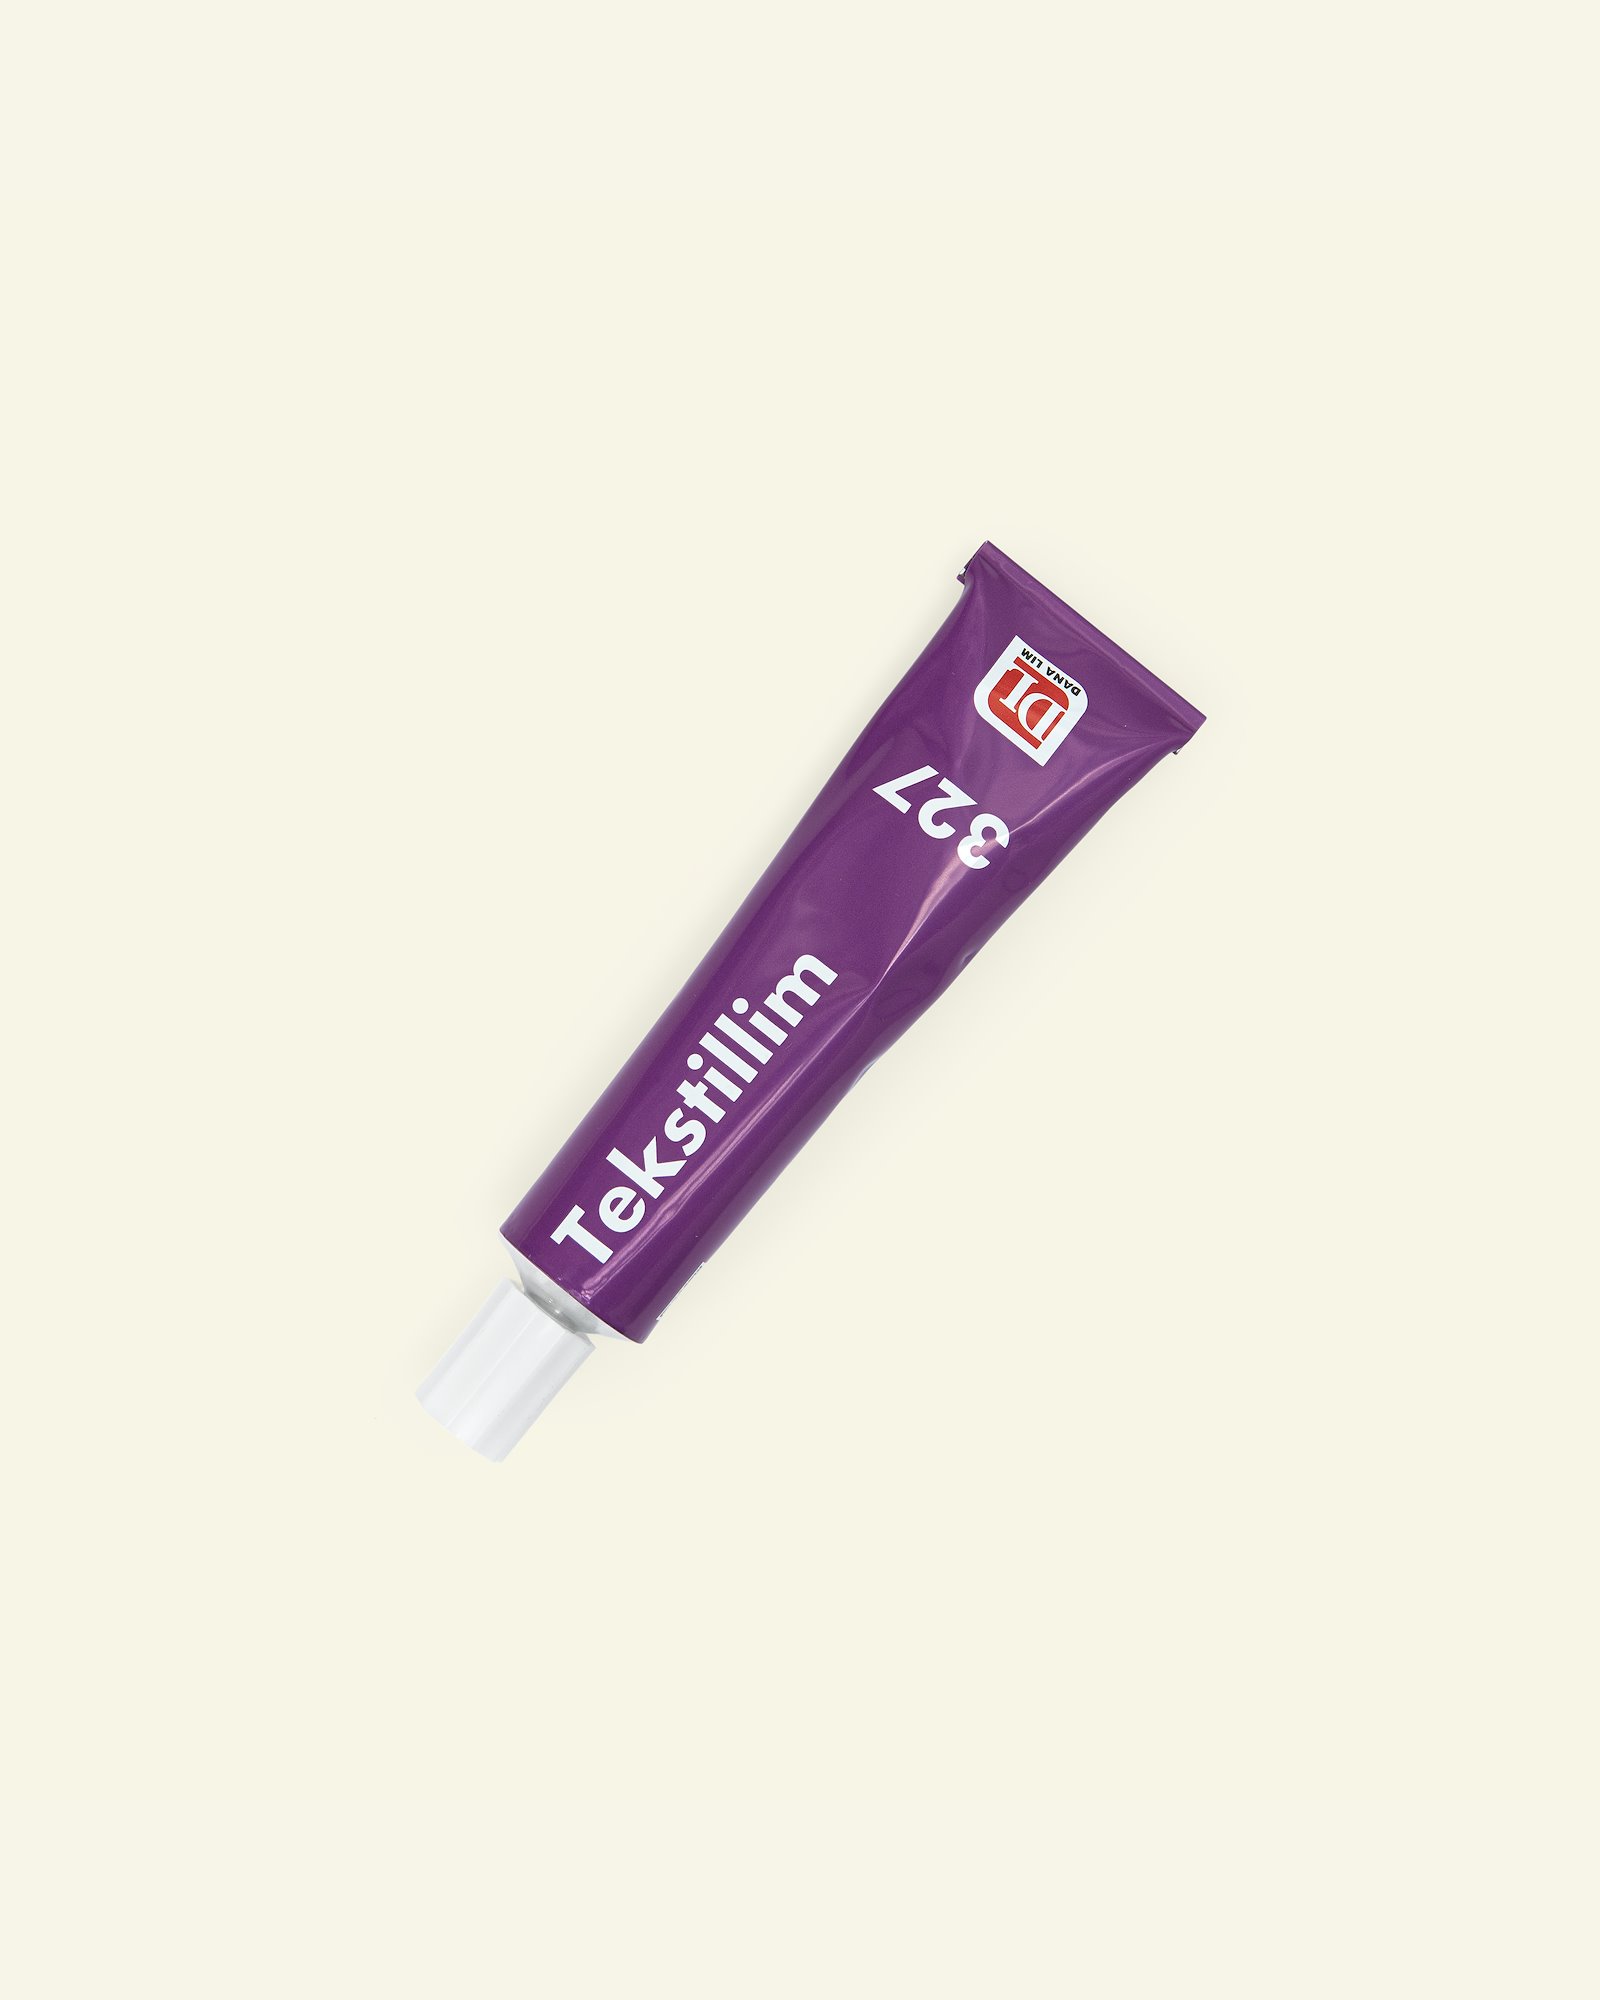
7.Cut a second piece of felt for the backing. Cut around the hair clip. You might like to make the back in a contrasting colour. Brush textile glue onto the wrong side and stick the back onto the piece with the beads (to conceal the threading). 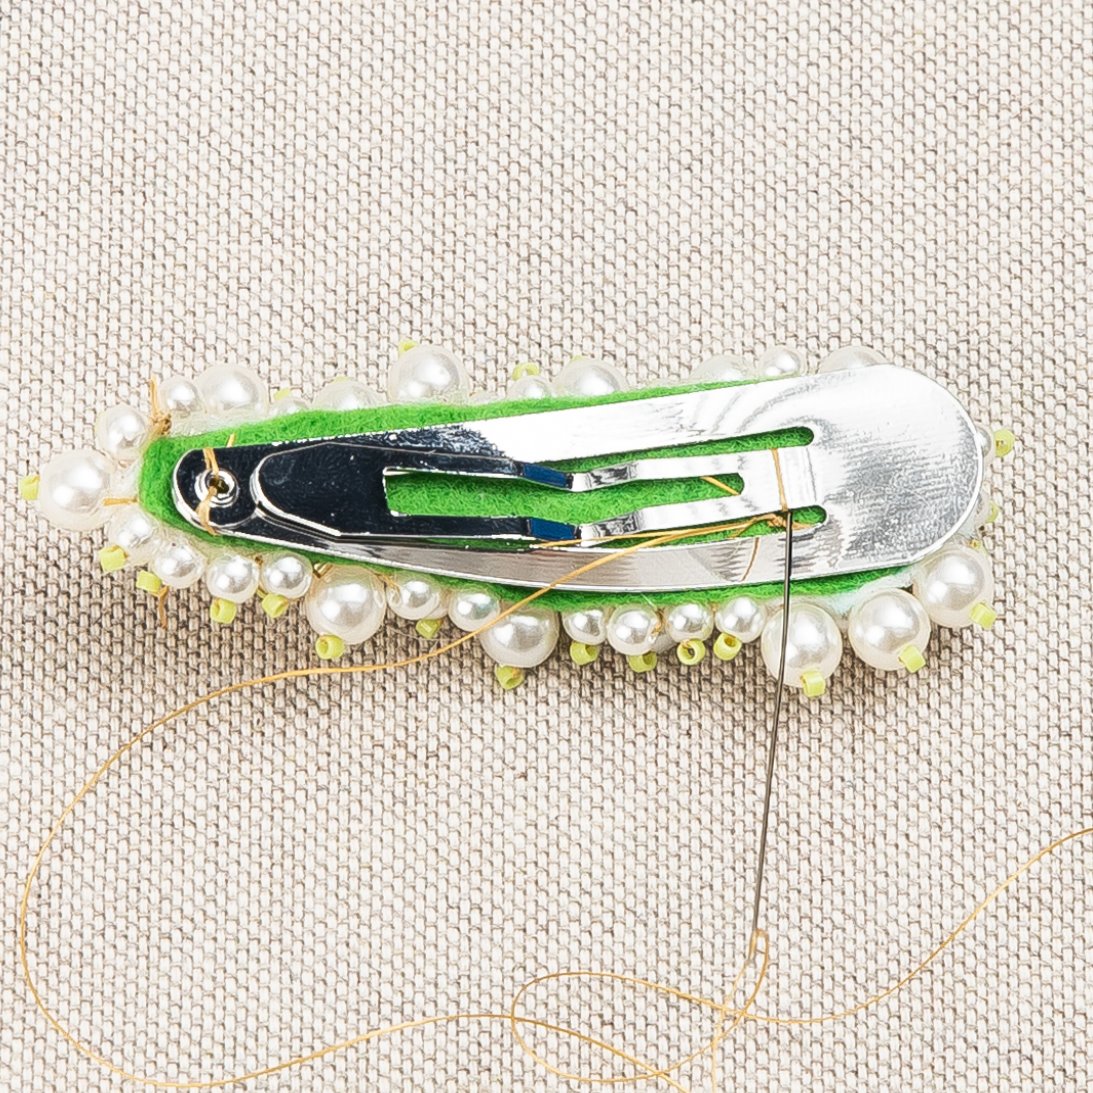
8.When the glue is dry, sew the clip firmly to the beaded felt. Secure the front of the clip at the hole on both sides and at the back of the centre piece. Finally, glue the clip onto the back of the beaded felt to conceal the threading.