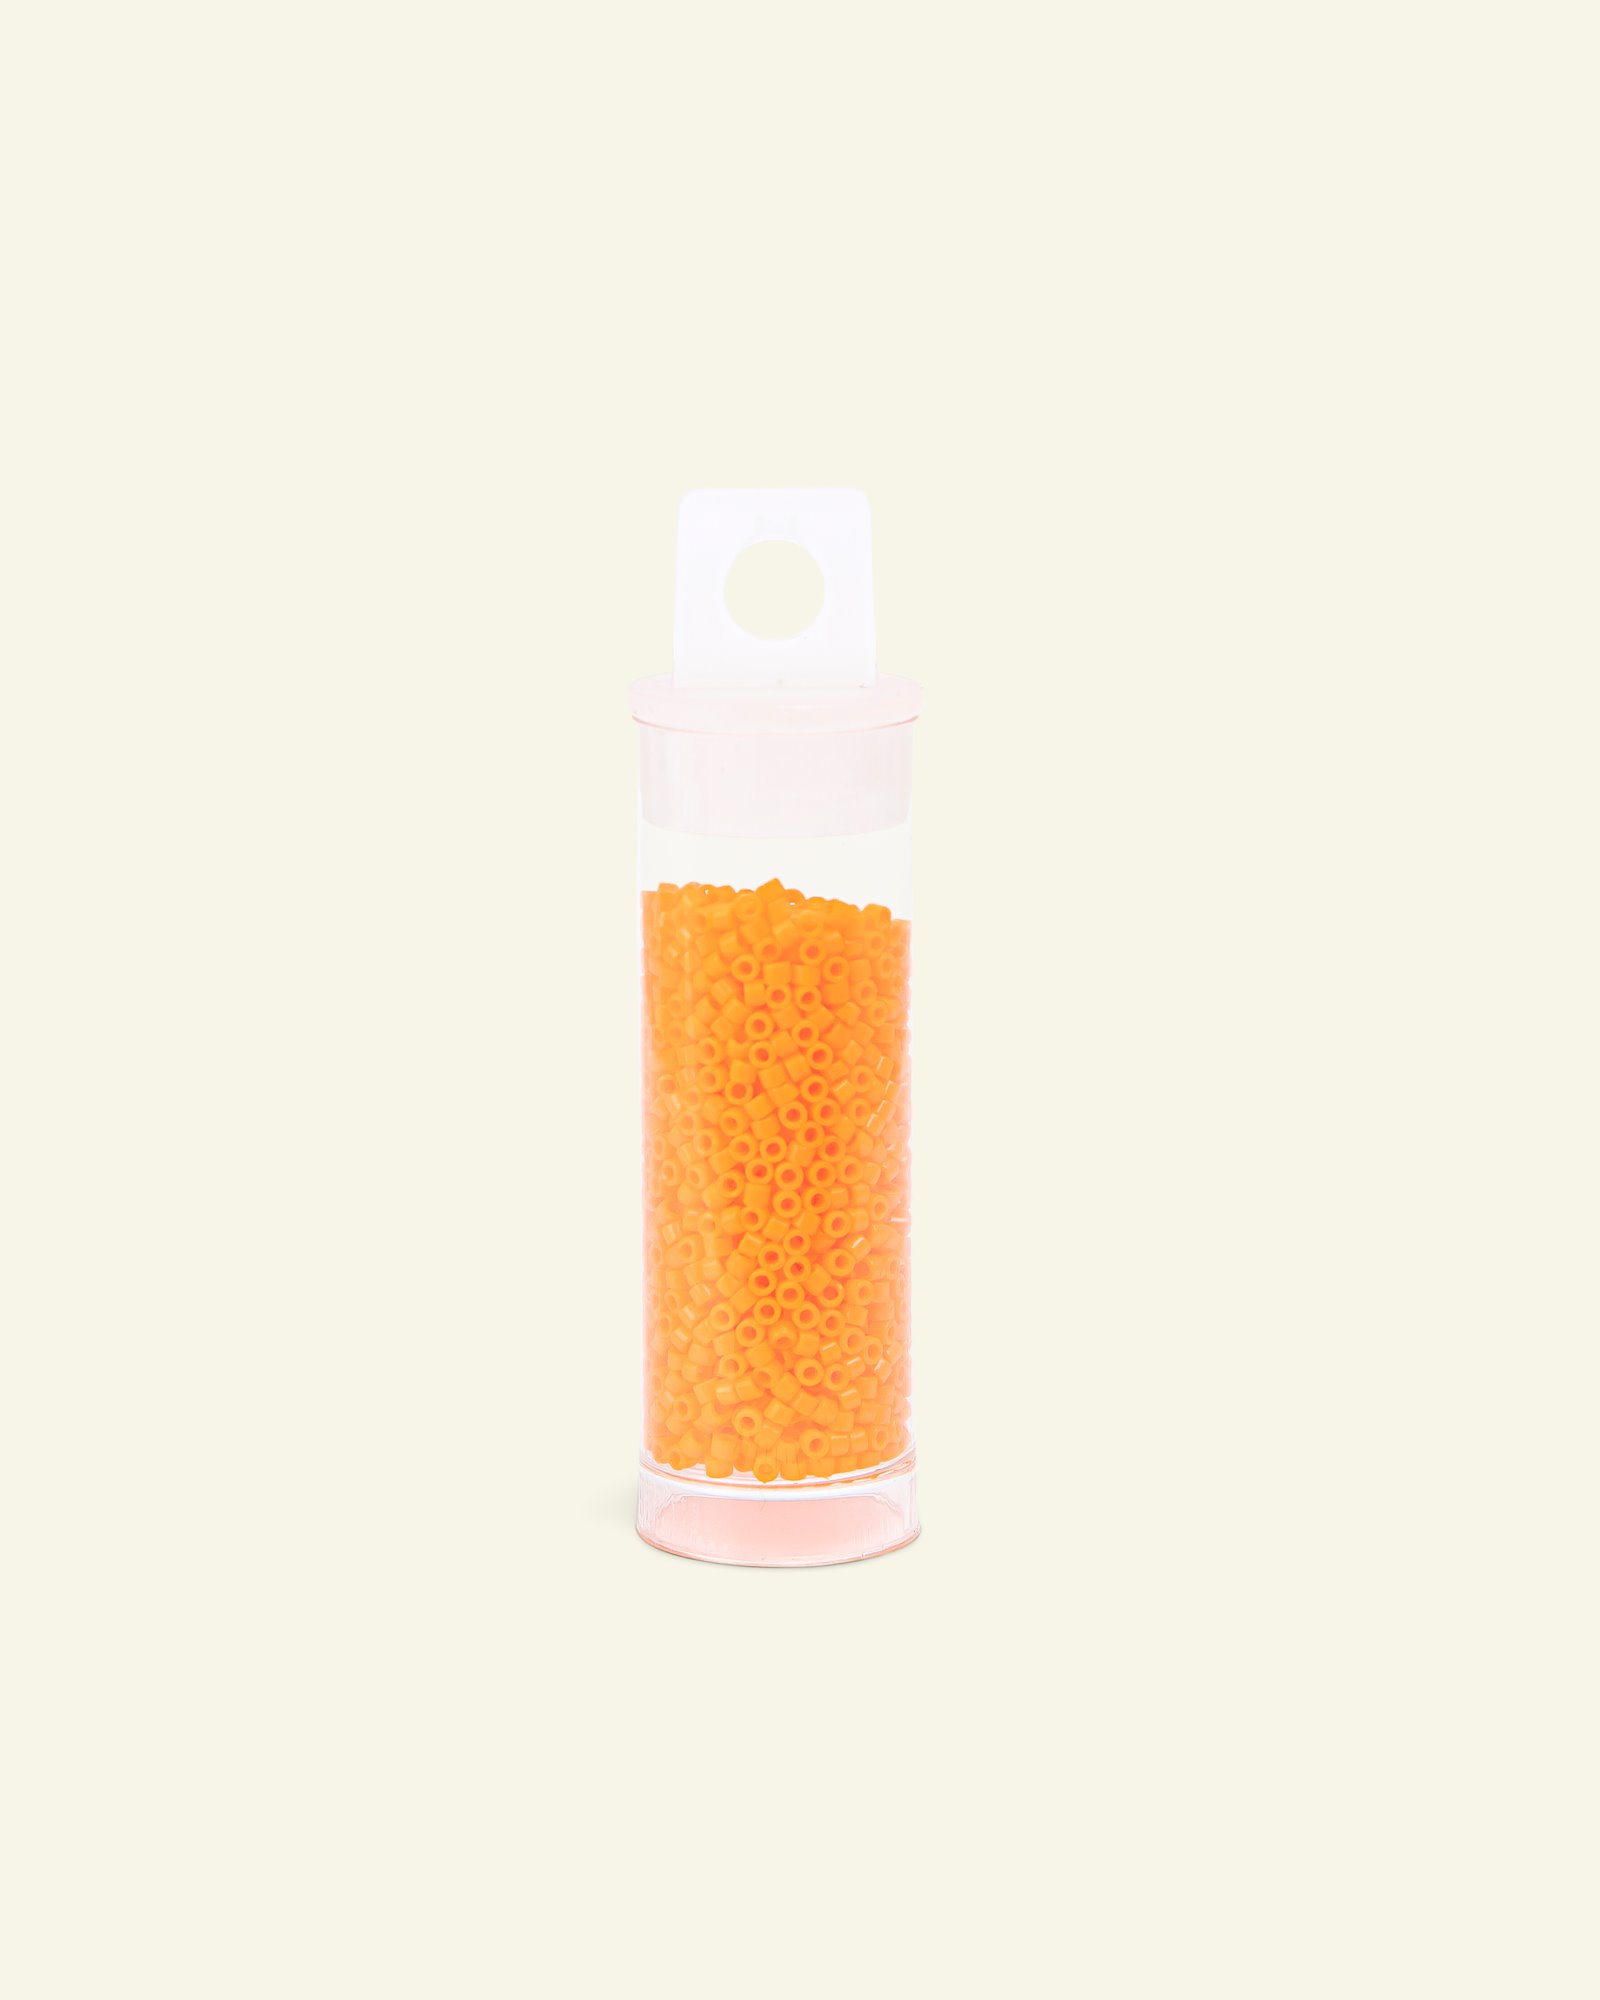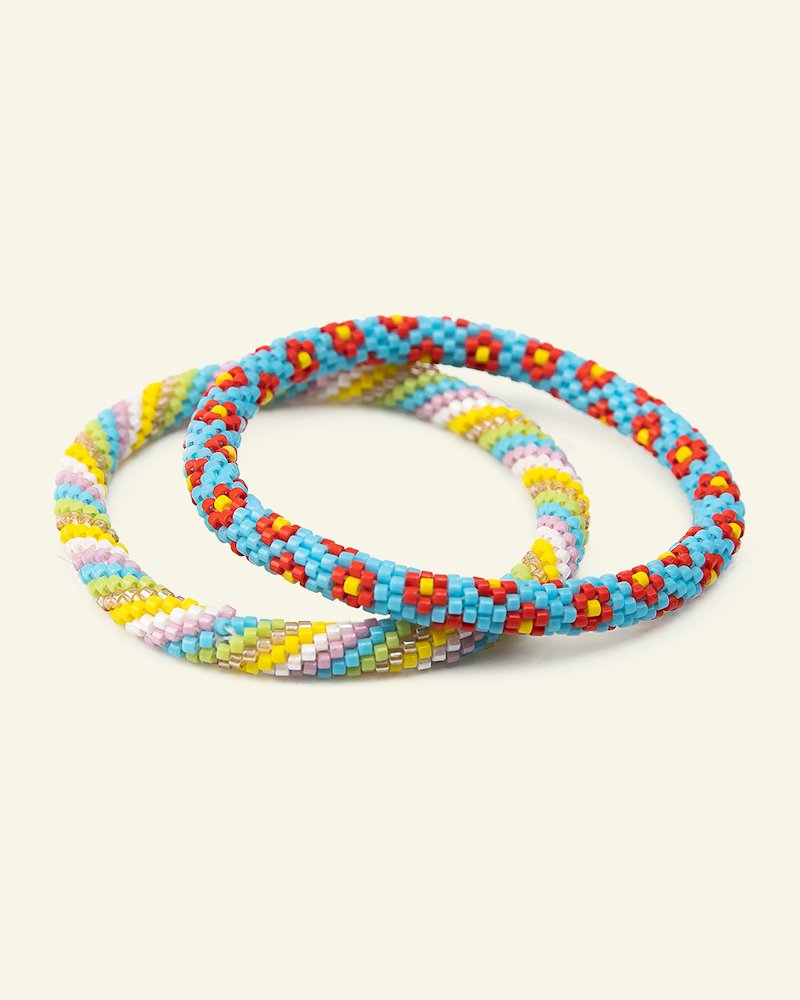
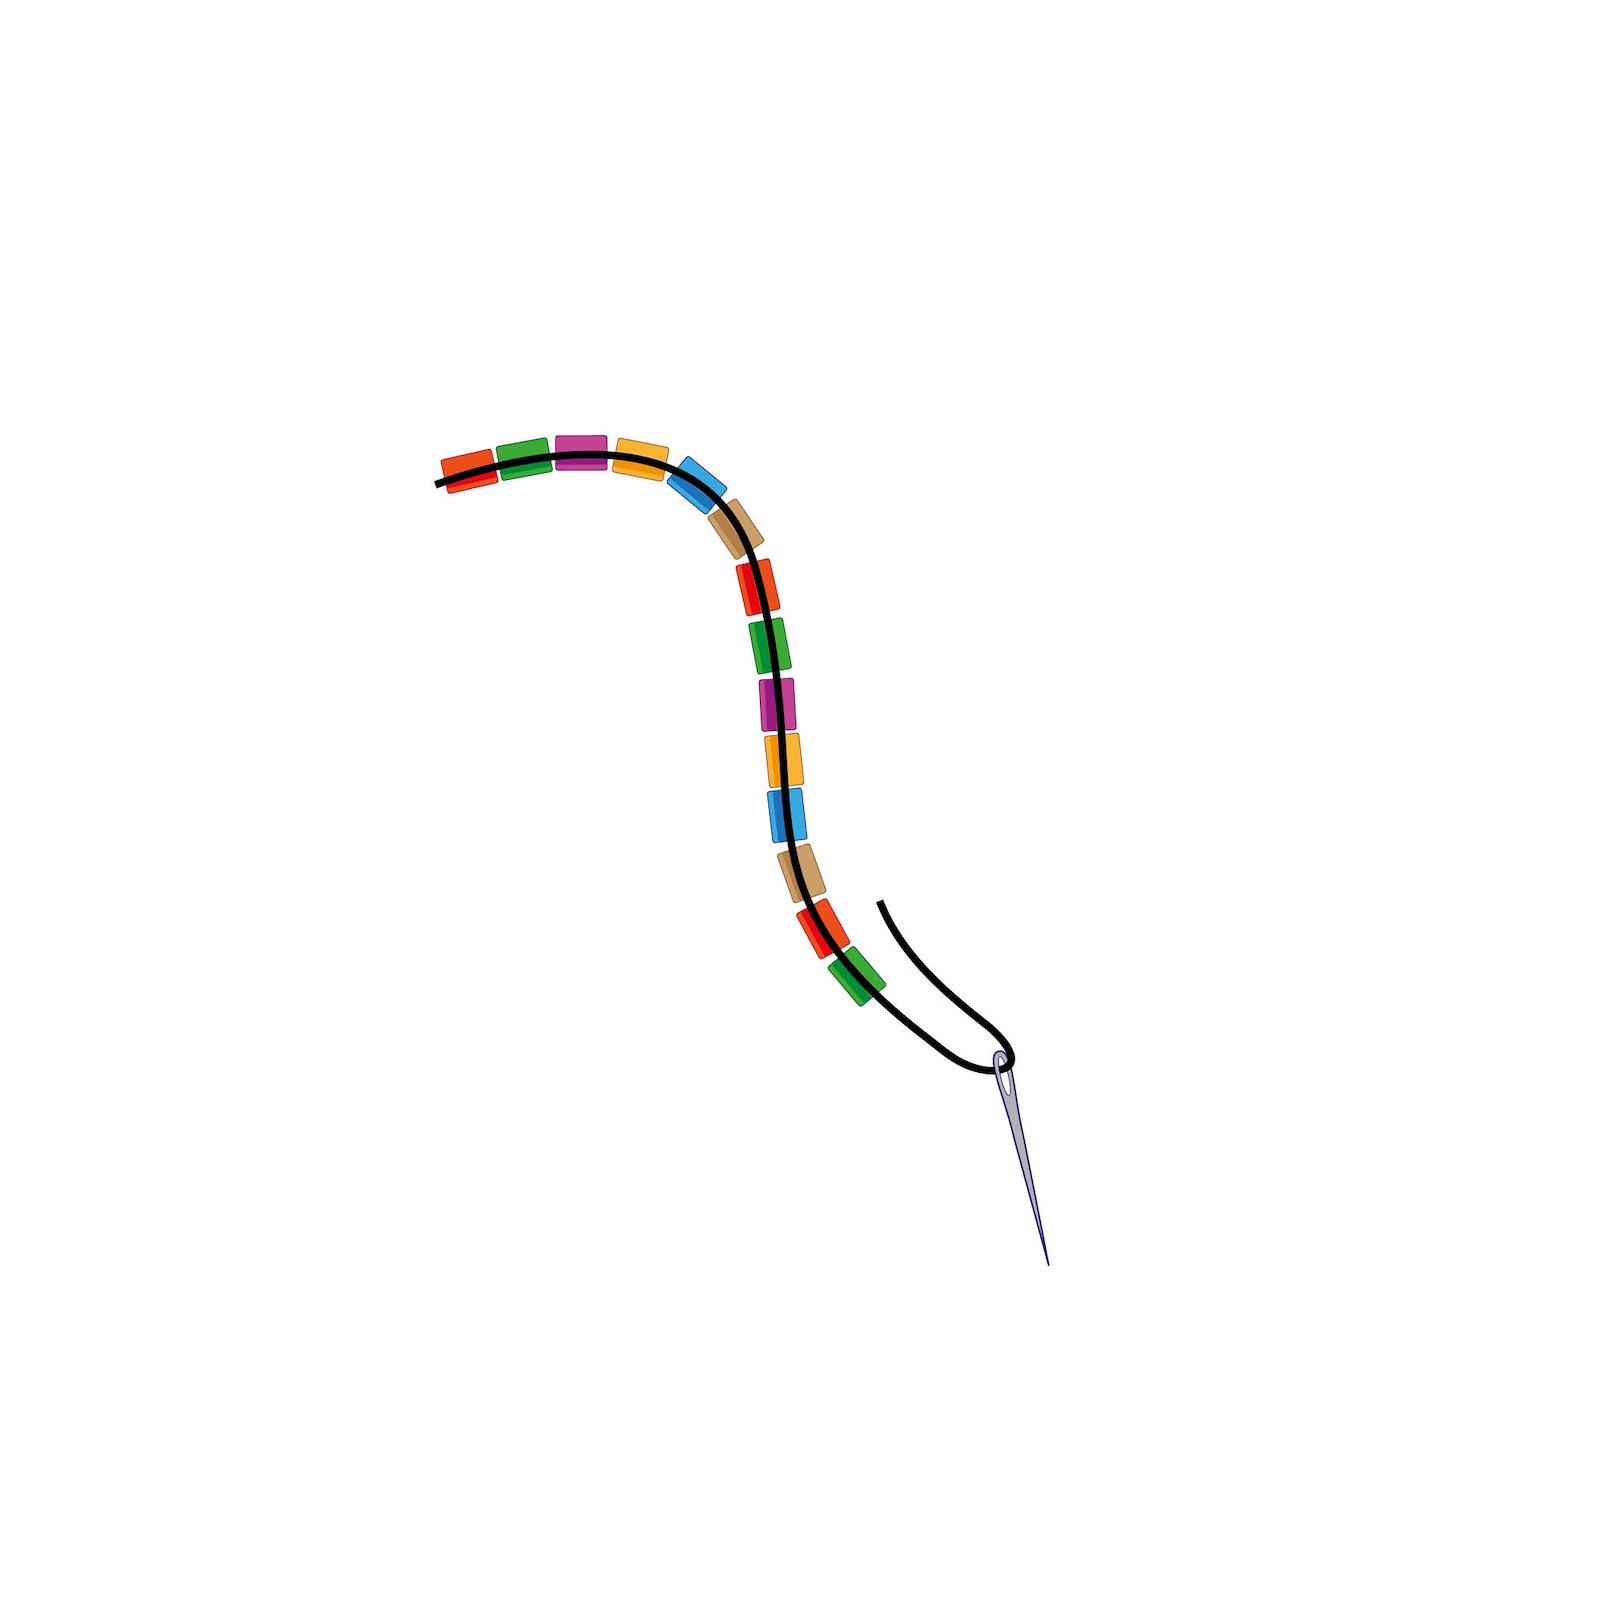
1.Decorate suggestions for bead patterns this bracelet in our supplement (DIY6023). Thread all the beads you need to make your pattern onto the thread. All the beads must be on the thread before you start. We use six different colours in the pattern shown here. 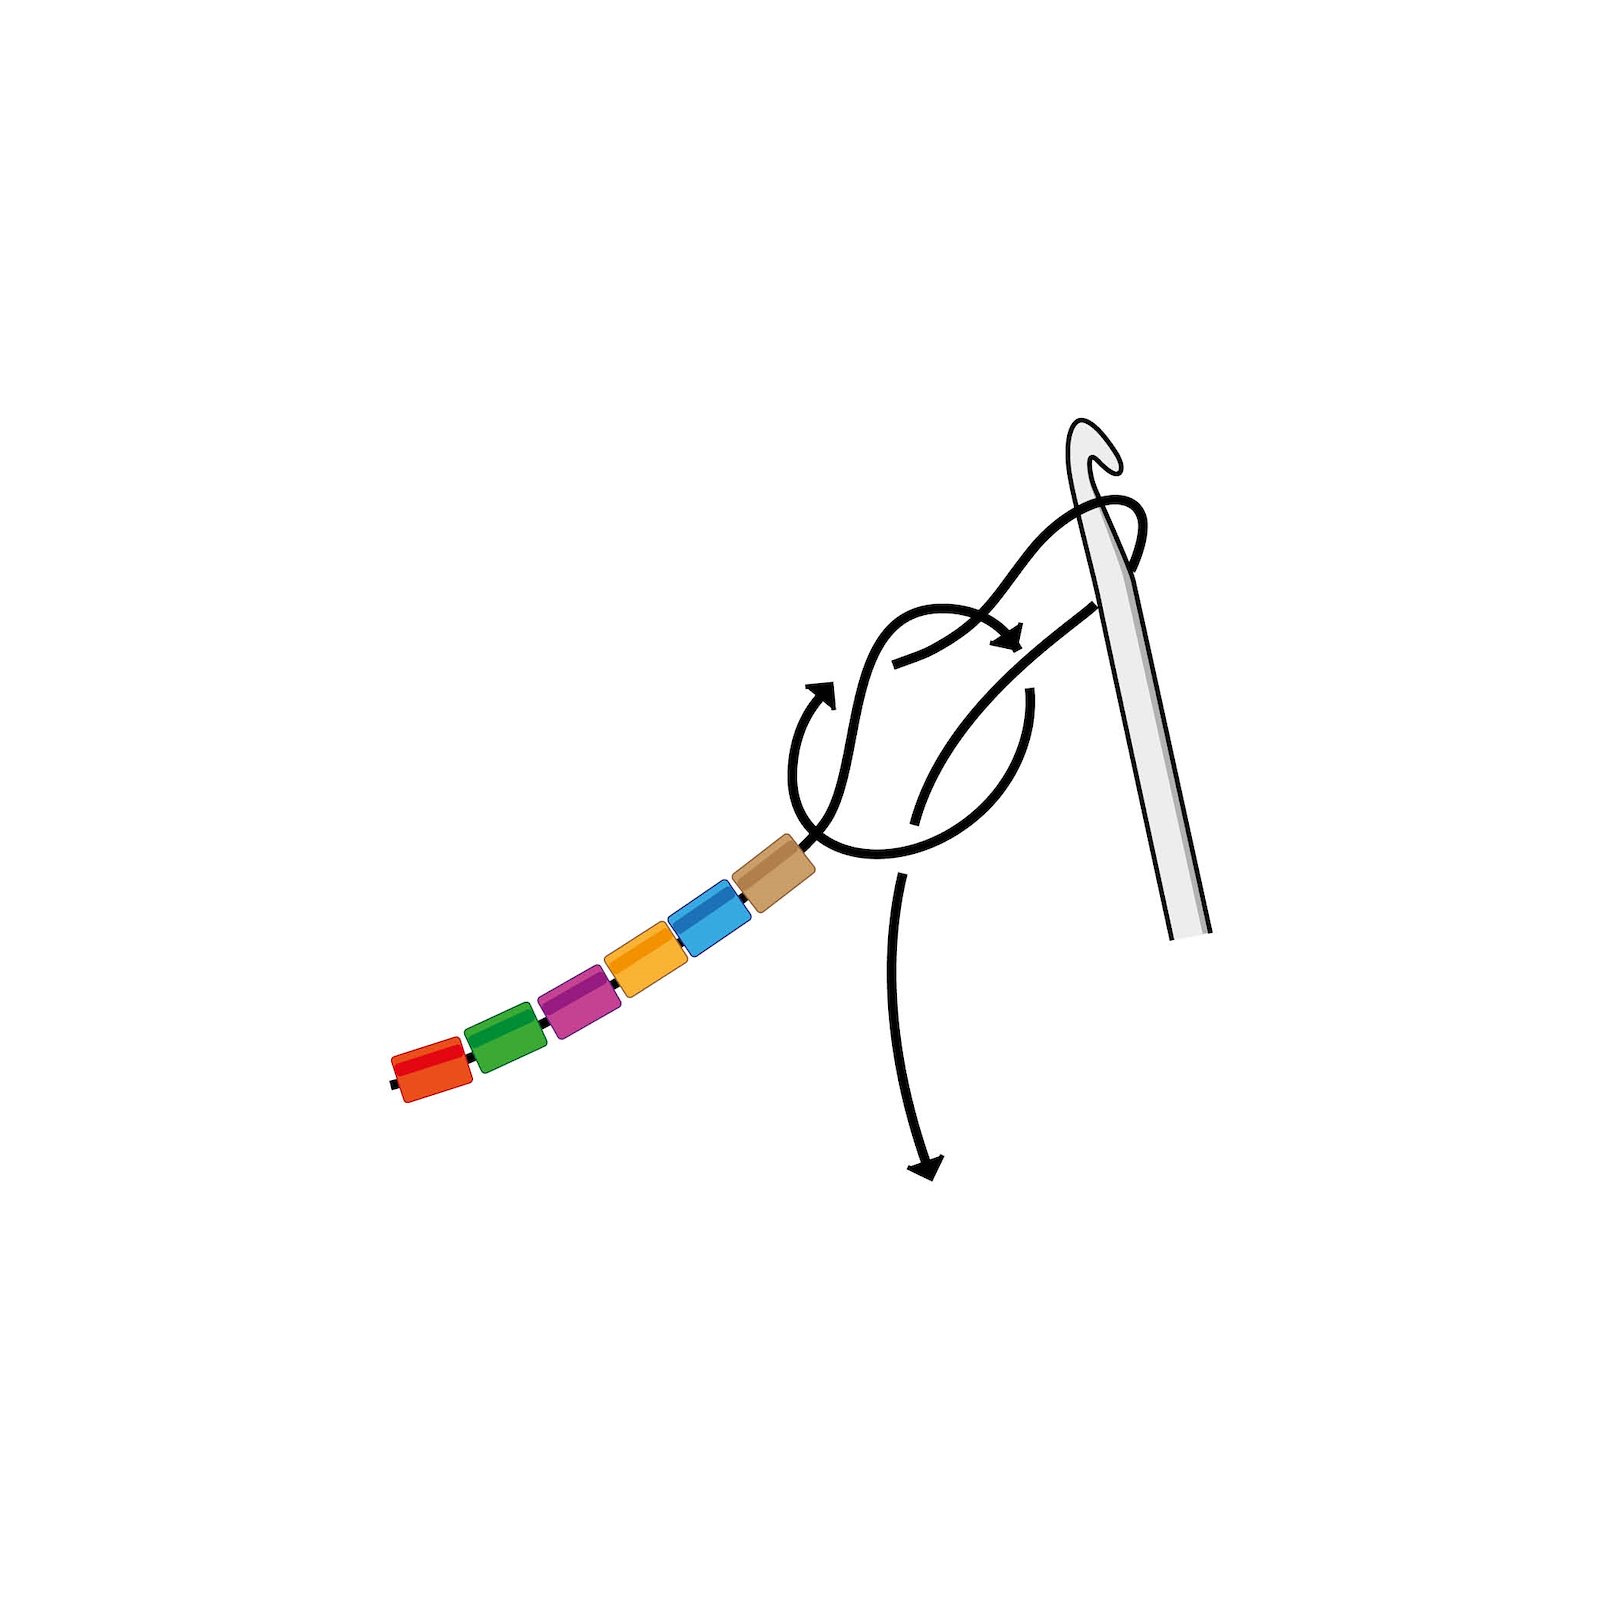
2.Make a loop. Leave a tail (approx. 20 cm long). 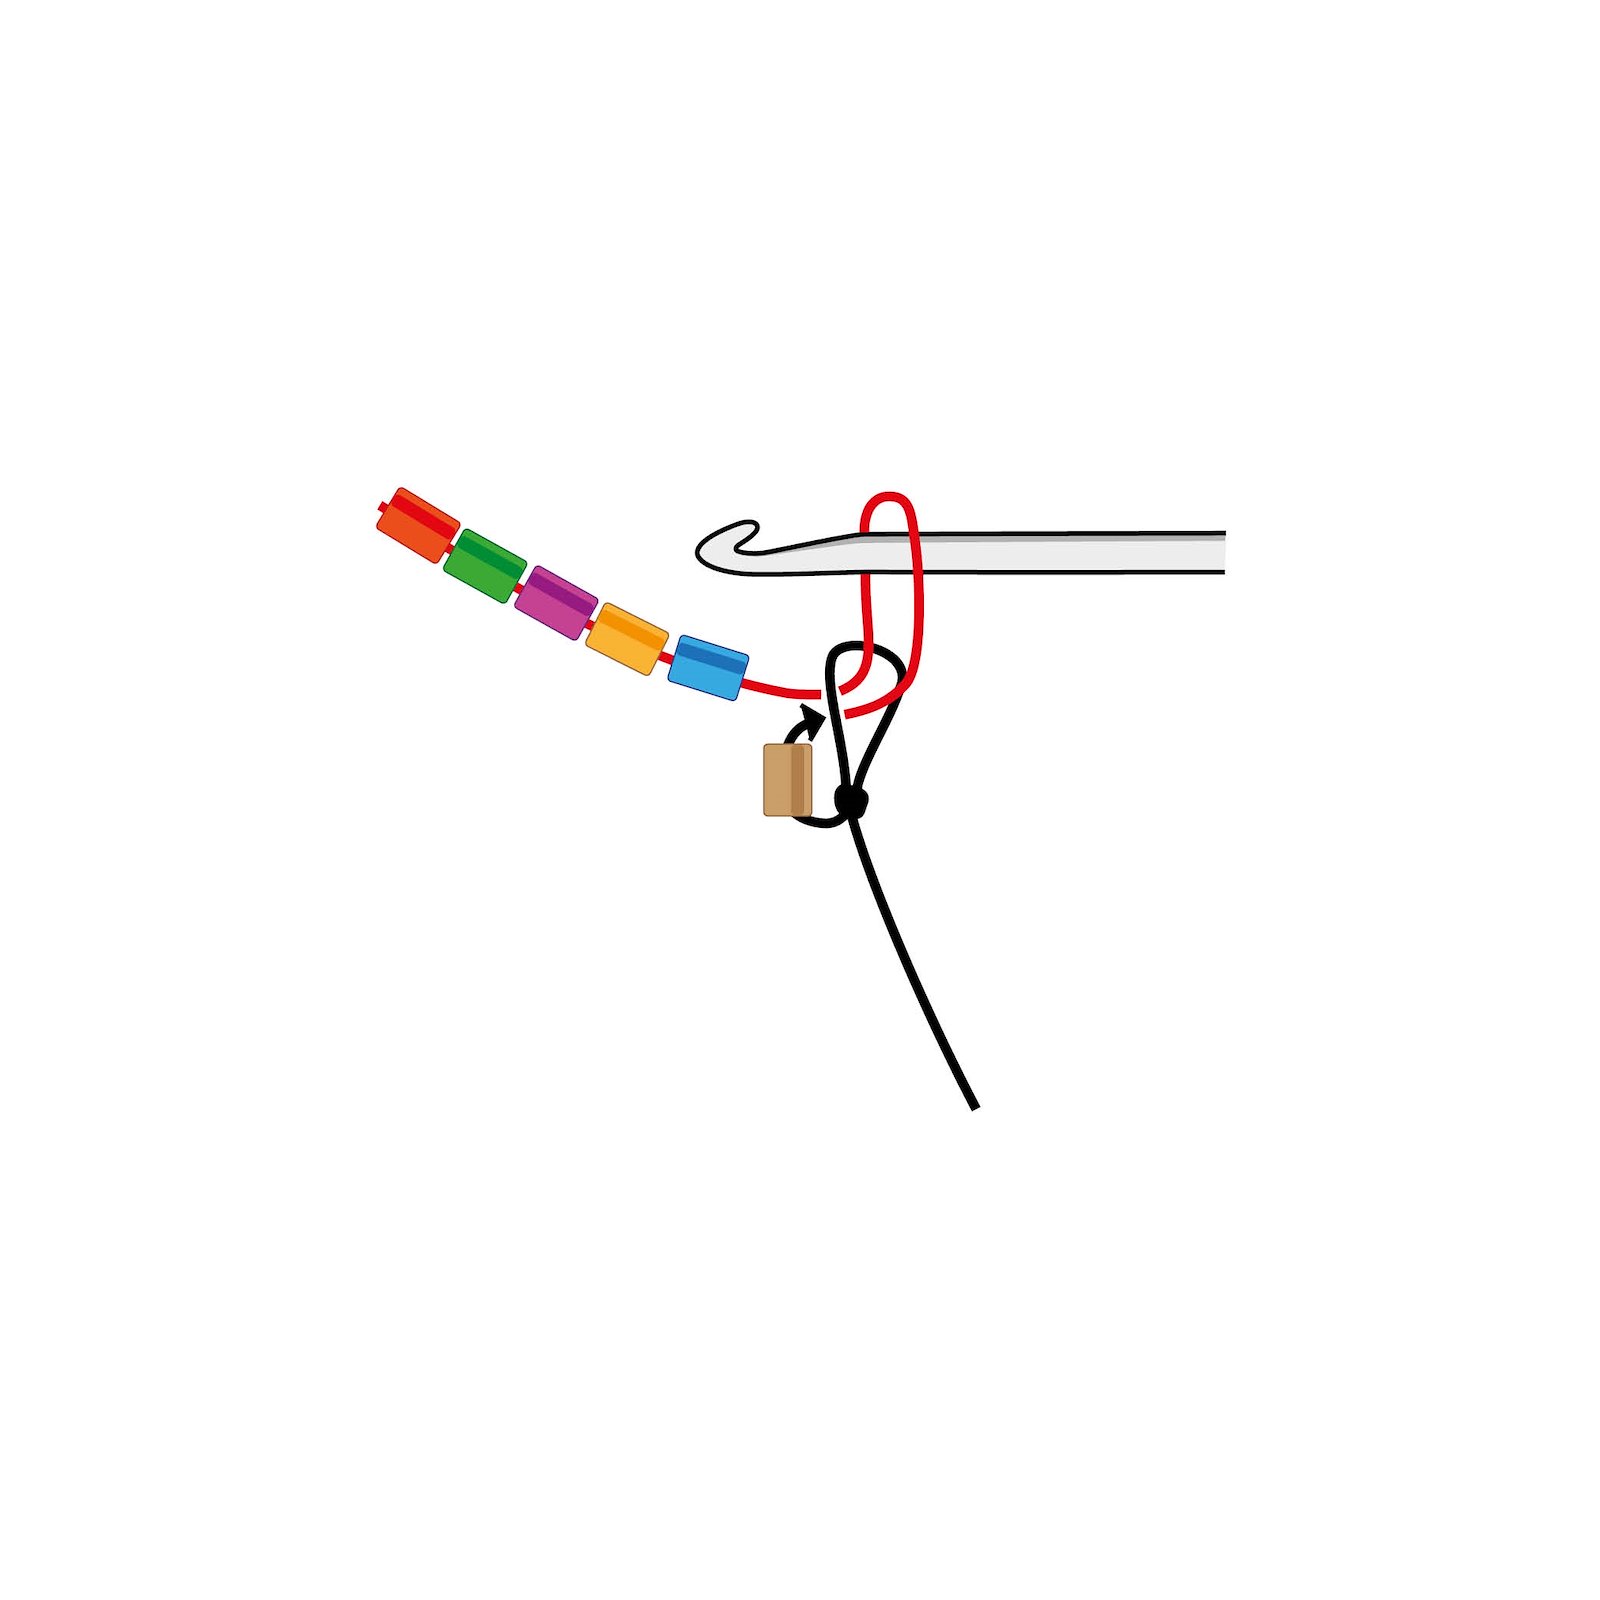
3.Pull up a bead under the crochet hook. Hook the thread. Pull through the loop on the hook. 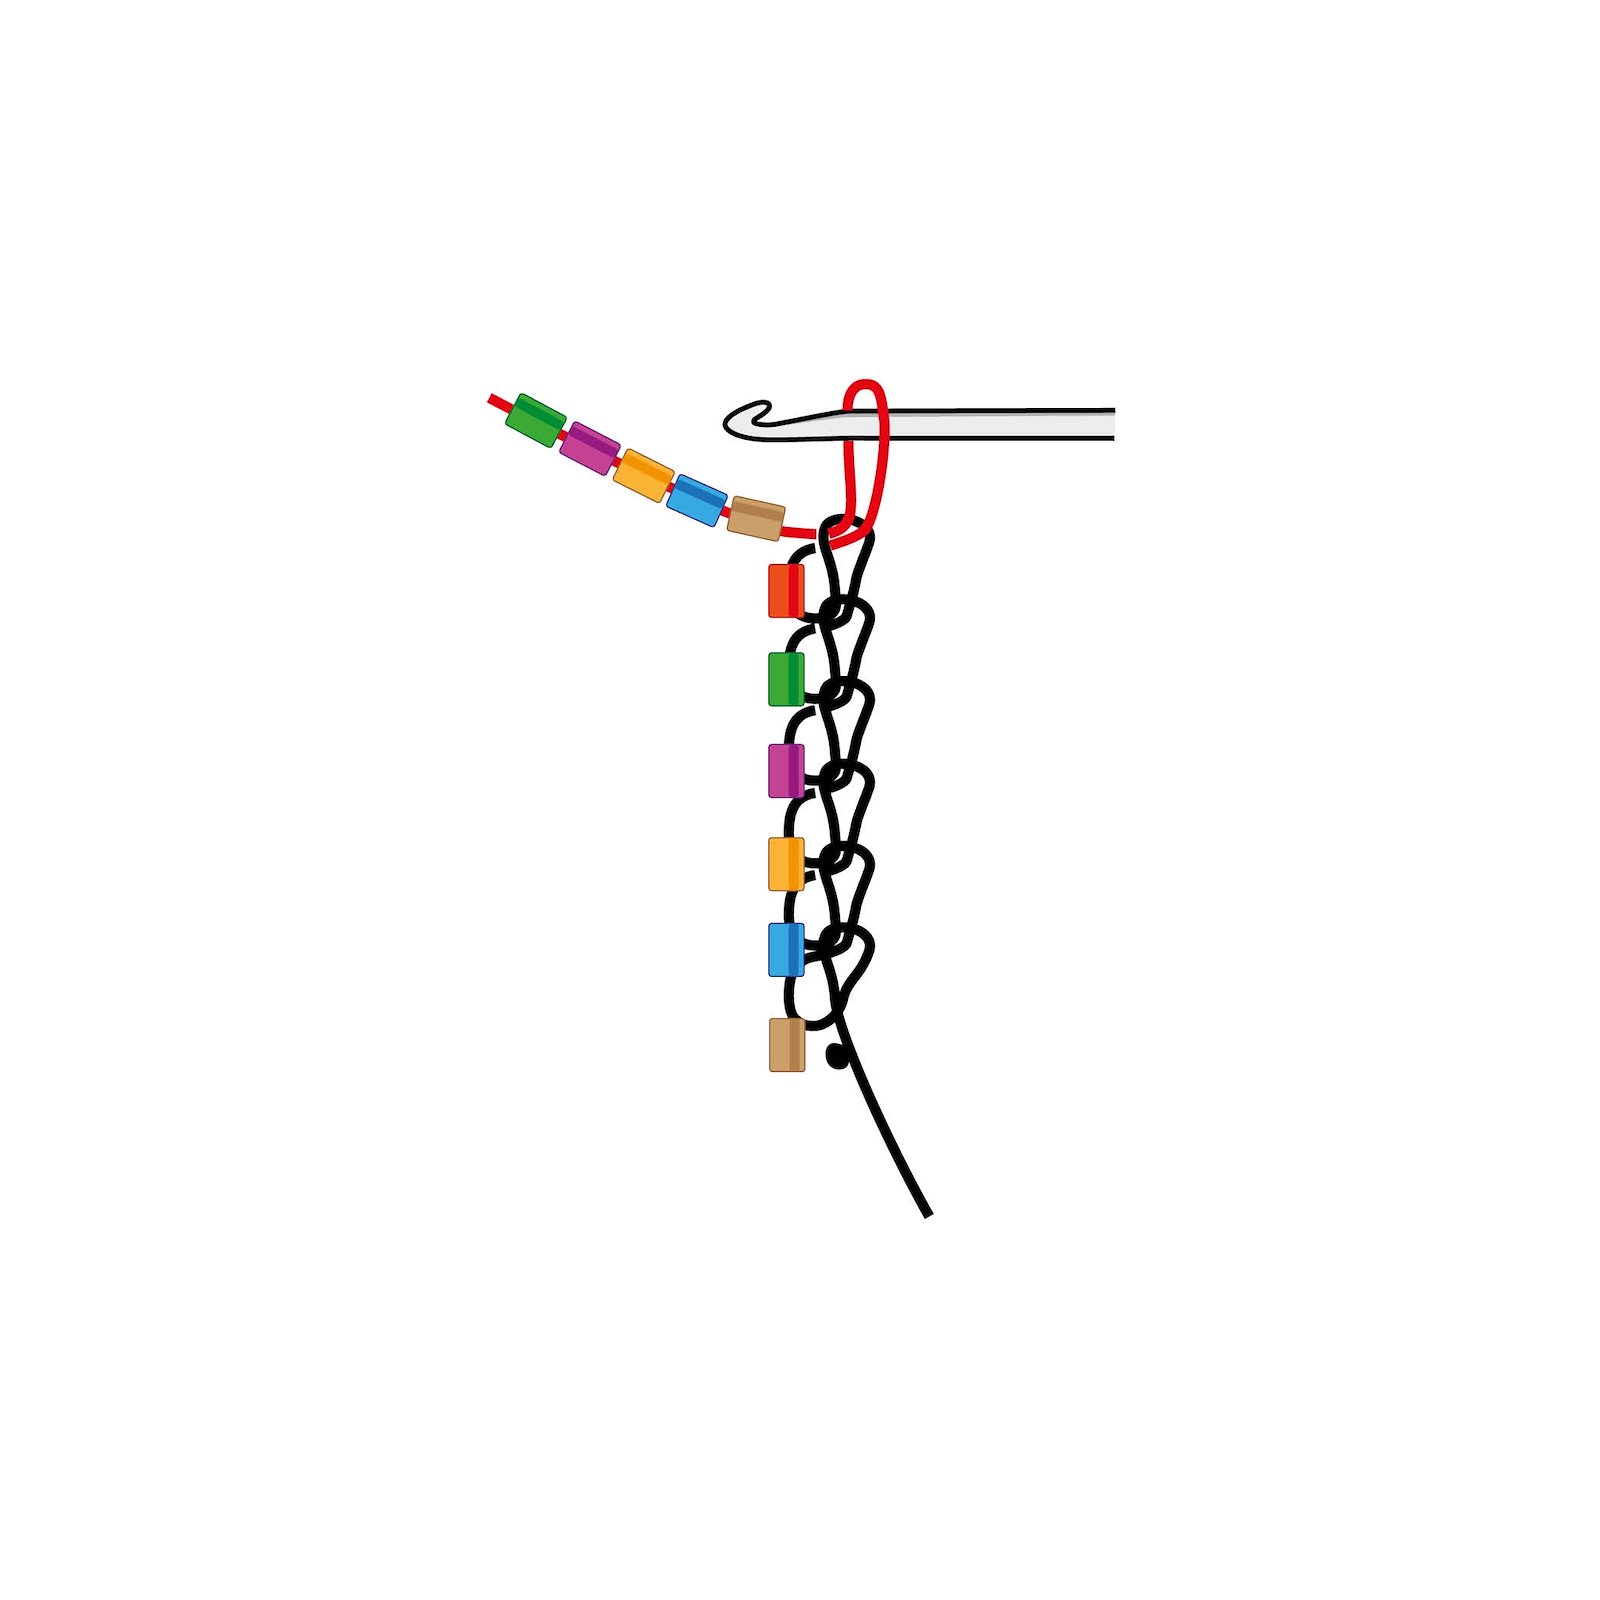
4.Repeat step 3 until you have precisely the number of beads you need for your bracelet band circumference. In this example, we use 6 beads. 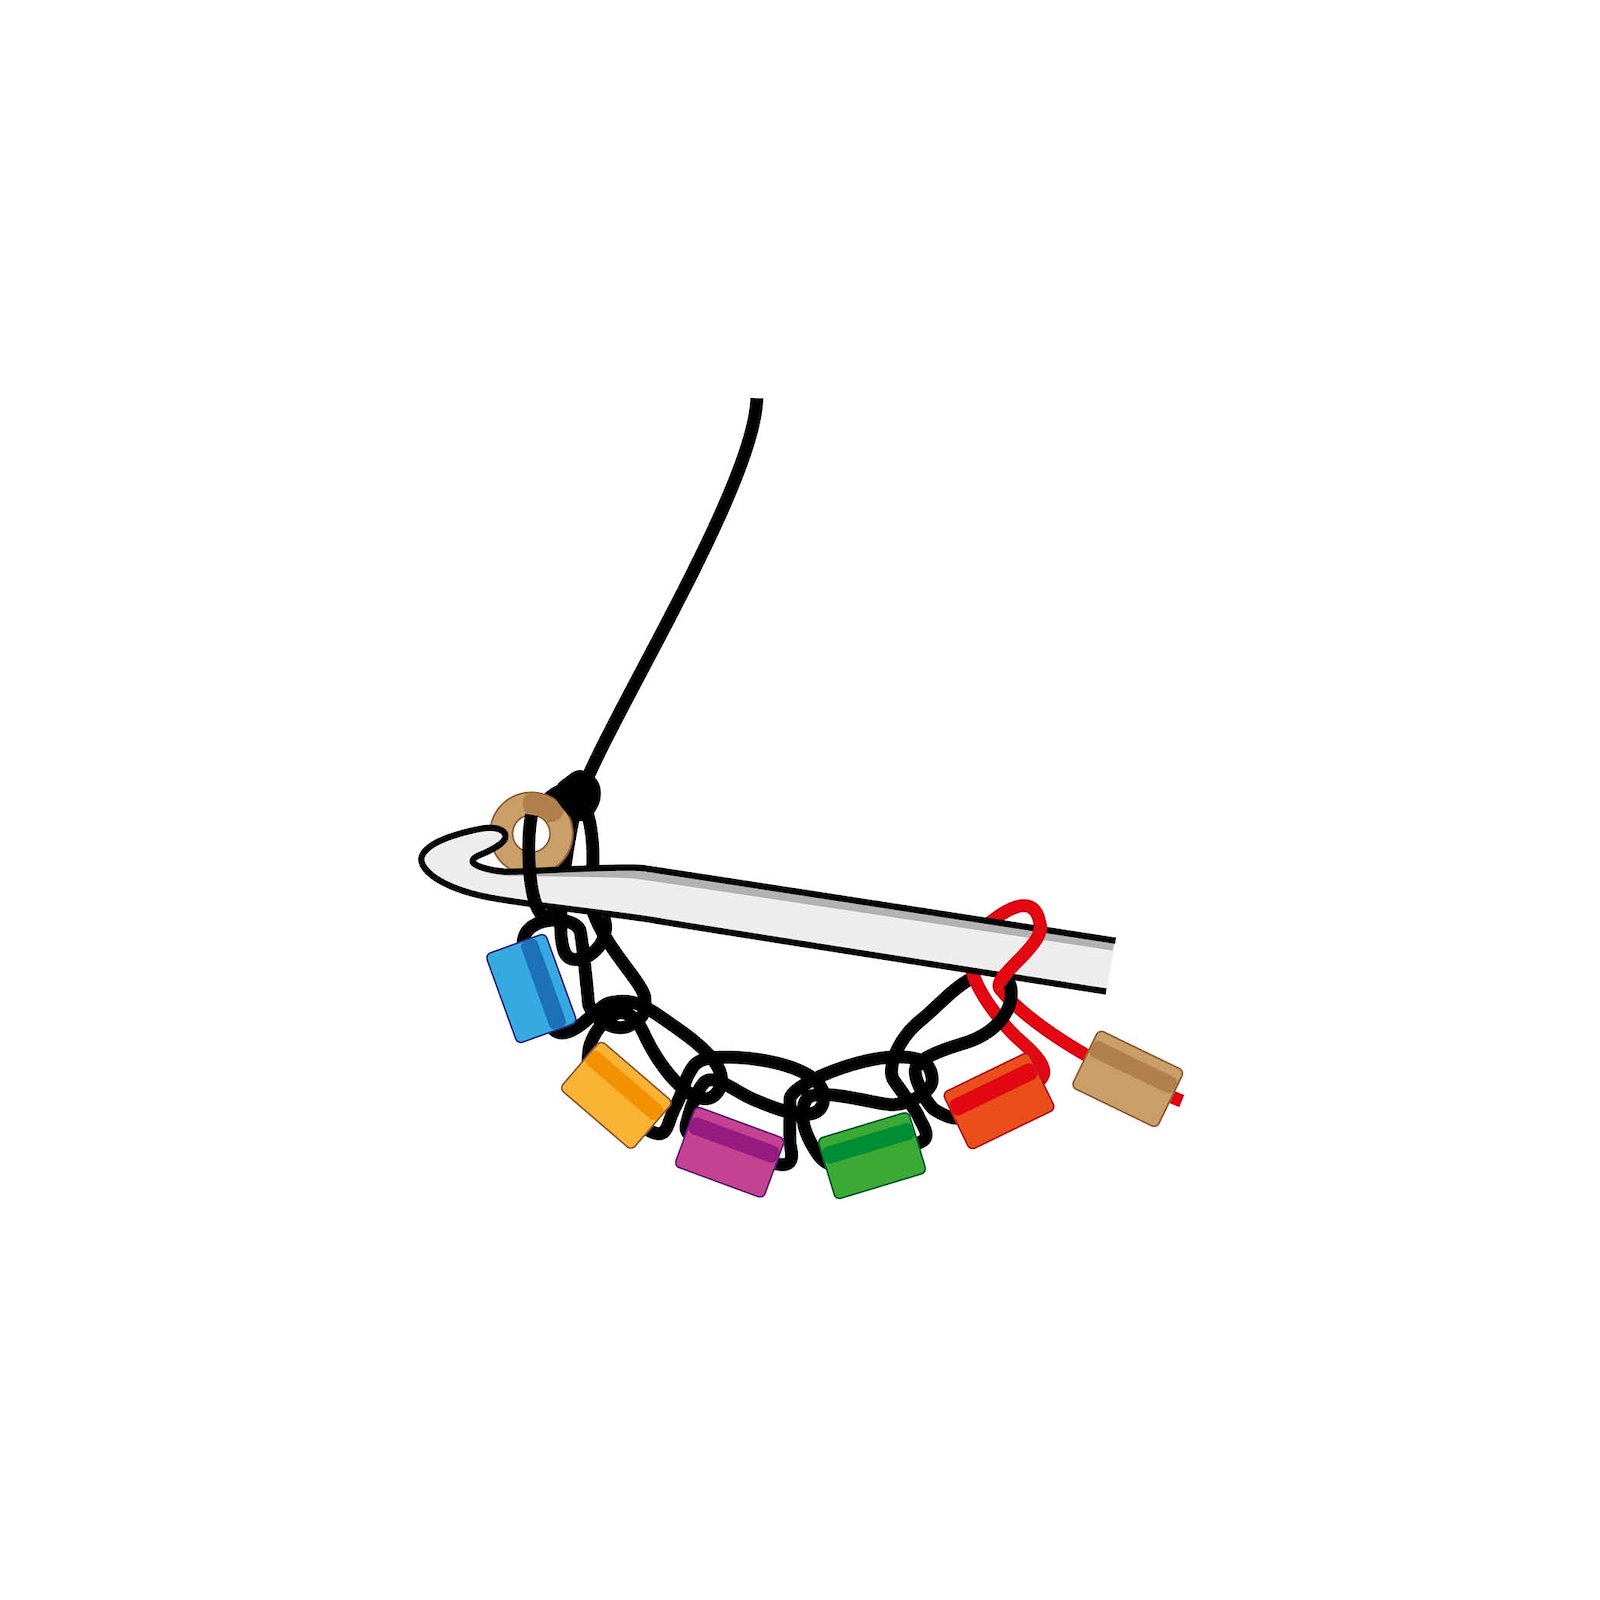
5.To form a circle, insert the crochet hook through the loop at the first bead. The bead turns naturally so that the hole faces upwards. 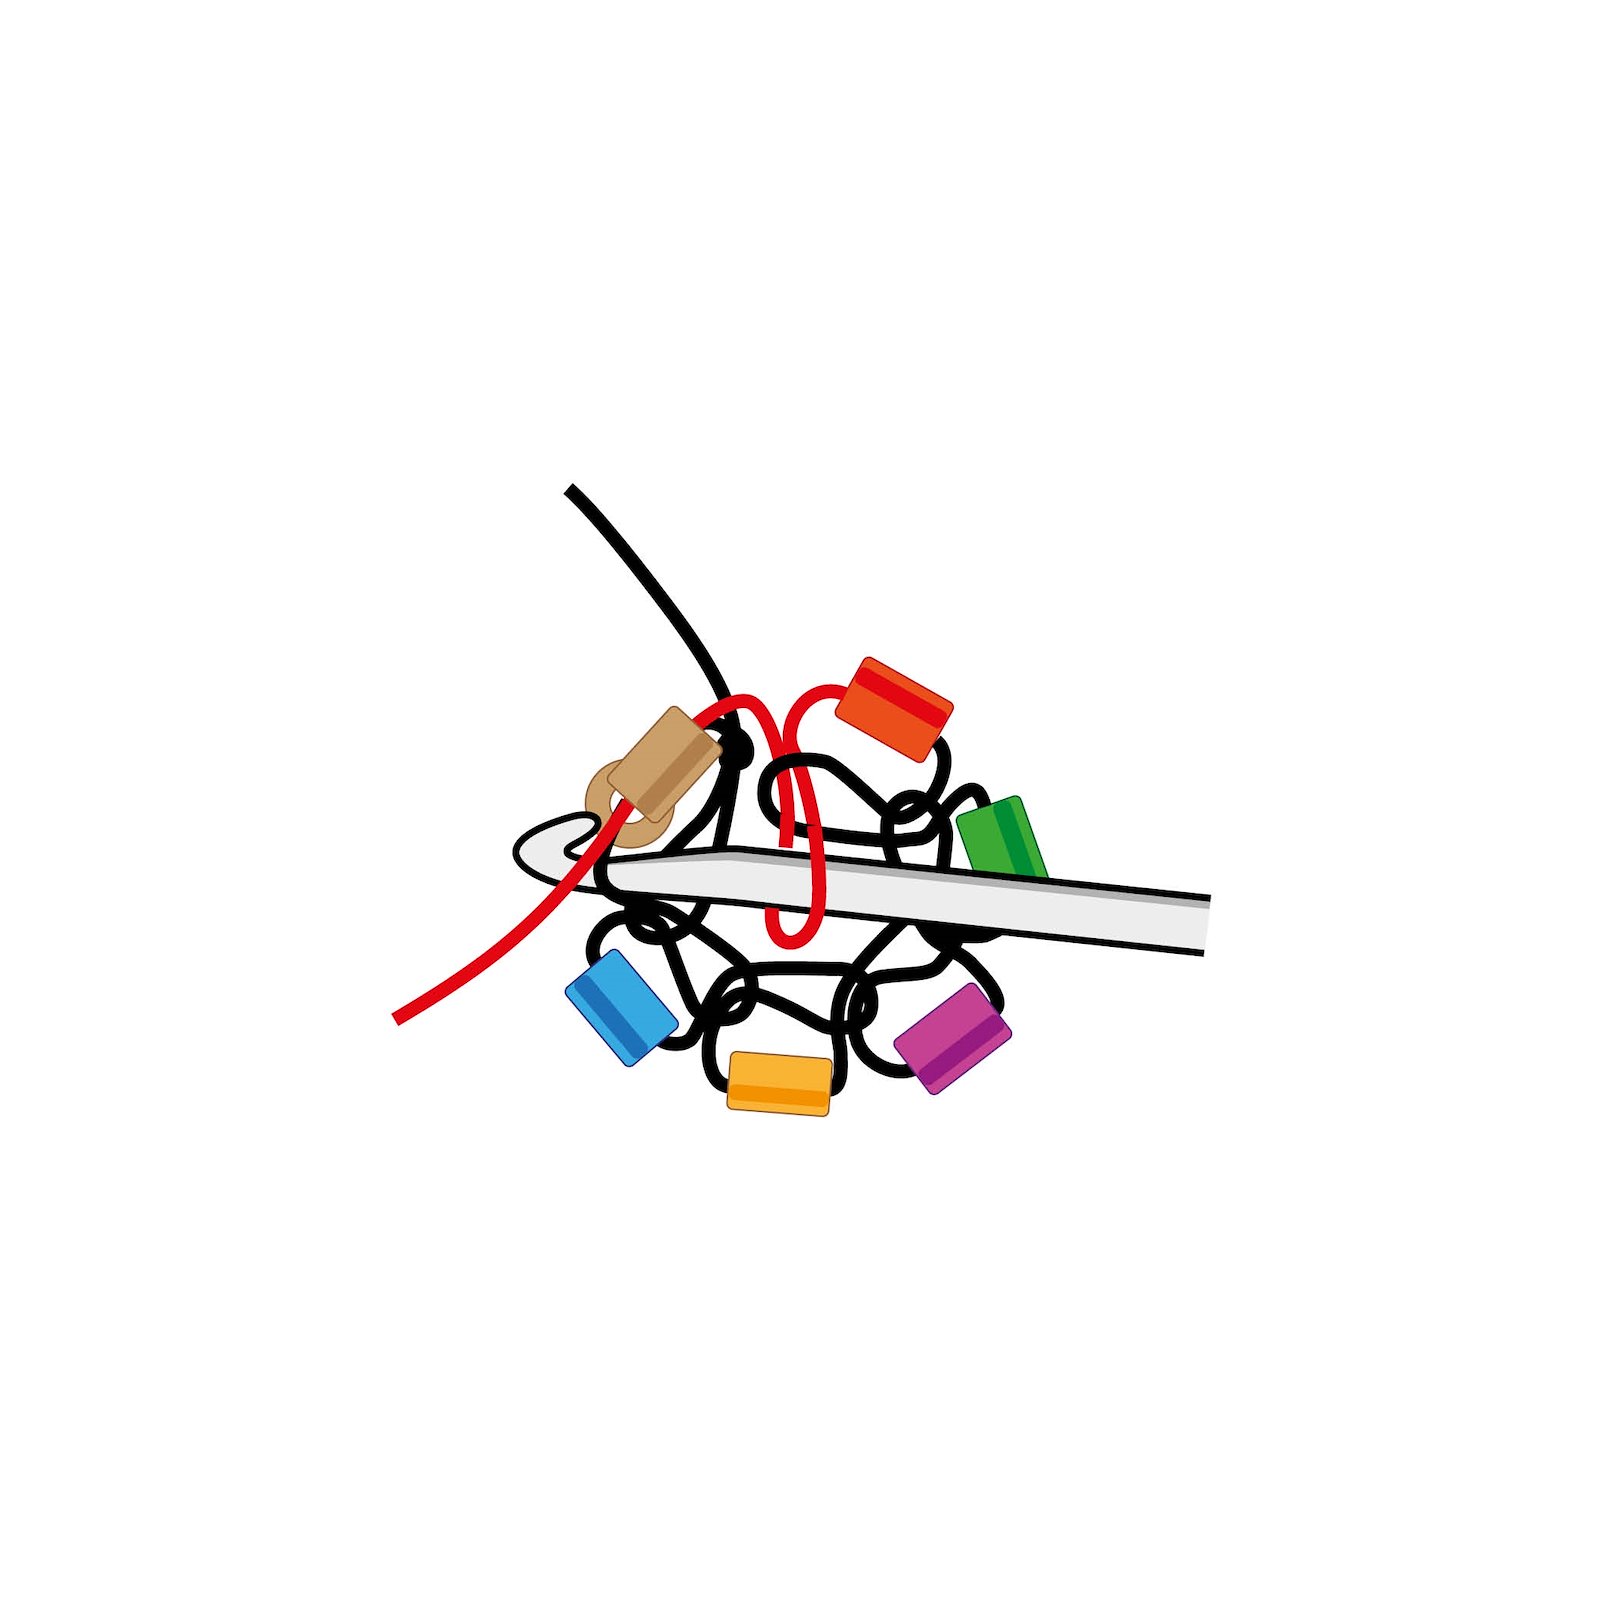
6.Pull up the next bead. 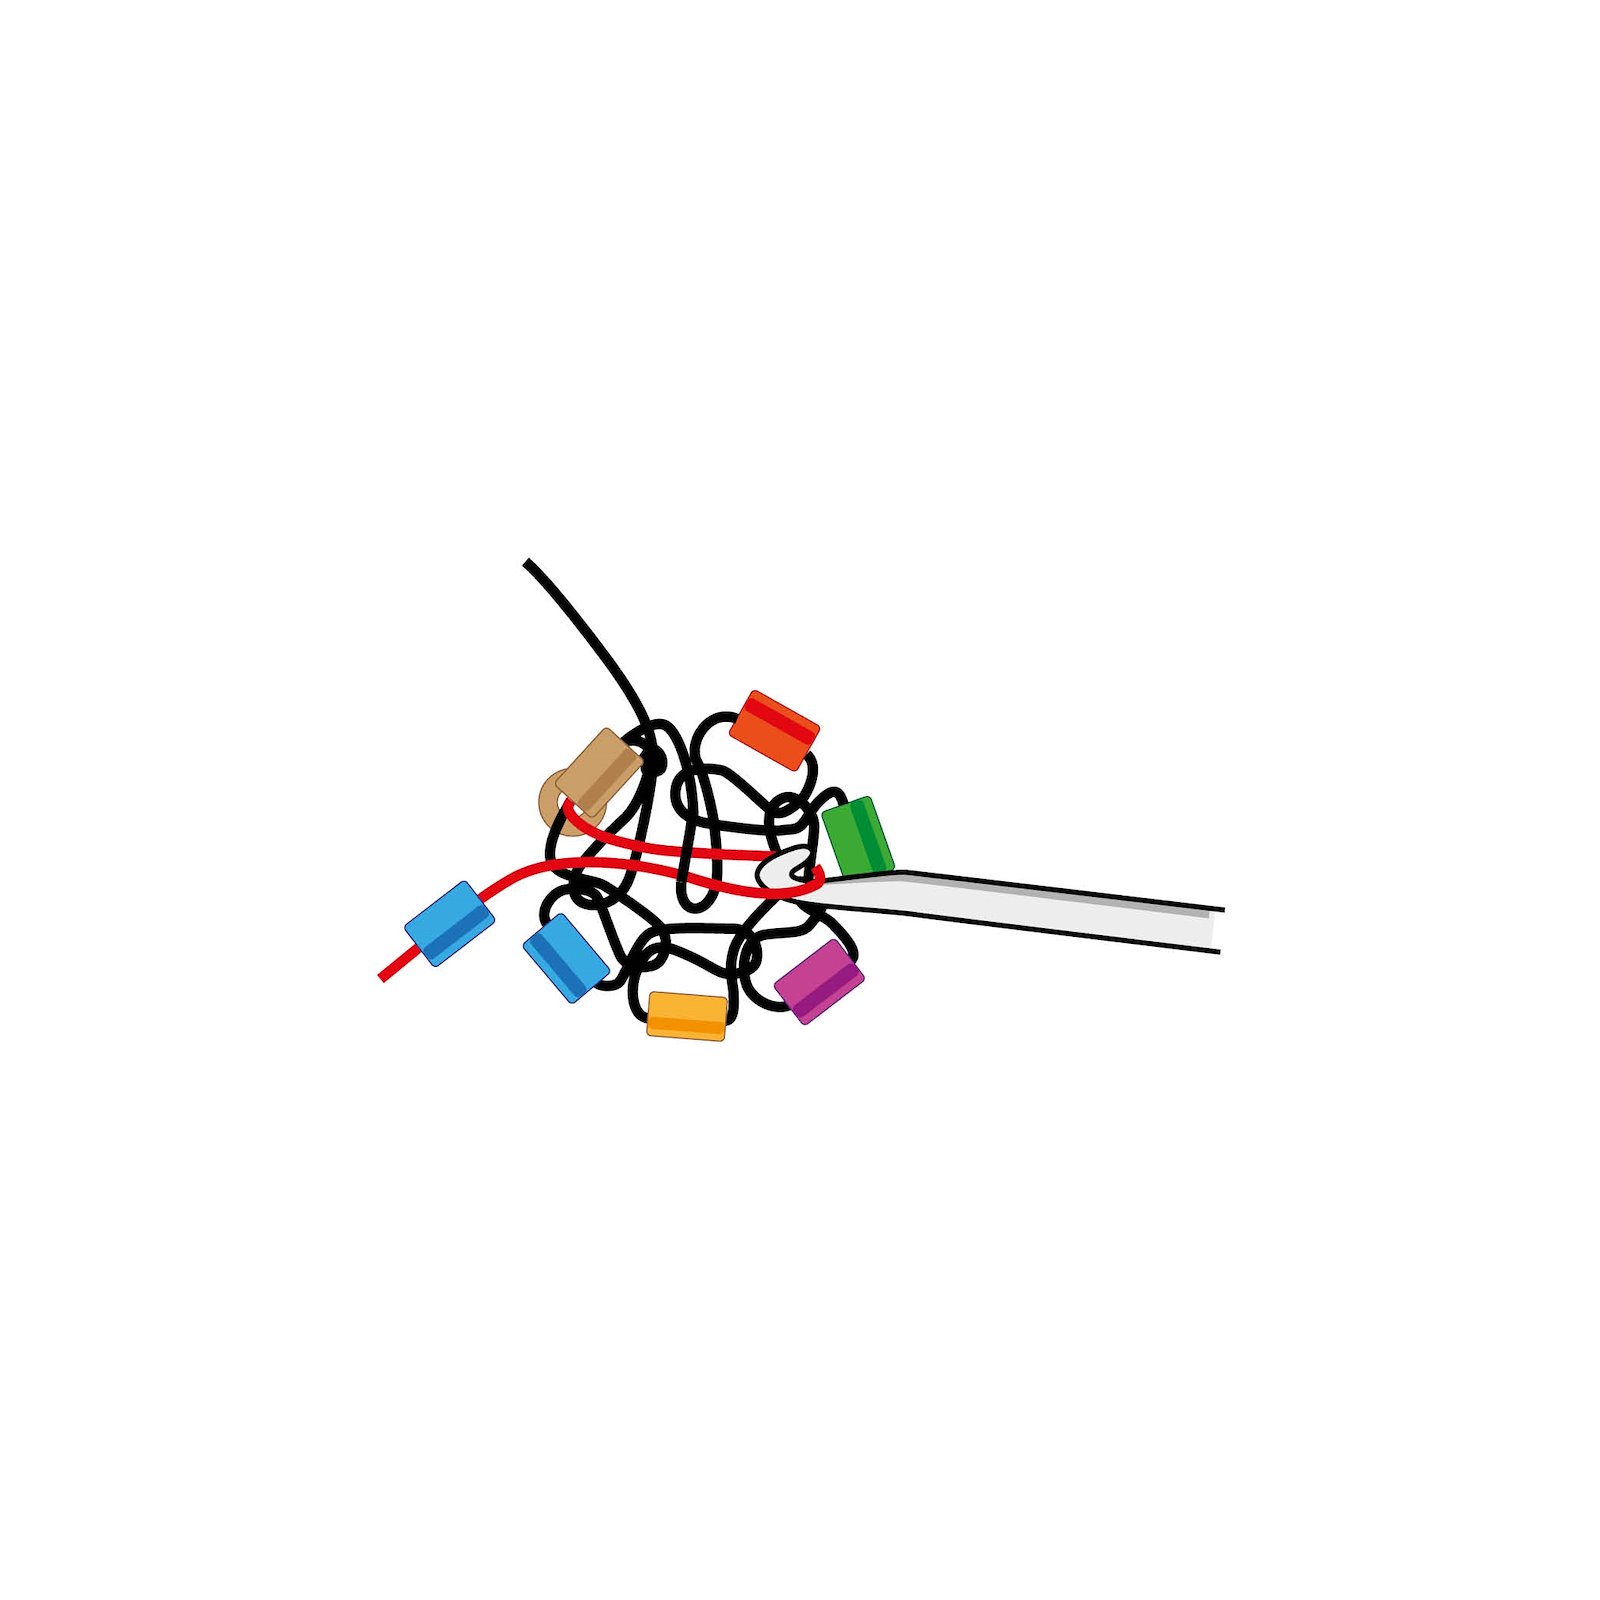
7.Hook the thread. Pull the thread through both loops on the crochet hook. 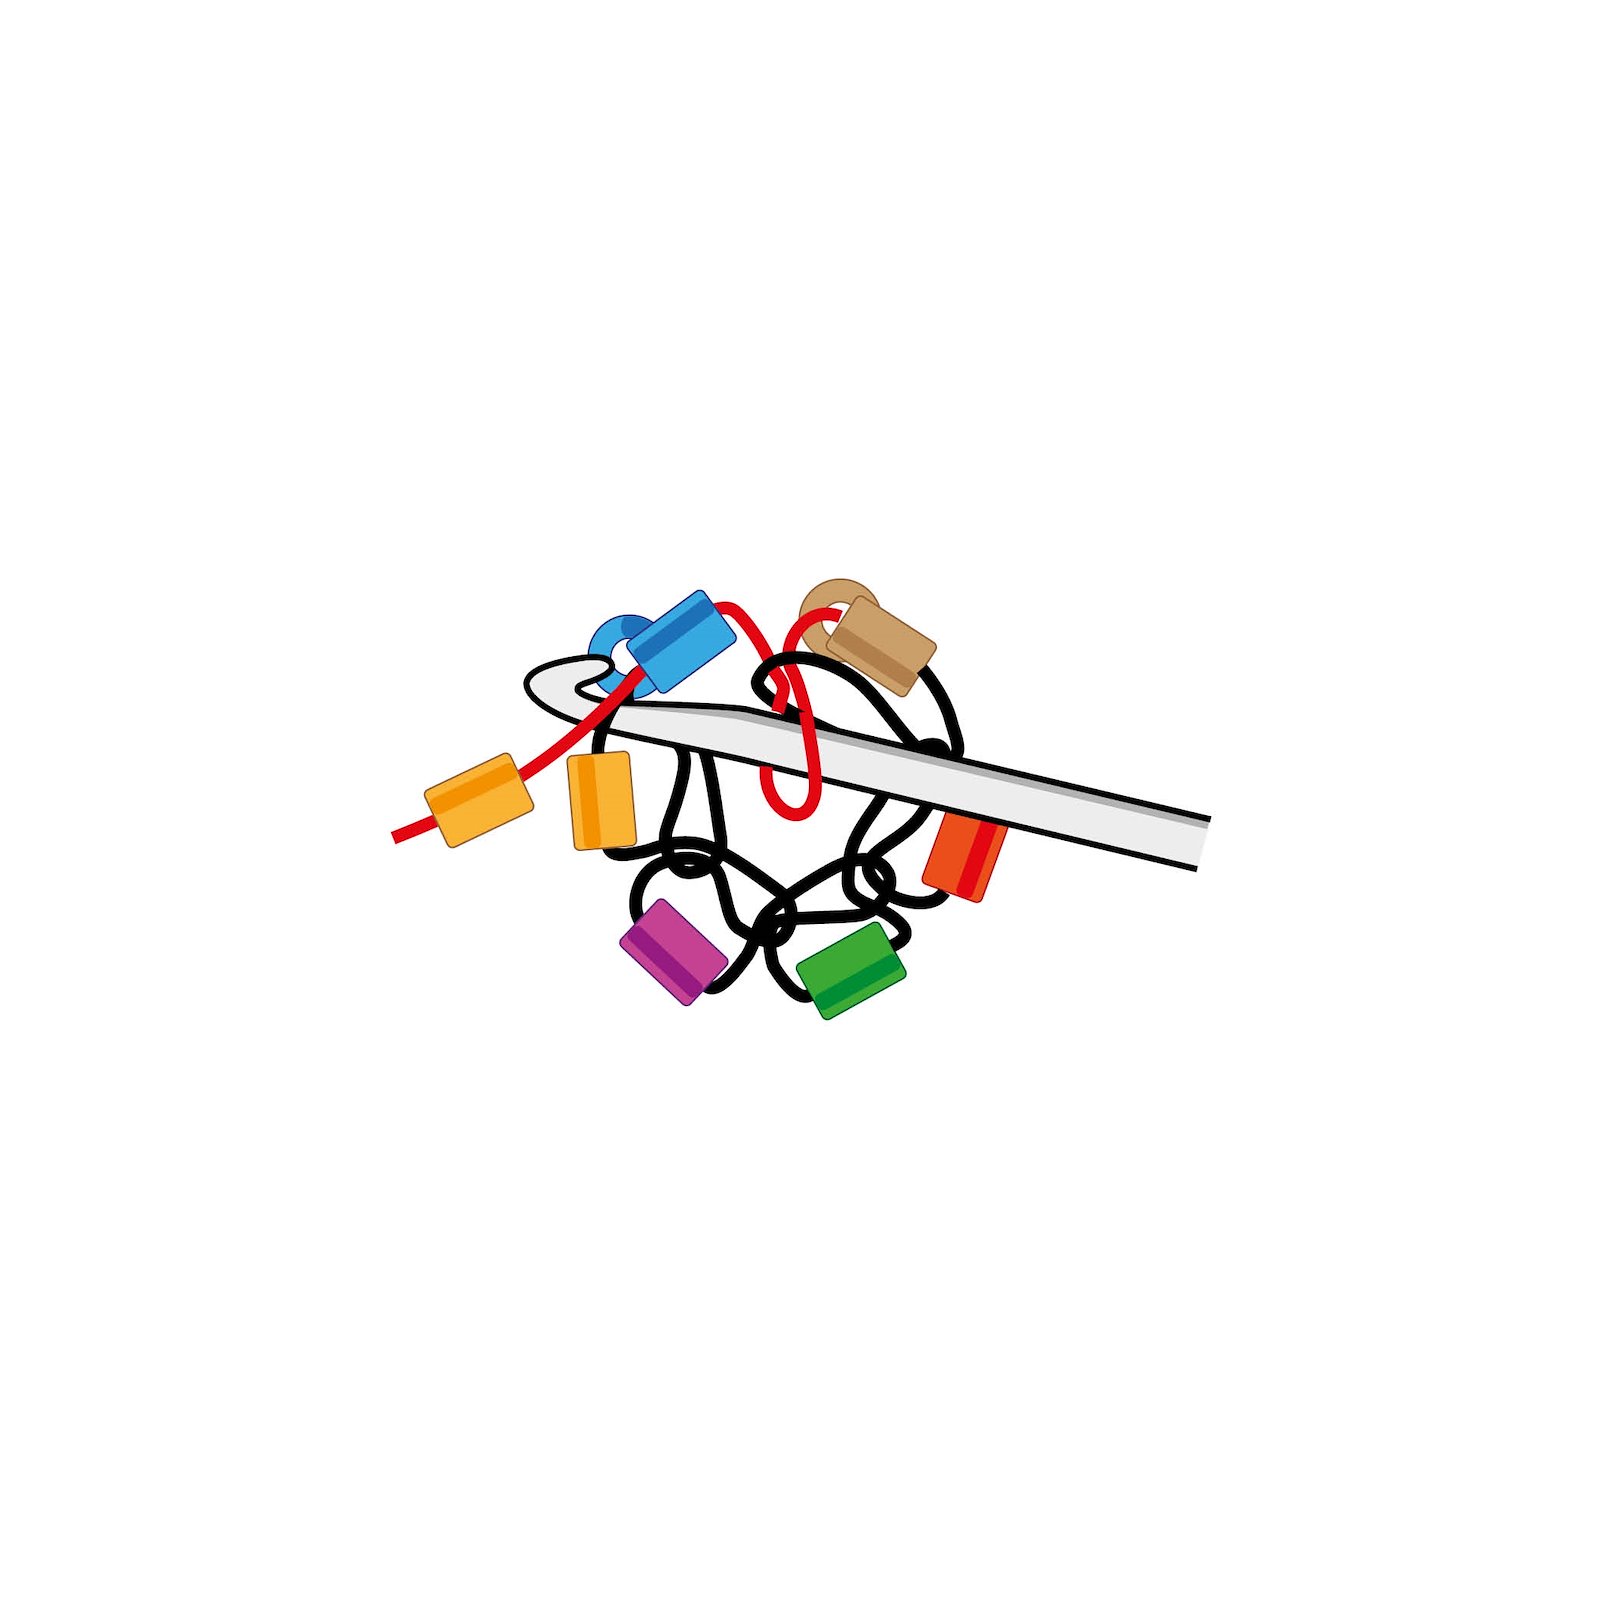
8.Insert the crochet hook through the loop at the next bead. The bead turns naturally so that the hole faces upwards. Pull up the next bead on the thread. 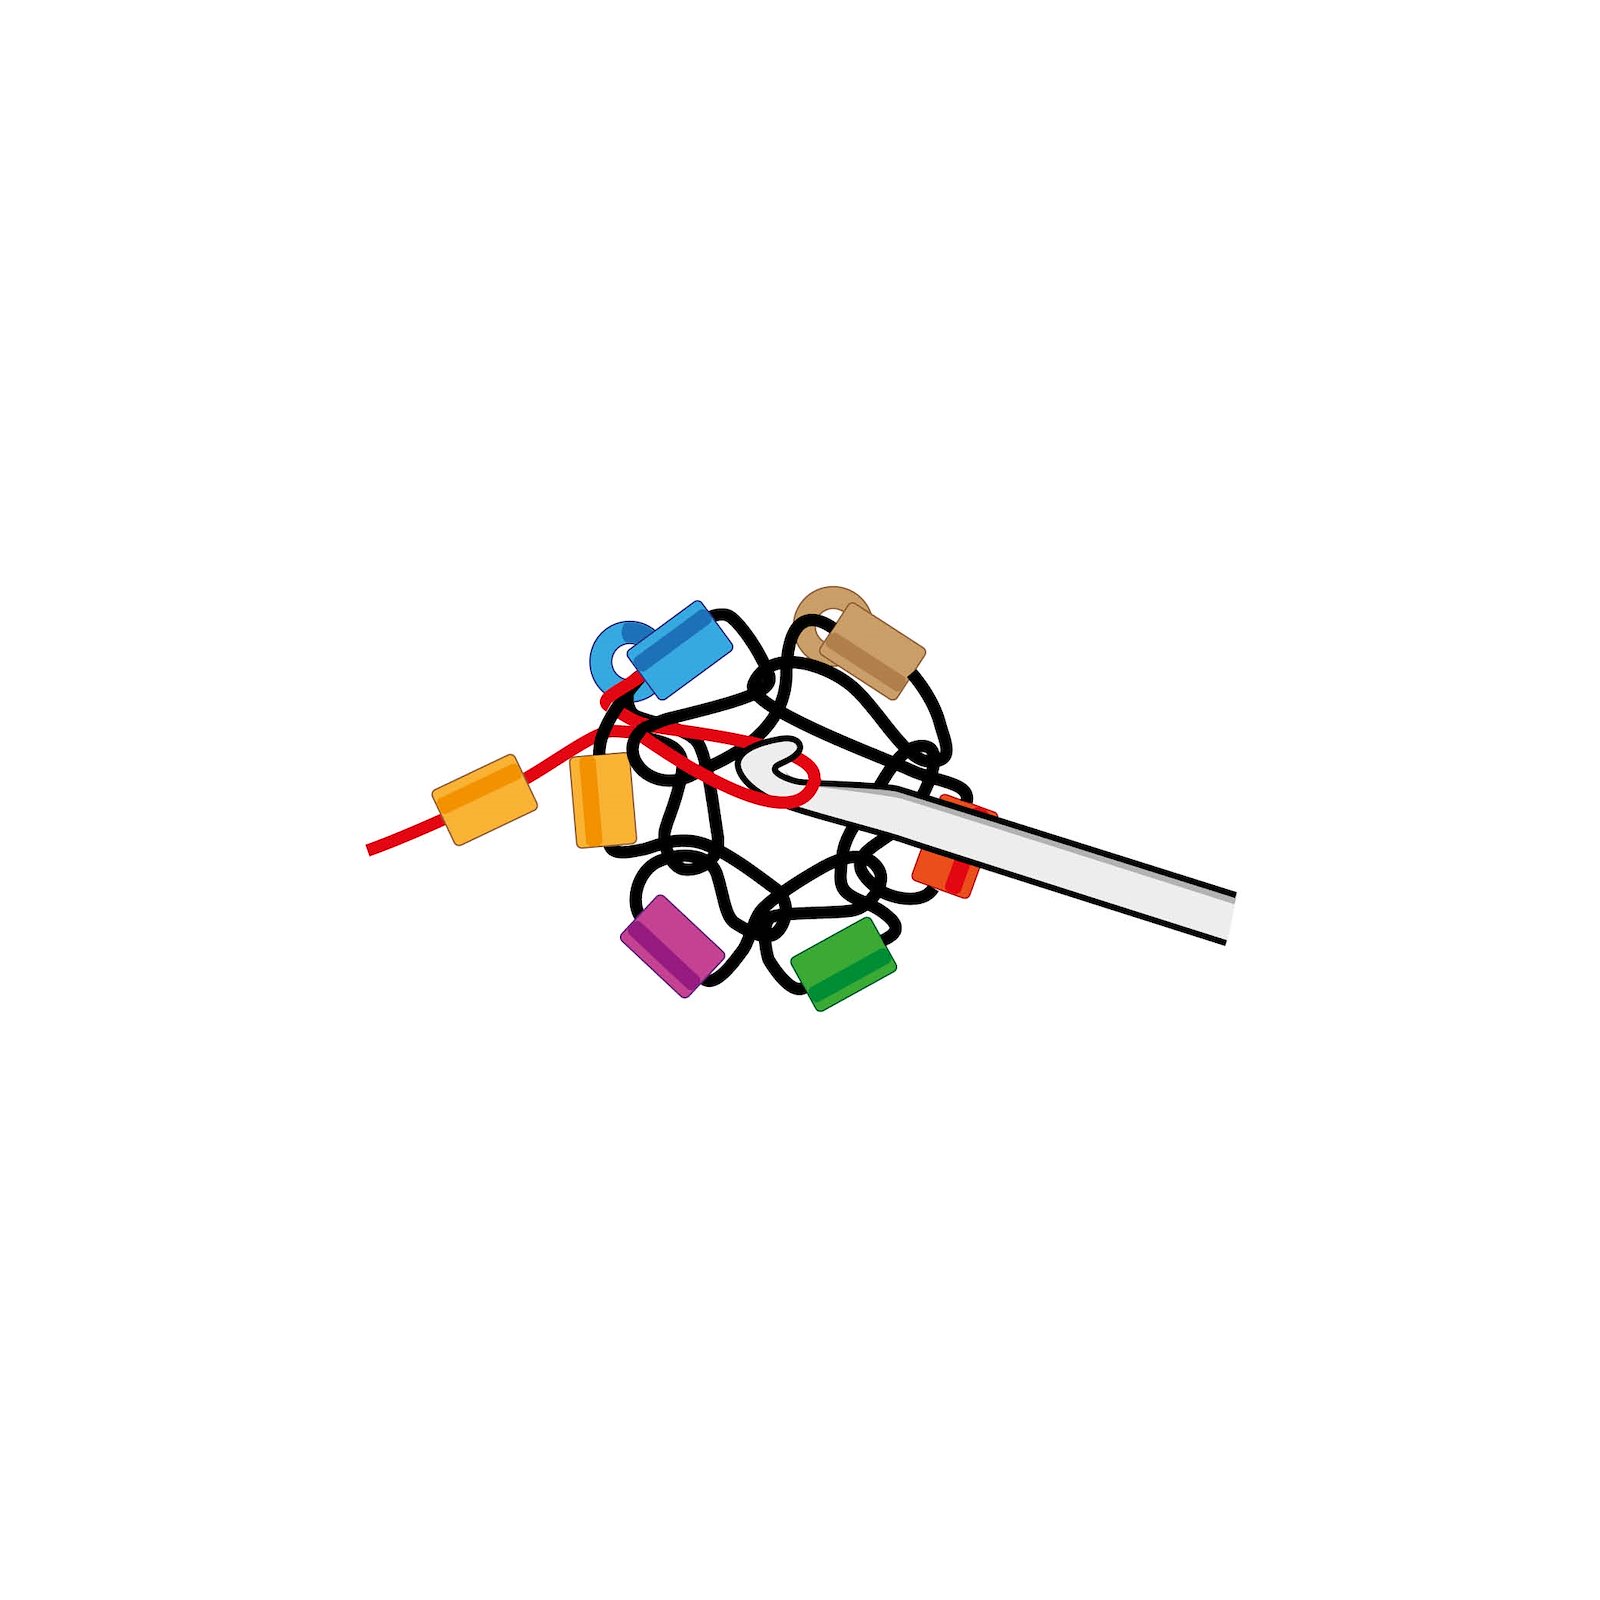
9.Hook the thread. Pull the thread through both loops on the crochet hook. Make sure the thread is above the bead from the last round. It is important that you push the bead from the last round to the right of the hook as you work. 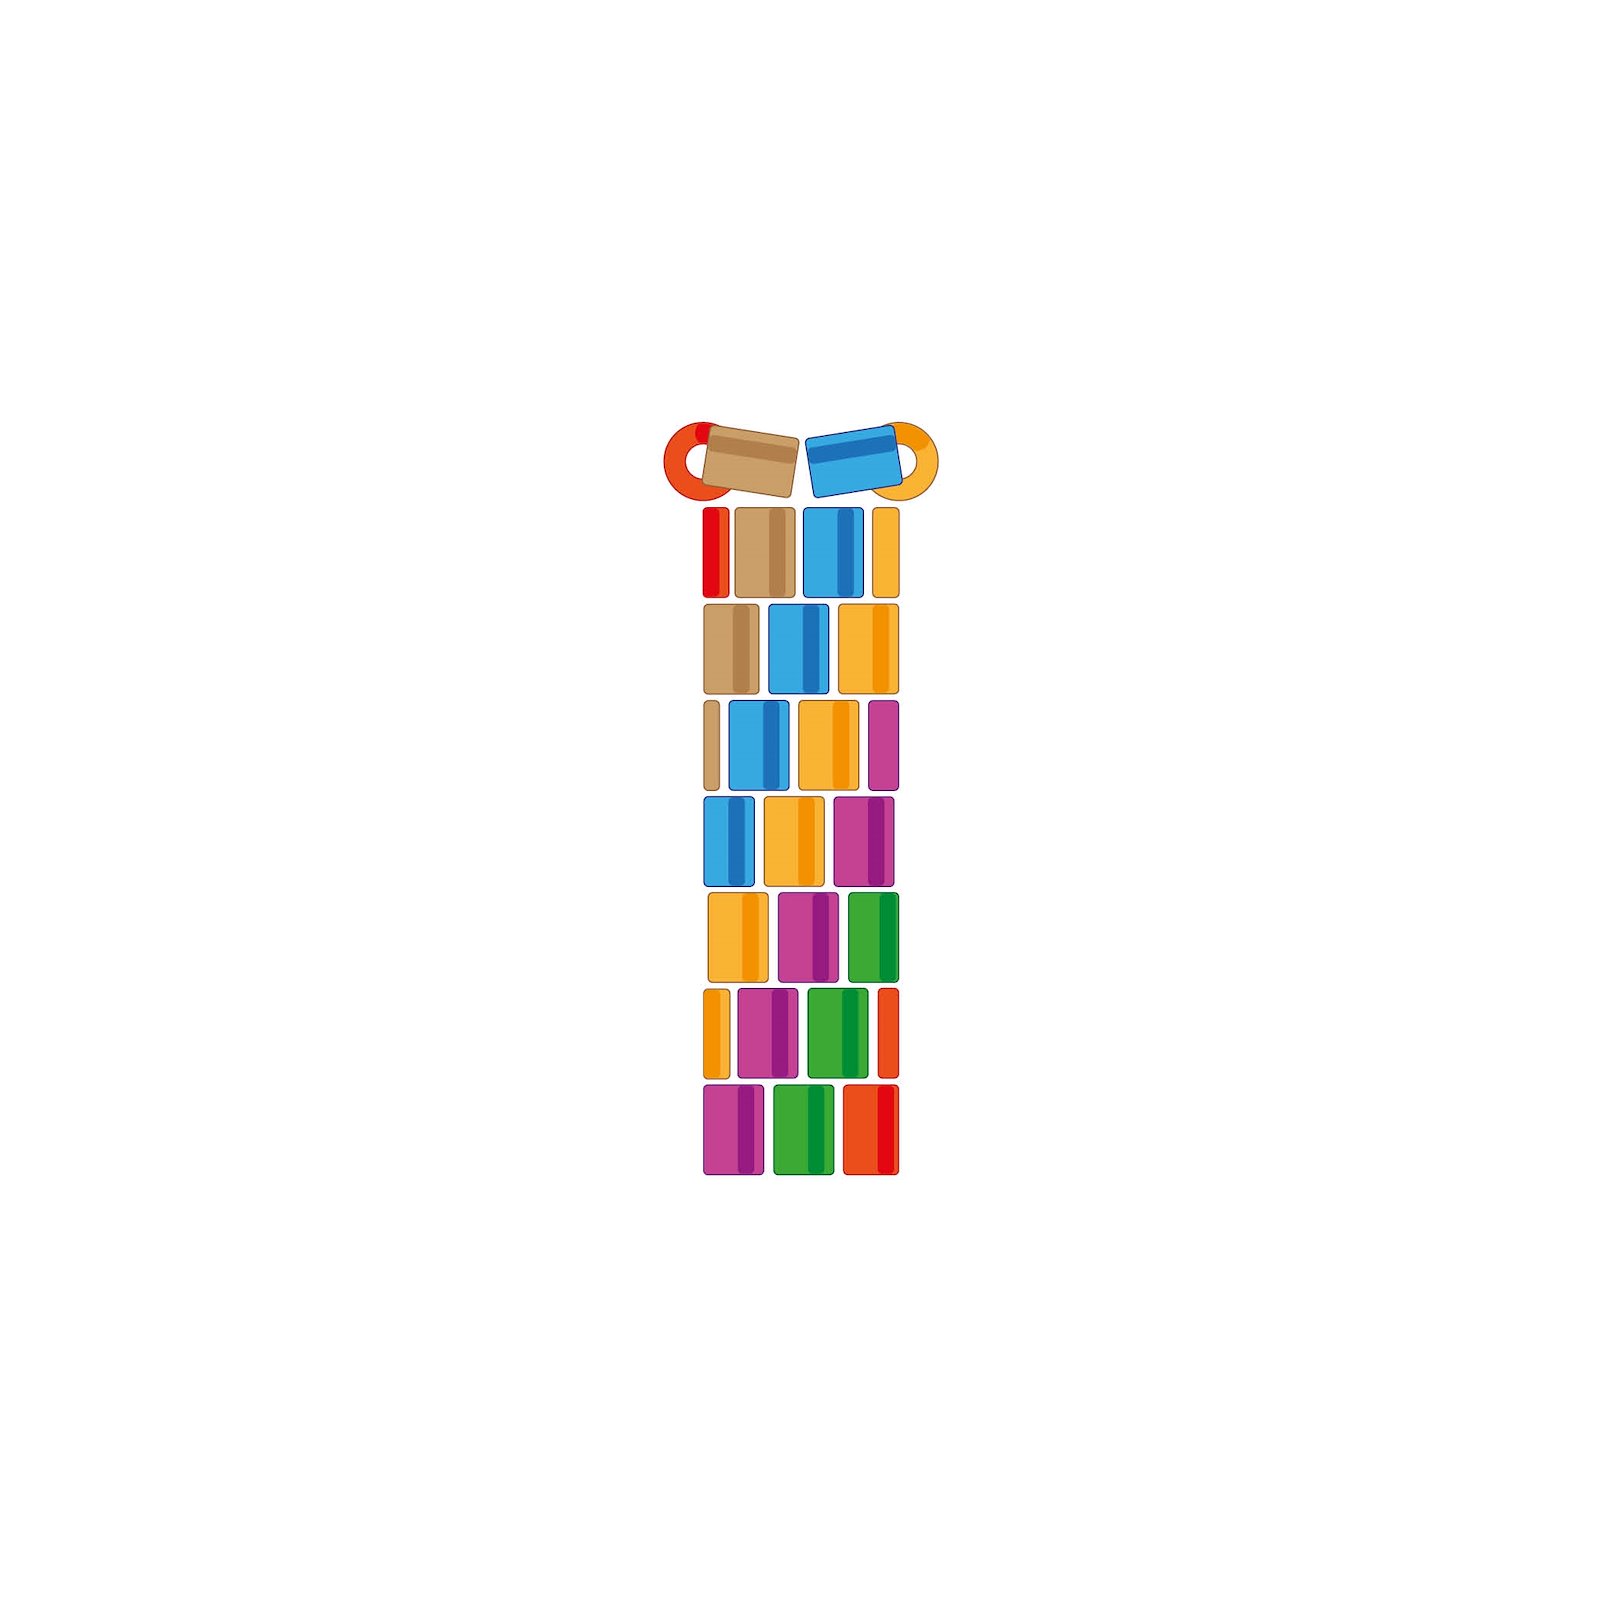
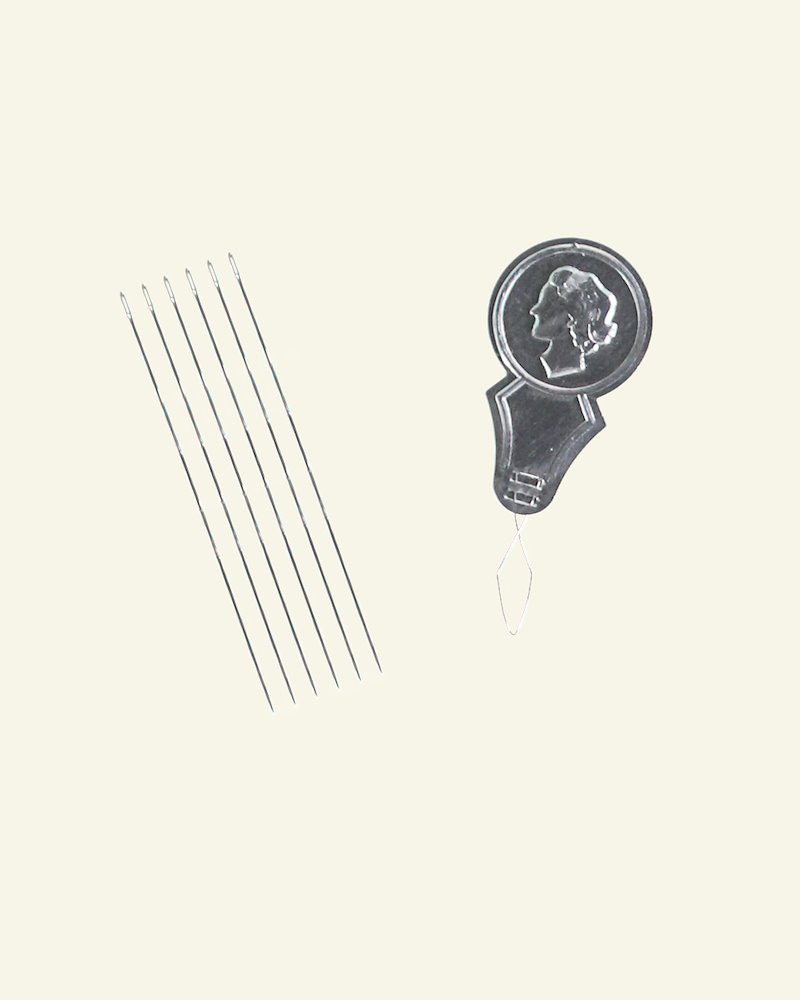
10.As the bracelet takes shape, the beads turn to face in the right direction along the armband. The last round of crochet turns to face the opposite direction. 11.When the bracelet is the desired length, end with a bead of the same colour as the first. Cut the thread. Pull the end through the loop on the crochet hook. The tail should be long enough to sew the bracelet together. 12.To tie off the end at the beginning of the bracelet, thread the thread onto a needle. Feed the thread about approx. 1 cm up through the middle of the opposite end of the bracelet to make a ring. Take care not to pull the thread through the beads. Pull it only through the thread inside the bracelet. 13.Now sew the ends together with the thread end you finished with. Thread the end onto a needle. Pull the thread through the same colour of bead as at the start of the bracelet. Now sew through the thread on the bead at the end of the bracelet, and the bead will naturally turn in the same direction as the other beads. 14.Continue in this way until all beads are assembled. Work anticlockwise. To tie off the end, pull it through the bracelet. Take care not to pull the thread through the beads. Pull it only through the thread inside the bracelet.