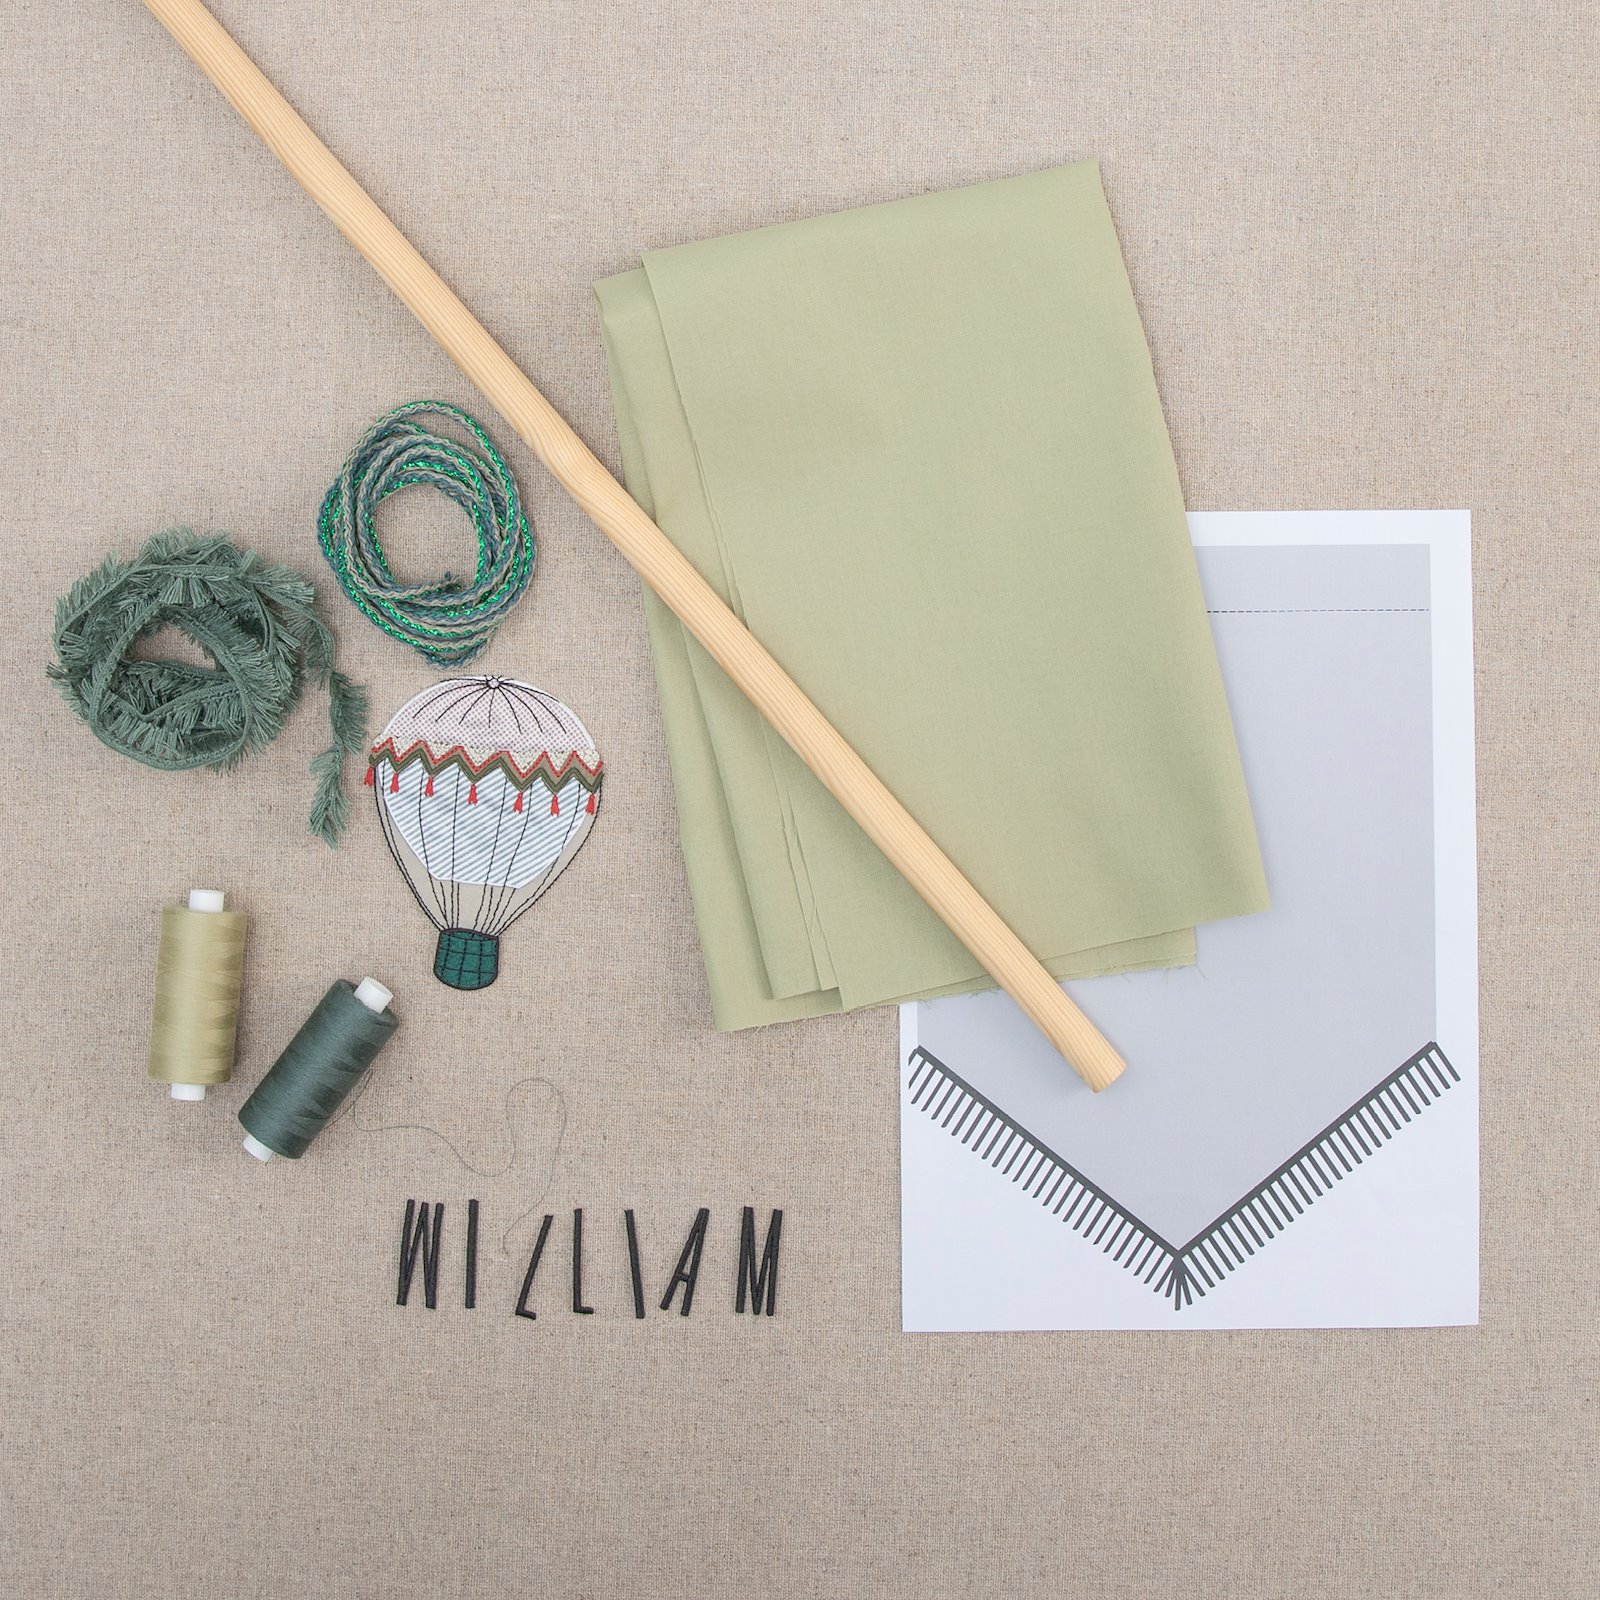
1.Make sure you have all the materials you need 
2.Make a template and cut it out. Remember to add seam allowance and drawstring hem. Lay the "flat" side against the fold. Cut out. 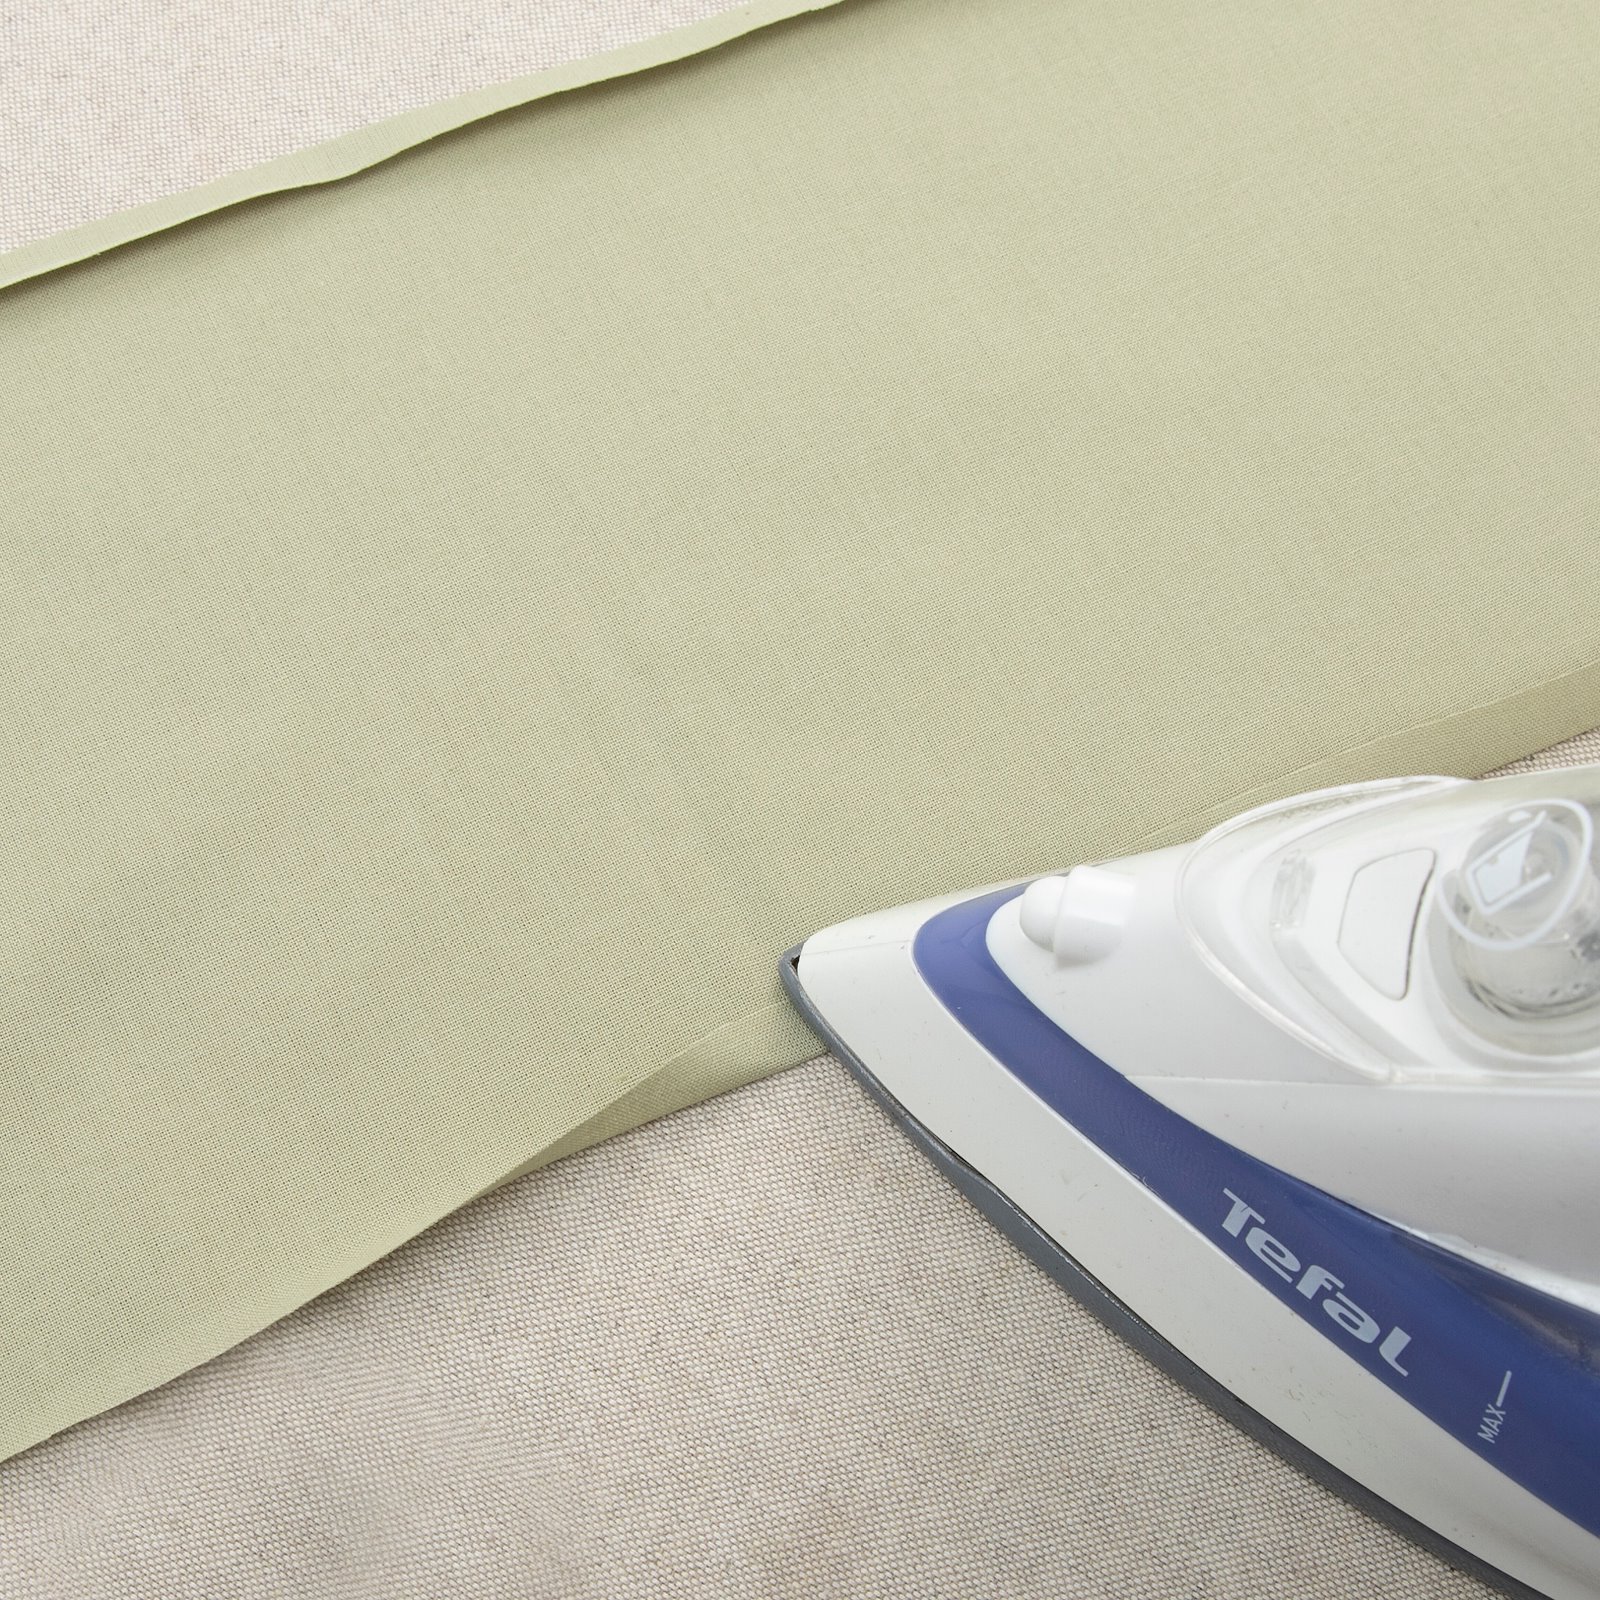
3.Fold the edge1 cm to the wrong side on both sides of the fabric and press. 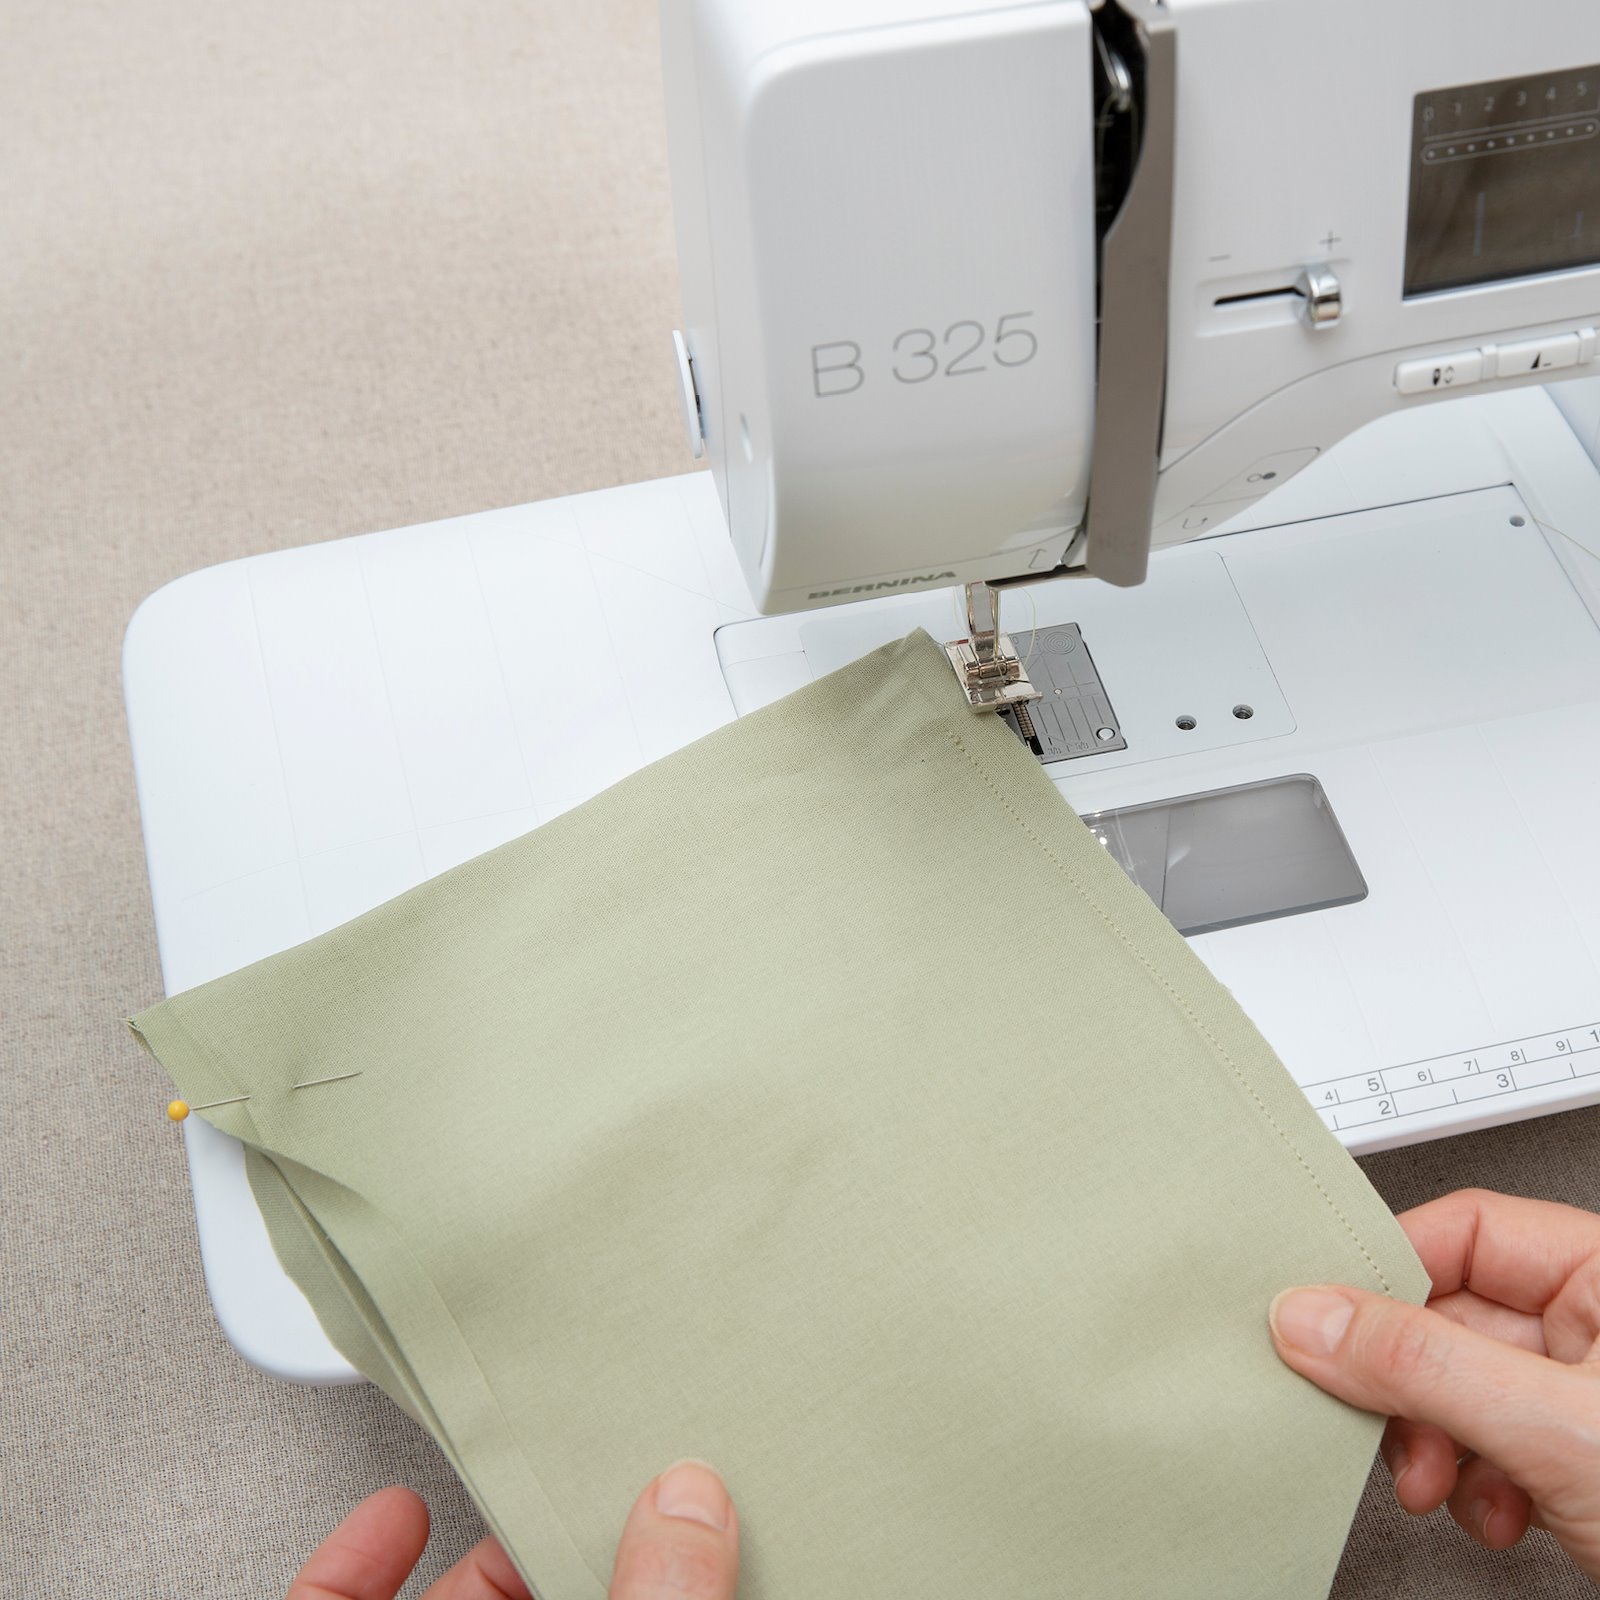
4.Back stitch on the wrongside. Start 3 cm down. Sew inside the press fold (step 3). Turn right sides out. 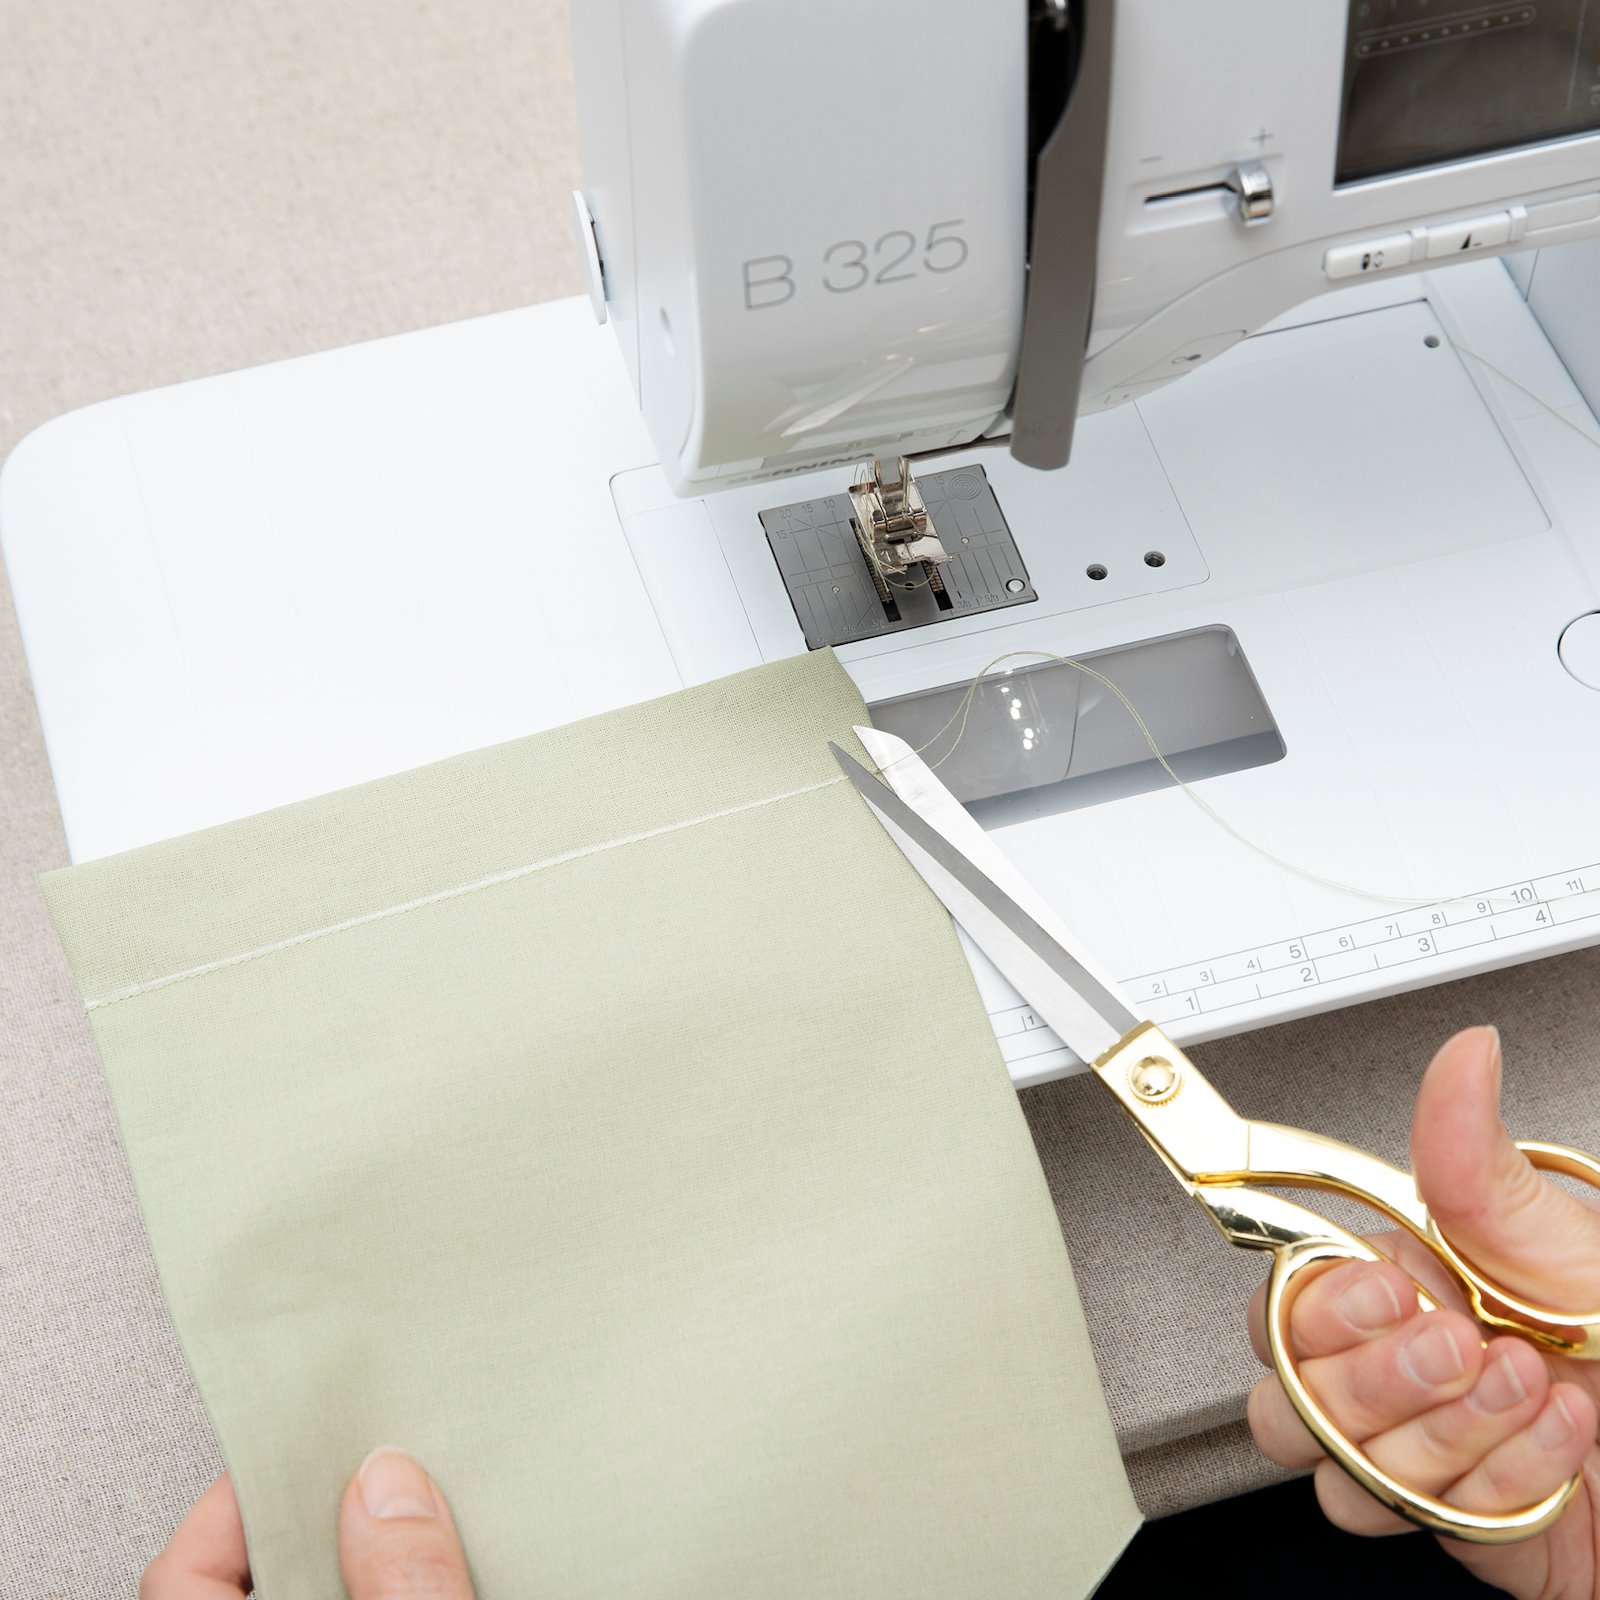
5.Stitch 3 cm down from thefold to make a drawstring hem for the dowel. 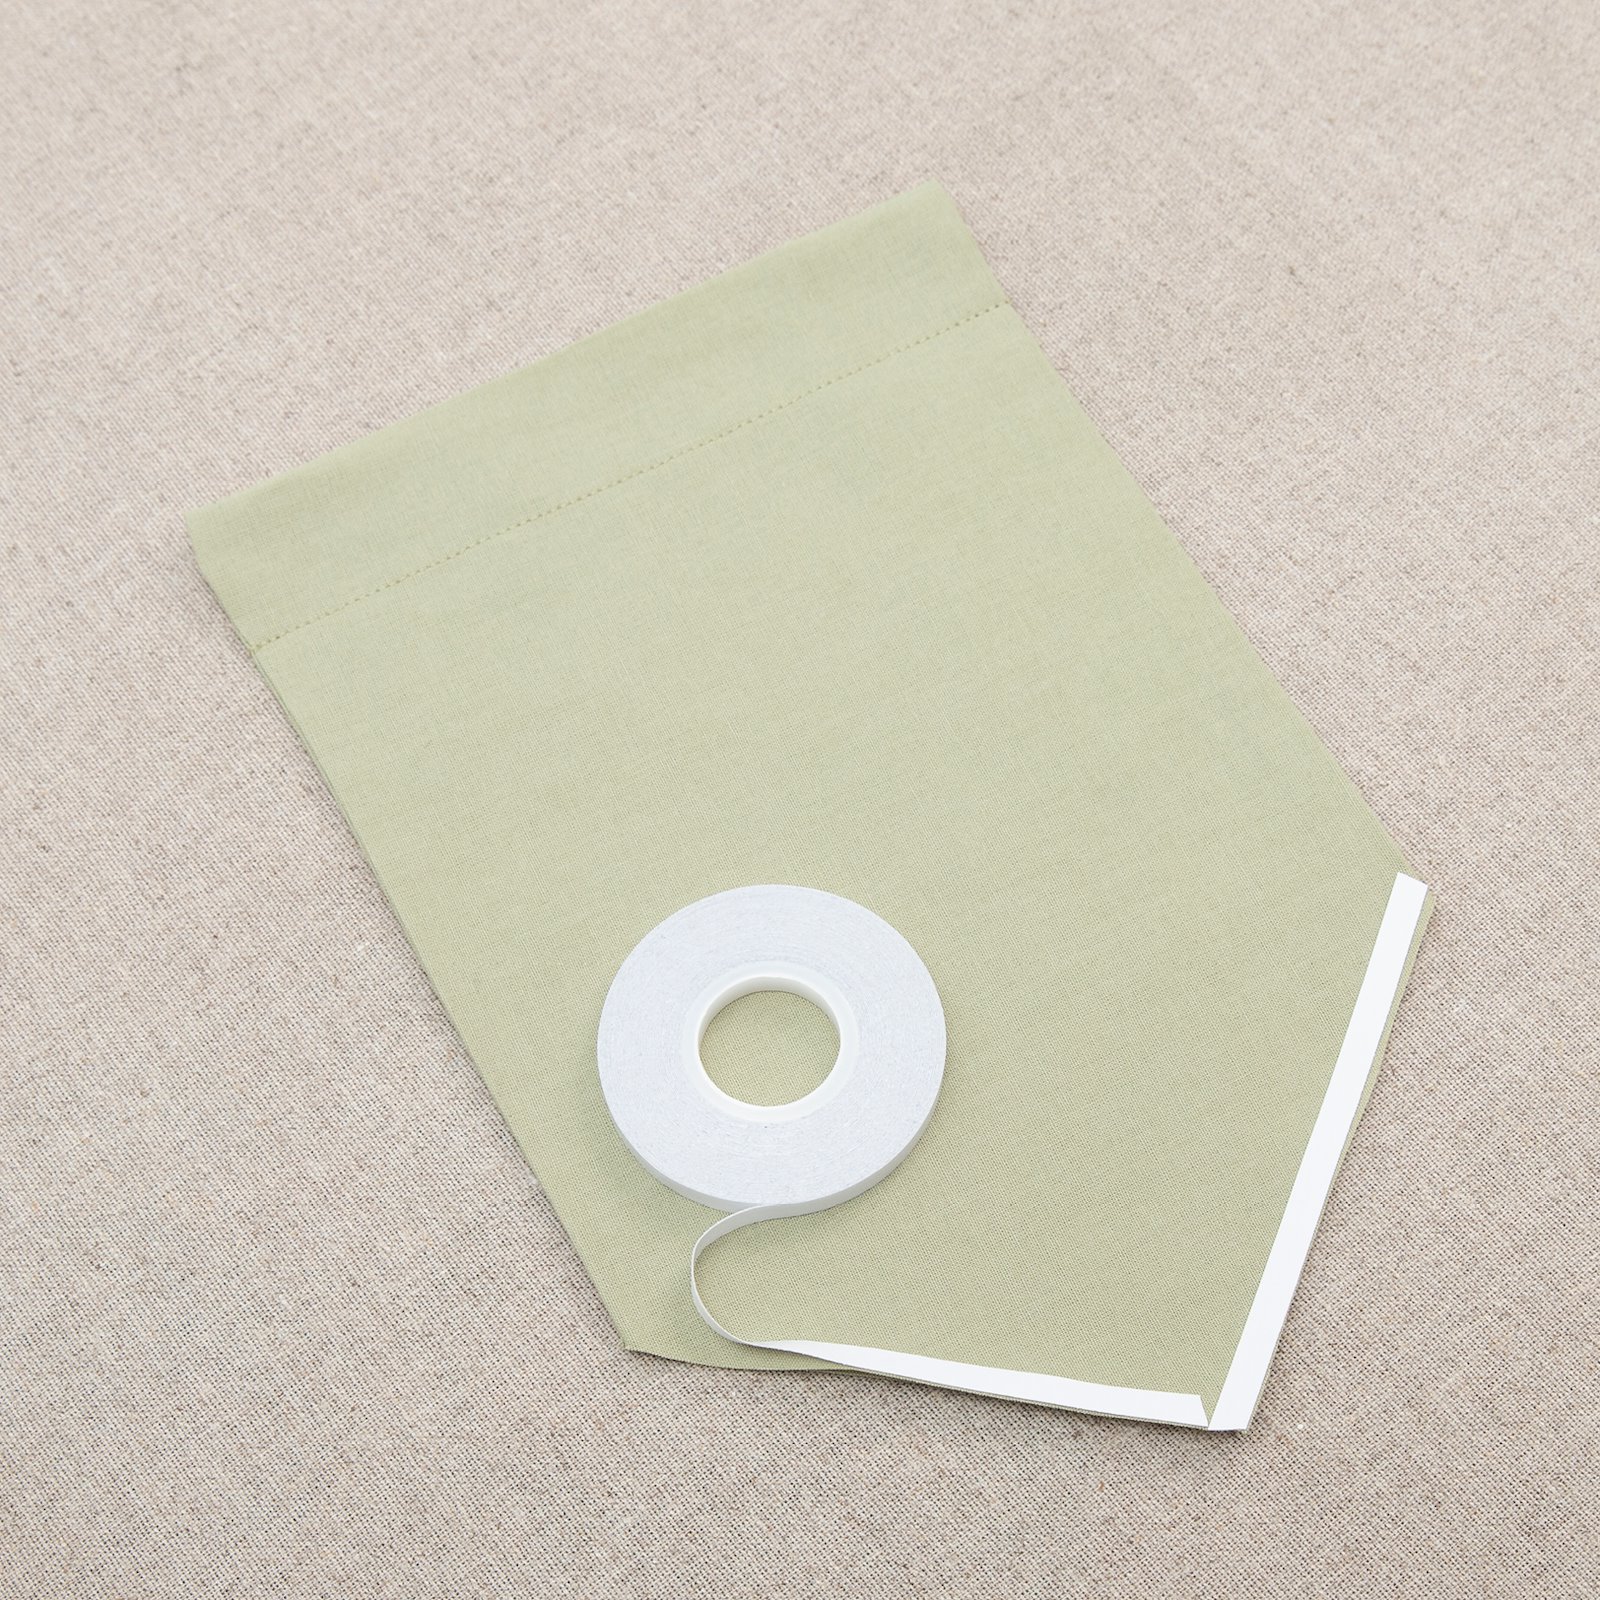
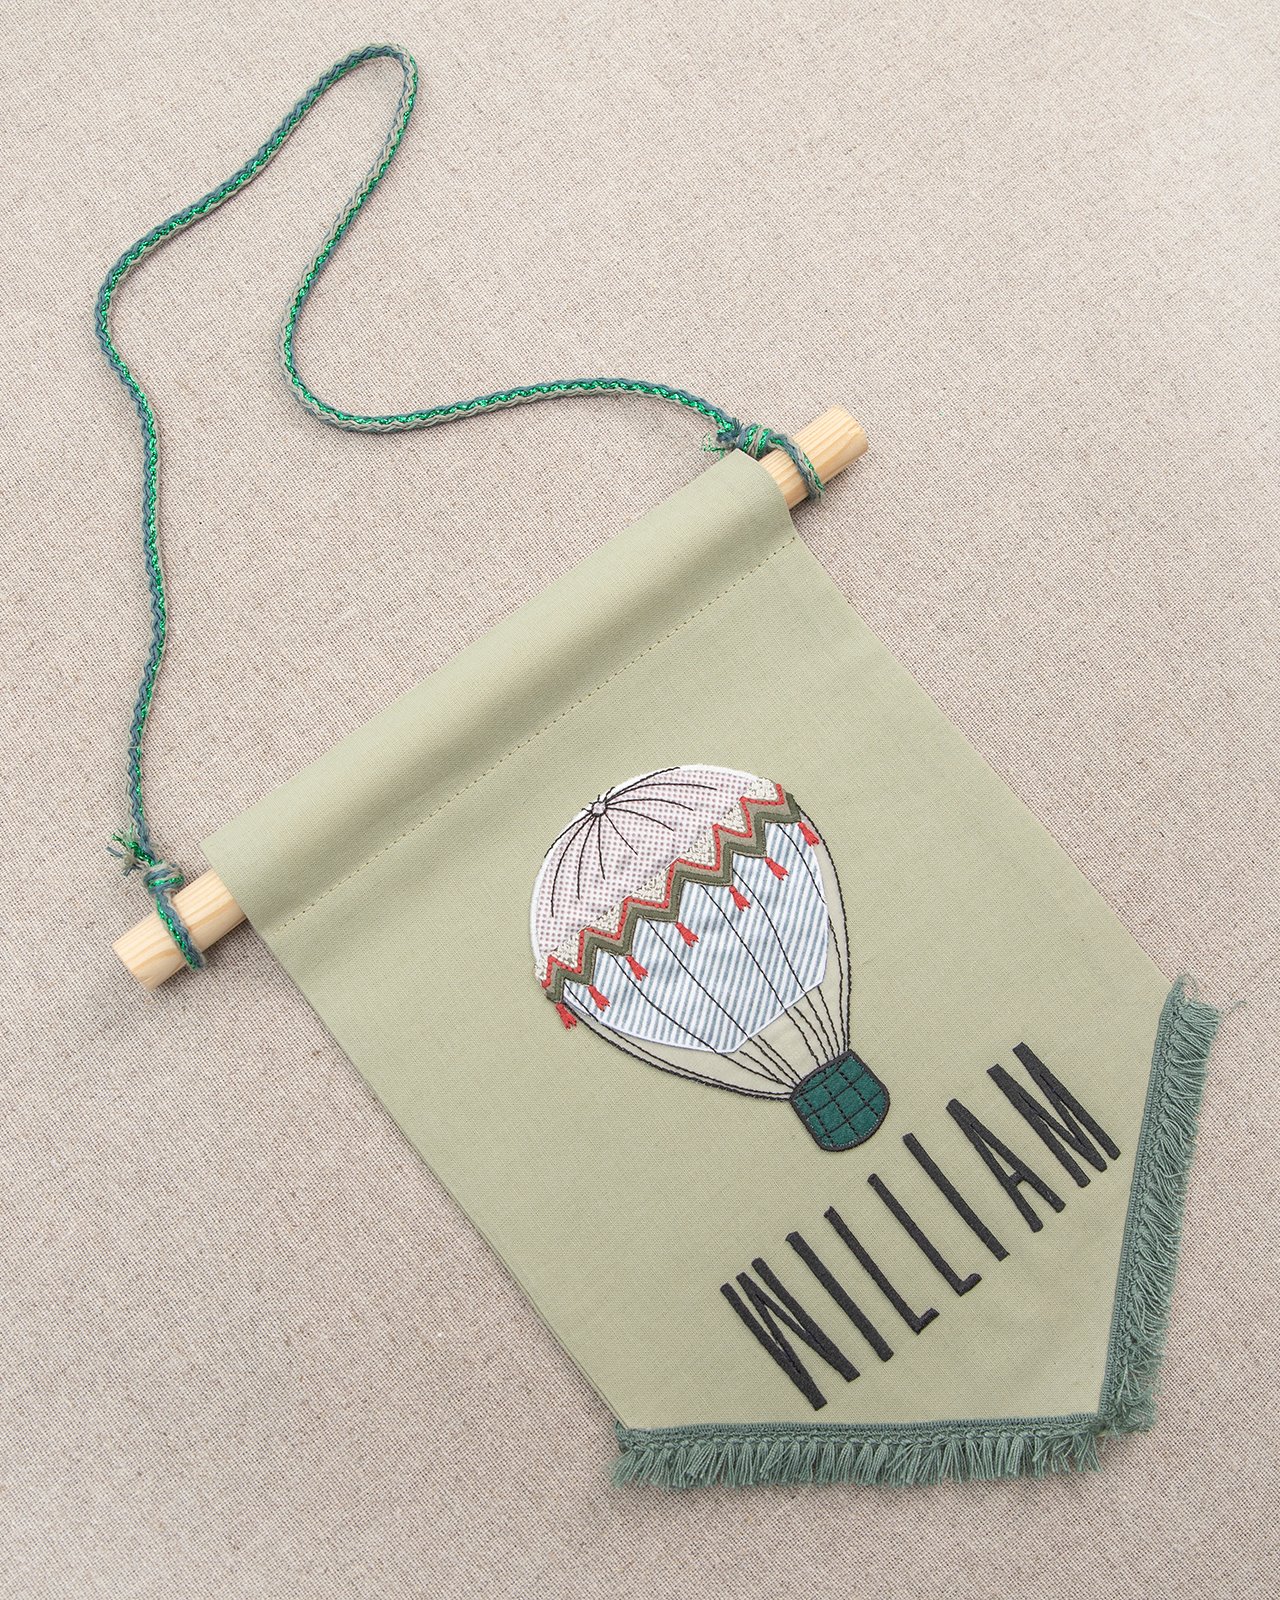
6.Affix a strip of wonder tape. This makes attaching the fringed ribboneasier. Pin the fringed ribbon in place andsew on firmly. 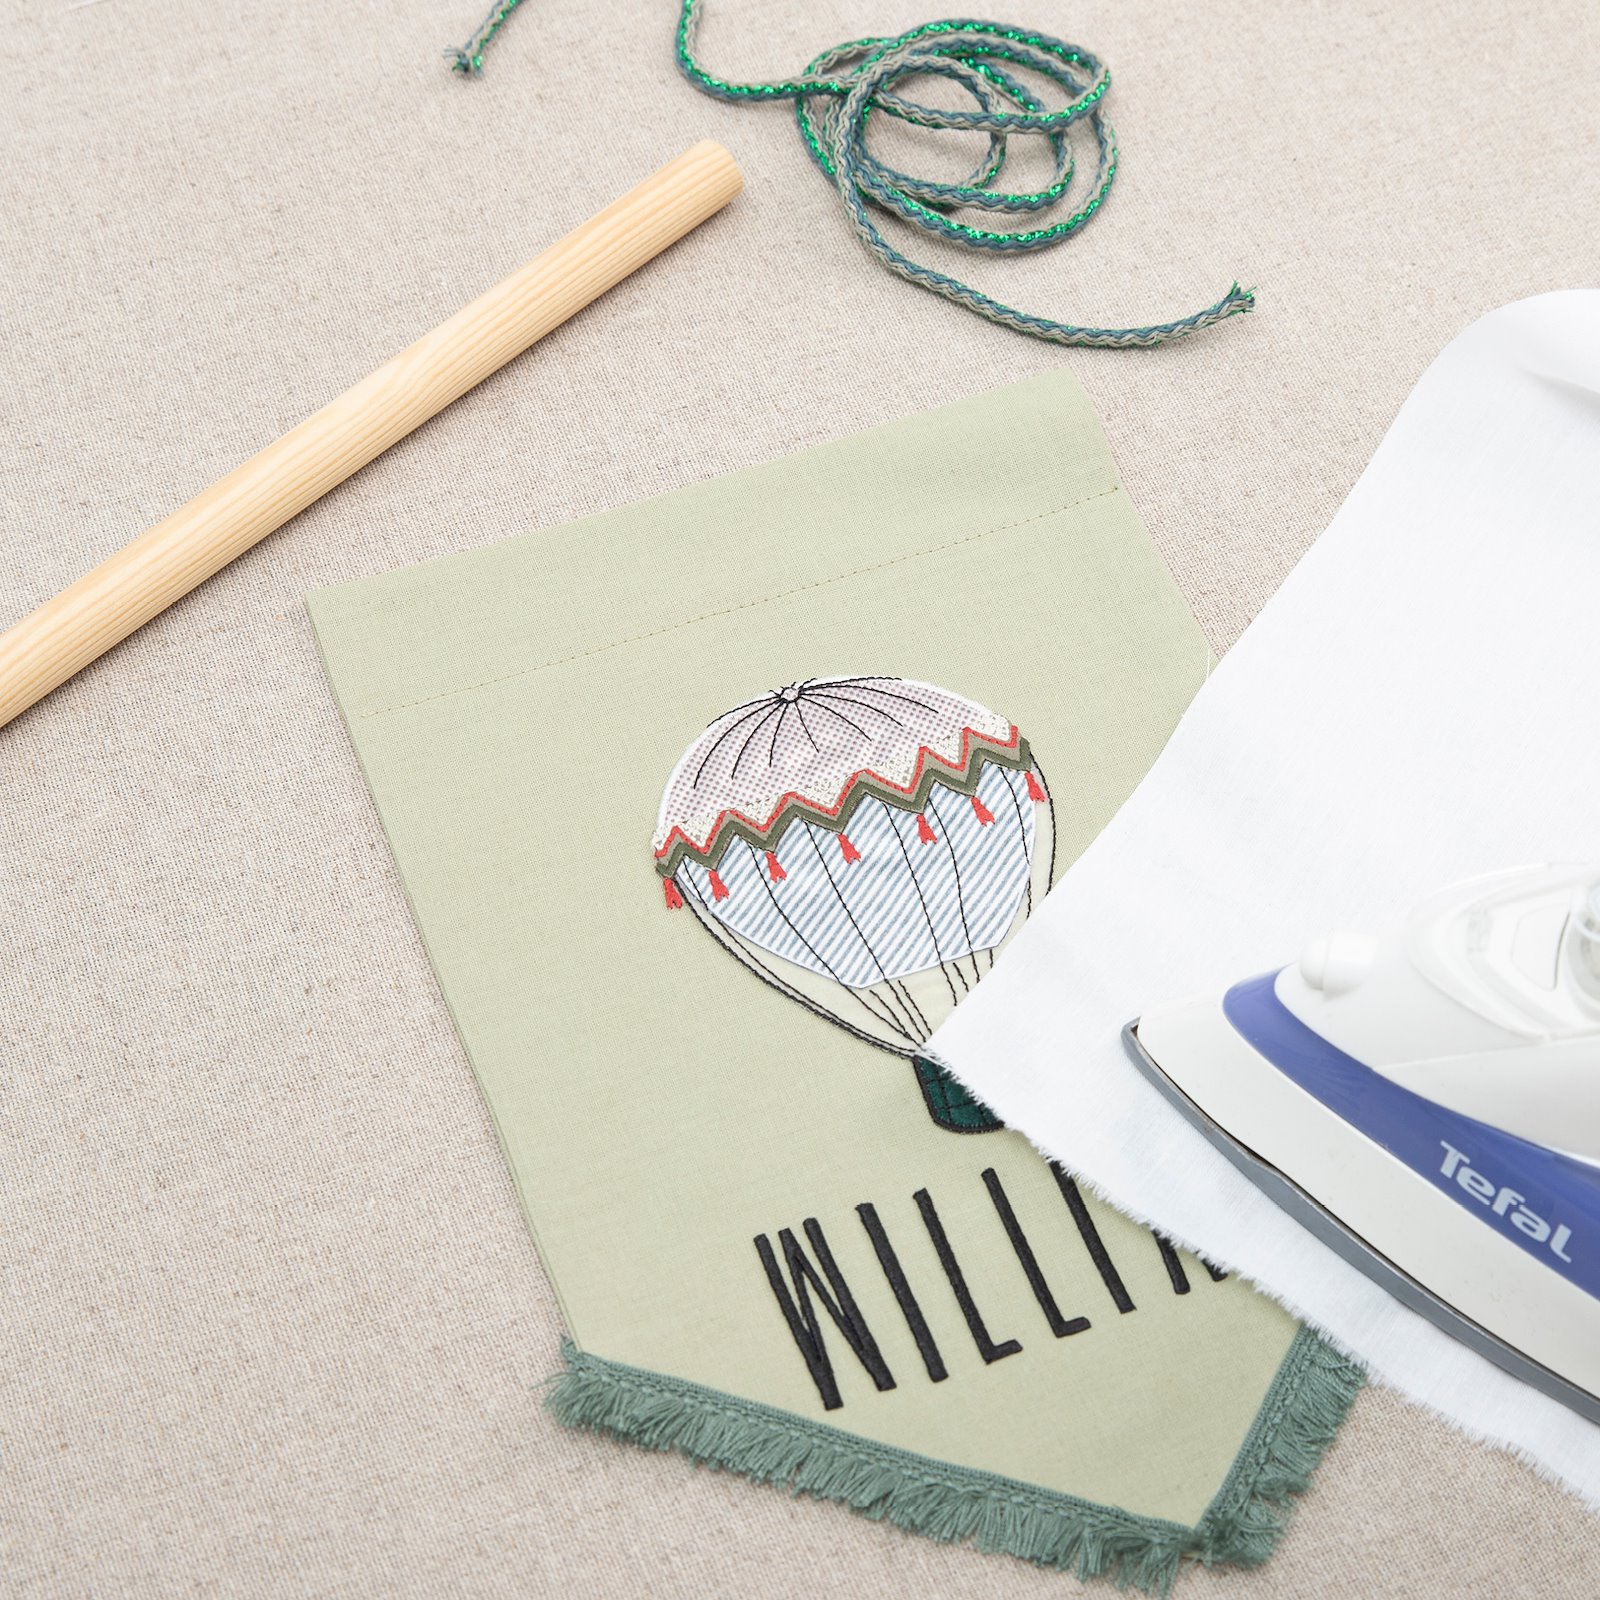
7.Iron on patch and letters. Use a cloth to protect the iron-on letters. Saw the dowel to the desired length. Use a length of anorak cord to hang.