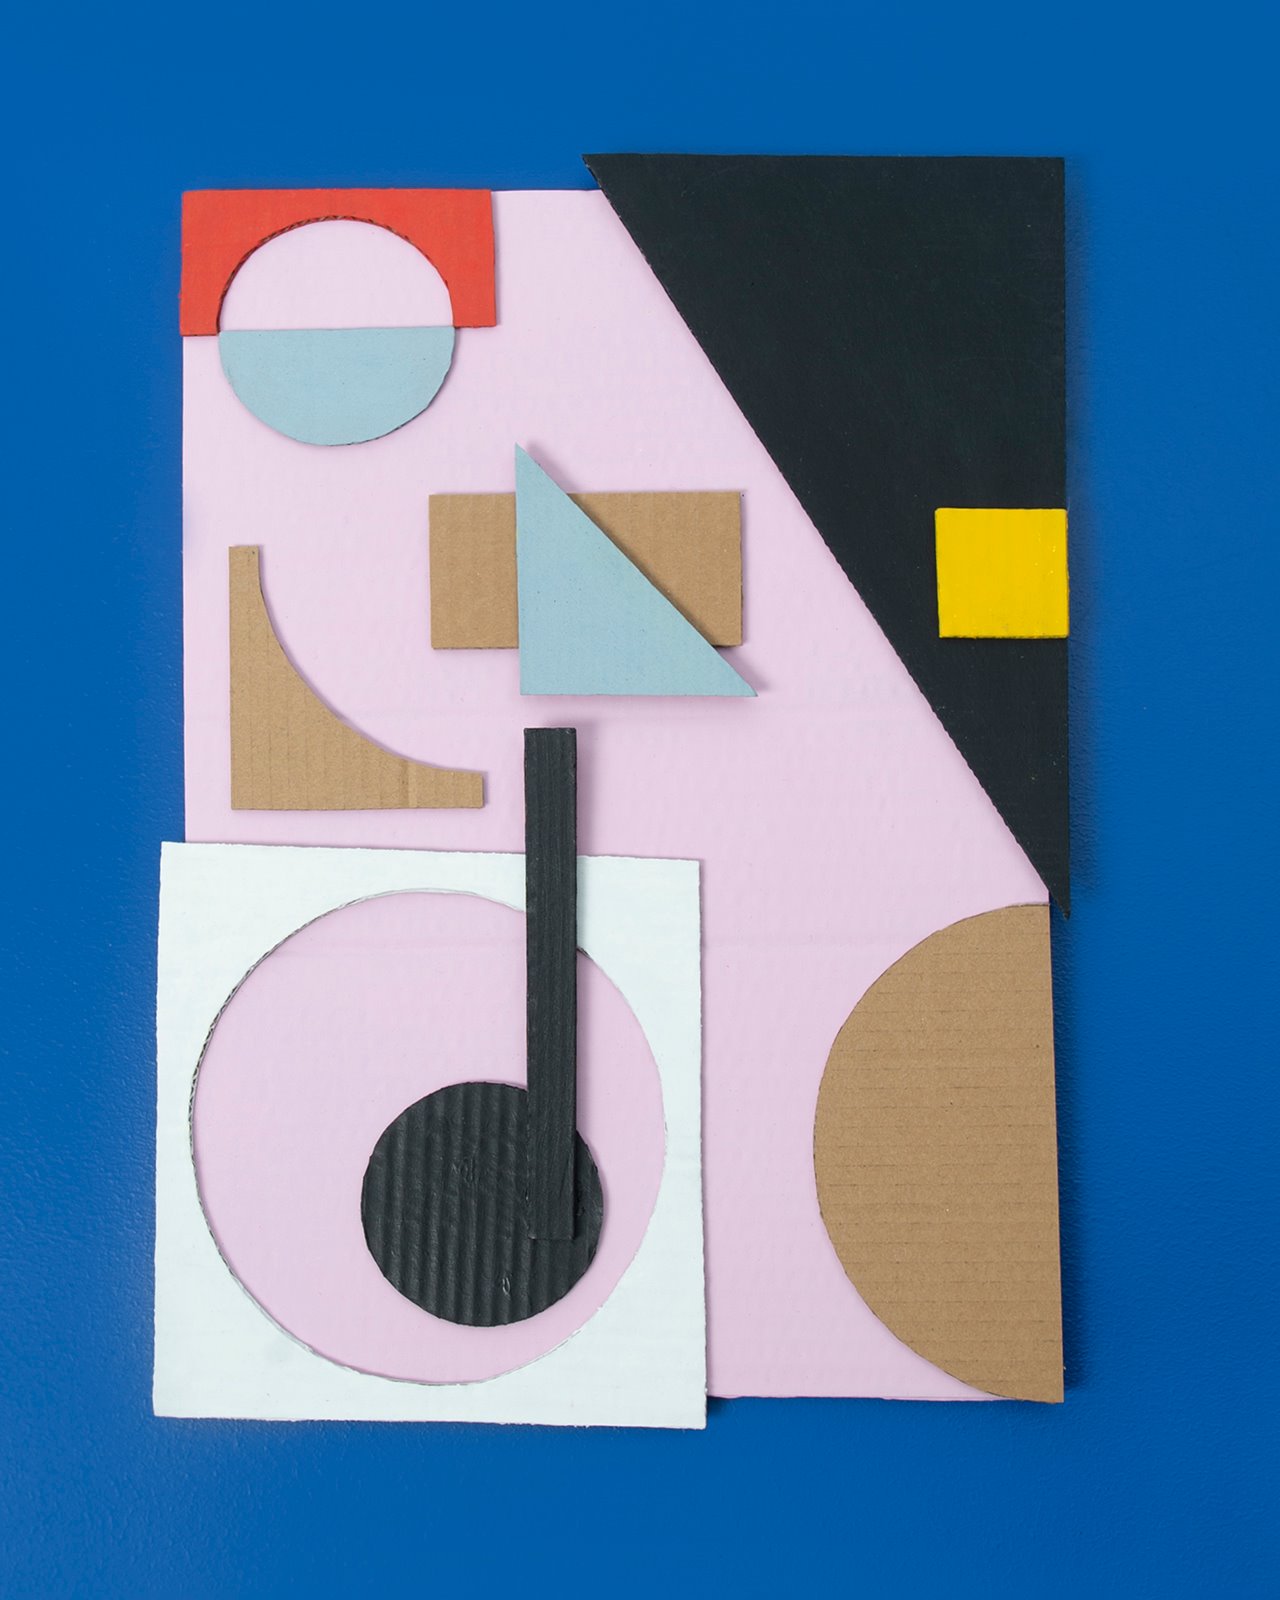
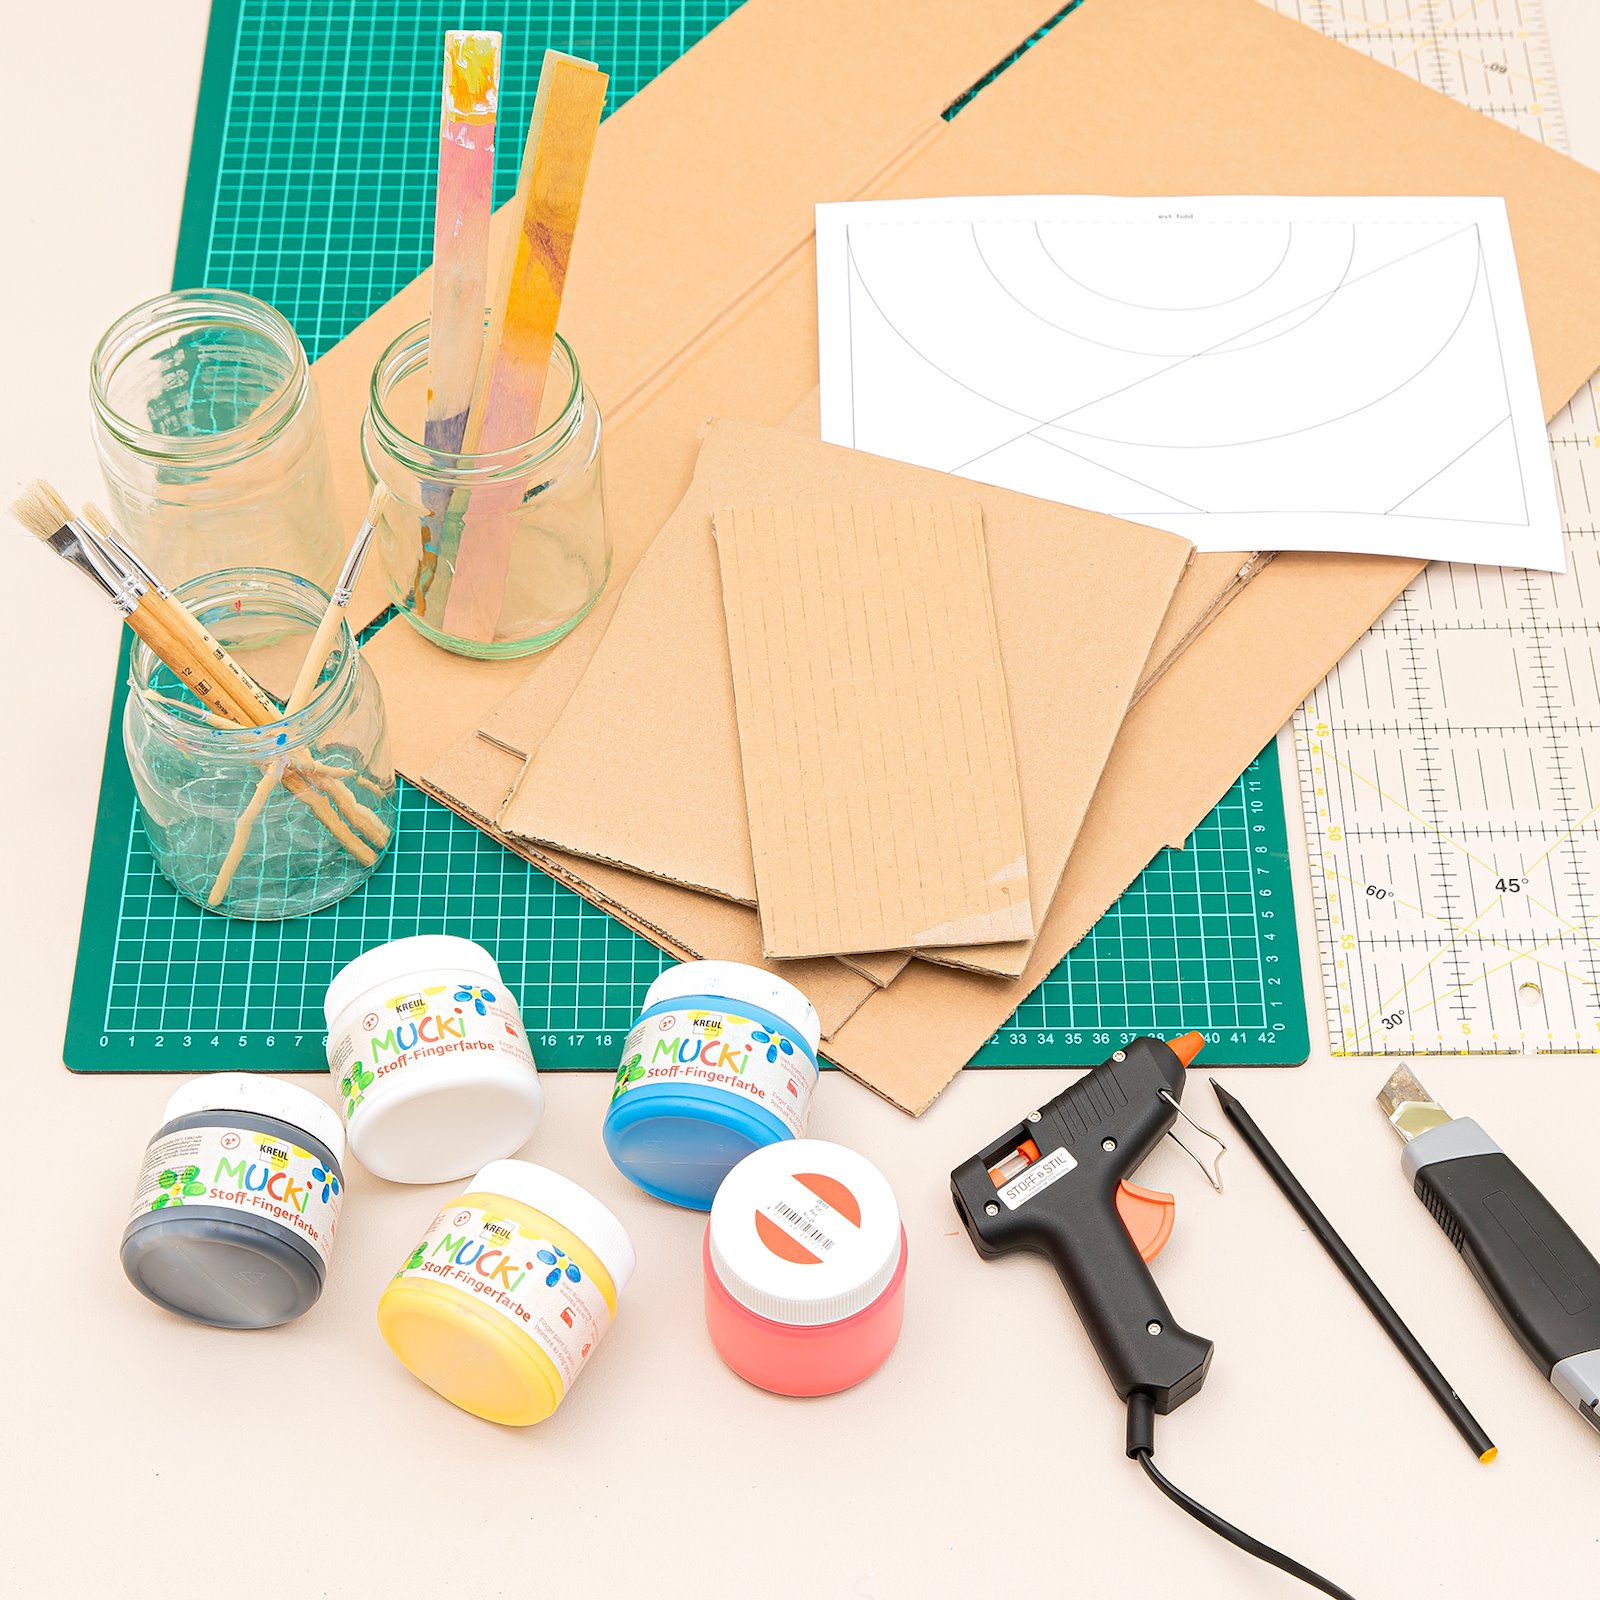
1.Collect all your materials and print the template. Hint: If you wish, you can scale the template to other sizes. 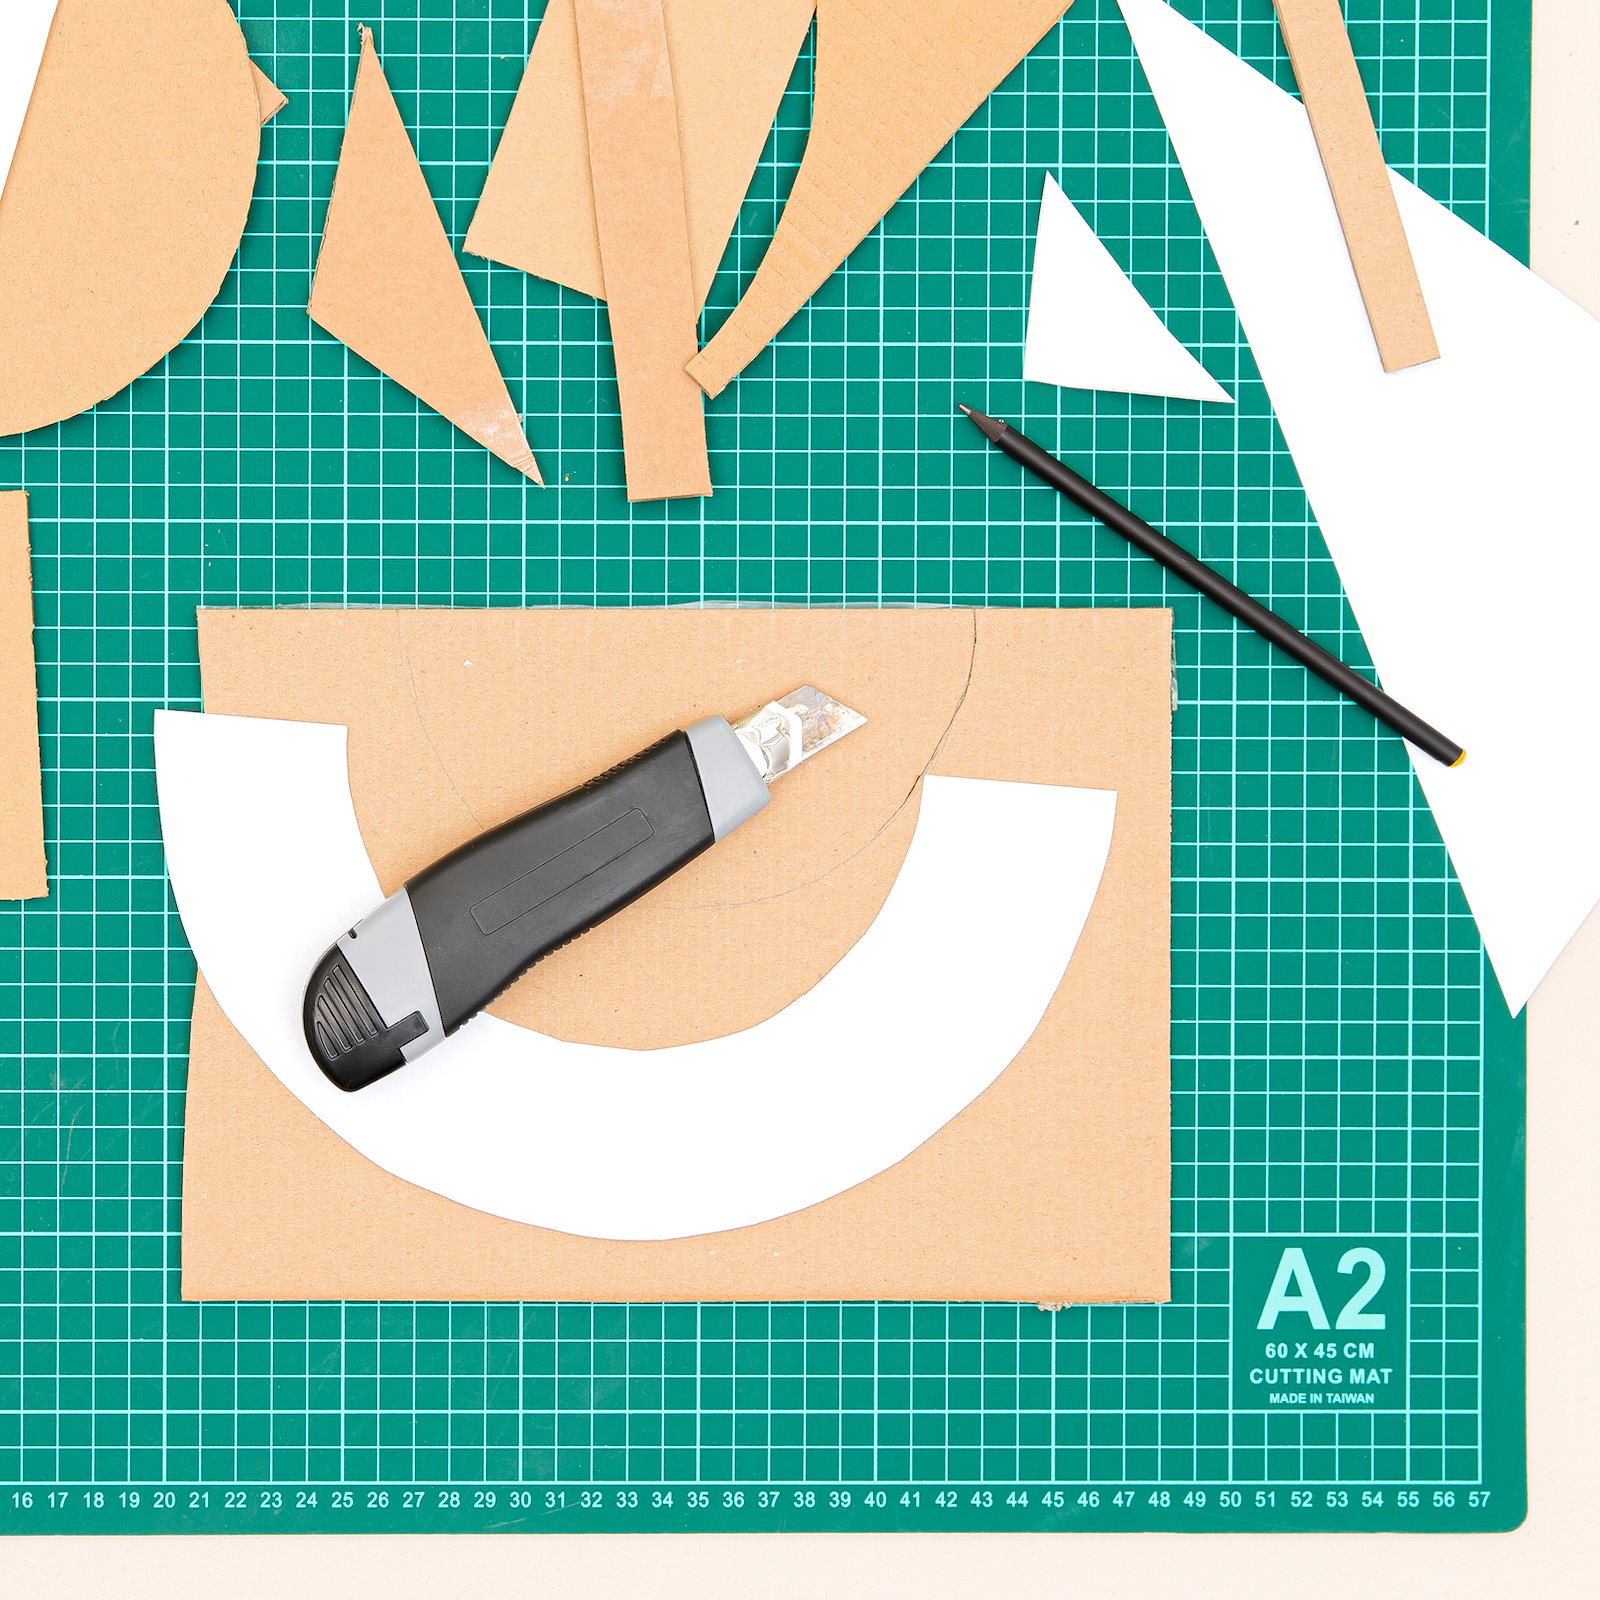
2.Cut out the templates, cut around them and then cut the figures out in cardboard. 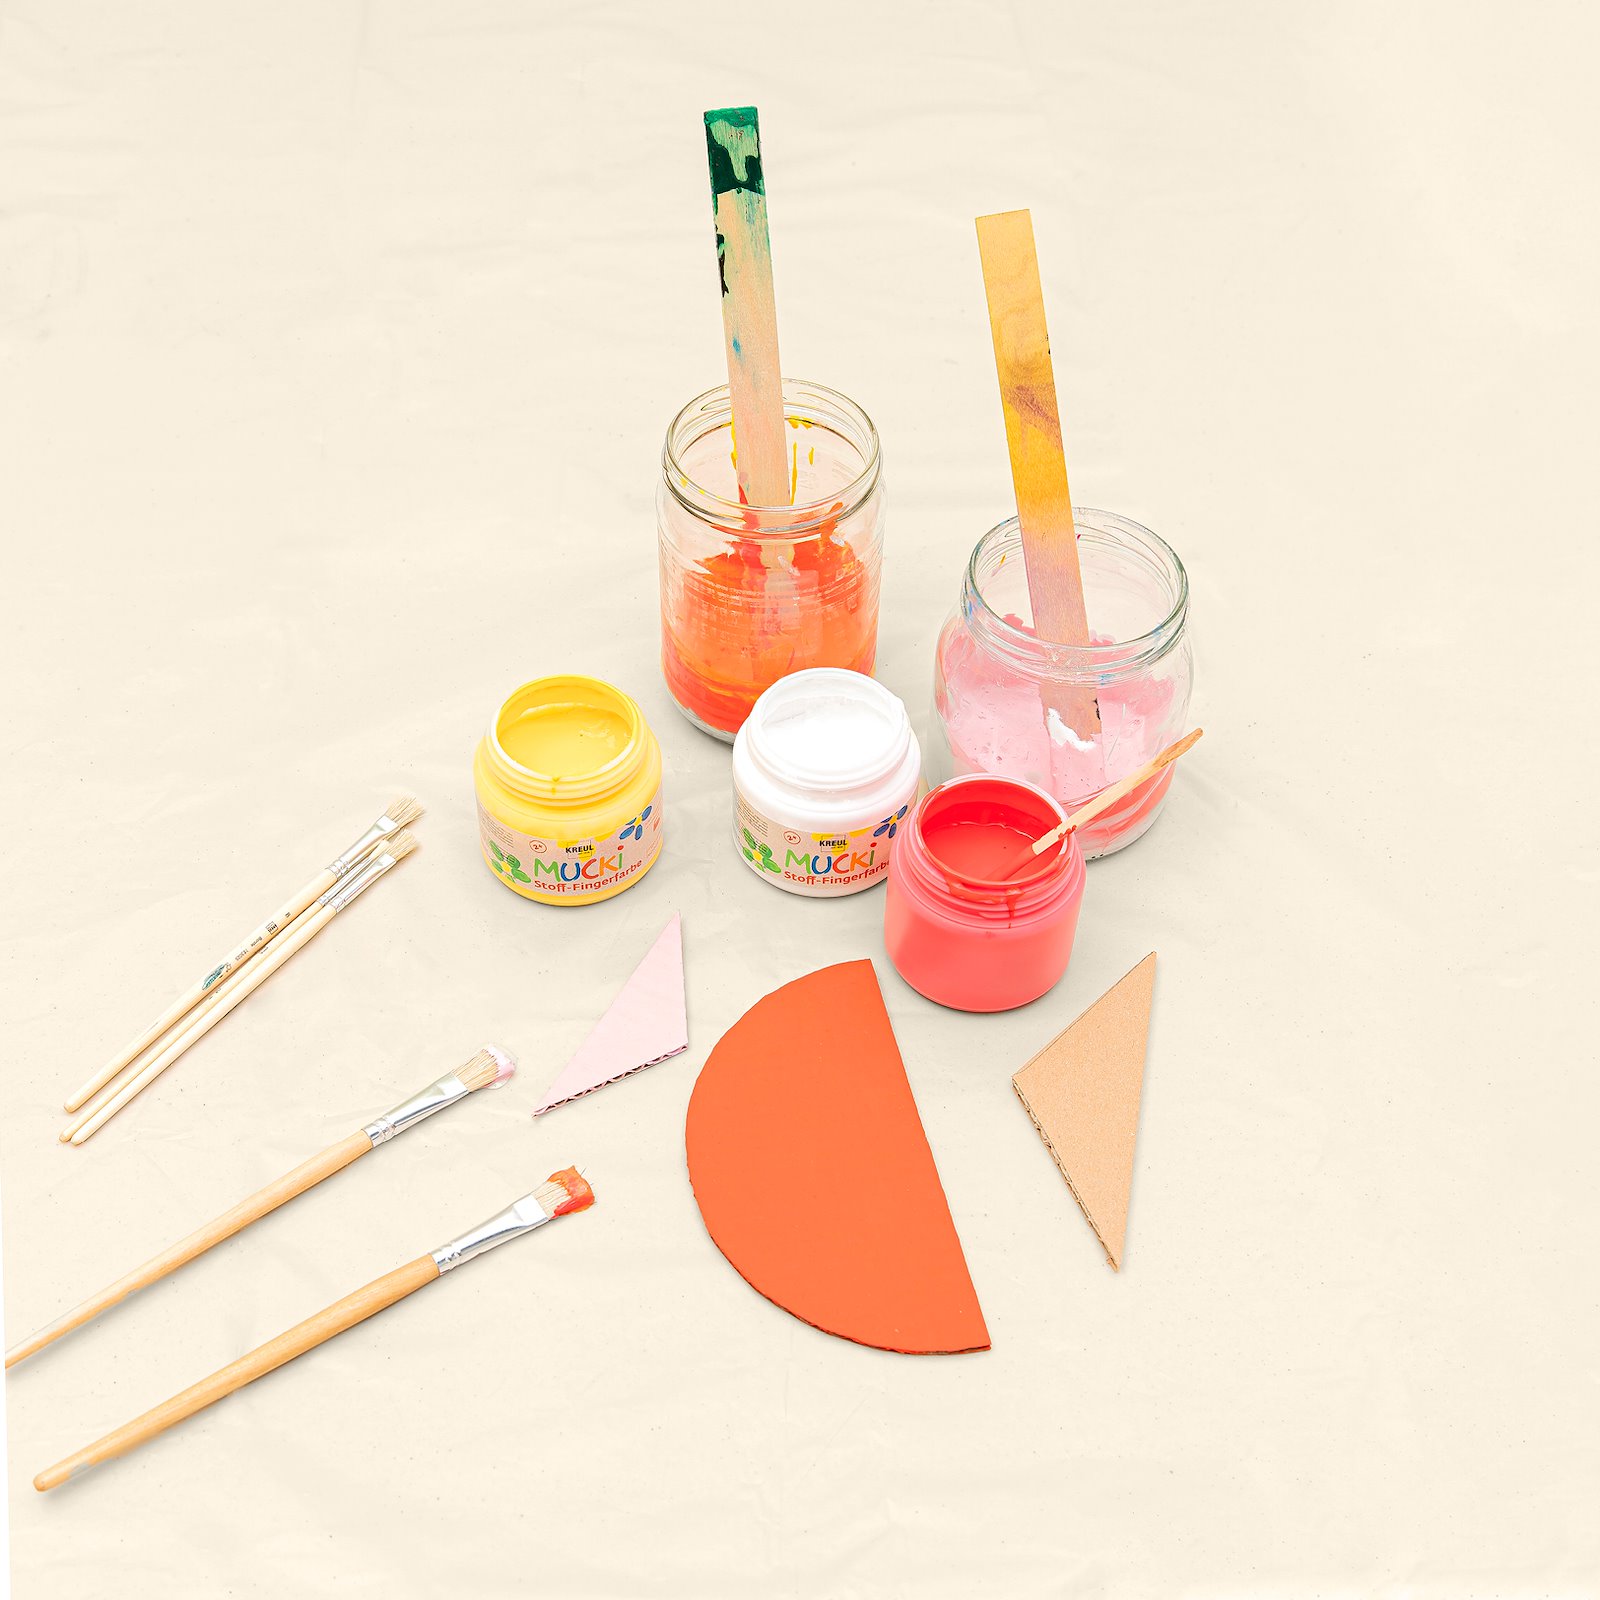
3.You can either use primary colours or mix colours as you wish. Hint: You can use coloured cardboard/cartons instead of paint. 
4.Paint some of the cardboard pieces. Leave others unpainted. Paint 2-3 times to ensure that the paint covers well. If you paint on both sides, the cardboard is less likely to bend. Hint: You can also use your cardboard offcuts. 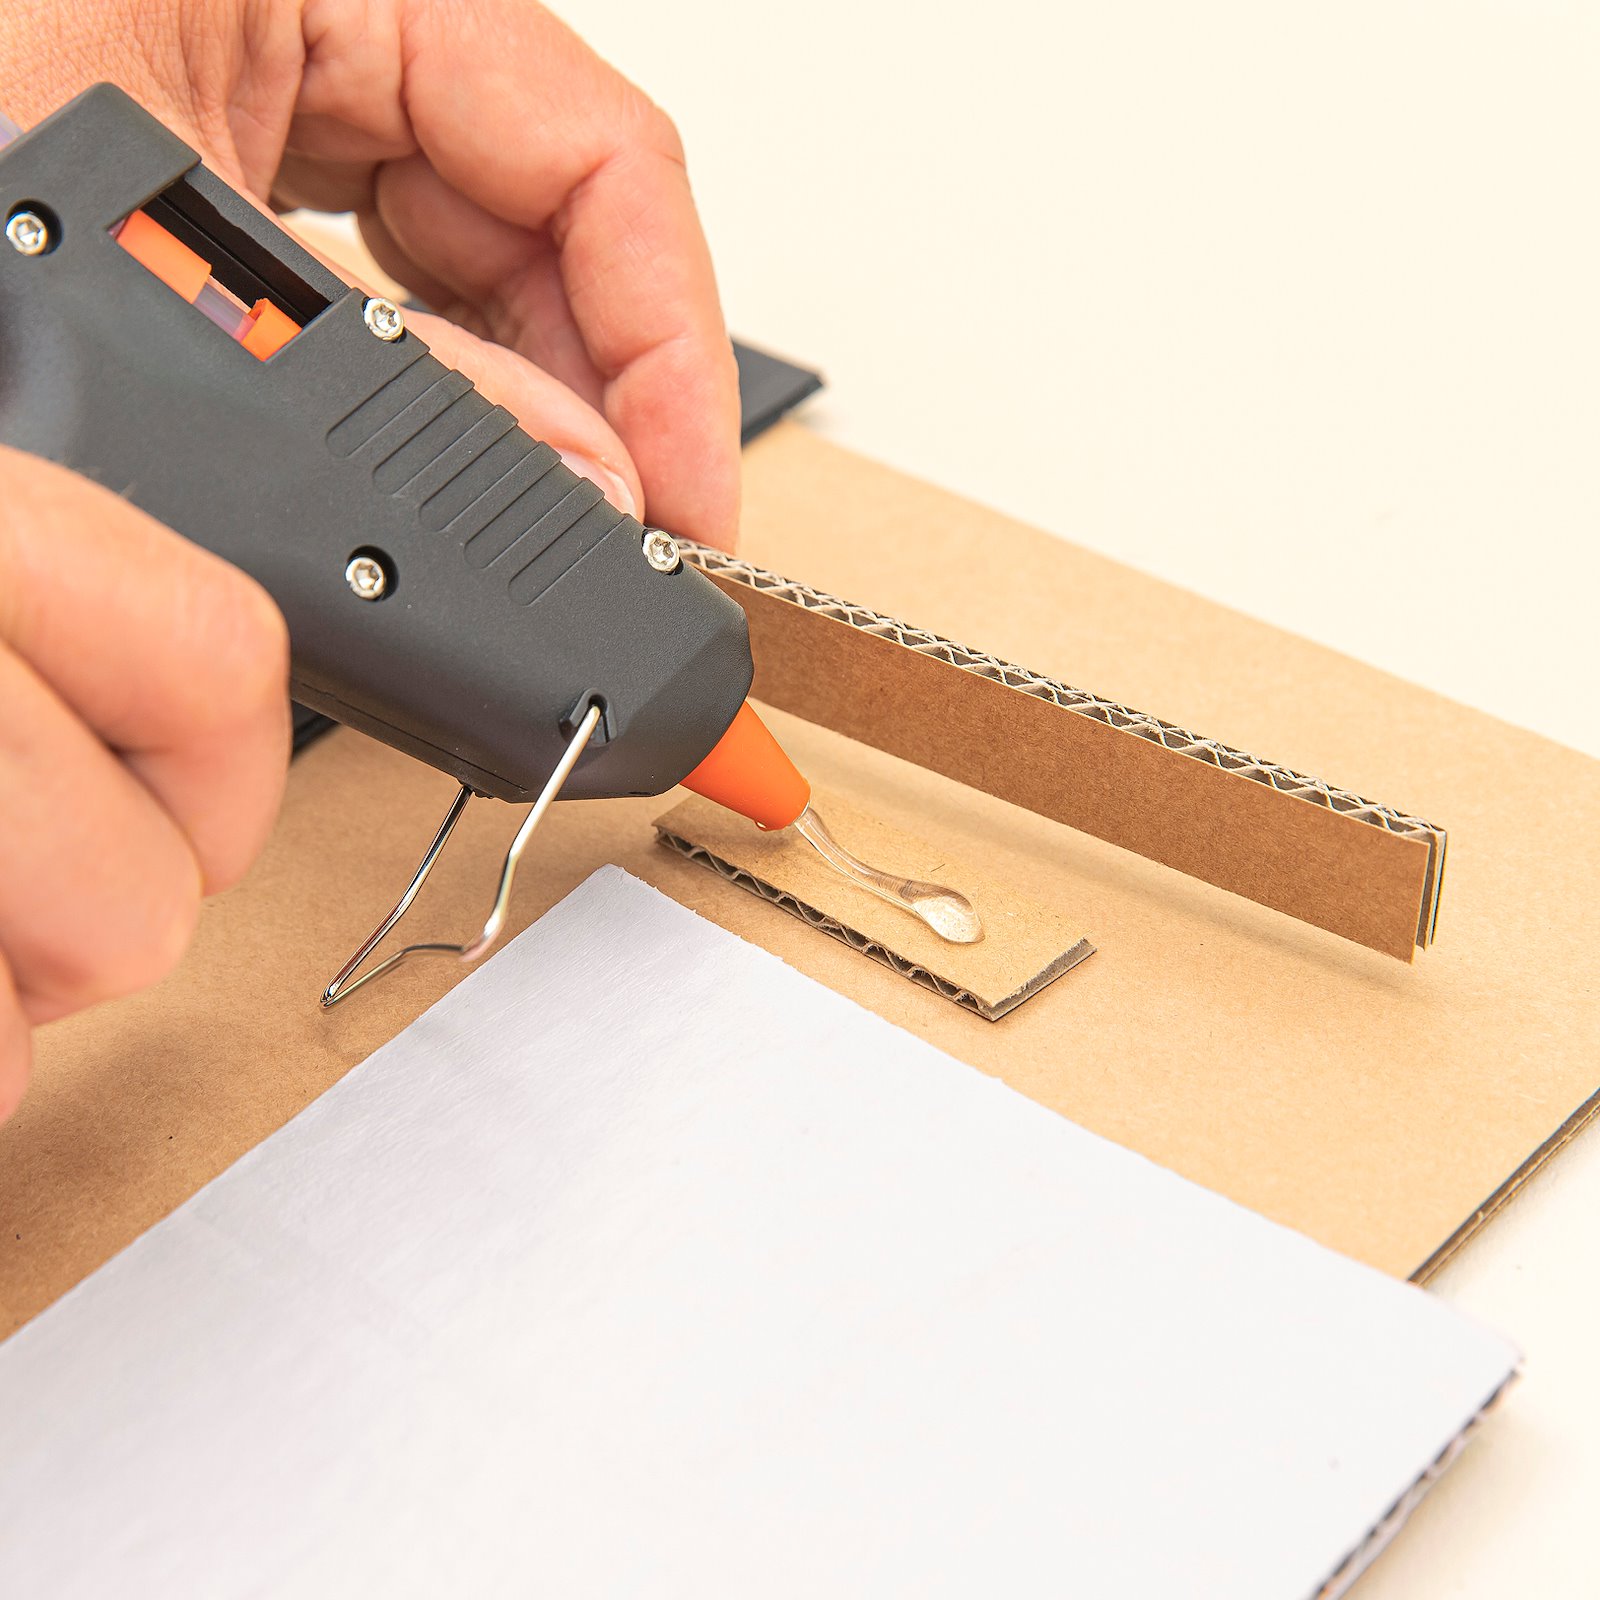
5.Lay all the pieces on the backing (this measures 29.5 x 40 cm) before gluing them on using the glue gun. Glue a concealed backing to some of the pieces to create a 3D effect. 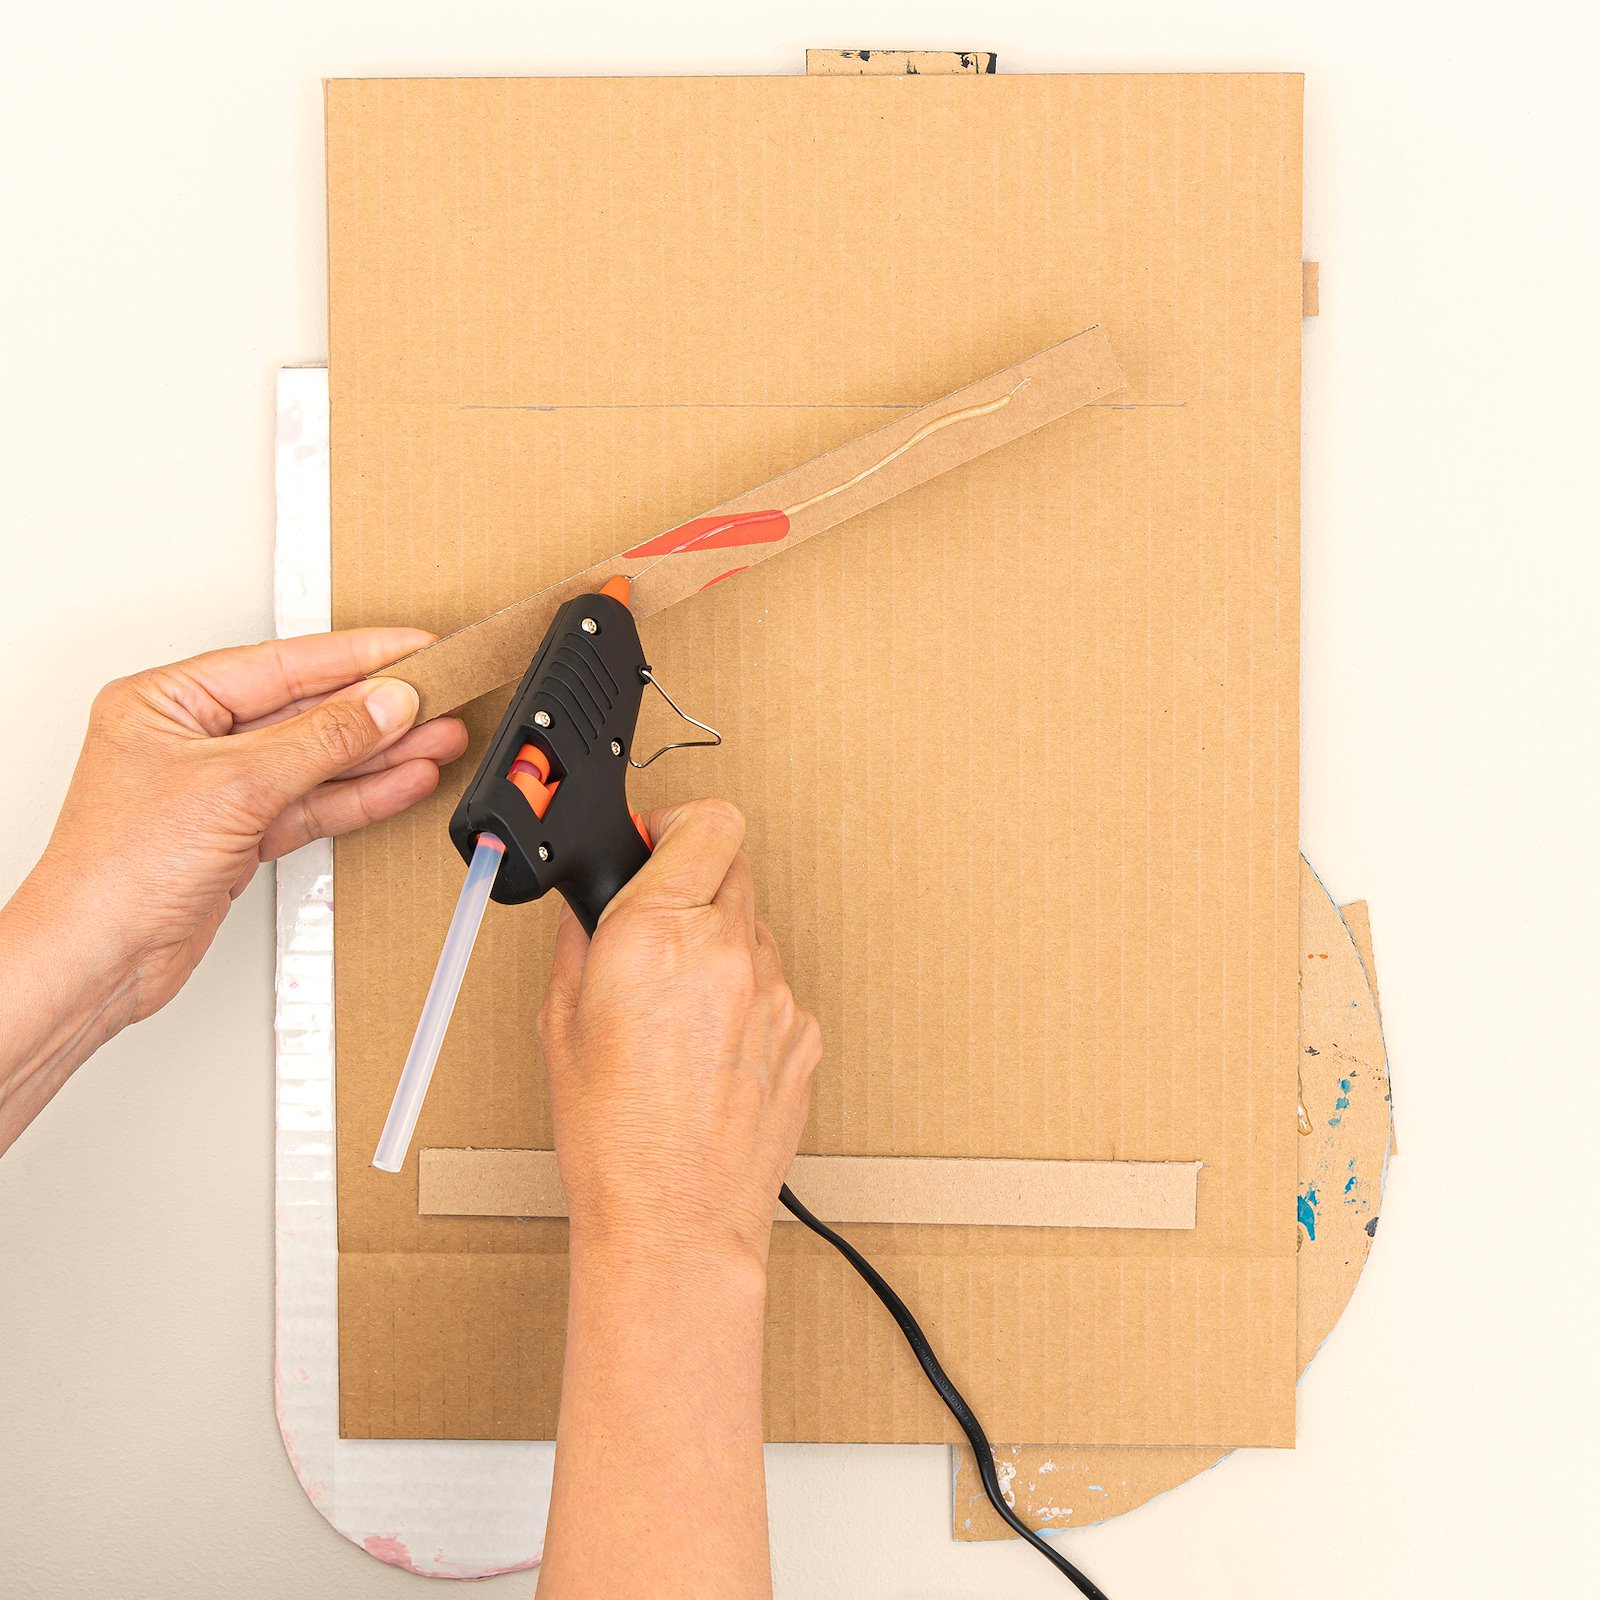
6.Glue 2 pieces of cardboard, each measuring 2 x 24 cm to the back of the cardboard. Use these to hang your work and thus avoid having to make holes in it.