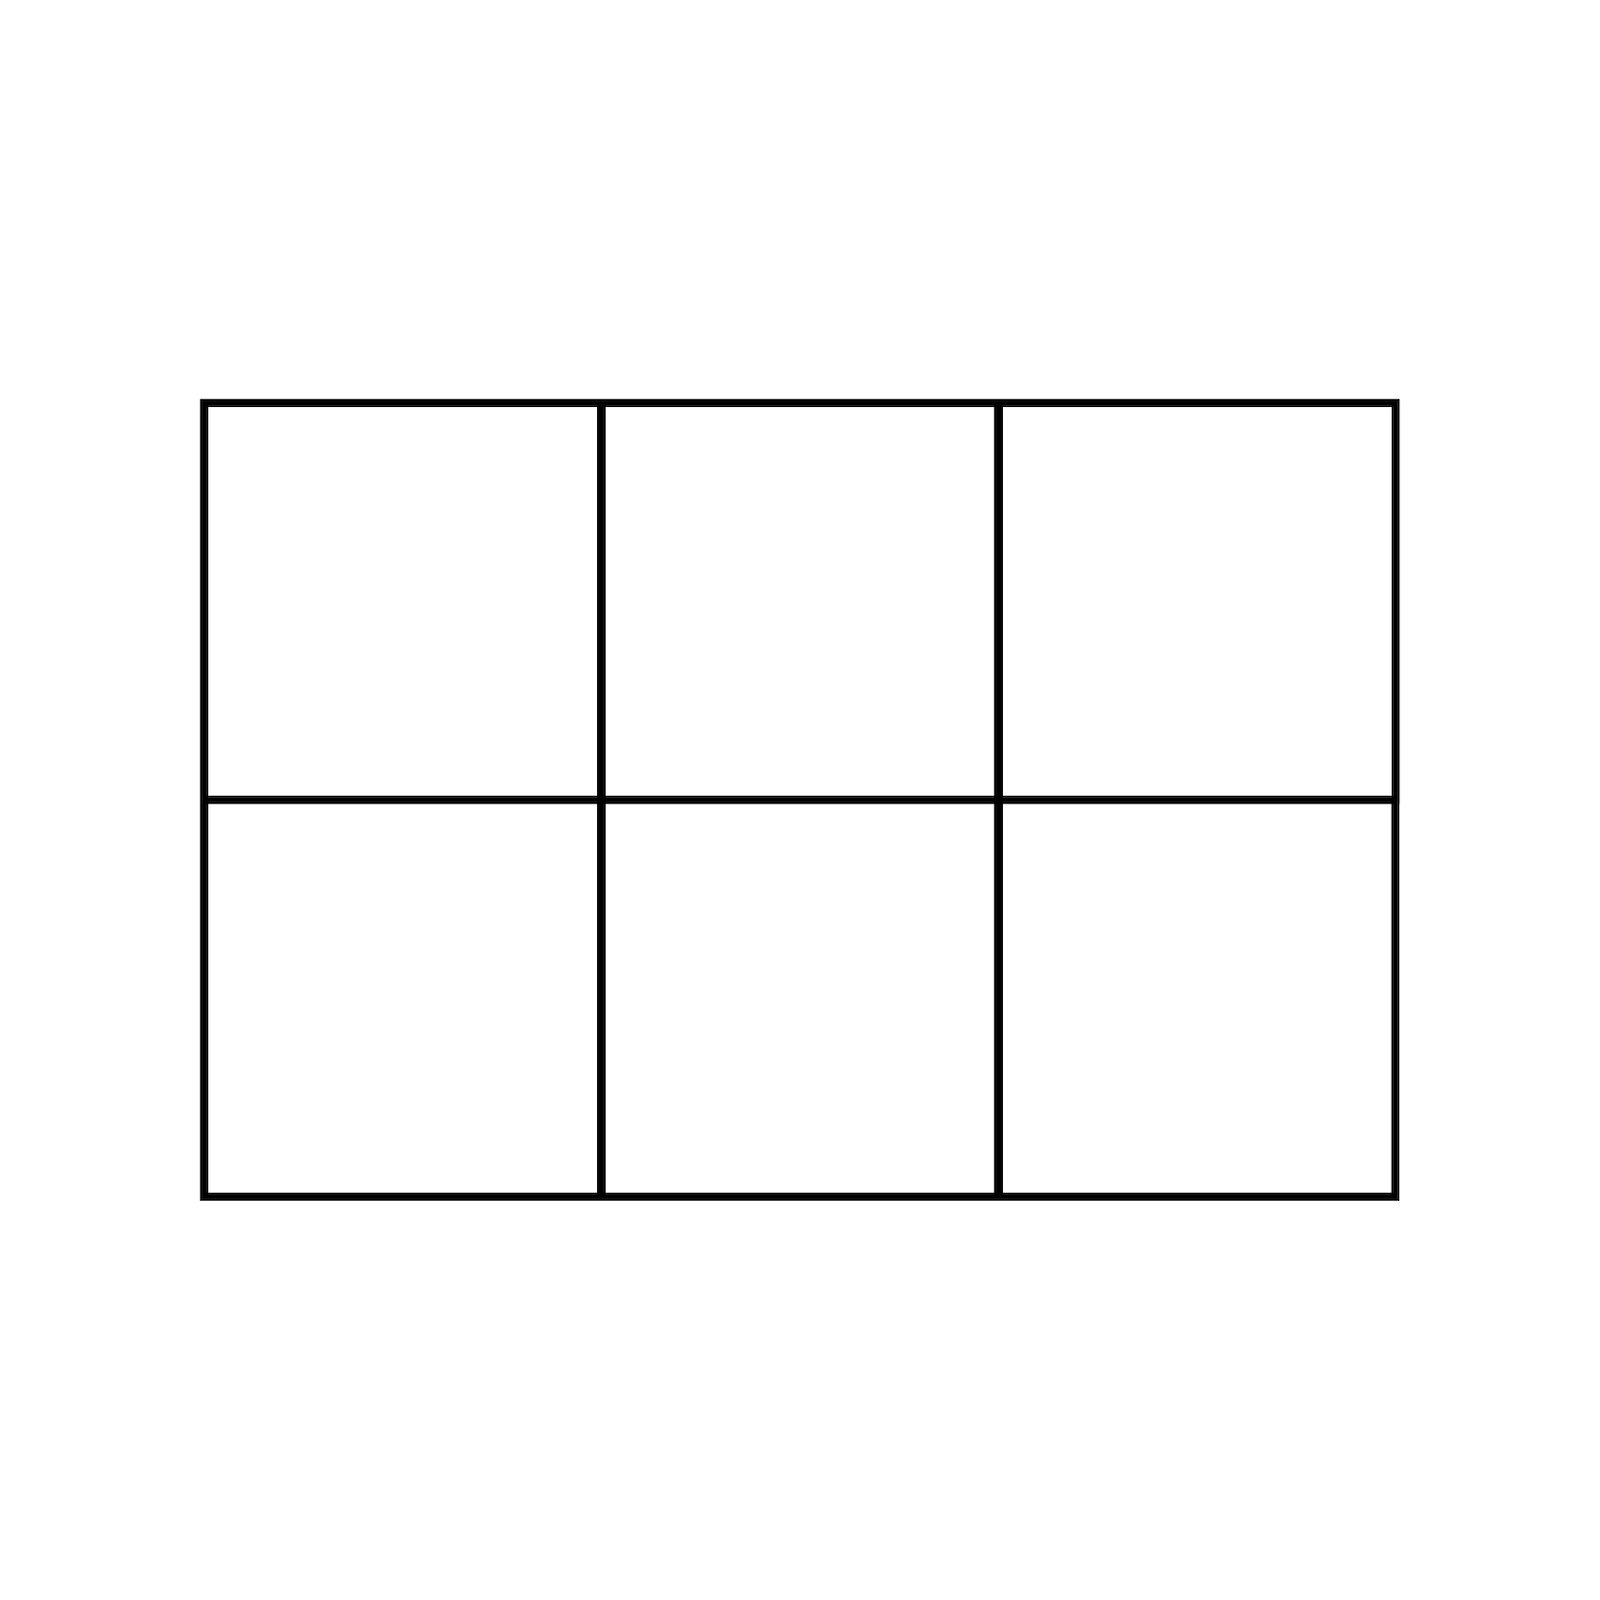
1.Draw squares on the wrong side of the light fabric as shown in the drawing. Draw with a sharp, soft pencil or marker pen. It is important that you draw very accurately. The size of the squares depends on how large you want your finished block to be. For example, a 13 x 13 cm square gives a finished block of about 21.5 x 21.5 cm. 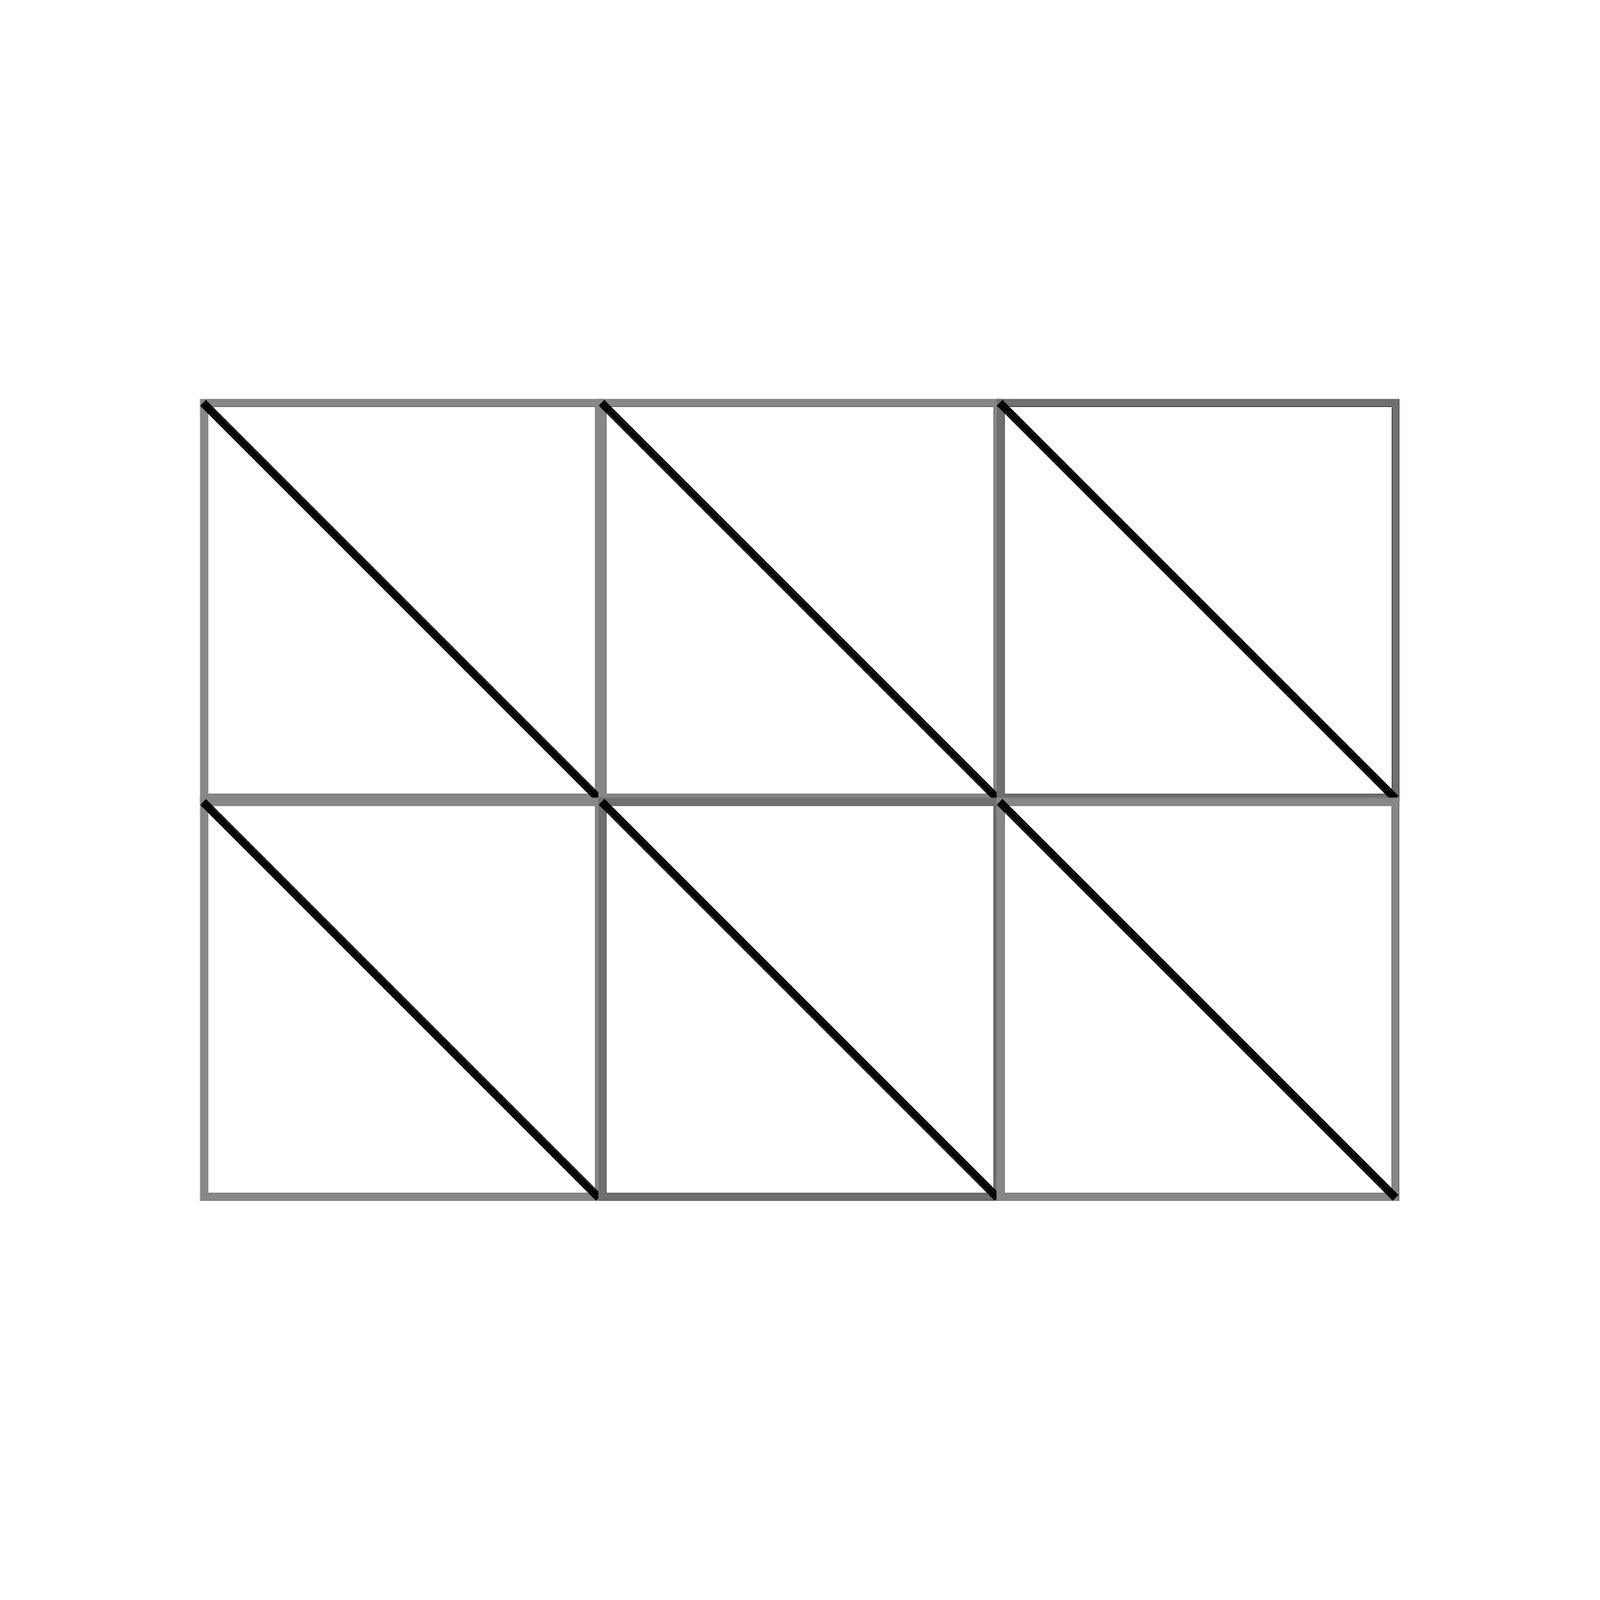
2.Draw diagonal lines as shownin the drawing. 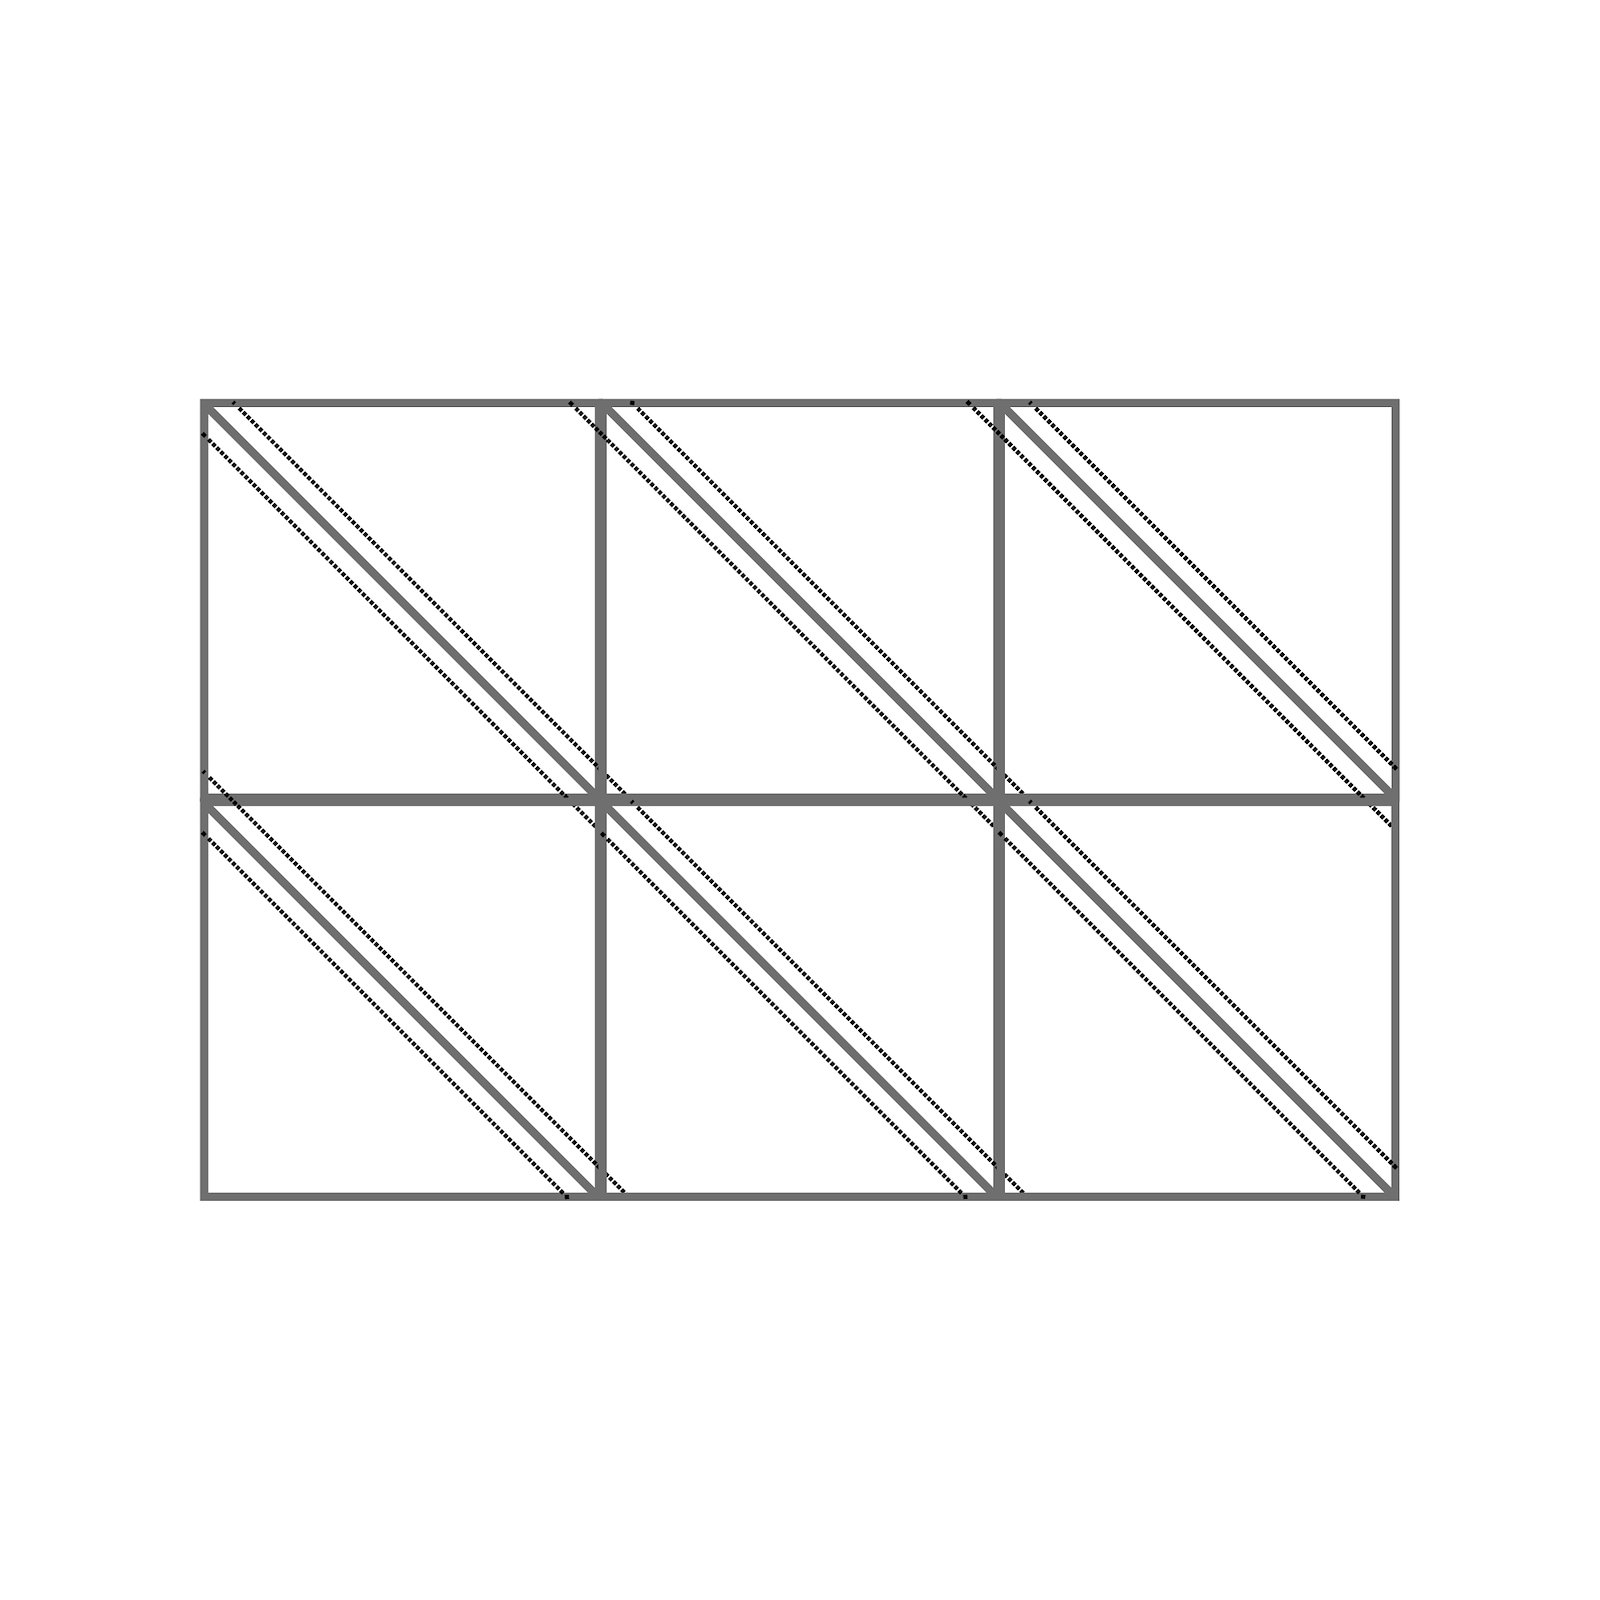
3.Place a dark and a light piece of fabric together, right sides facing. Sew a machine foot width from the diagonal lines on both sides of the diagonal lines. Use a stitch length corresponding to about 5 stitches per cm. 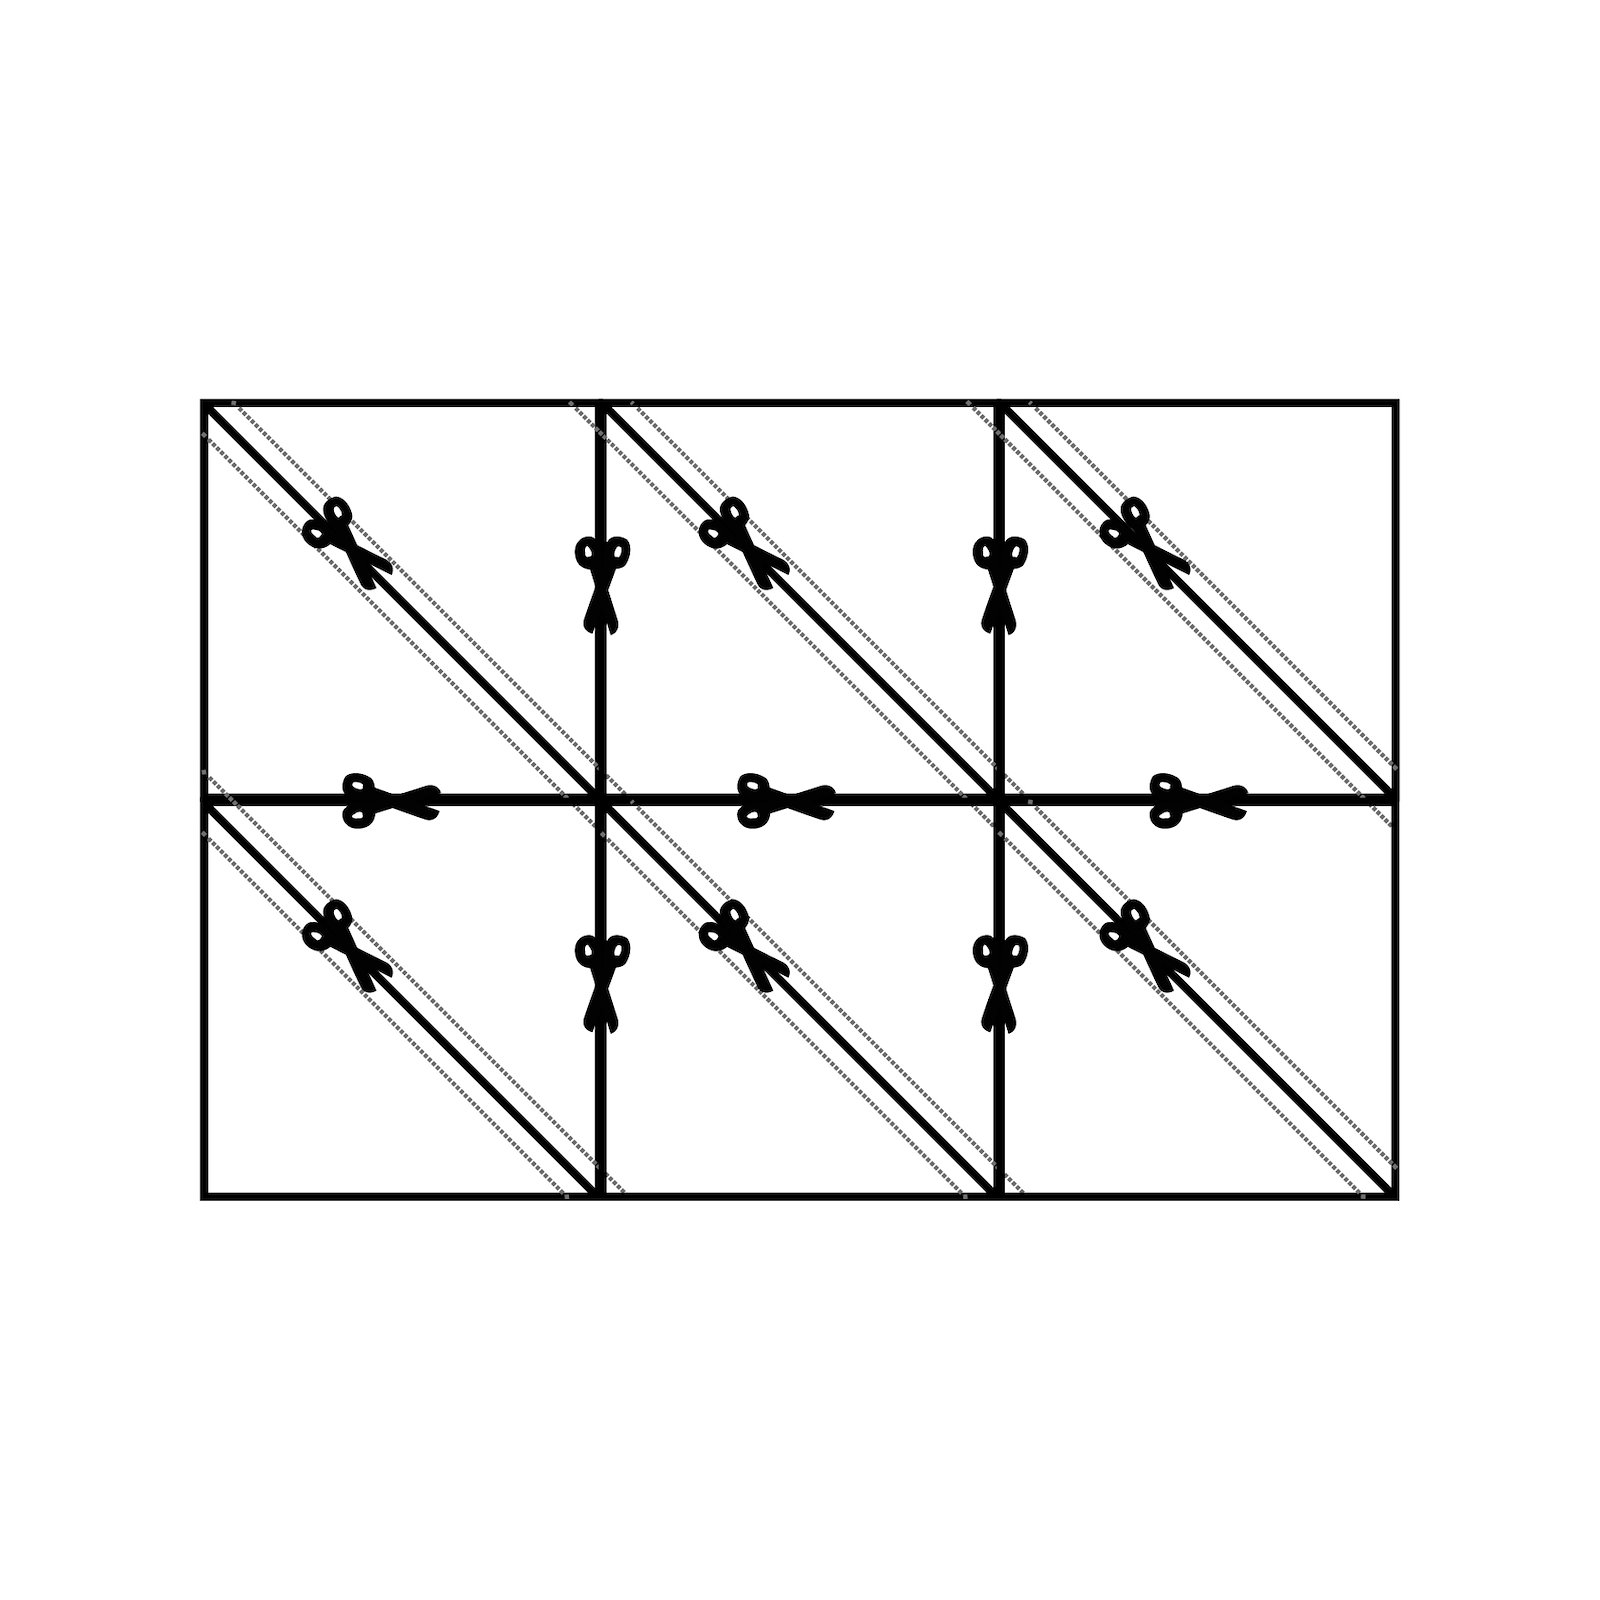
4.Now cut the squares apart. Cut on the diagonal line between the two rows of stitching. 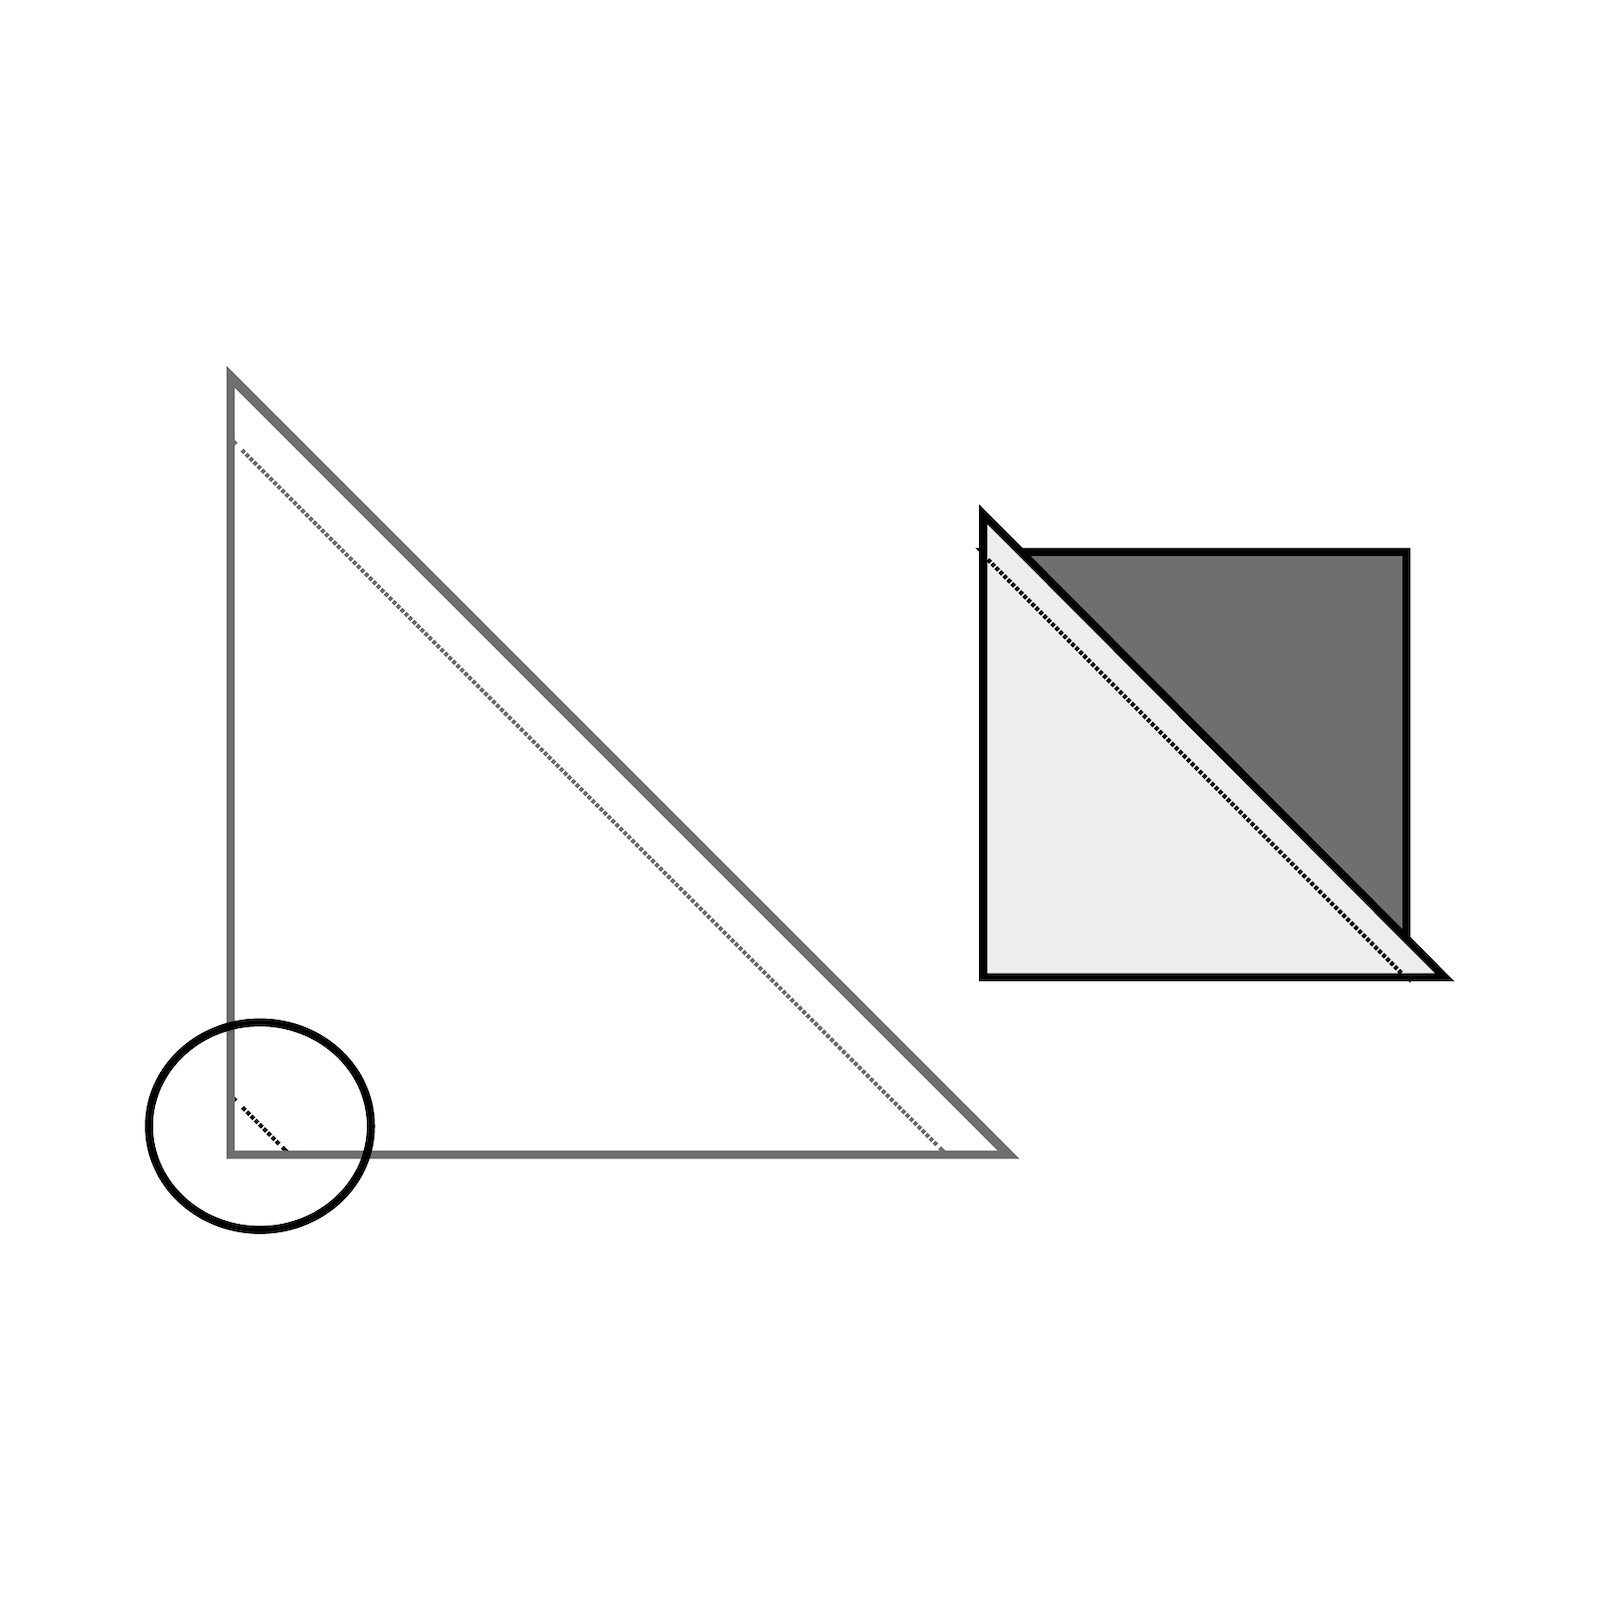
5.There will be a few stitches to pick up at one corner. Press the seam towards the dark fabric. 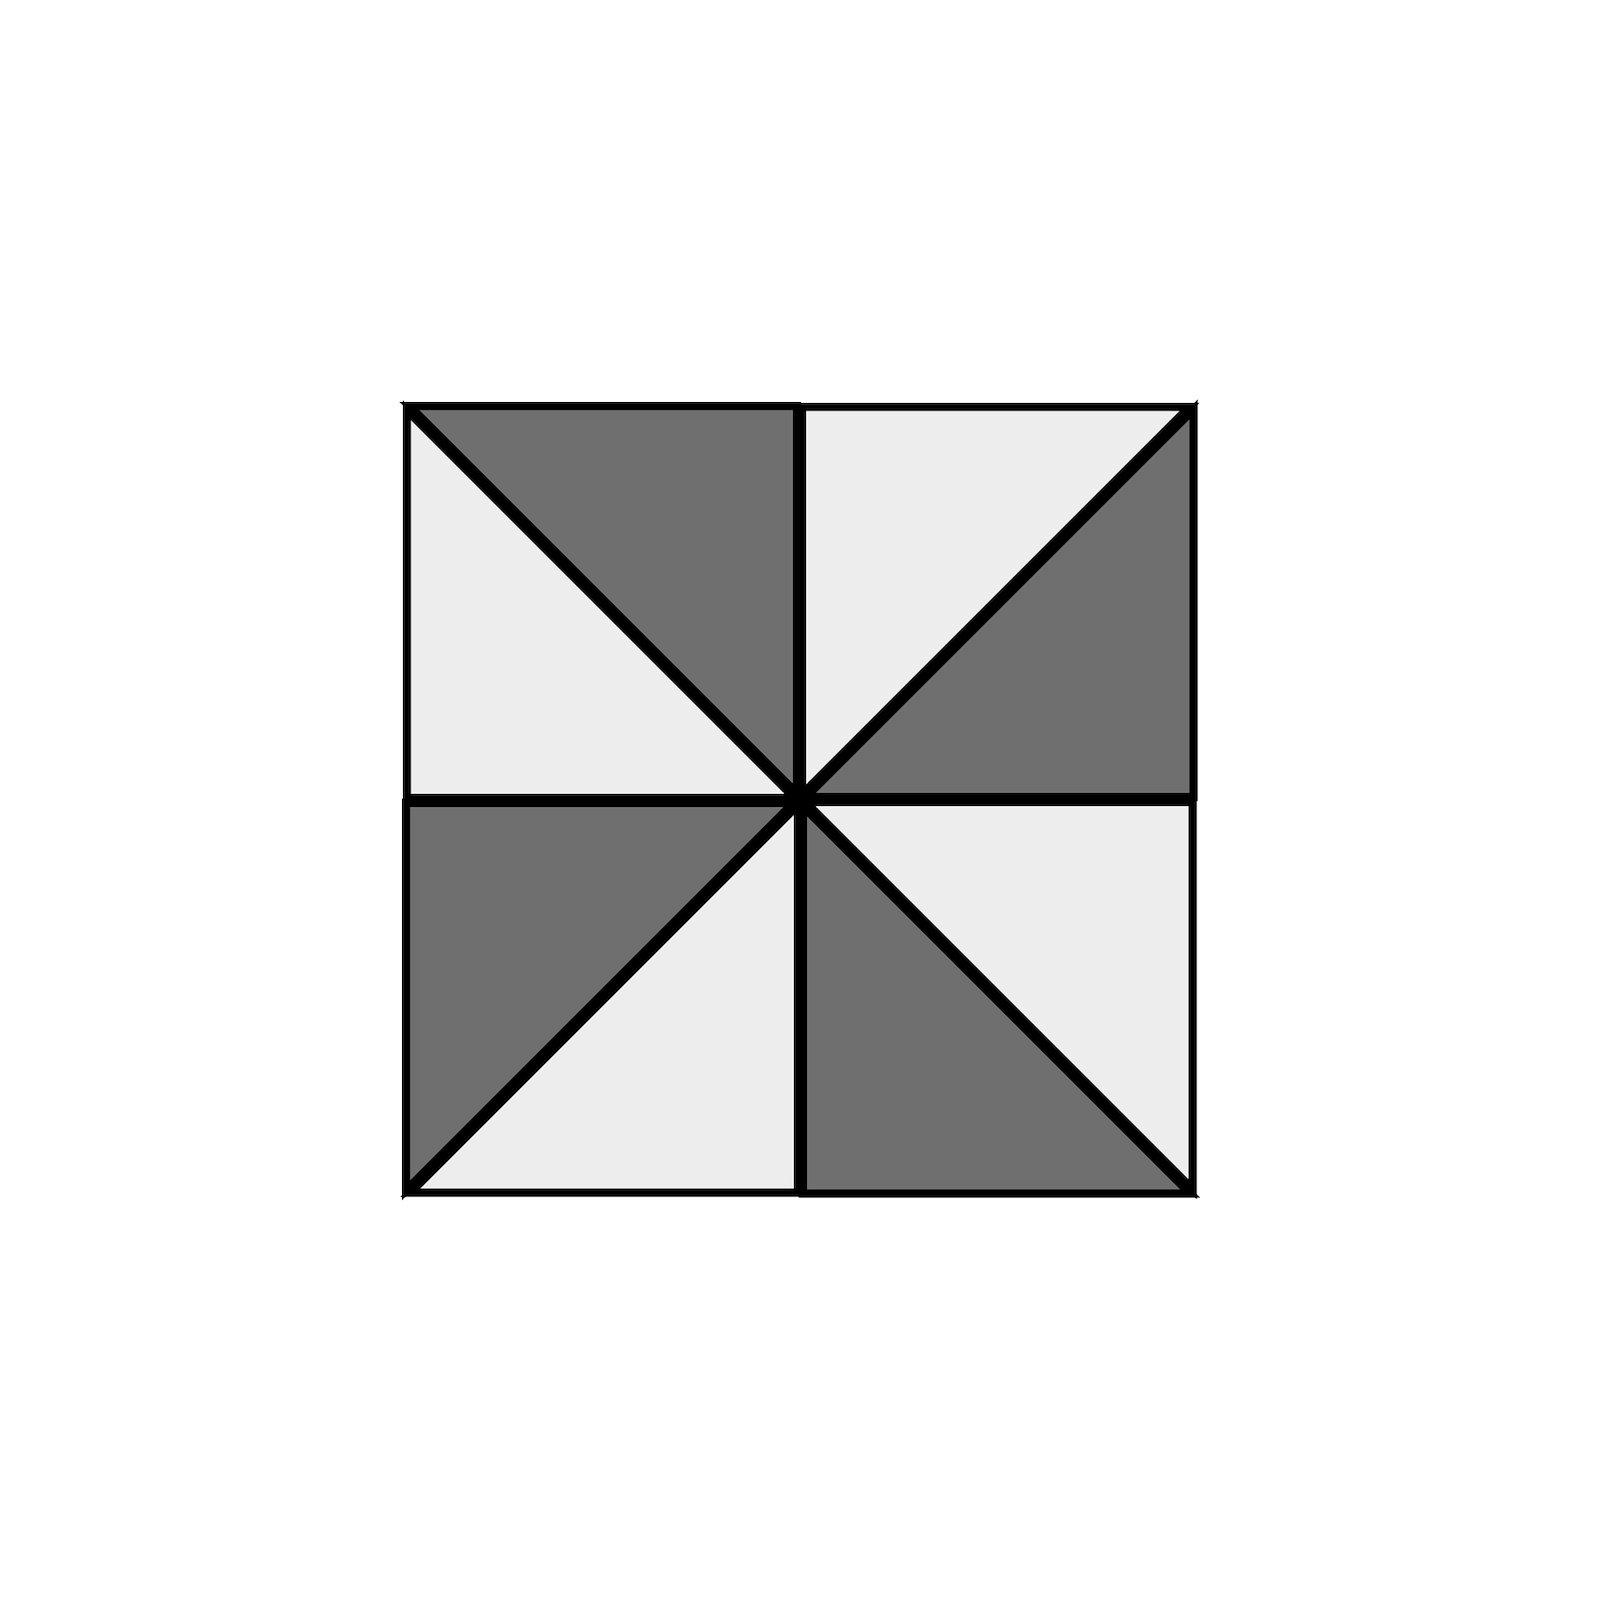
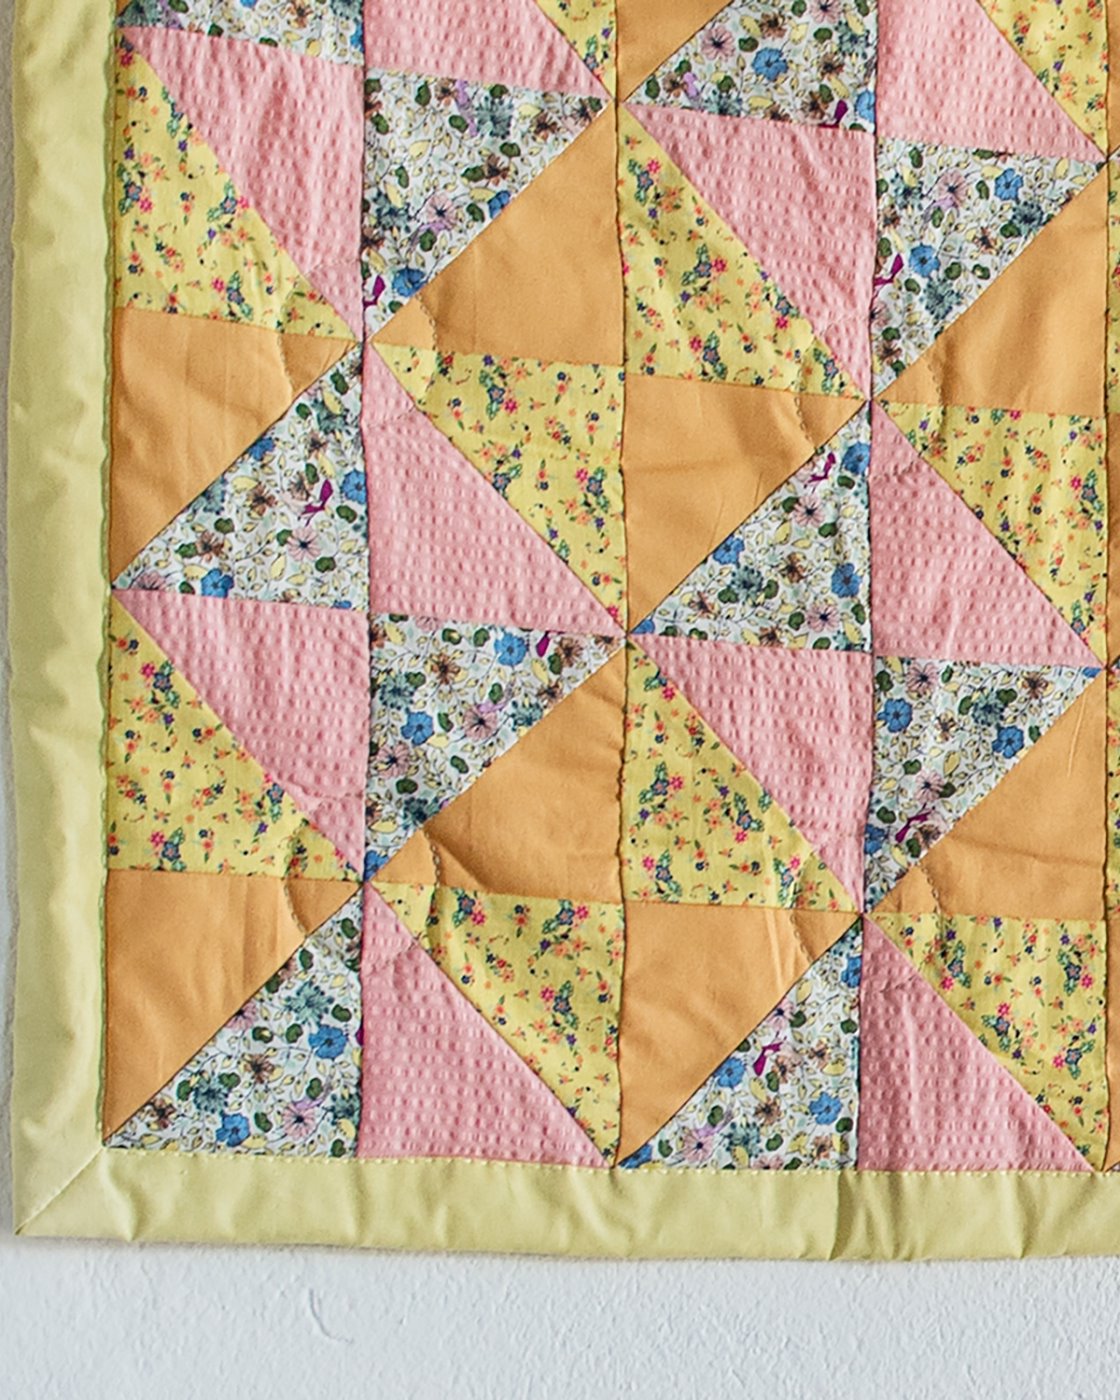
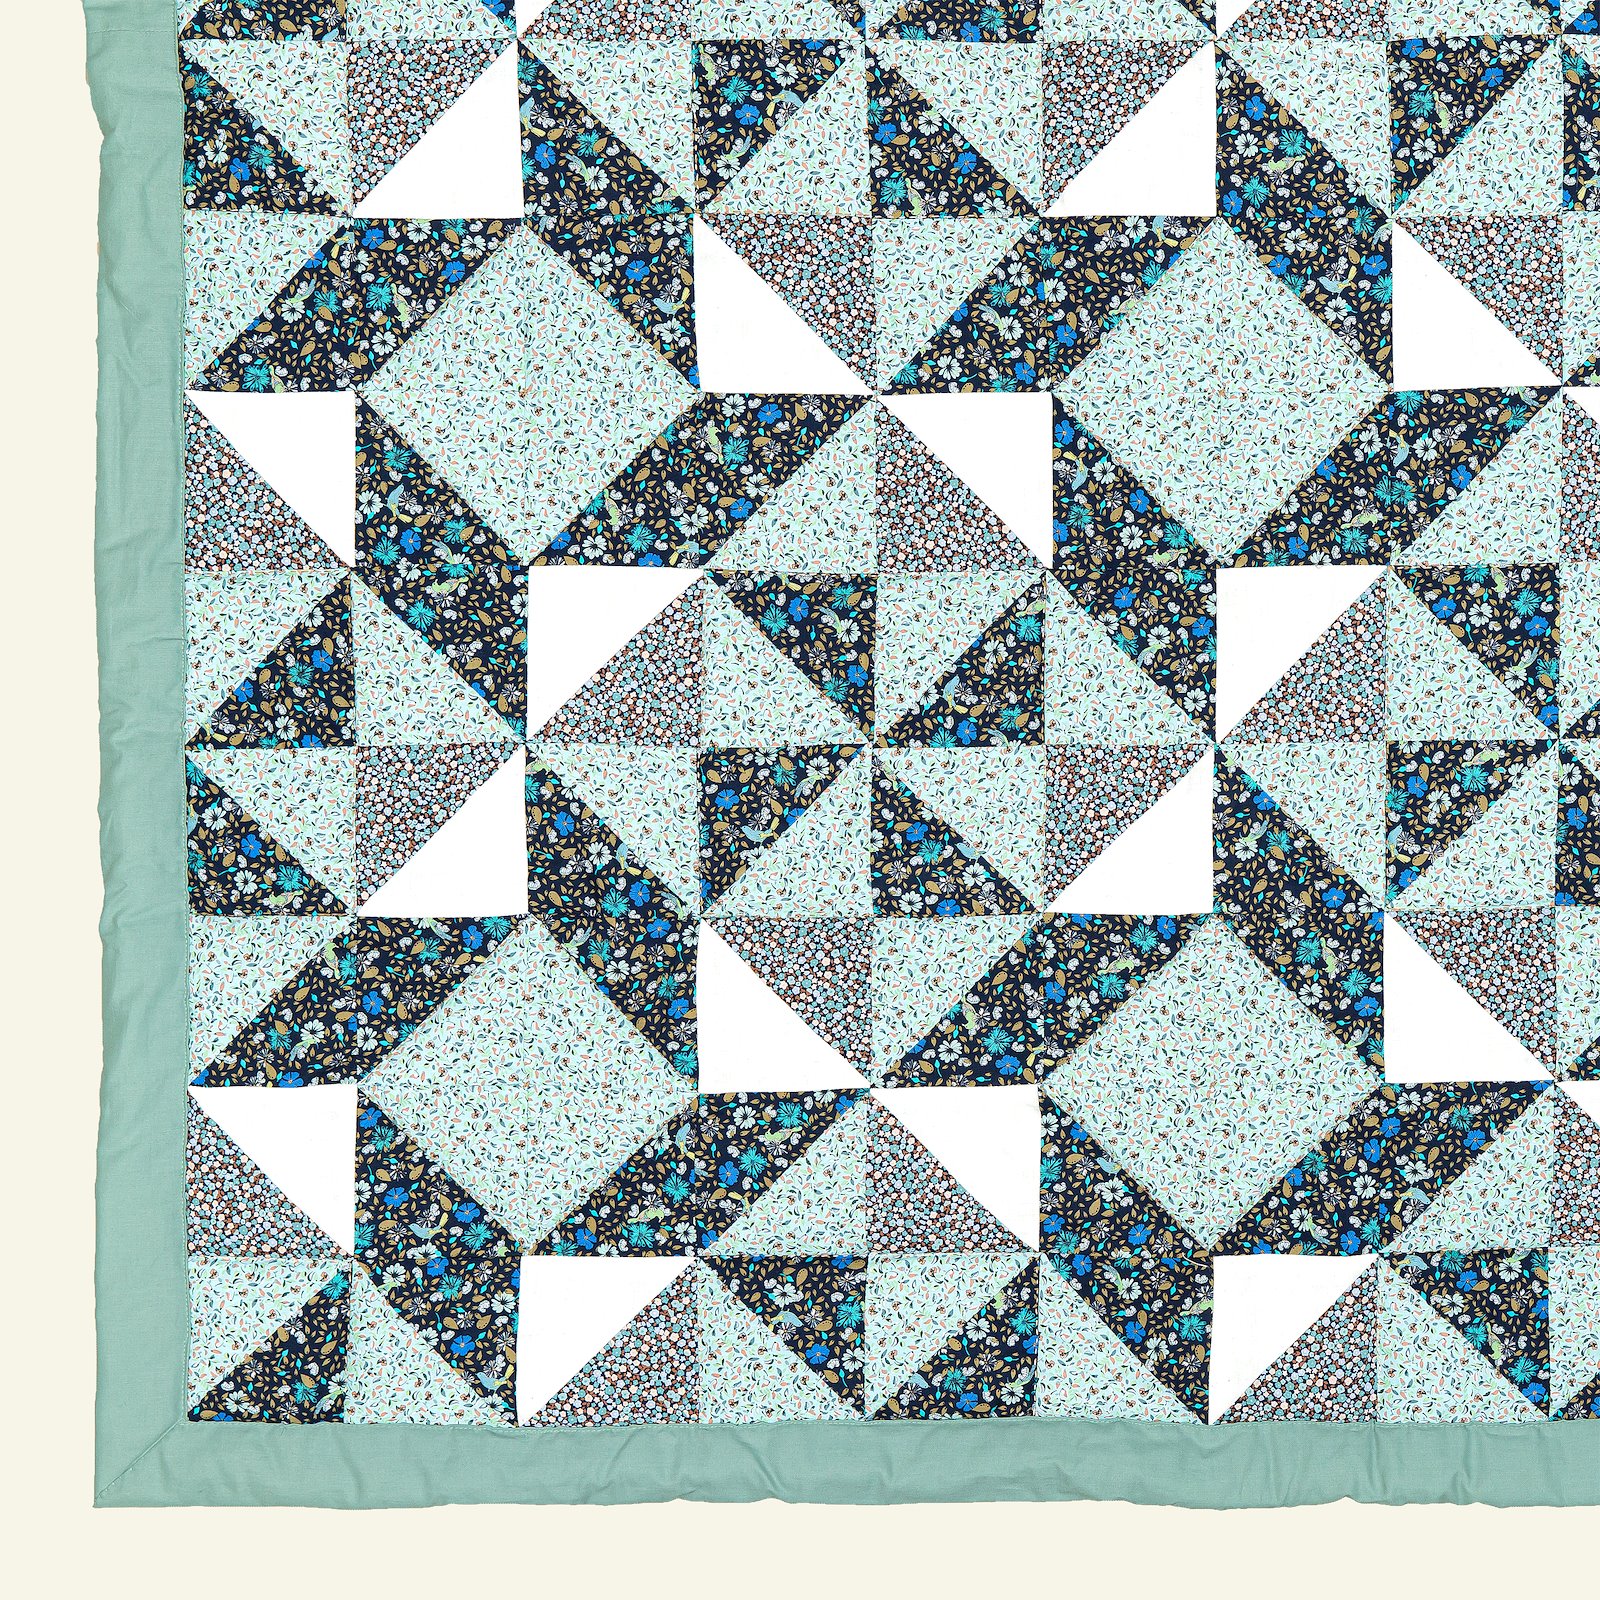
6.Now sew four squares together to form a windmill block (as shown). Make as many blocks as you need for your project.