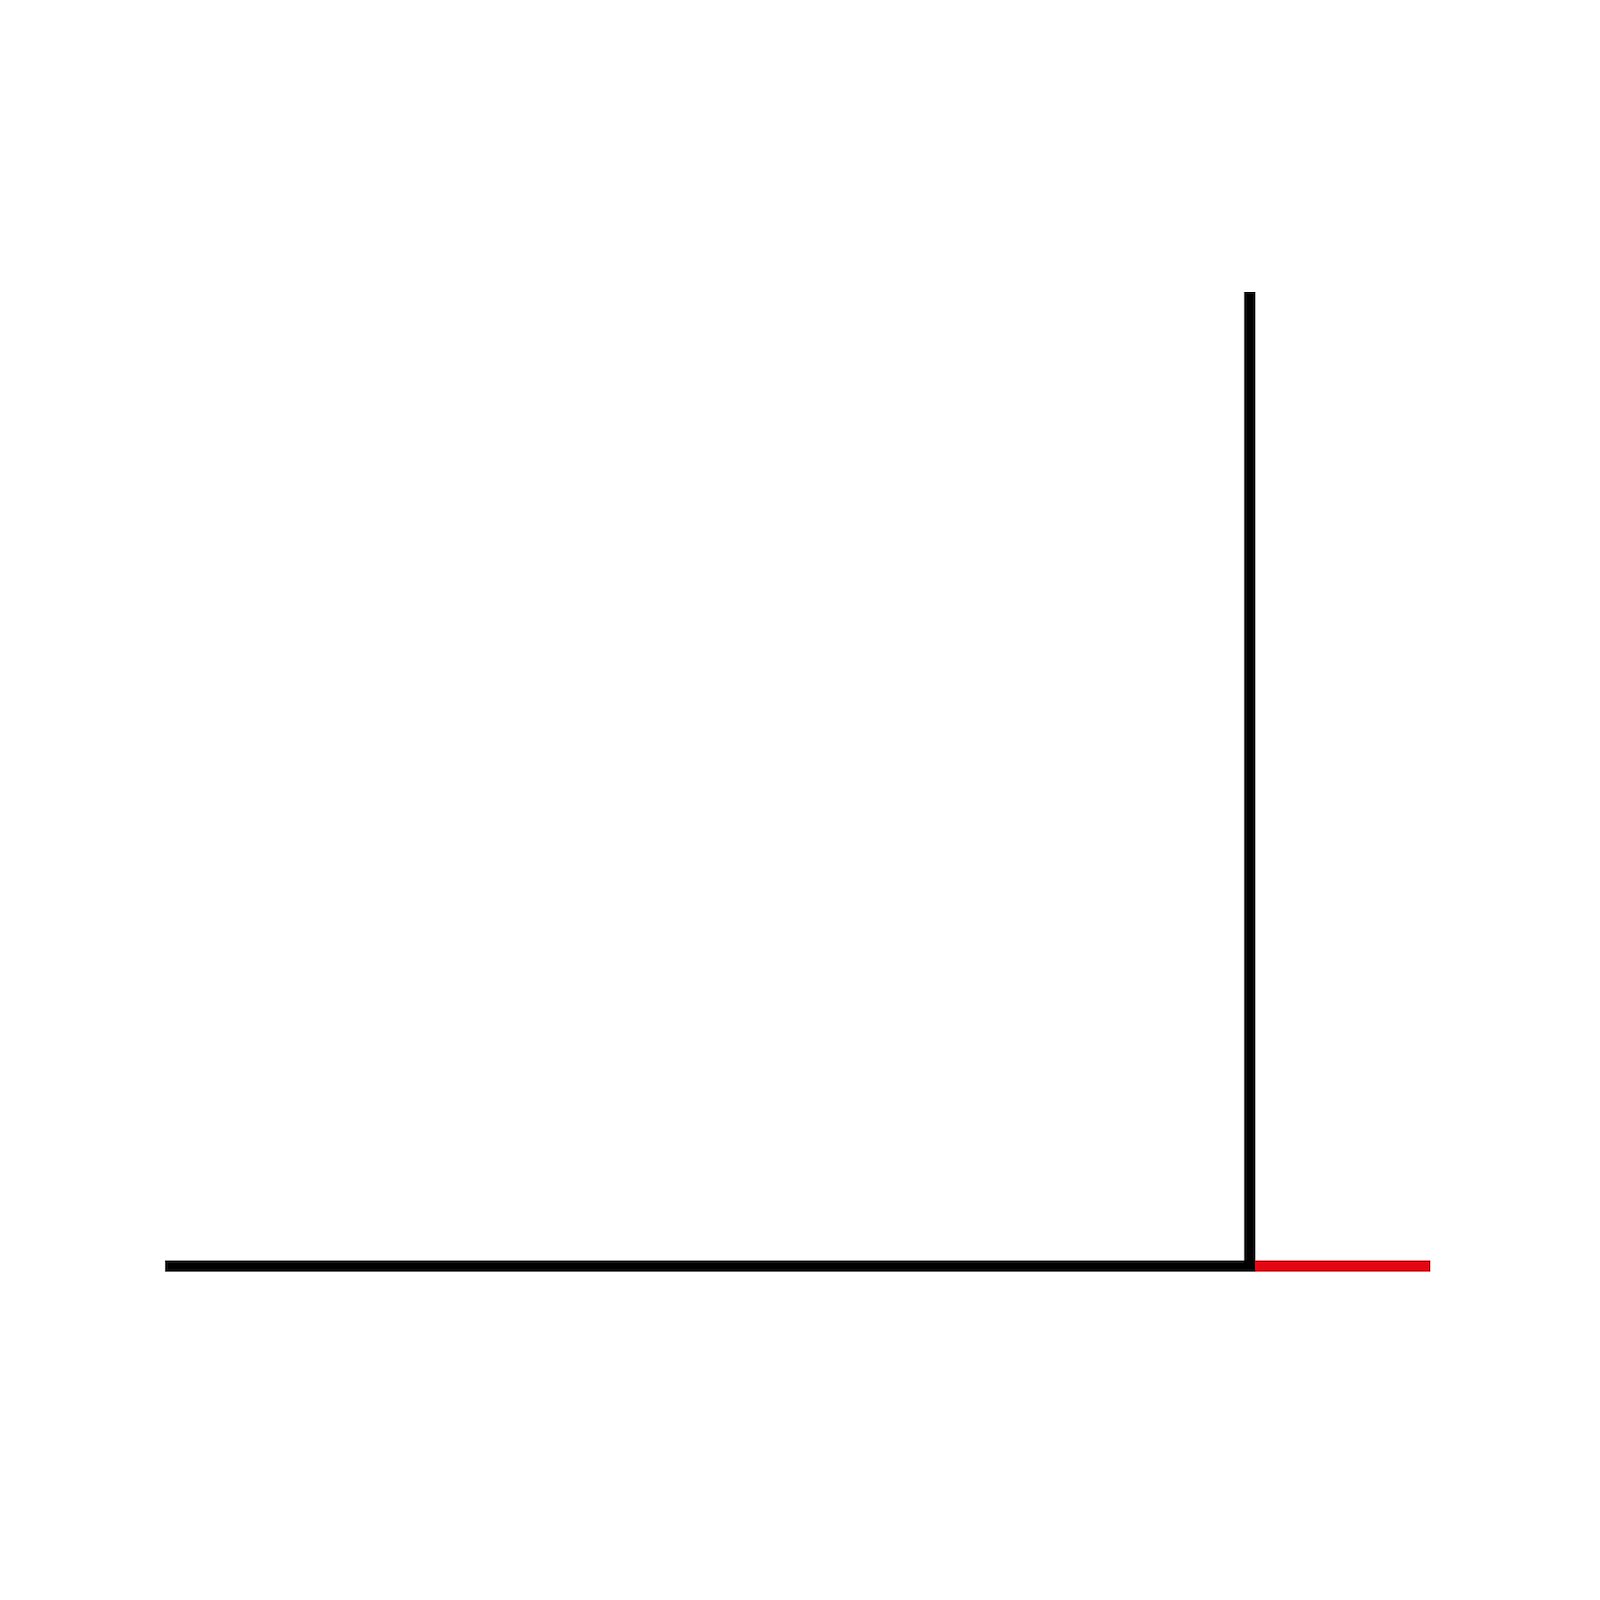
1.Draw 2 lines approx. 20 cm perpendicular to each other. Extend the horizontal line by about 3 cm 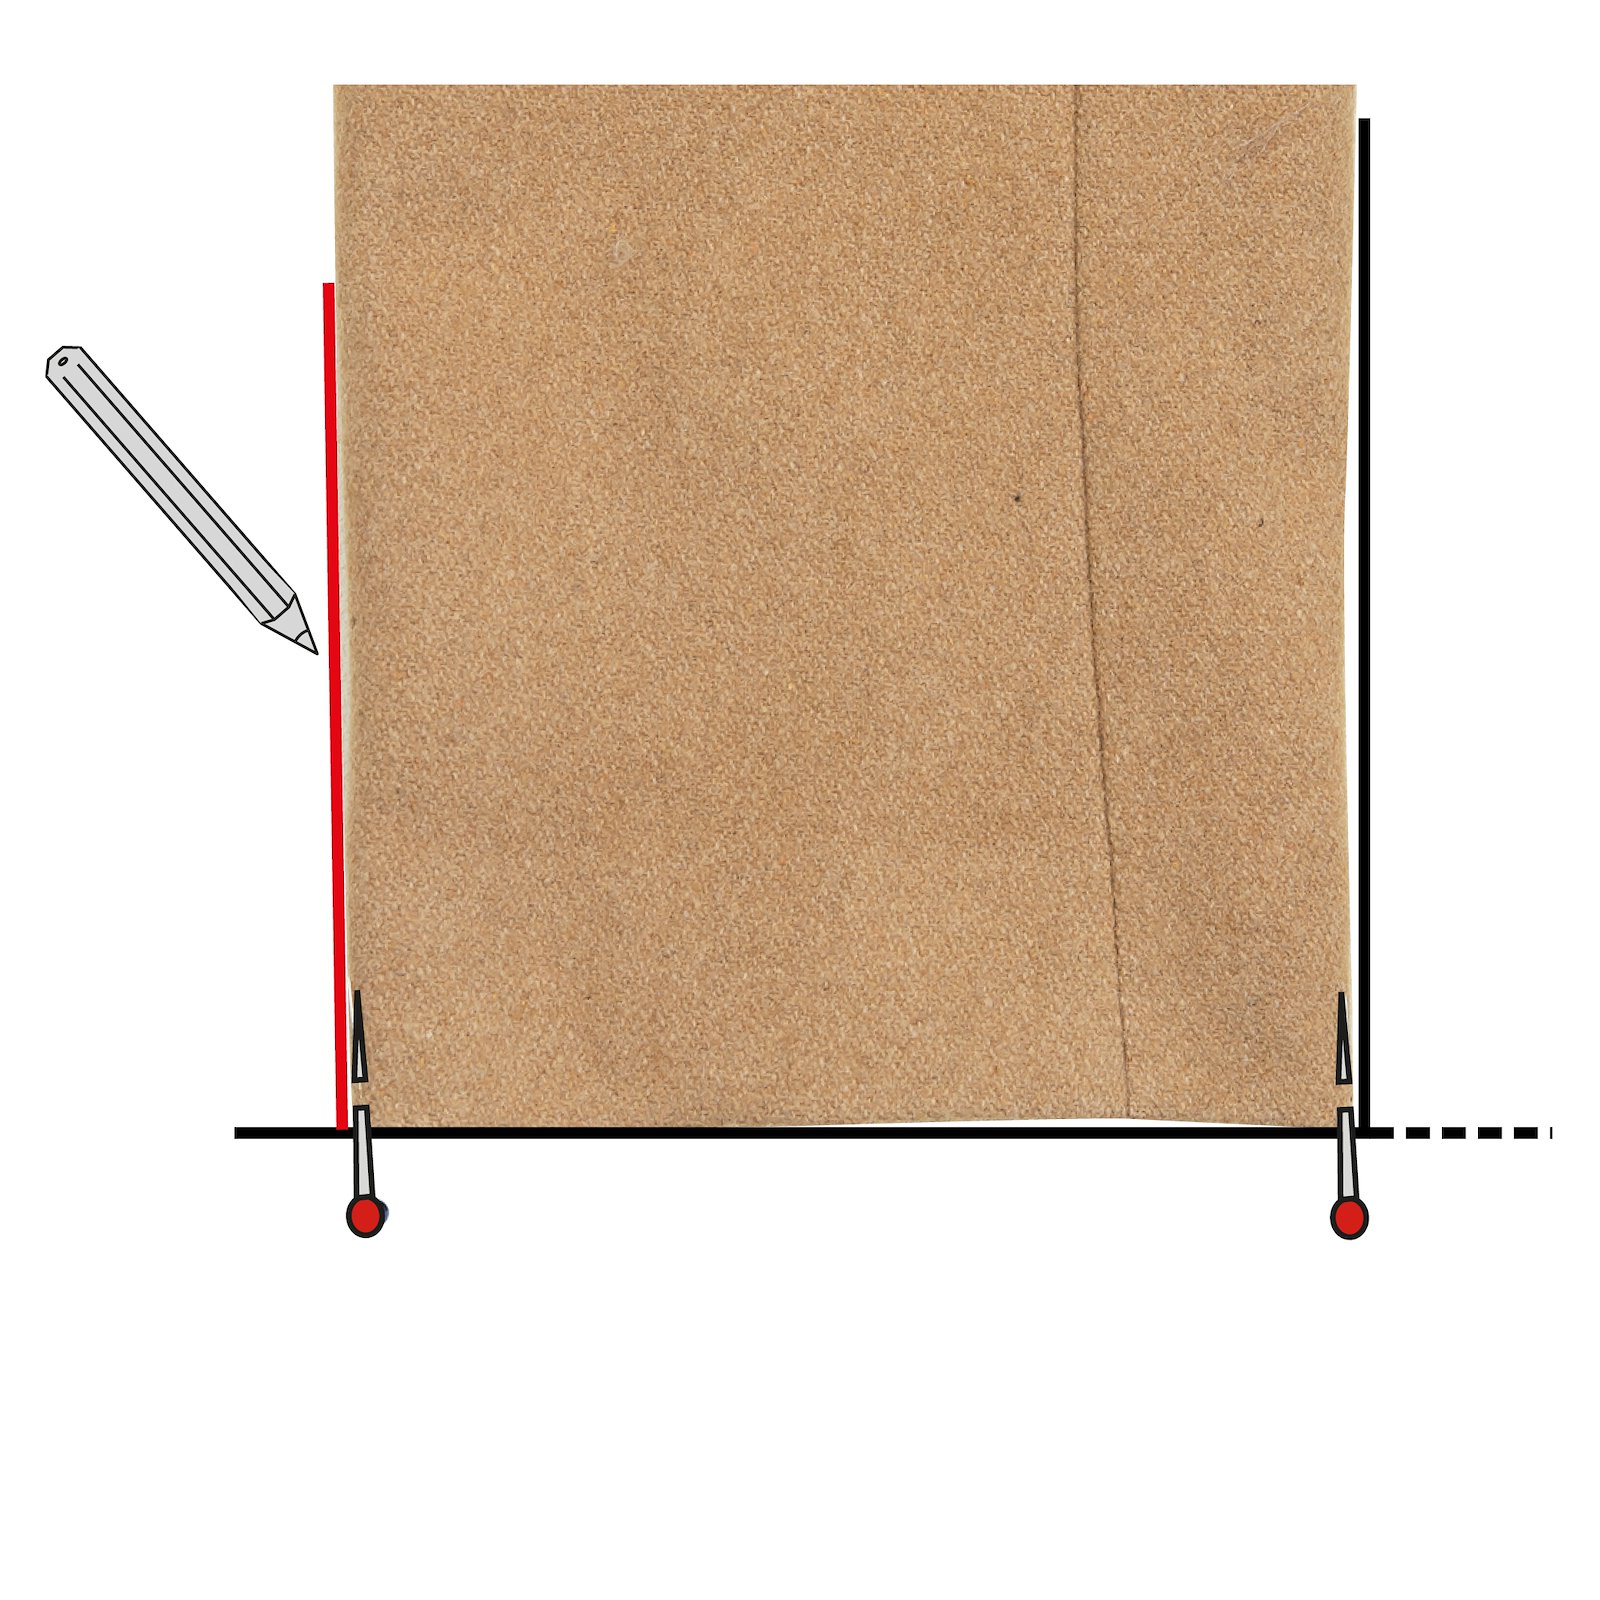
2.Place the bottom edge of the sleeve on the horizontal line and the sleeve fold on the vertical line, press the sleeve flat and insert a pin in the 2 folds of the sleeve. Draw along the other sleeve fold. 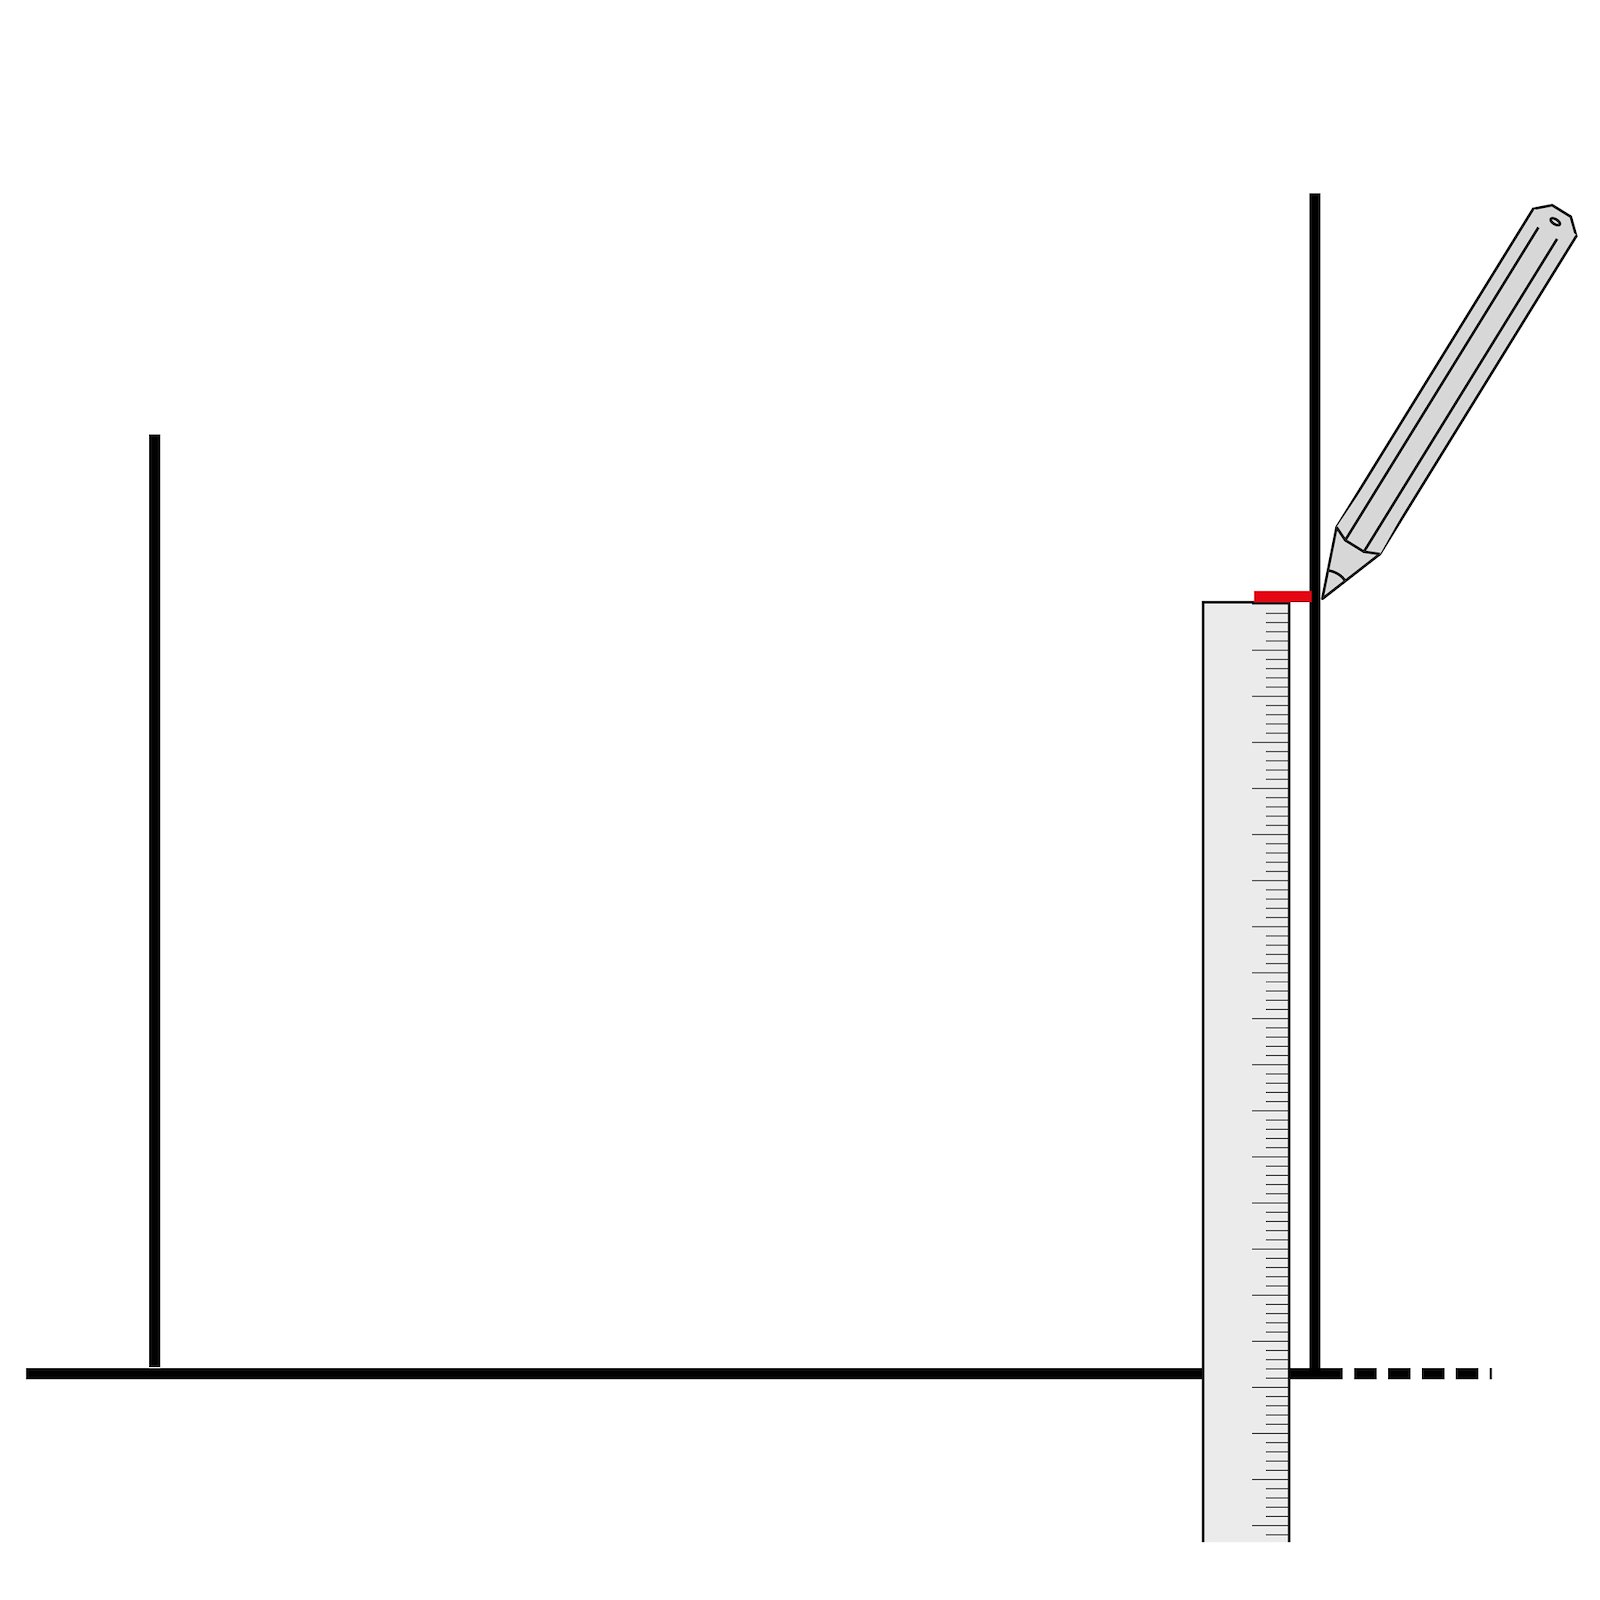
3.Place the measurement on the desired cuff height in this example it is 11 cm. 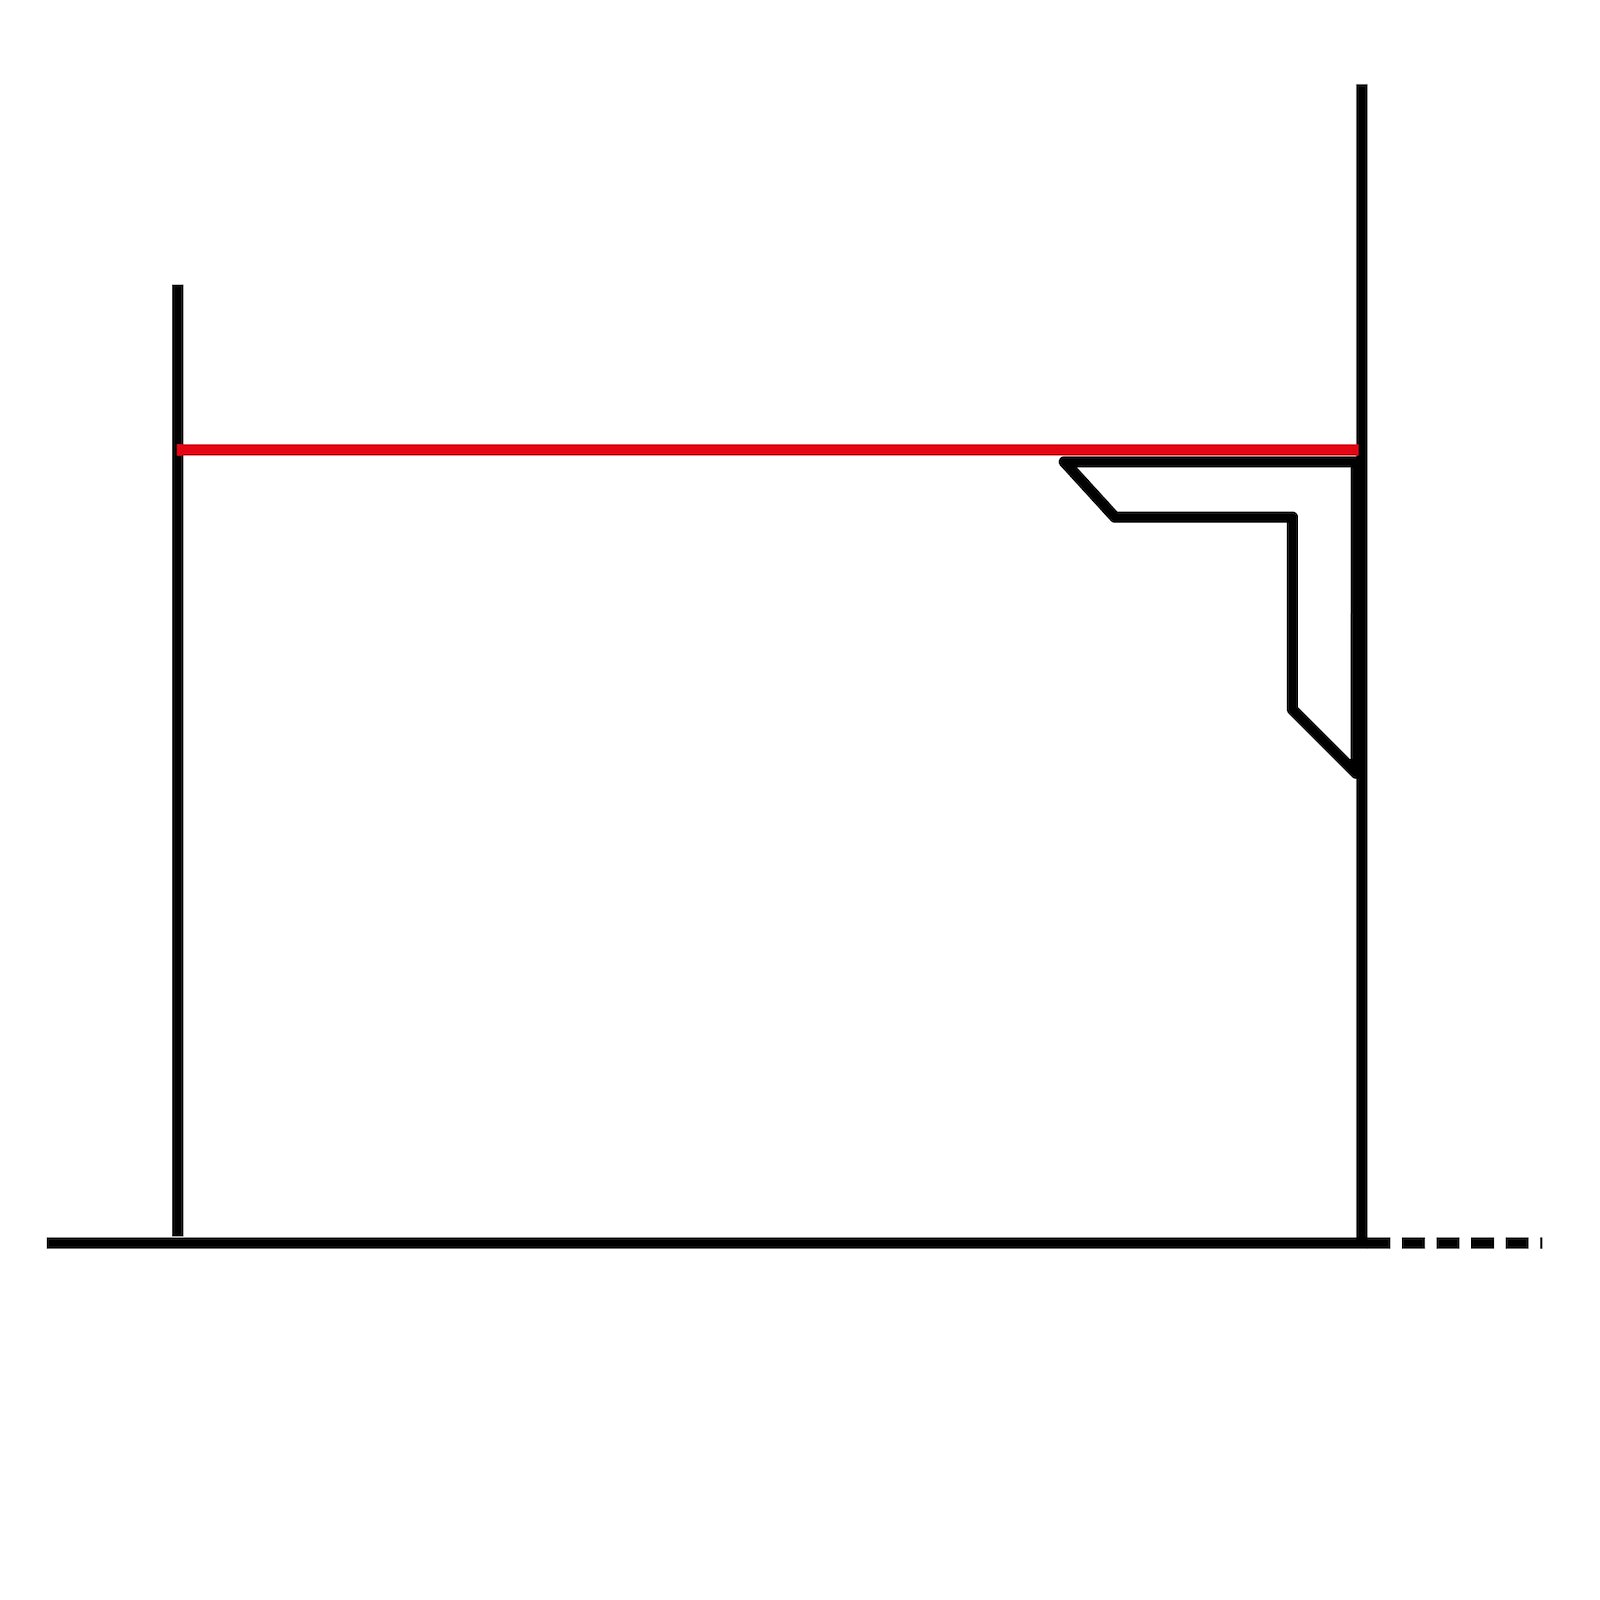
4.Draw a line perpendicular to the vertical cuff height 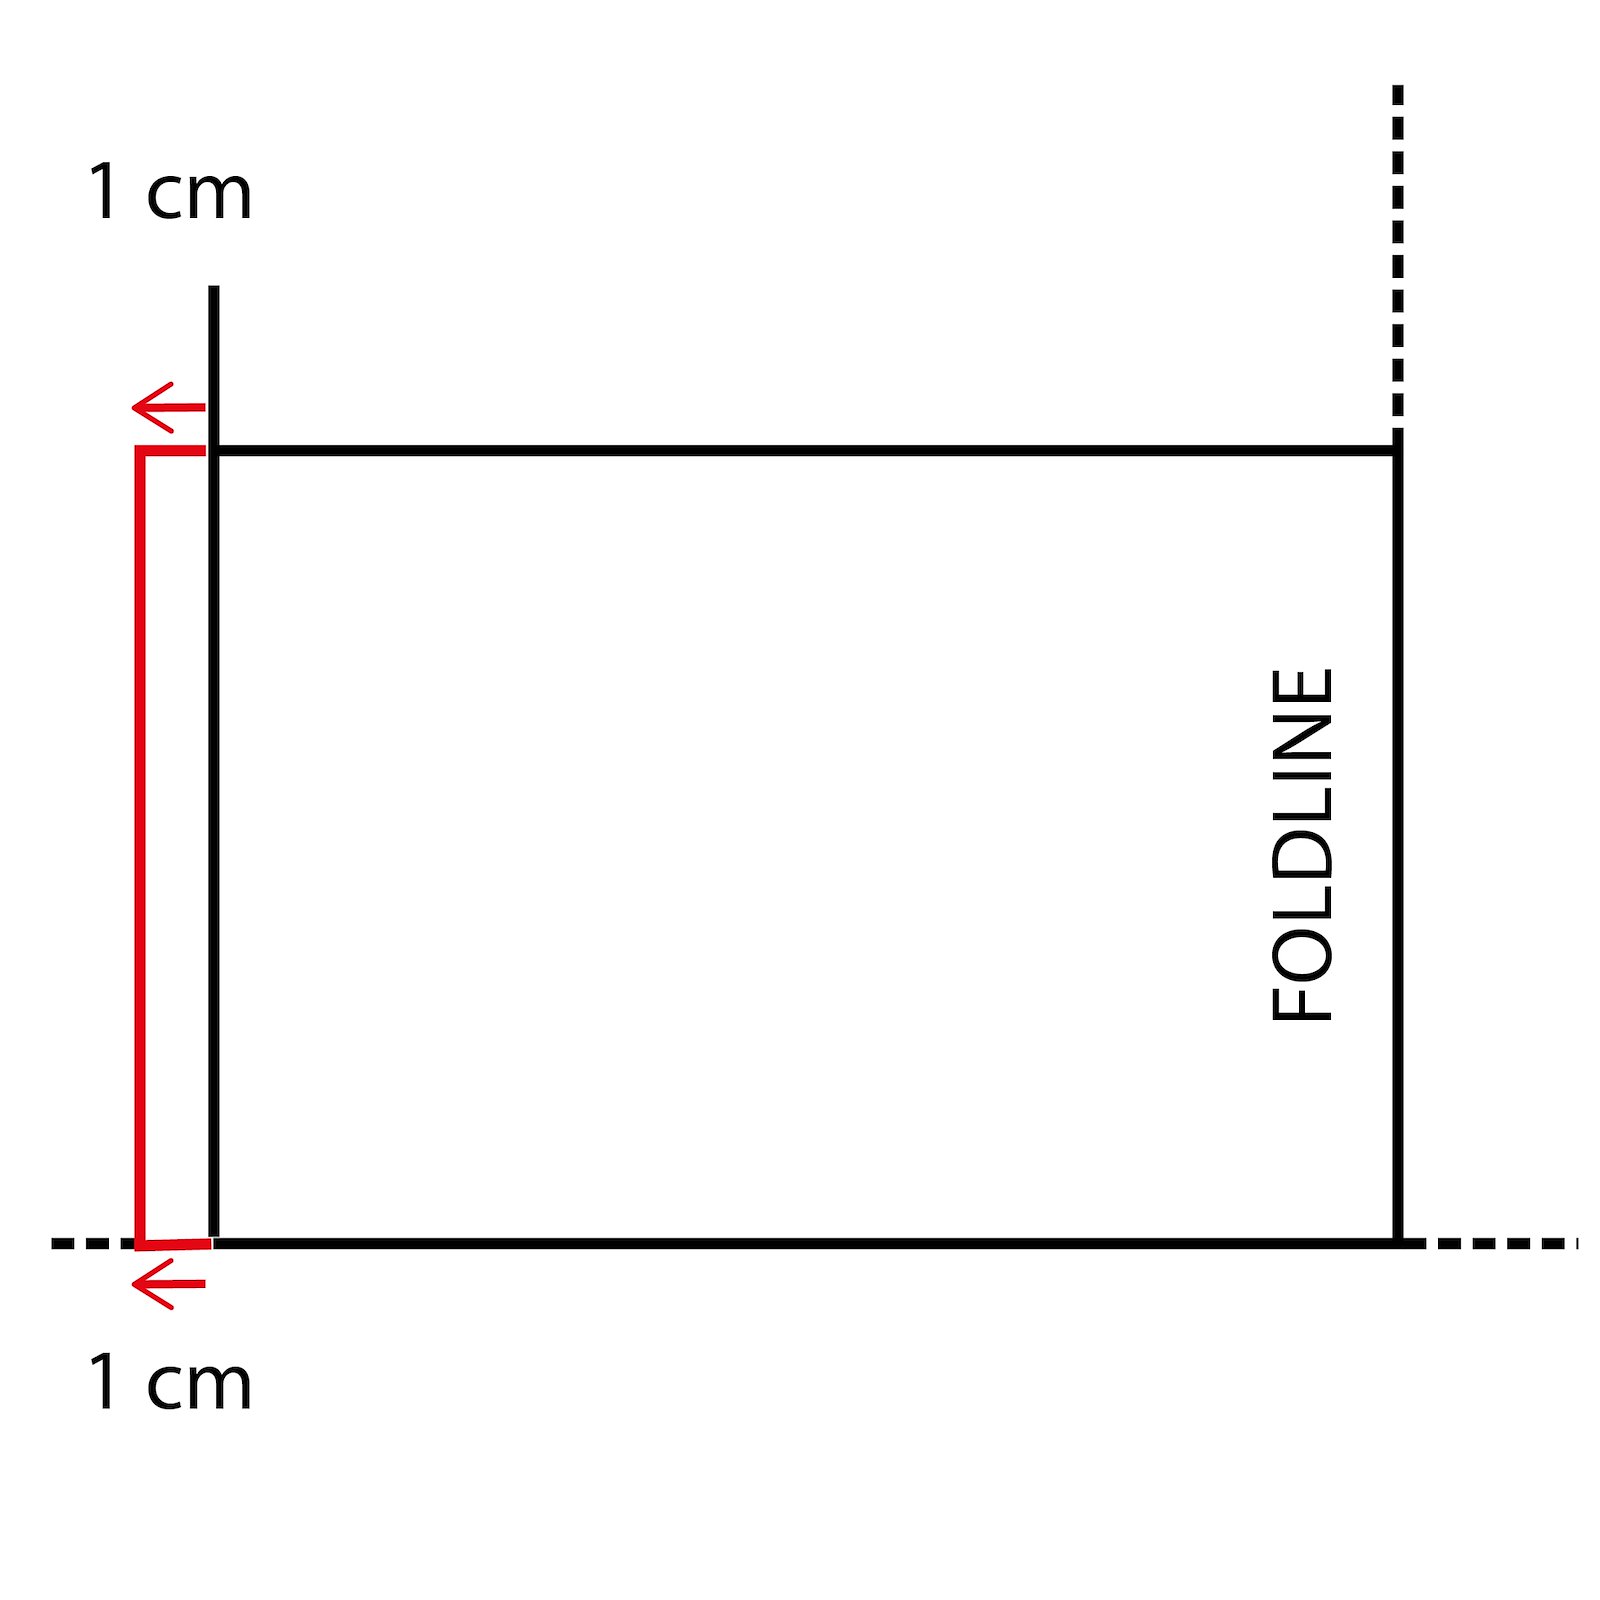
5.Draw the pattern larger. Add 1 cm at the side seam. The second seam is the fold line. 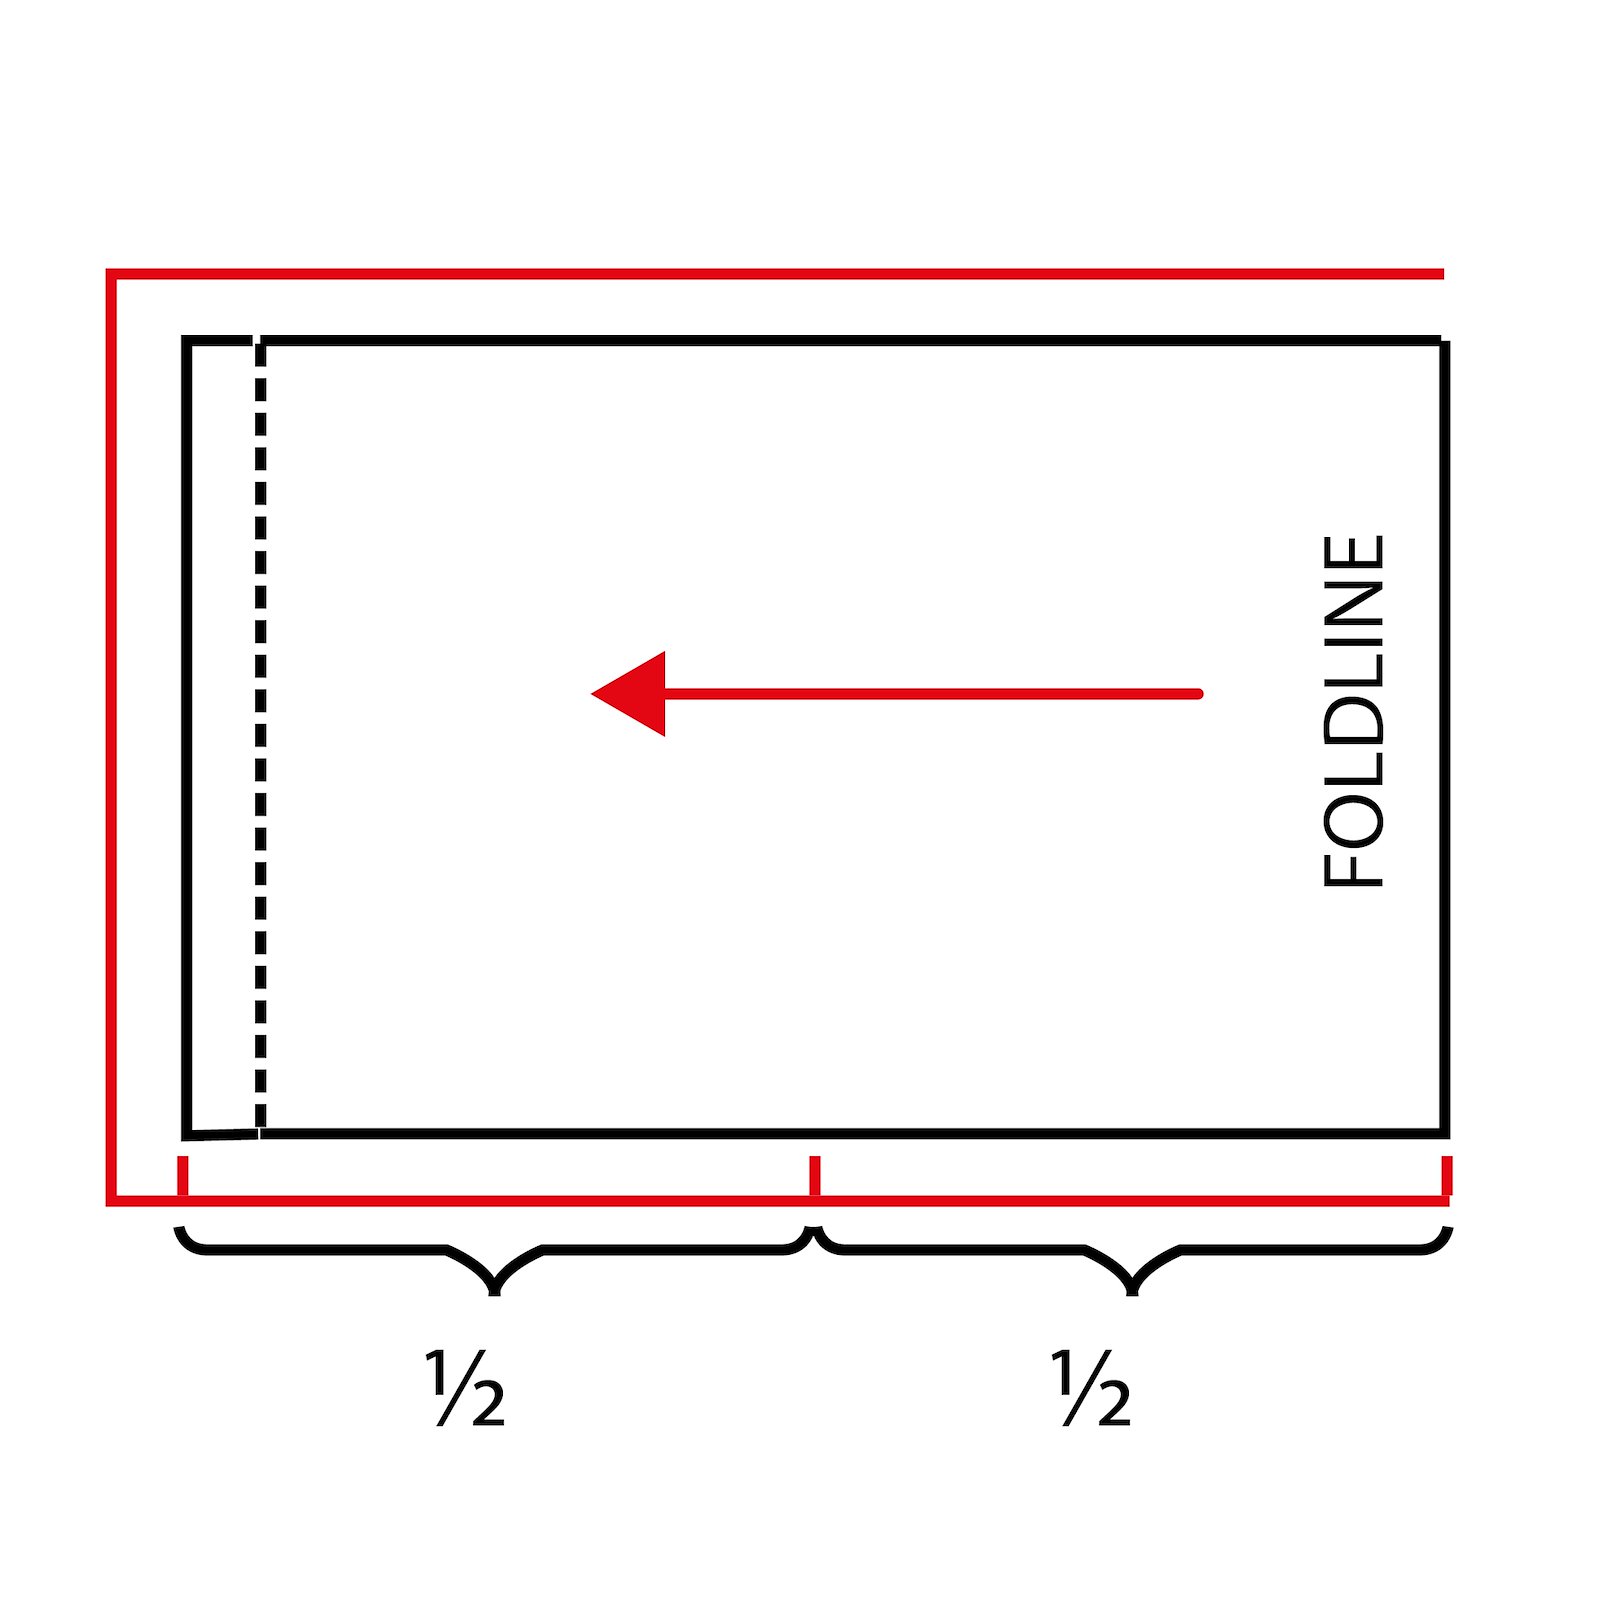
6.Draw 1 cm seam allowance on the pattern piece. Draw the thread direction arrow perpendicular to the center back. Draw notches on the bottom edge of the cuff as shown. 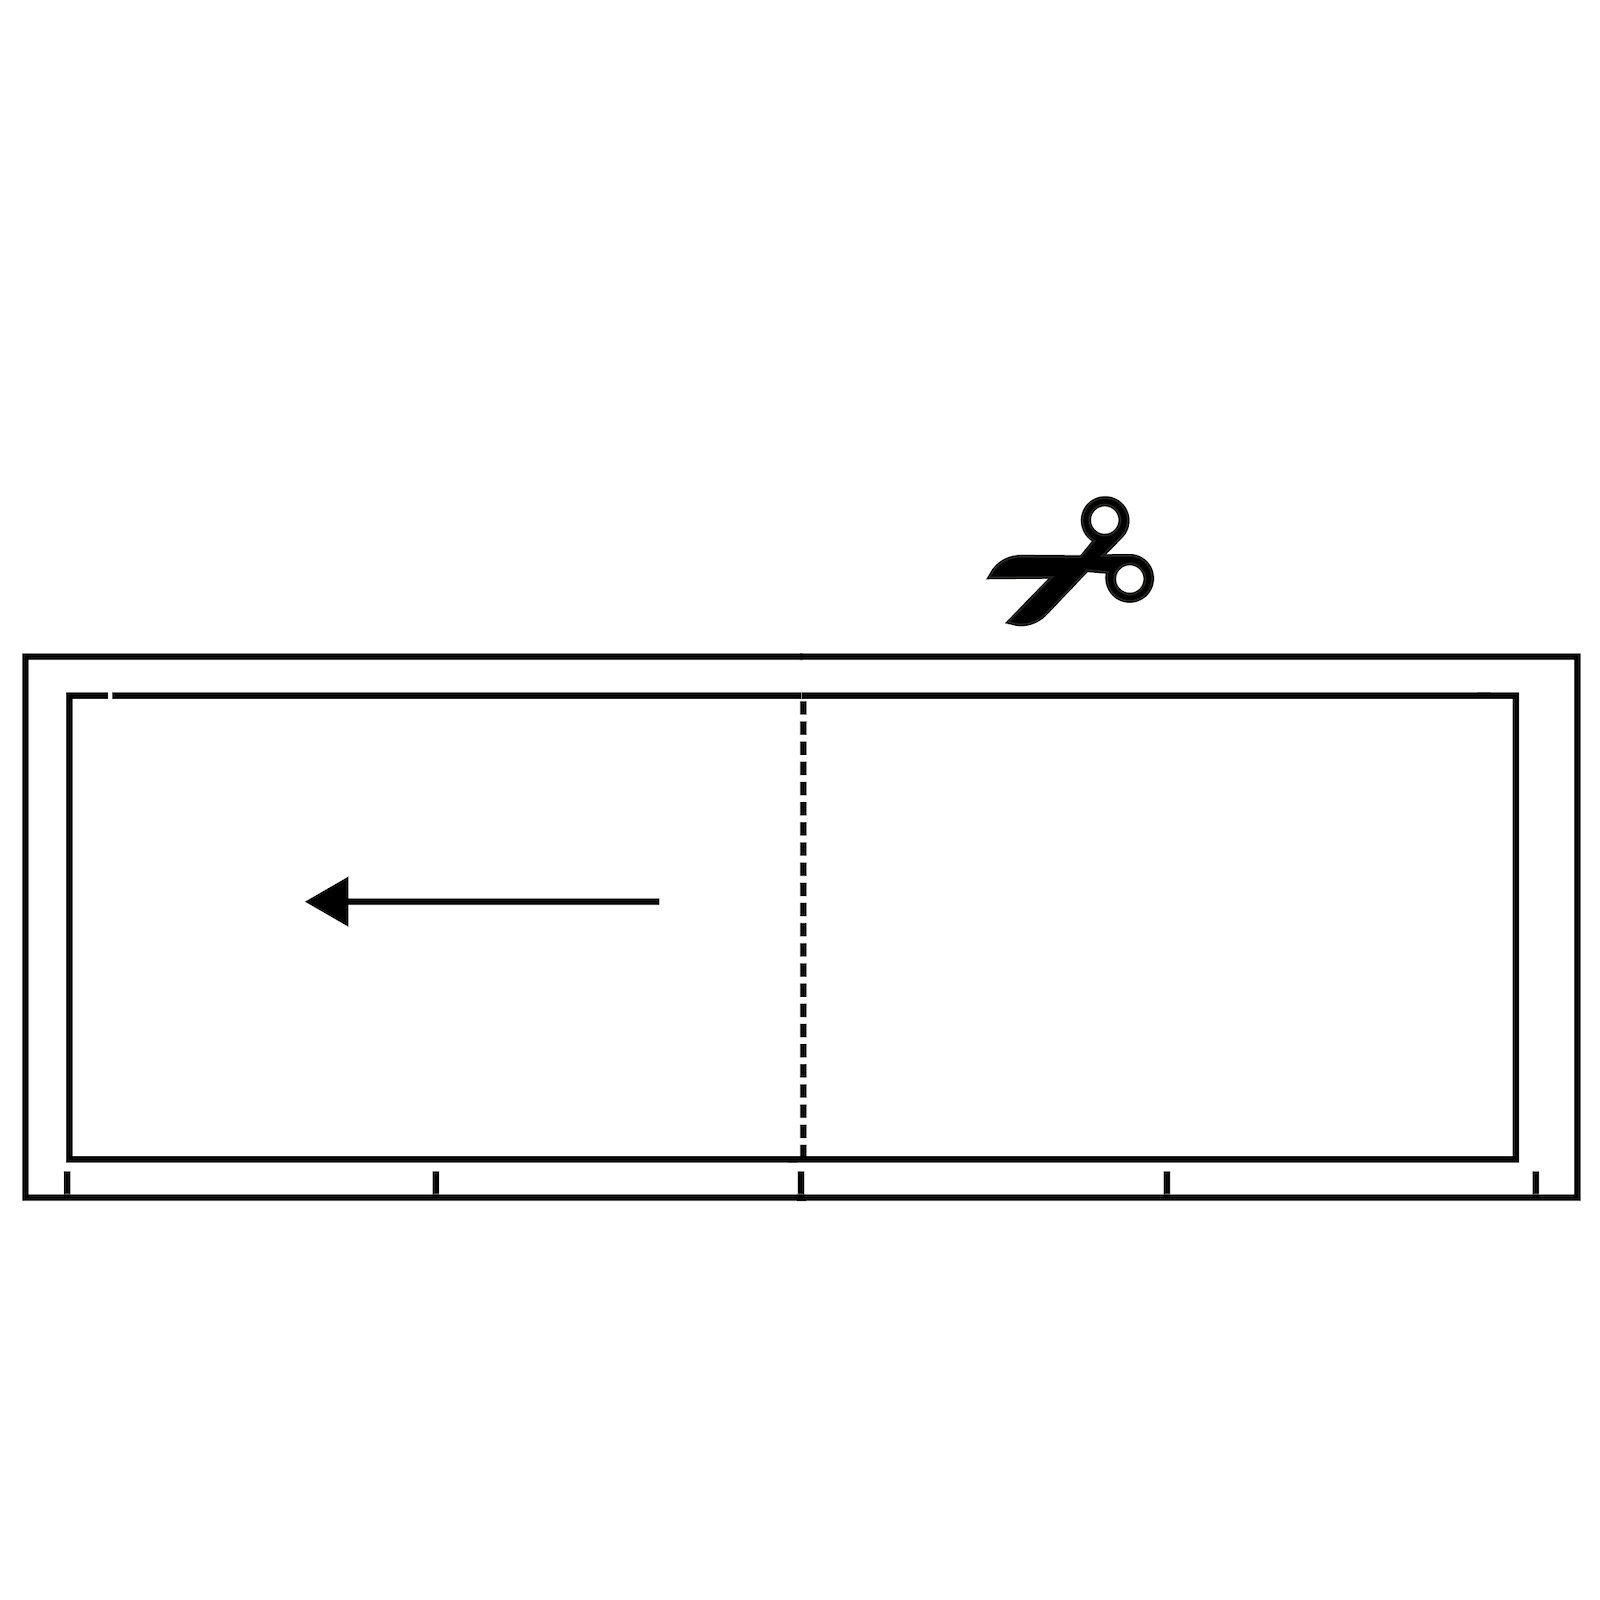
7.Trace the pattern piece and mirror it around the fold line. 
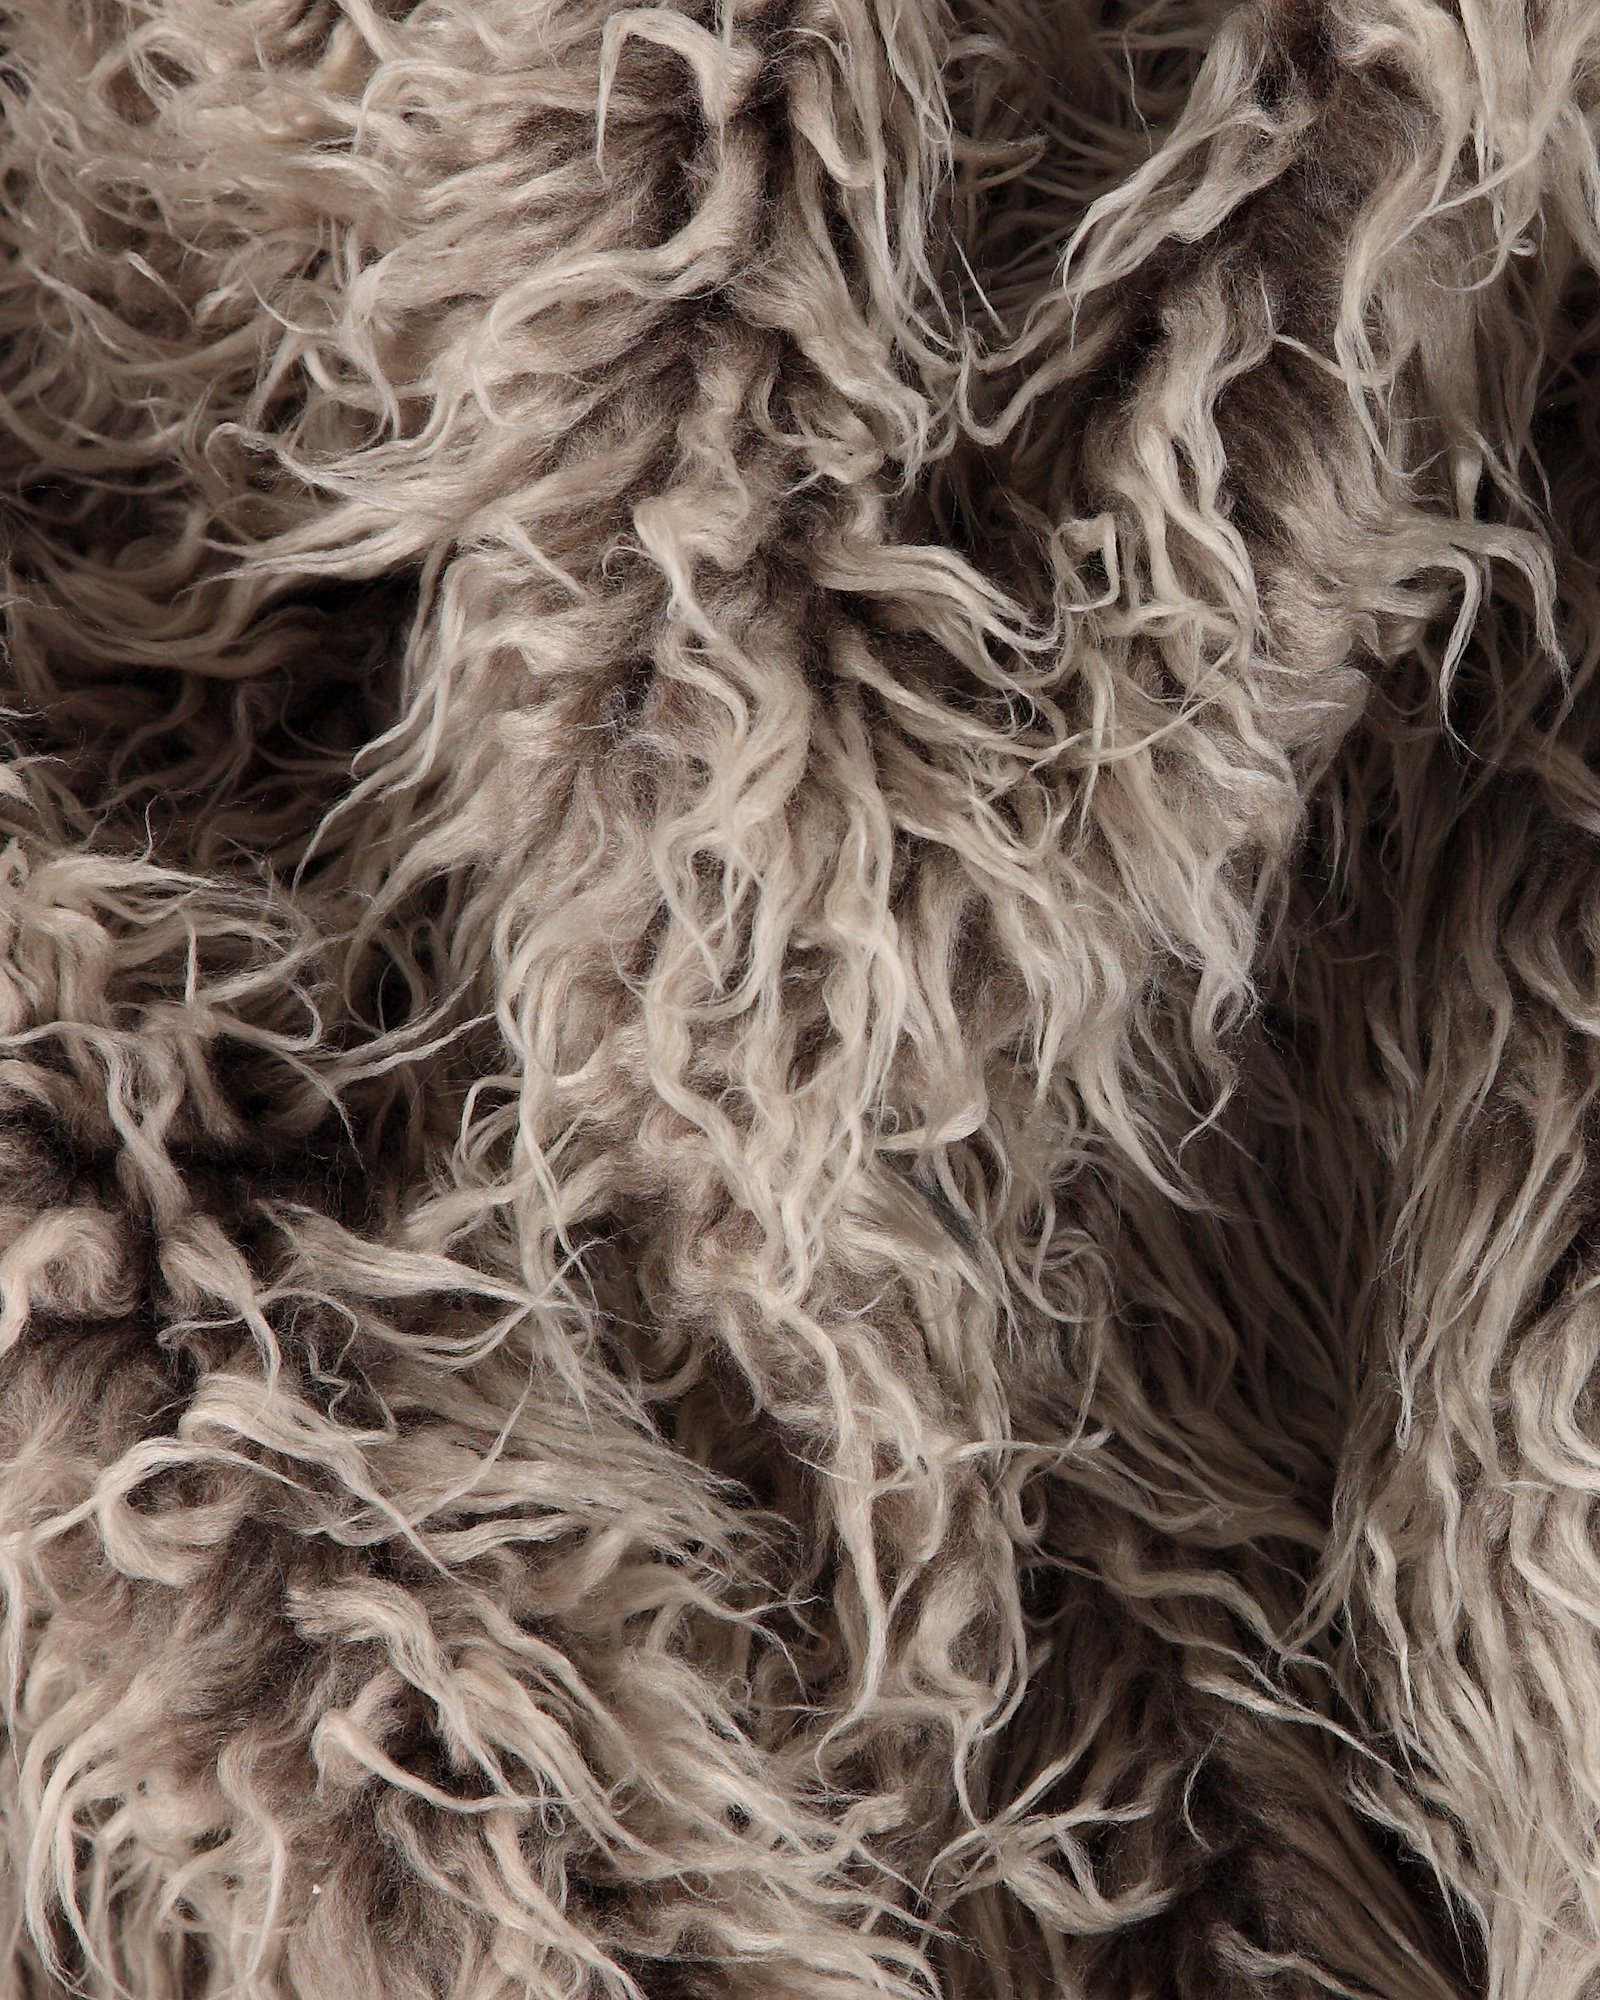
8.Cut 2 fur cuffs (right and left) from the back of the fur. The hairs on the coat should point in the same direction as the arrow points. Cut only 1 layer of fabric at a time and cut only the knitted/woven material to avoid cutting the fur hairs. 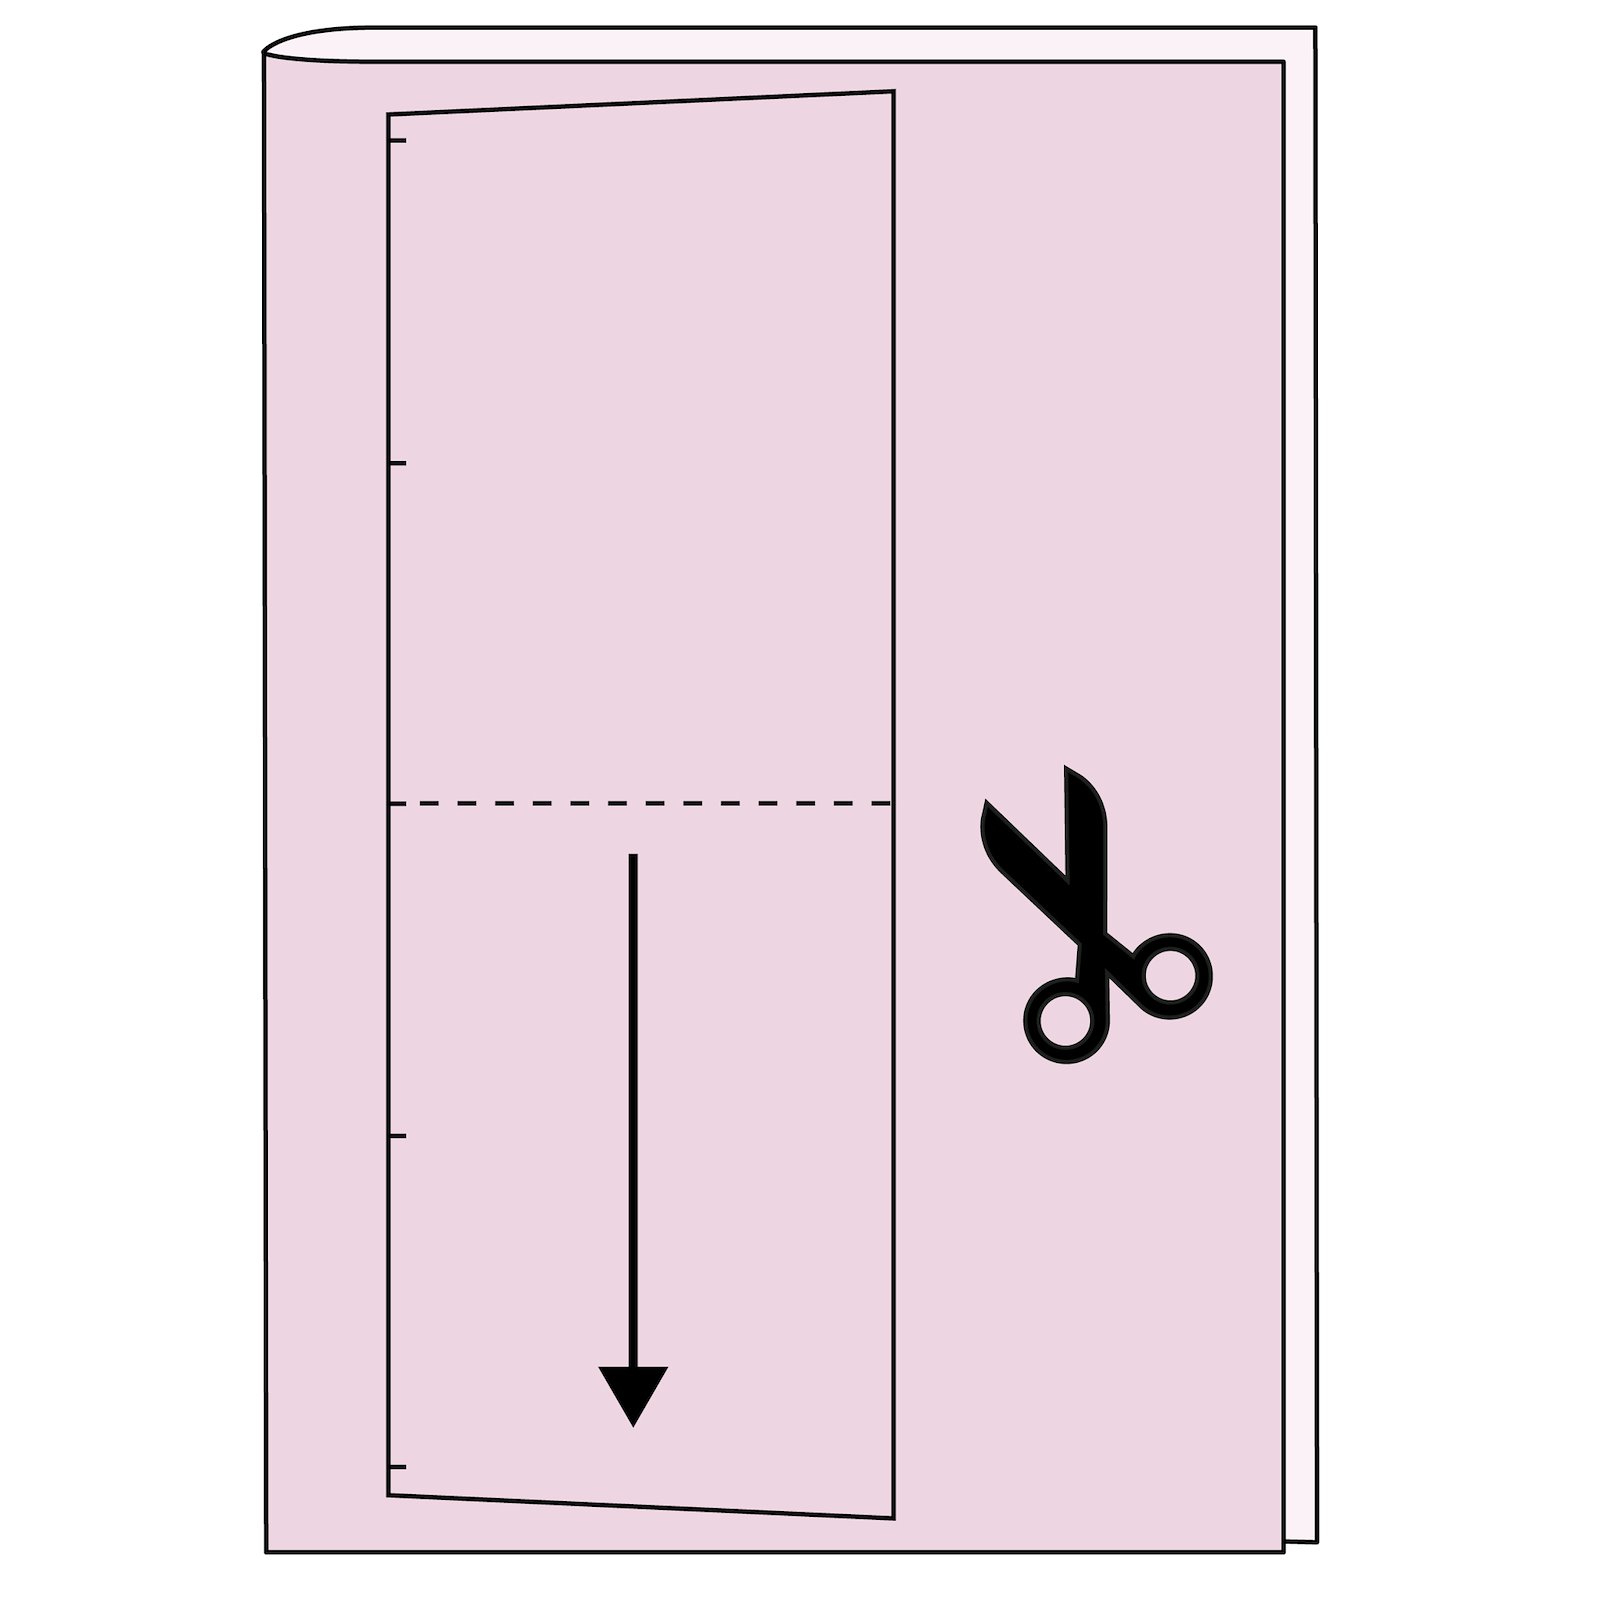
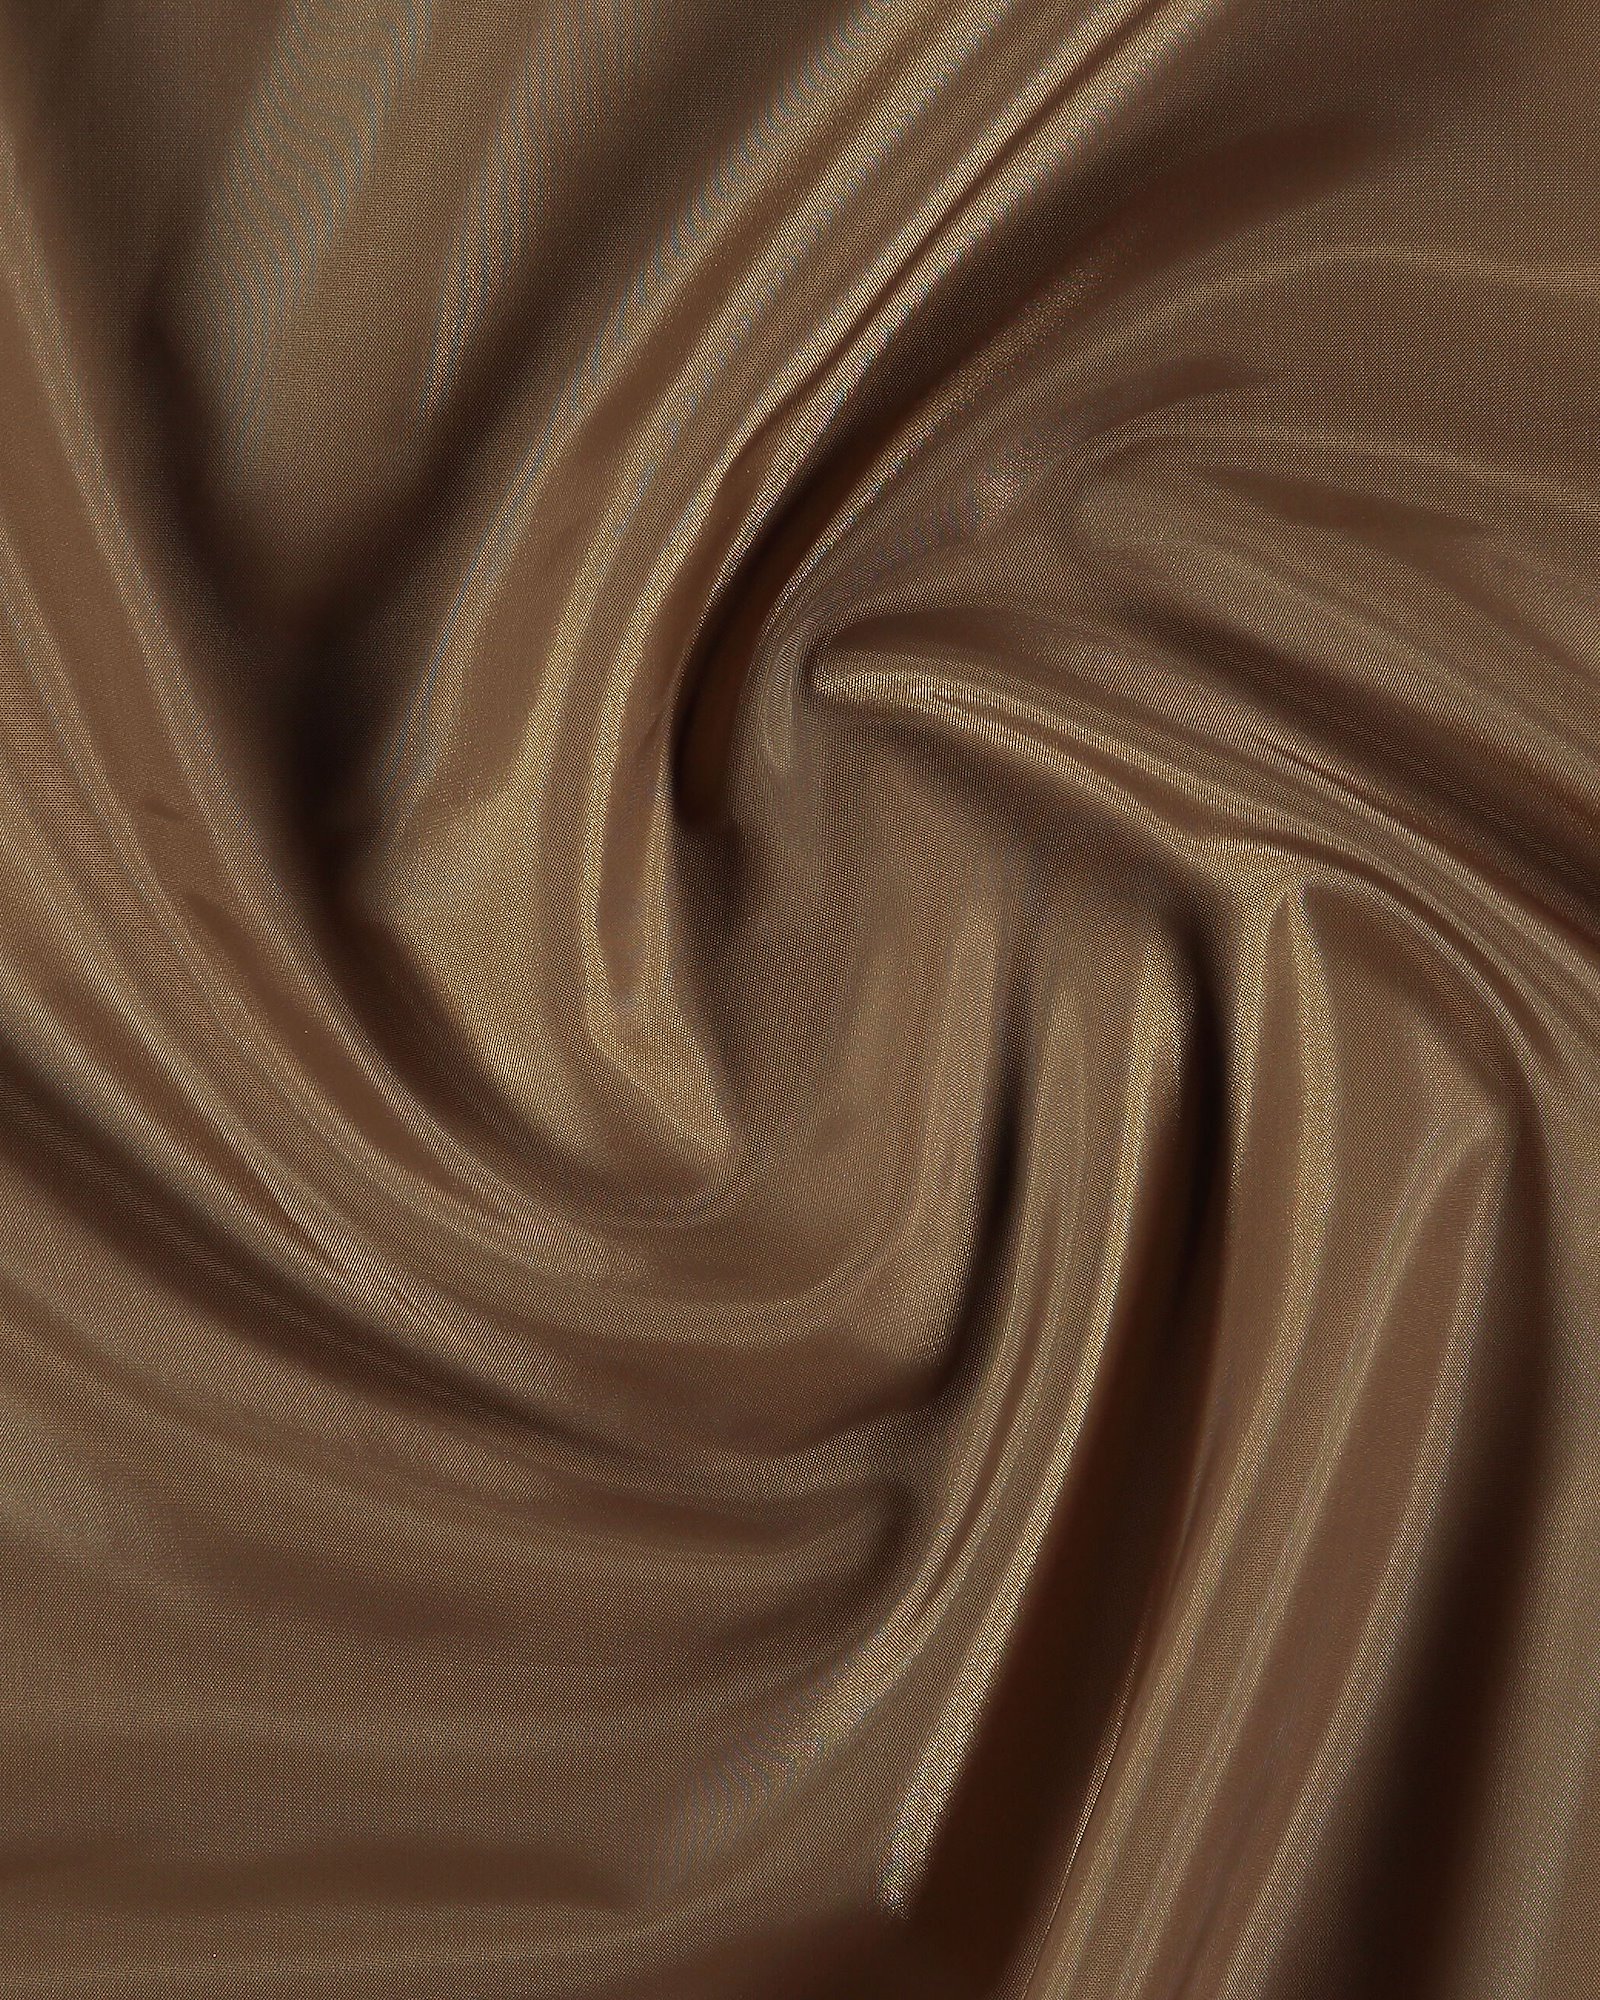
9.Fold the lining fabric in half and cut 2 cuffs. 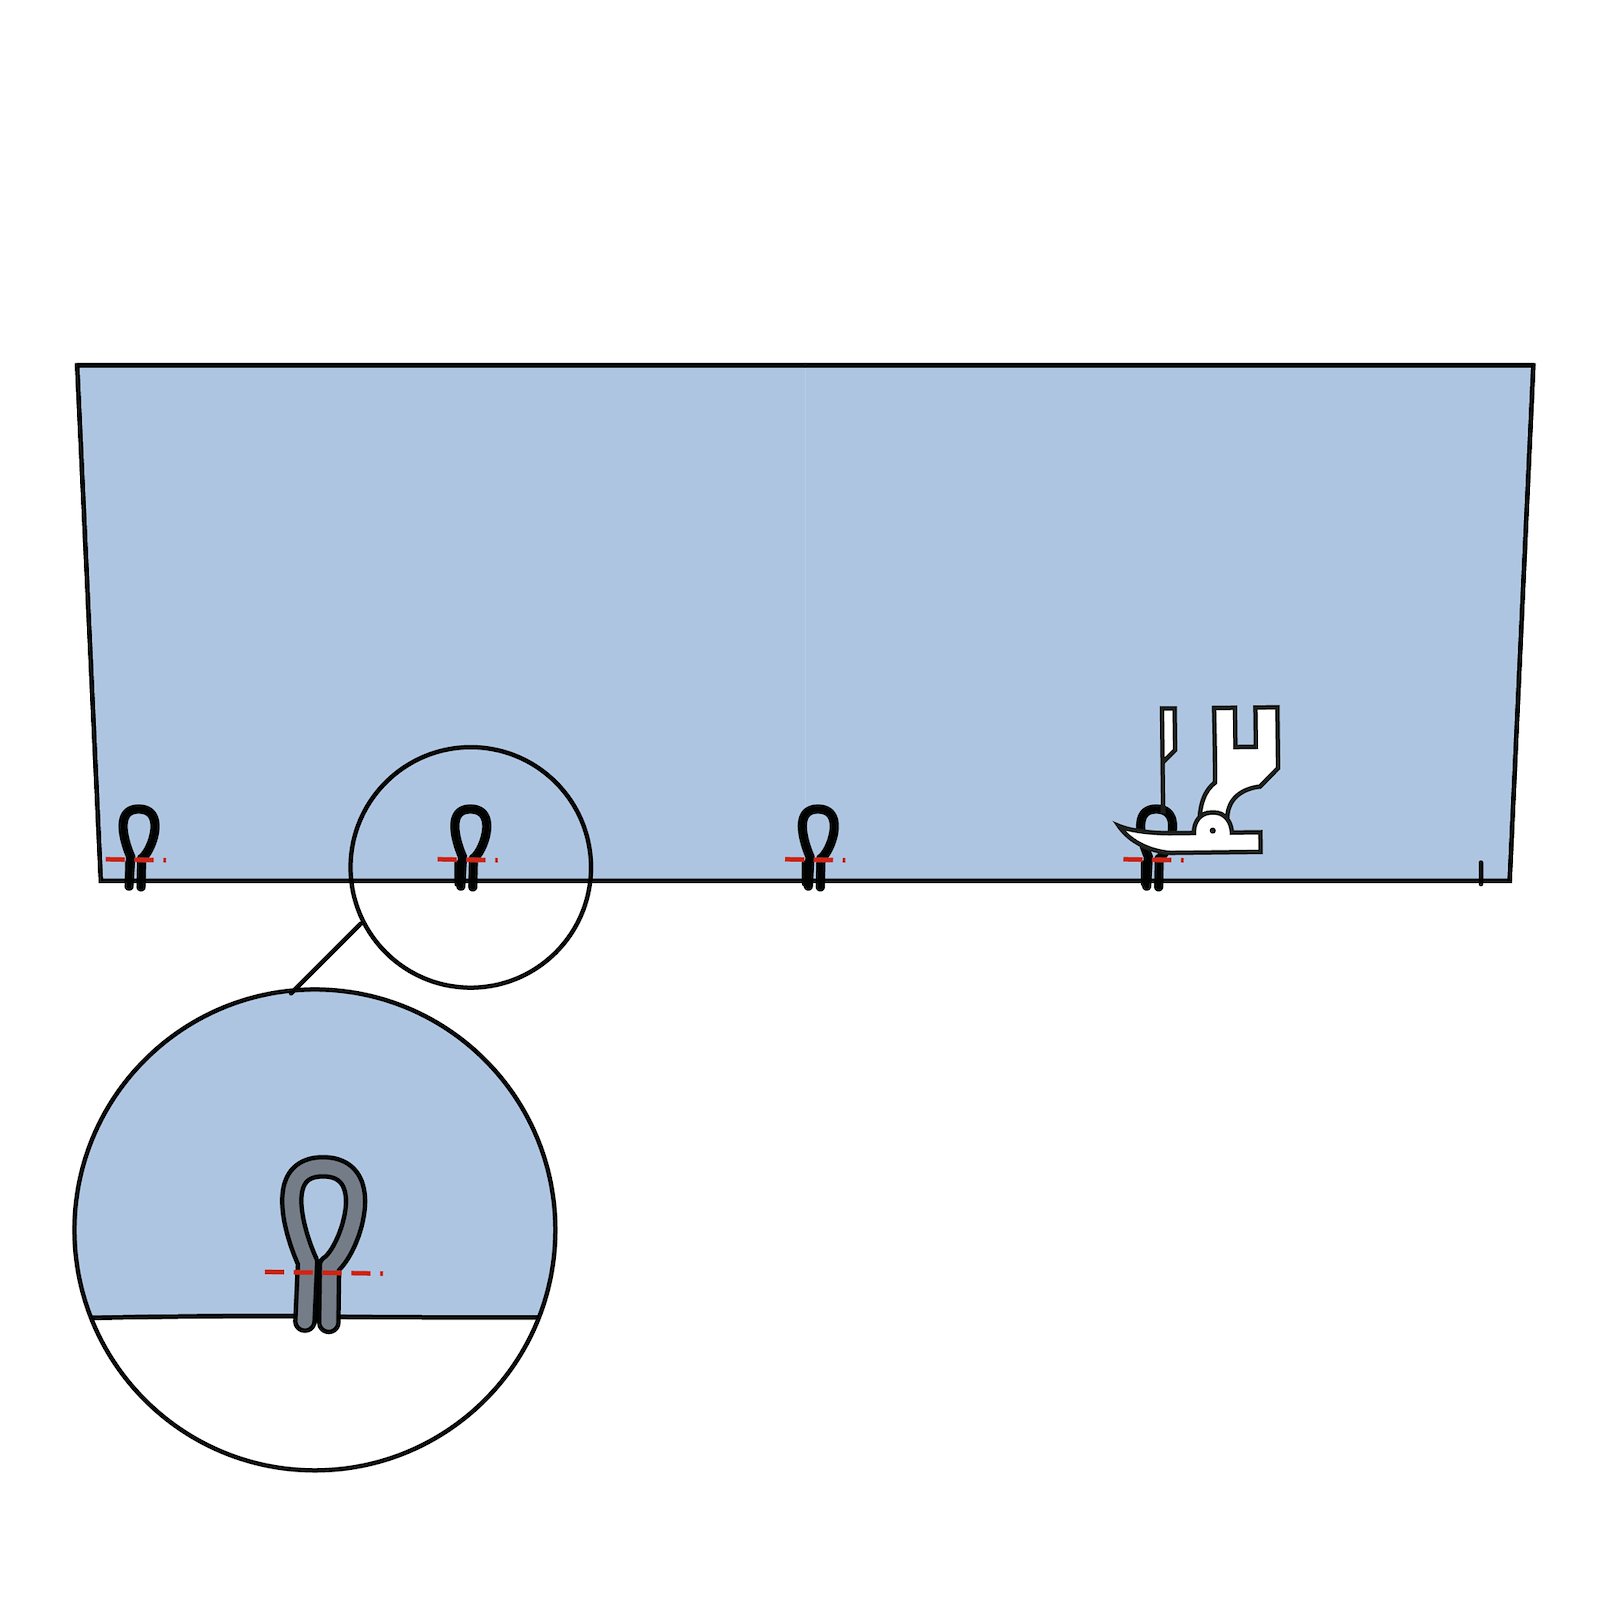
10.Cut 4 pieces of round elastic 3.5-4 cm. Sew loops in place, using a short stitch length, on the right side of the fur cuff at the notch. 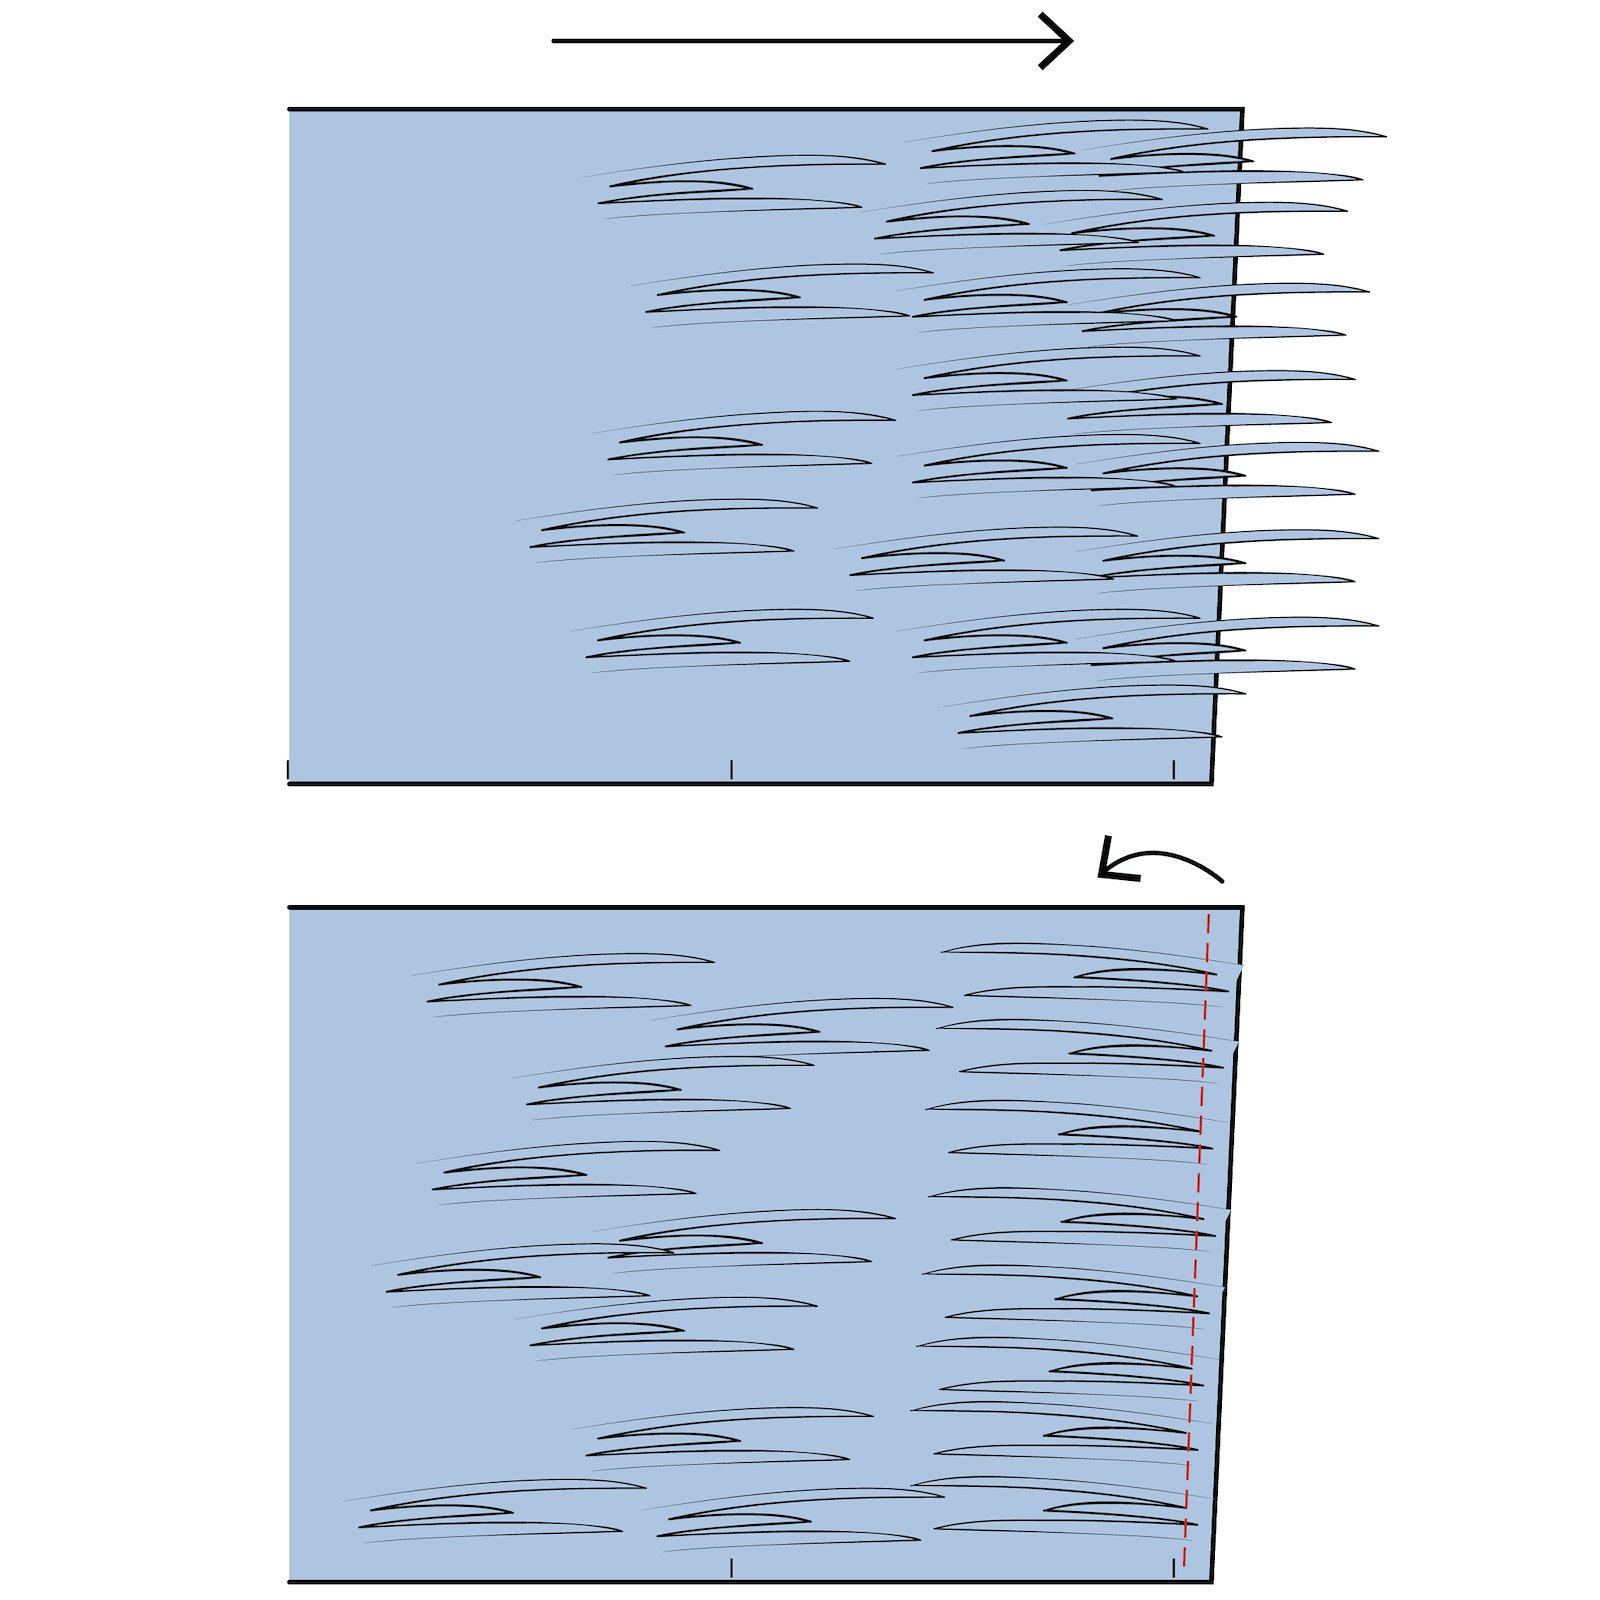
11.Note: If your fur is very long-haired, at the end of the cuff, fold the hairs back towards the direction of the hair and sew a stitch 8 mm from the edge. This makes it easier to sew step 13. 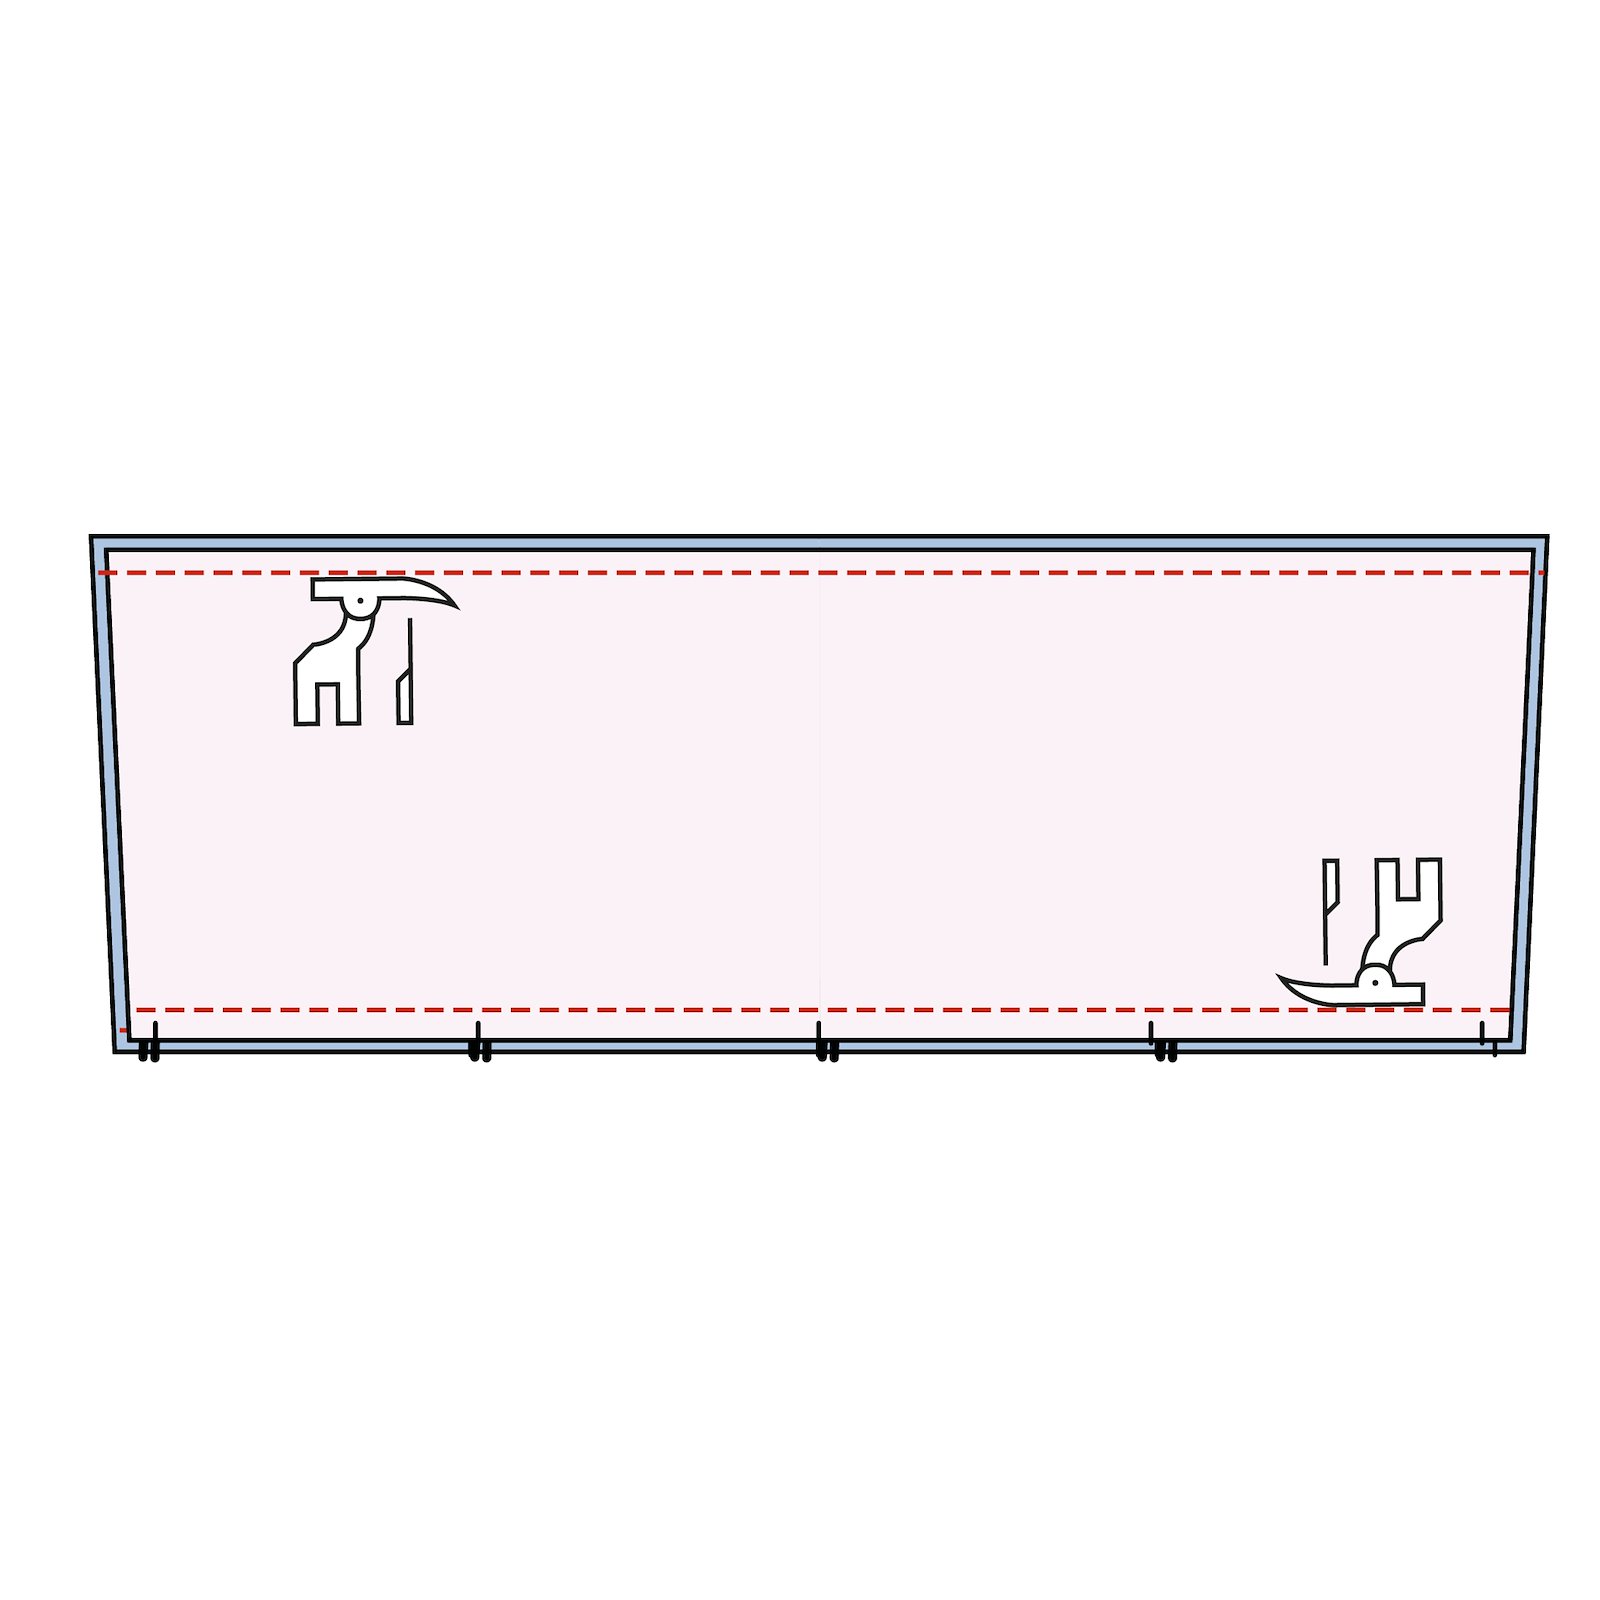
12.Place the lining and fur cuff right sides together and sew with a 1 cm seam at the top and bottom. Push the long fur hairs away from the seam and towards the center of the pattern piece when sewing together. Turn the right side out and press. 
13.Fold the cuff in the middle, fur side right sides together. Sew the fur together with a 1 cm seam, starting and ending 1-1.5 cm inside the lining. 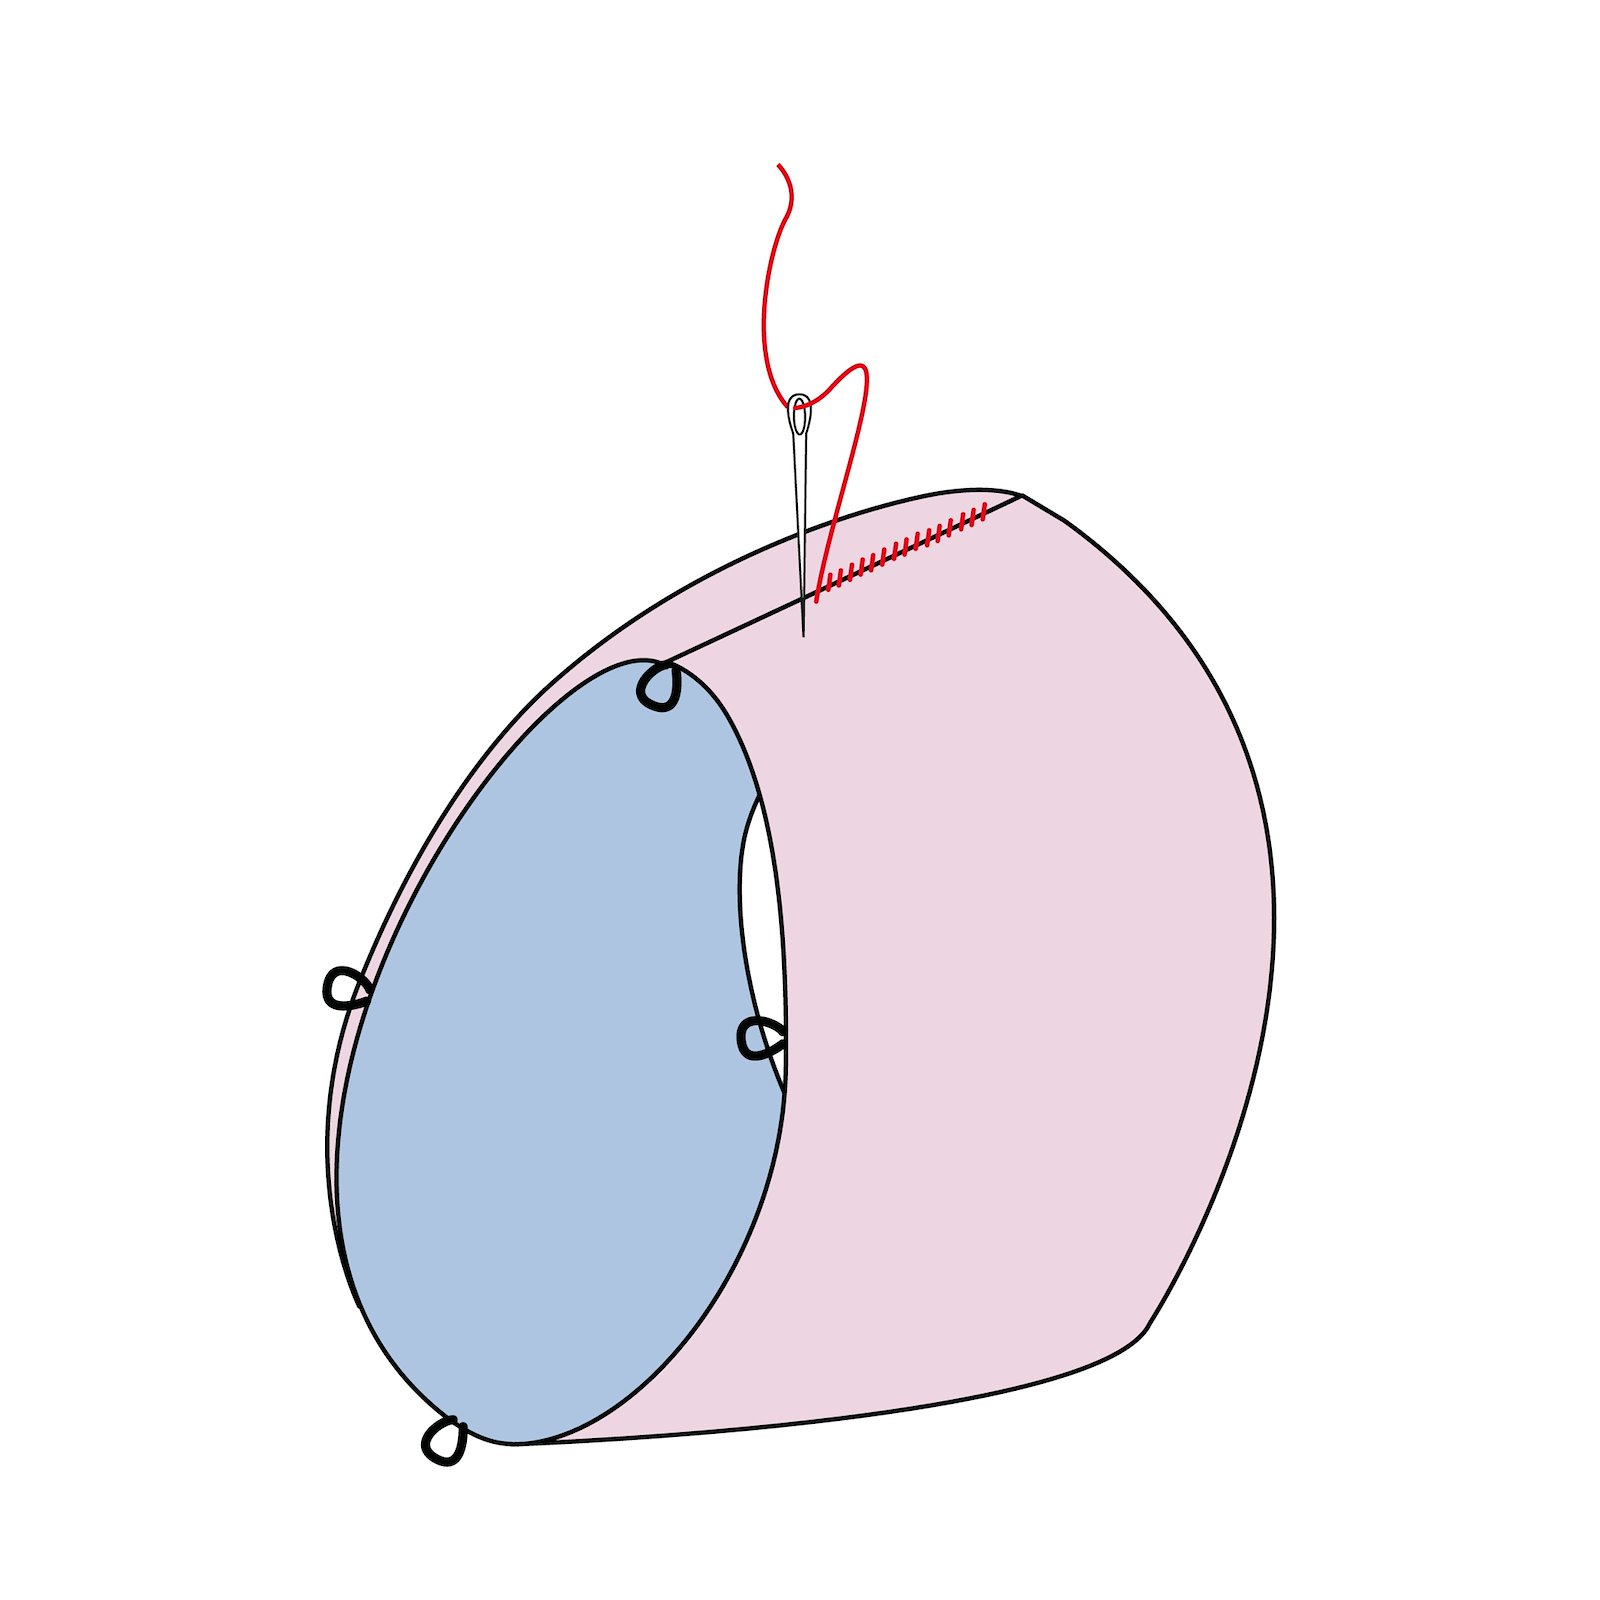
14.Fold the lining in place and sew together by hand with small invisible stitches. 
15.Sew small buttons on the inside of the jacket sleeve where marked with pins and sew a button in the center of the space between each pin, for a total of 4 buttons.