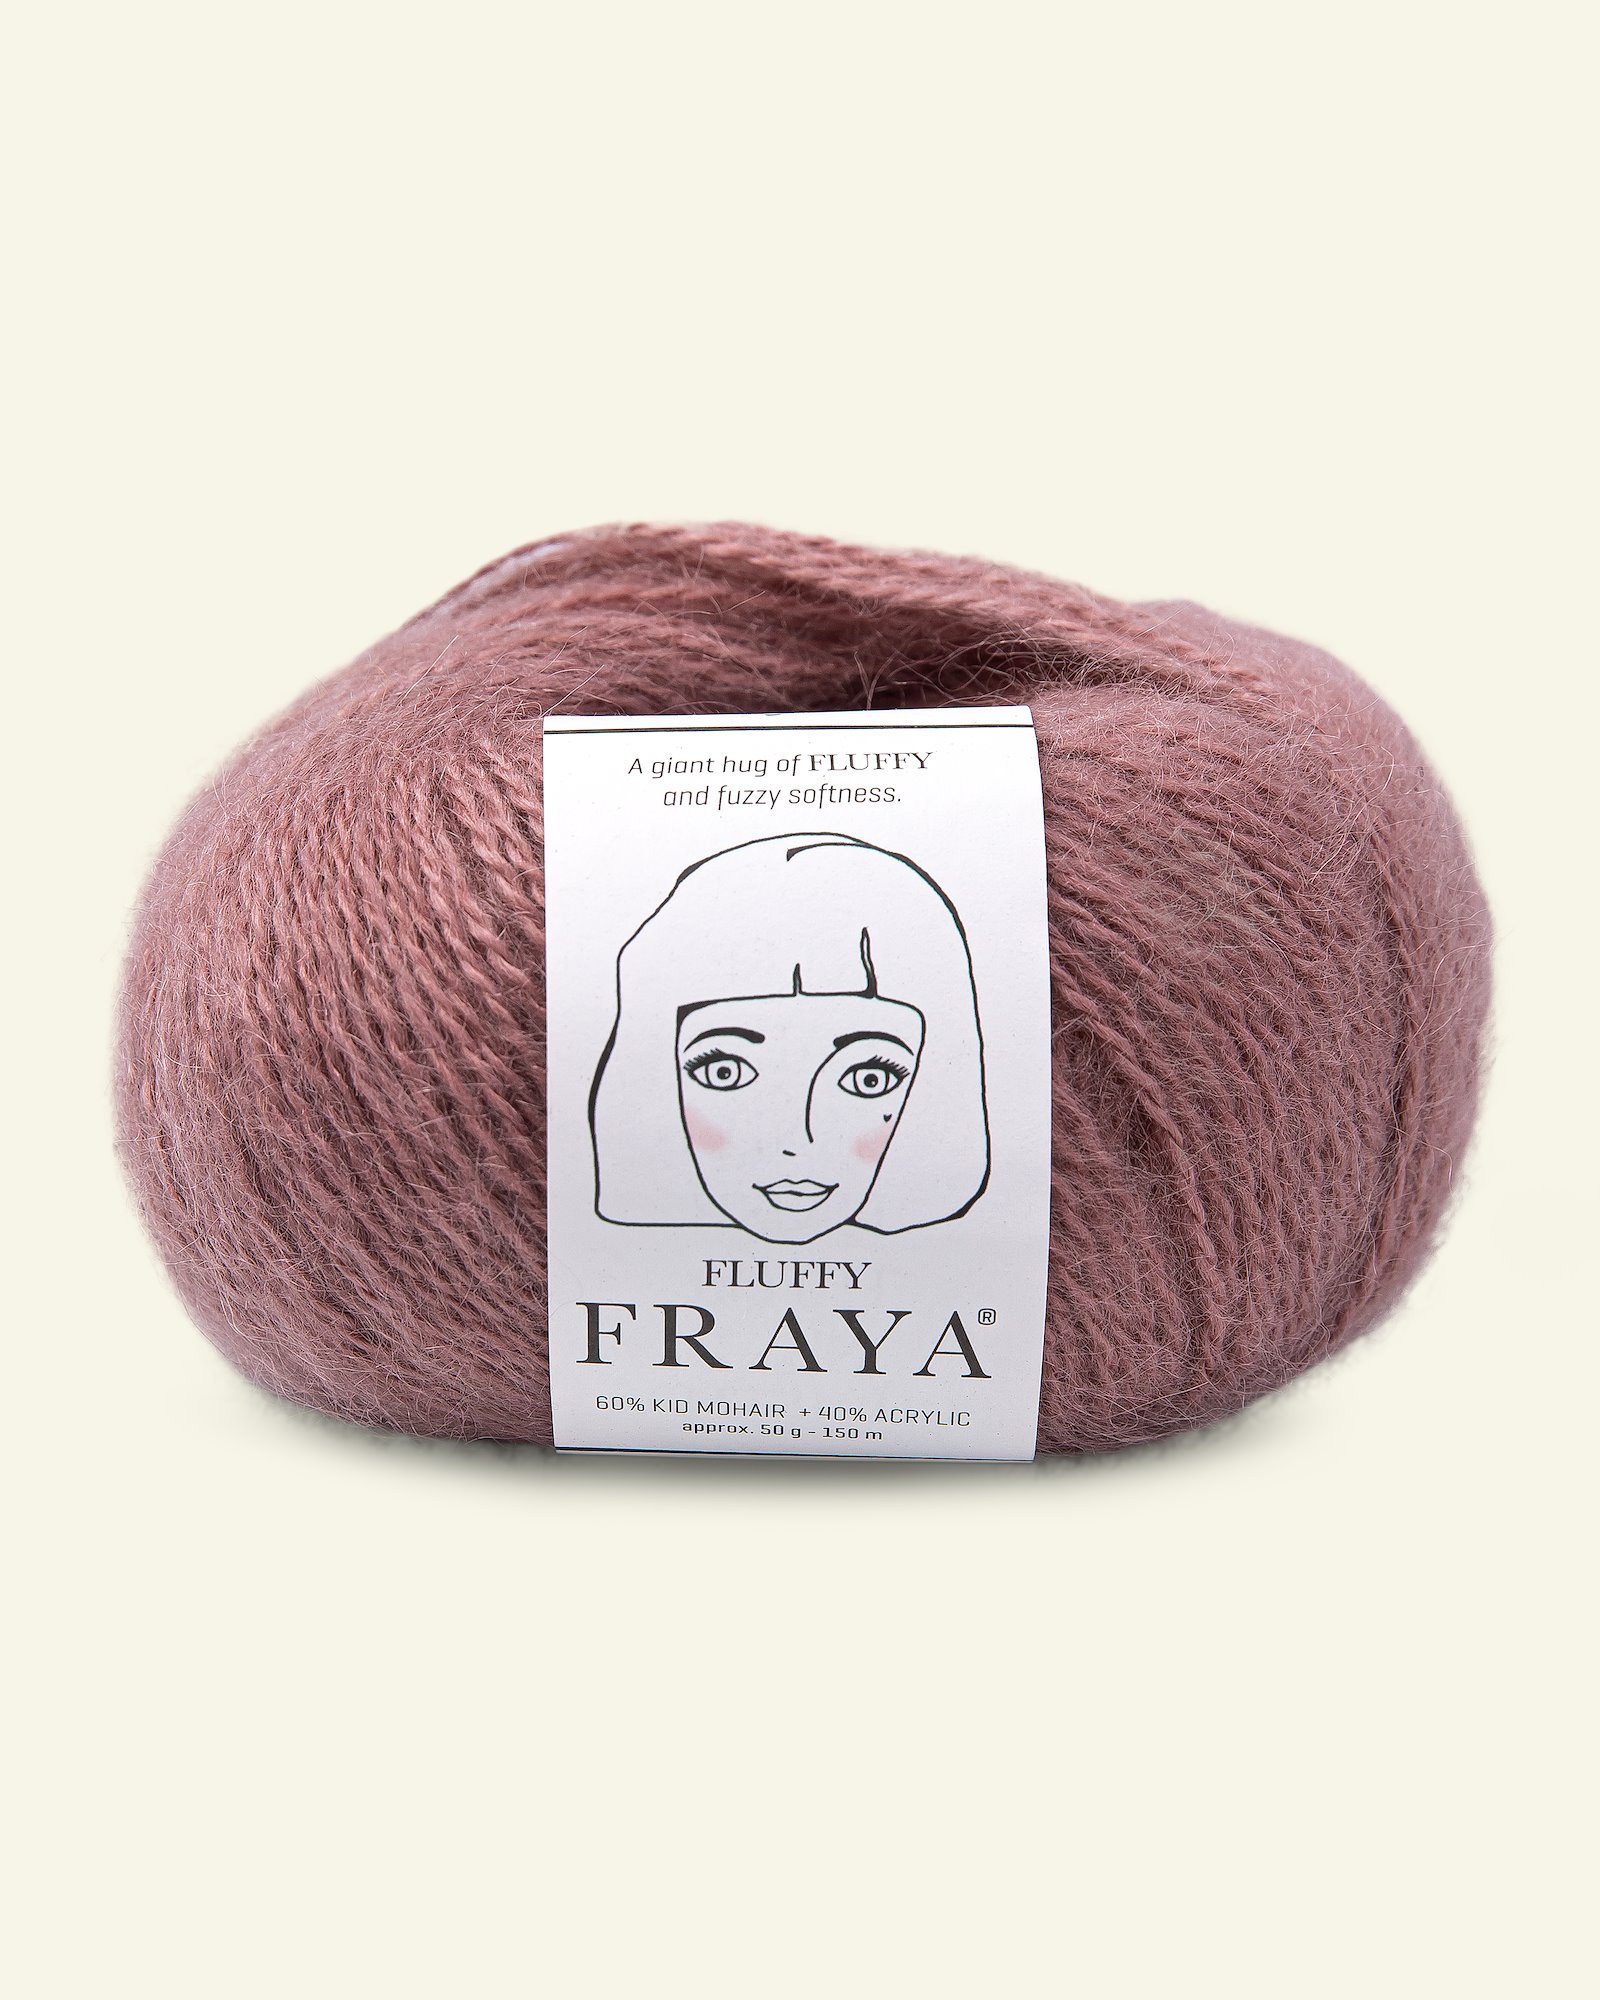
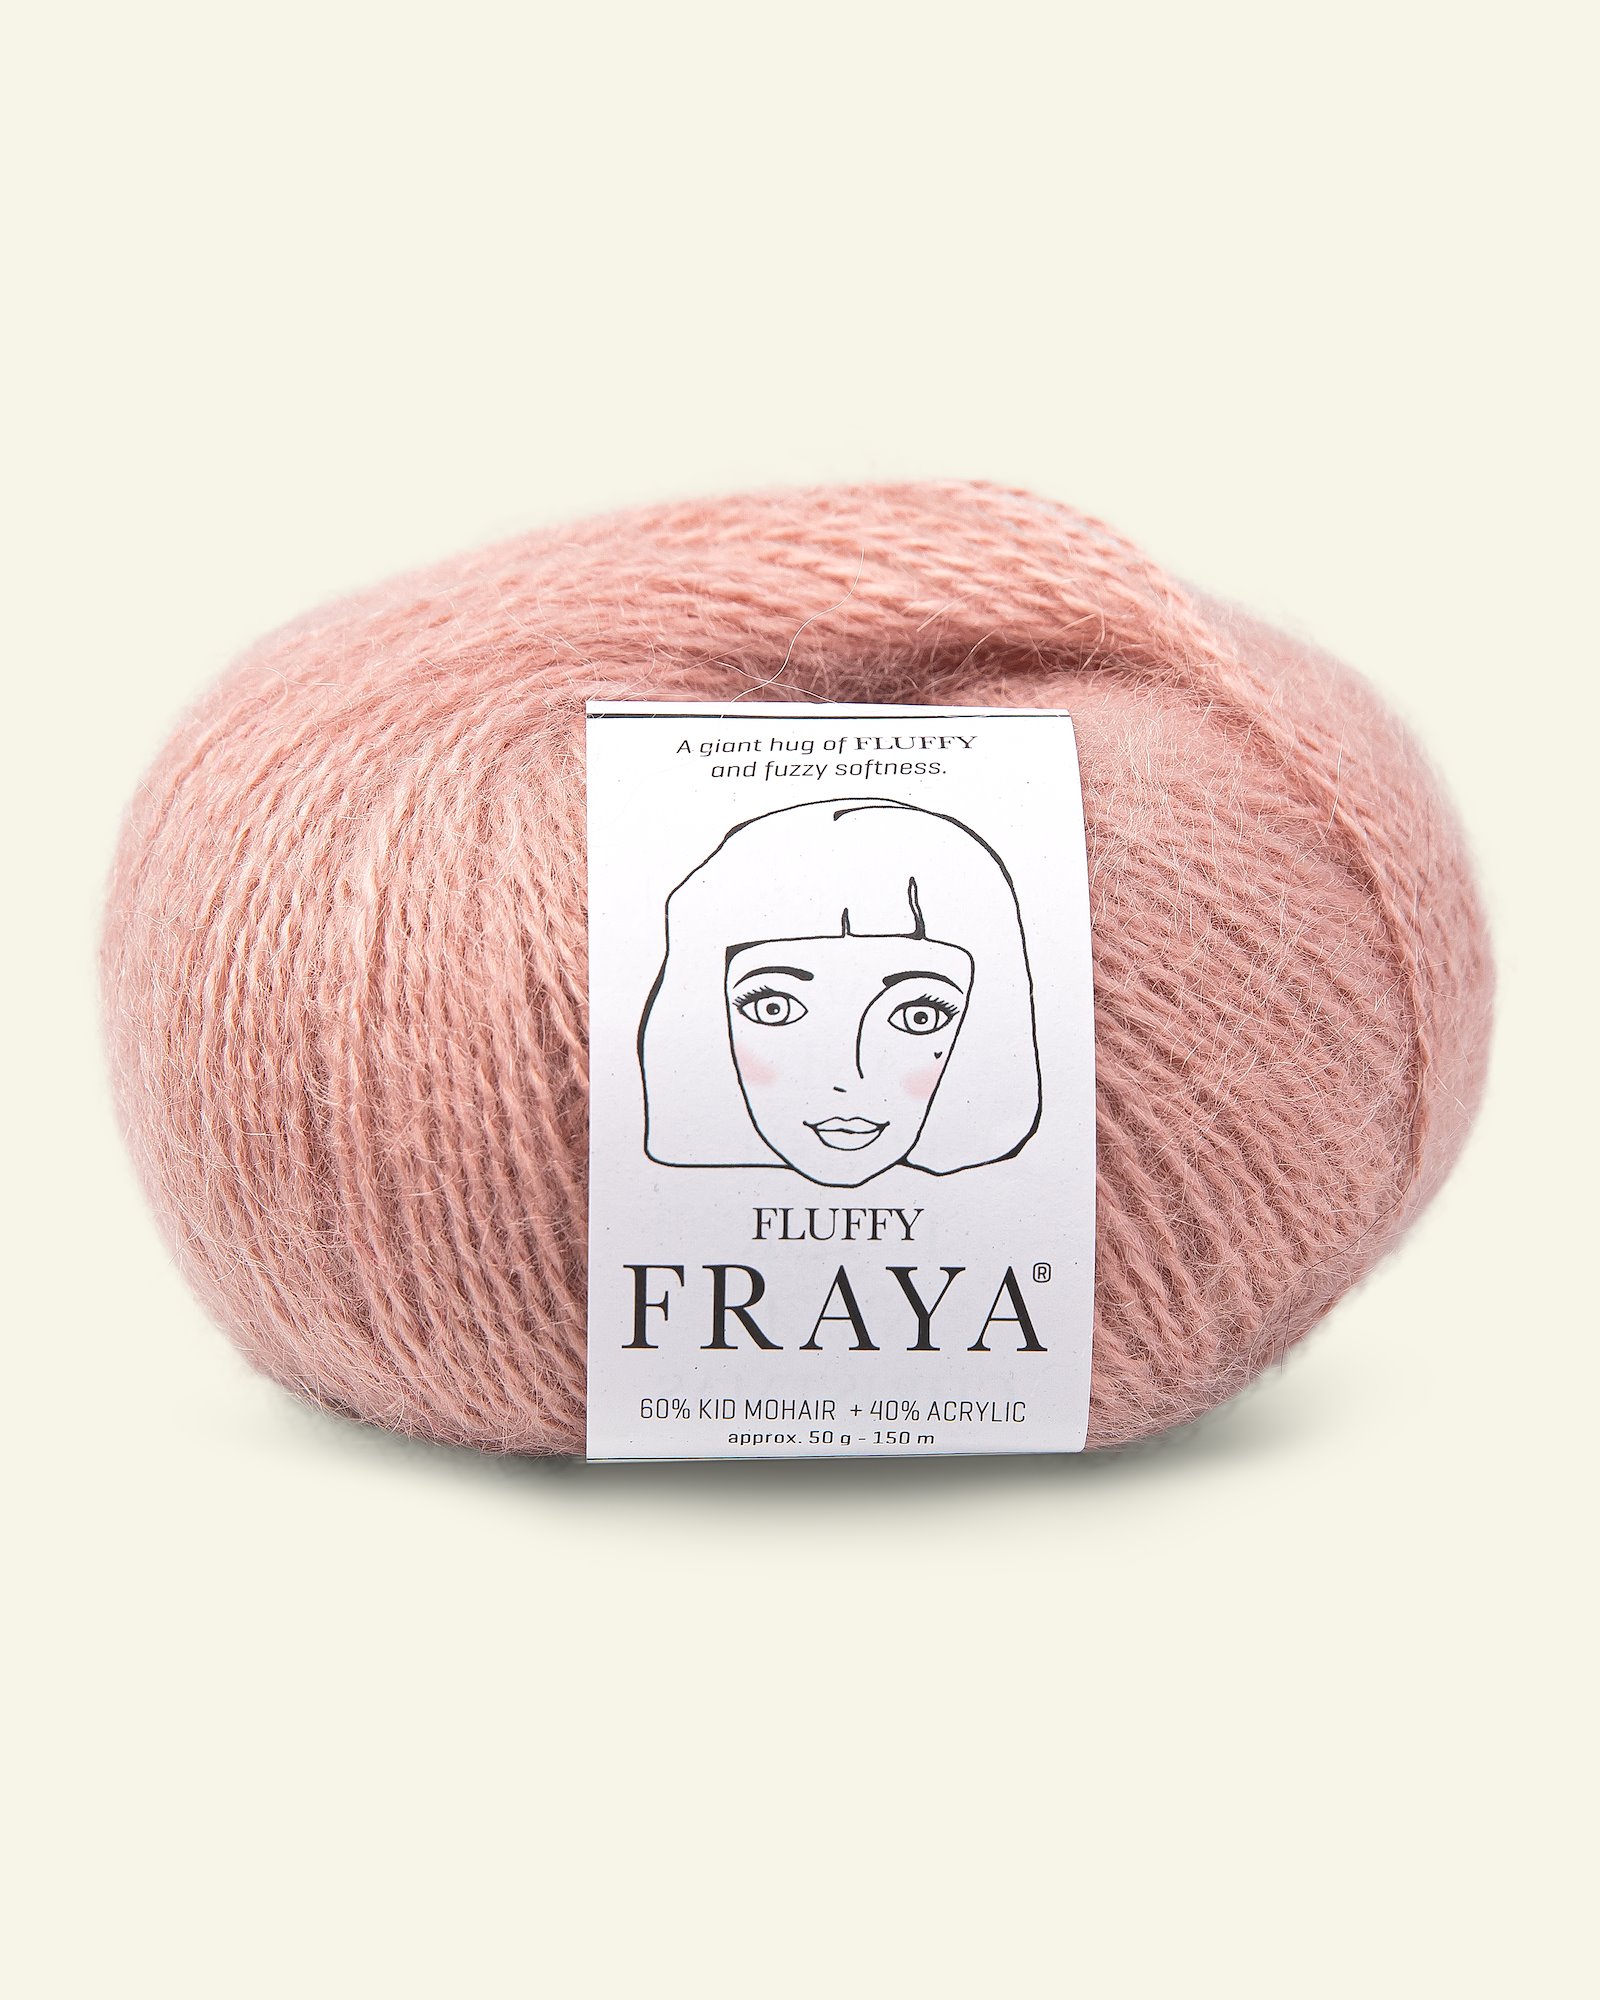
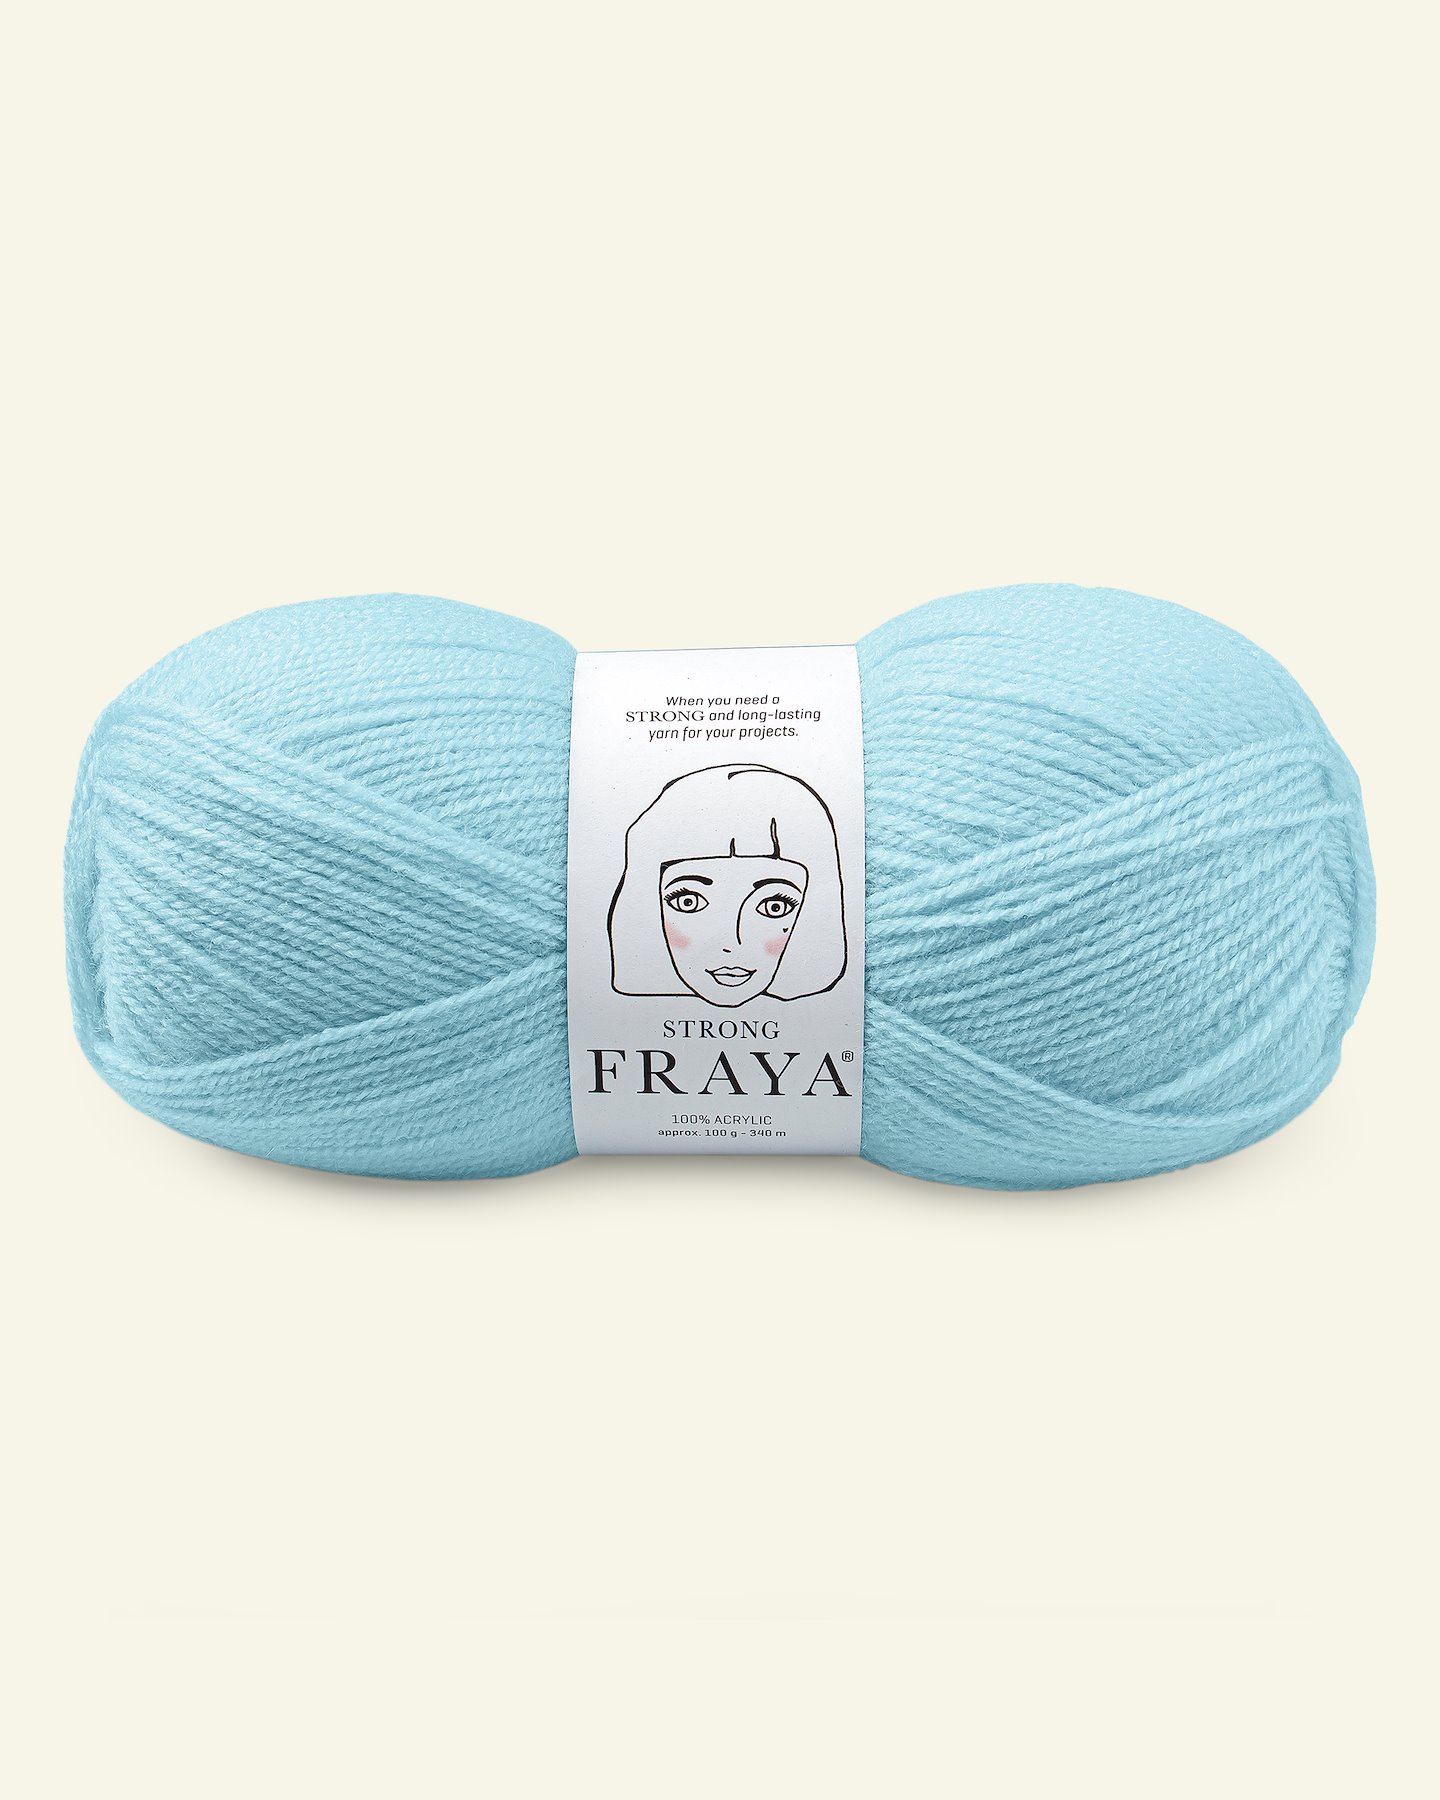
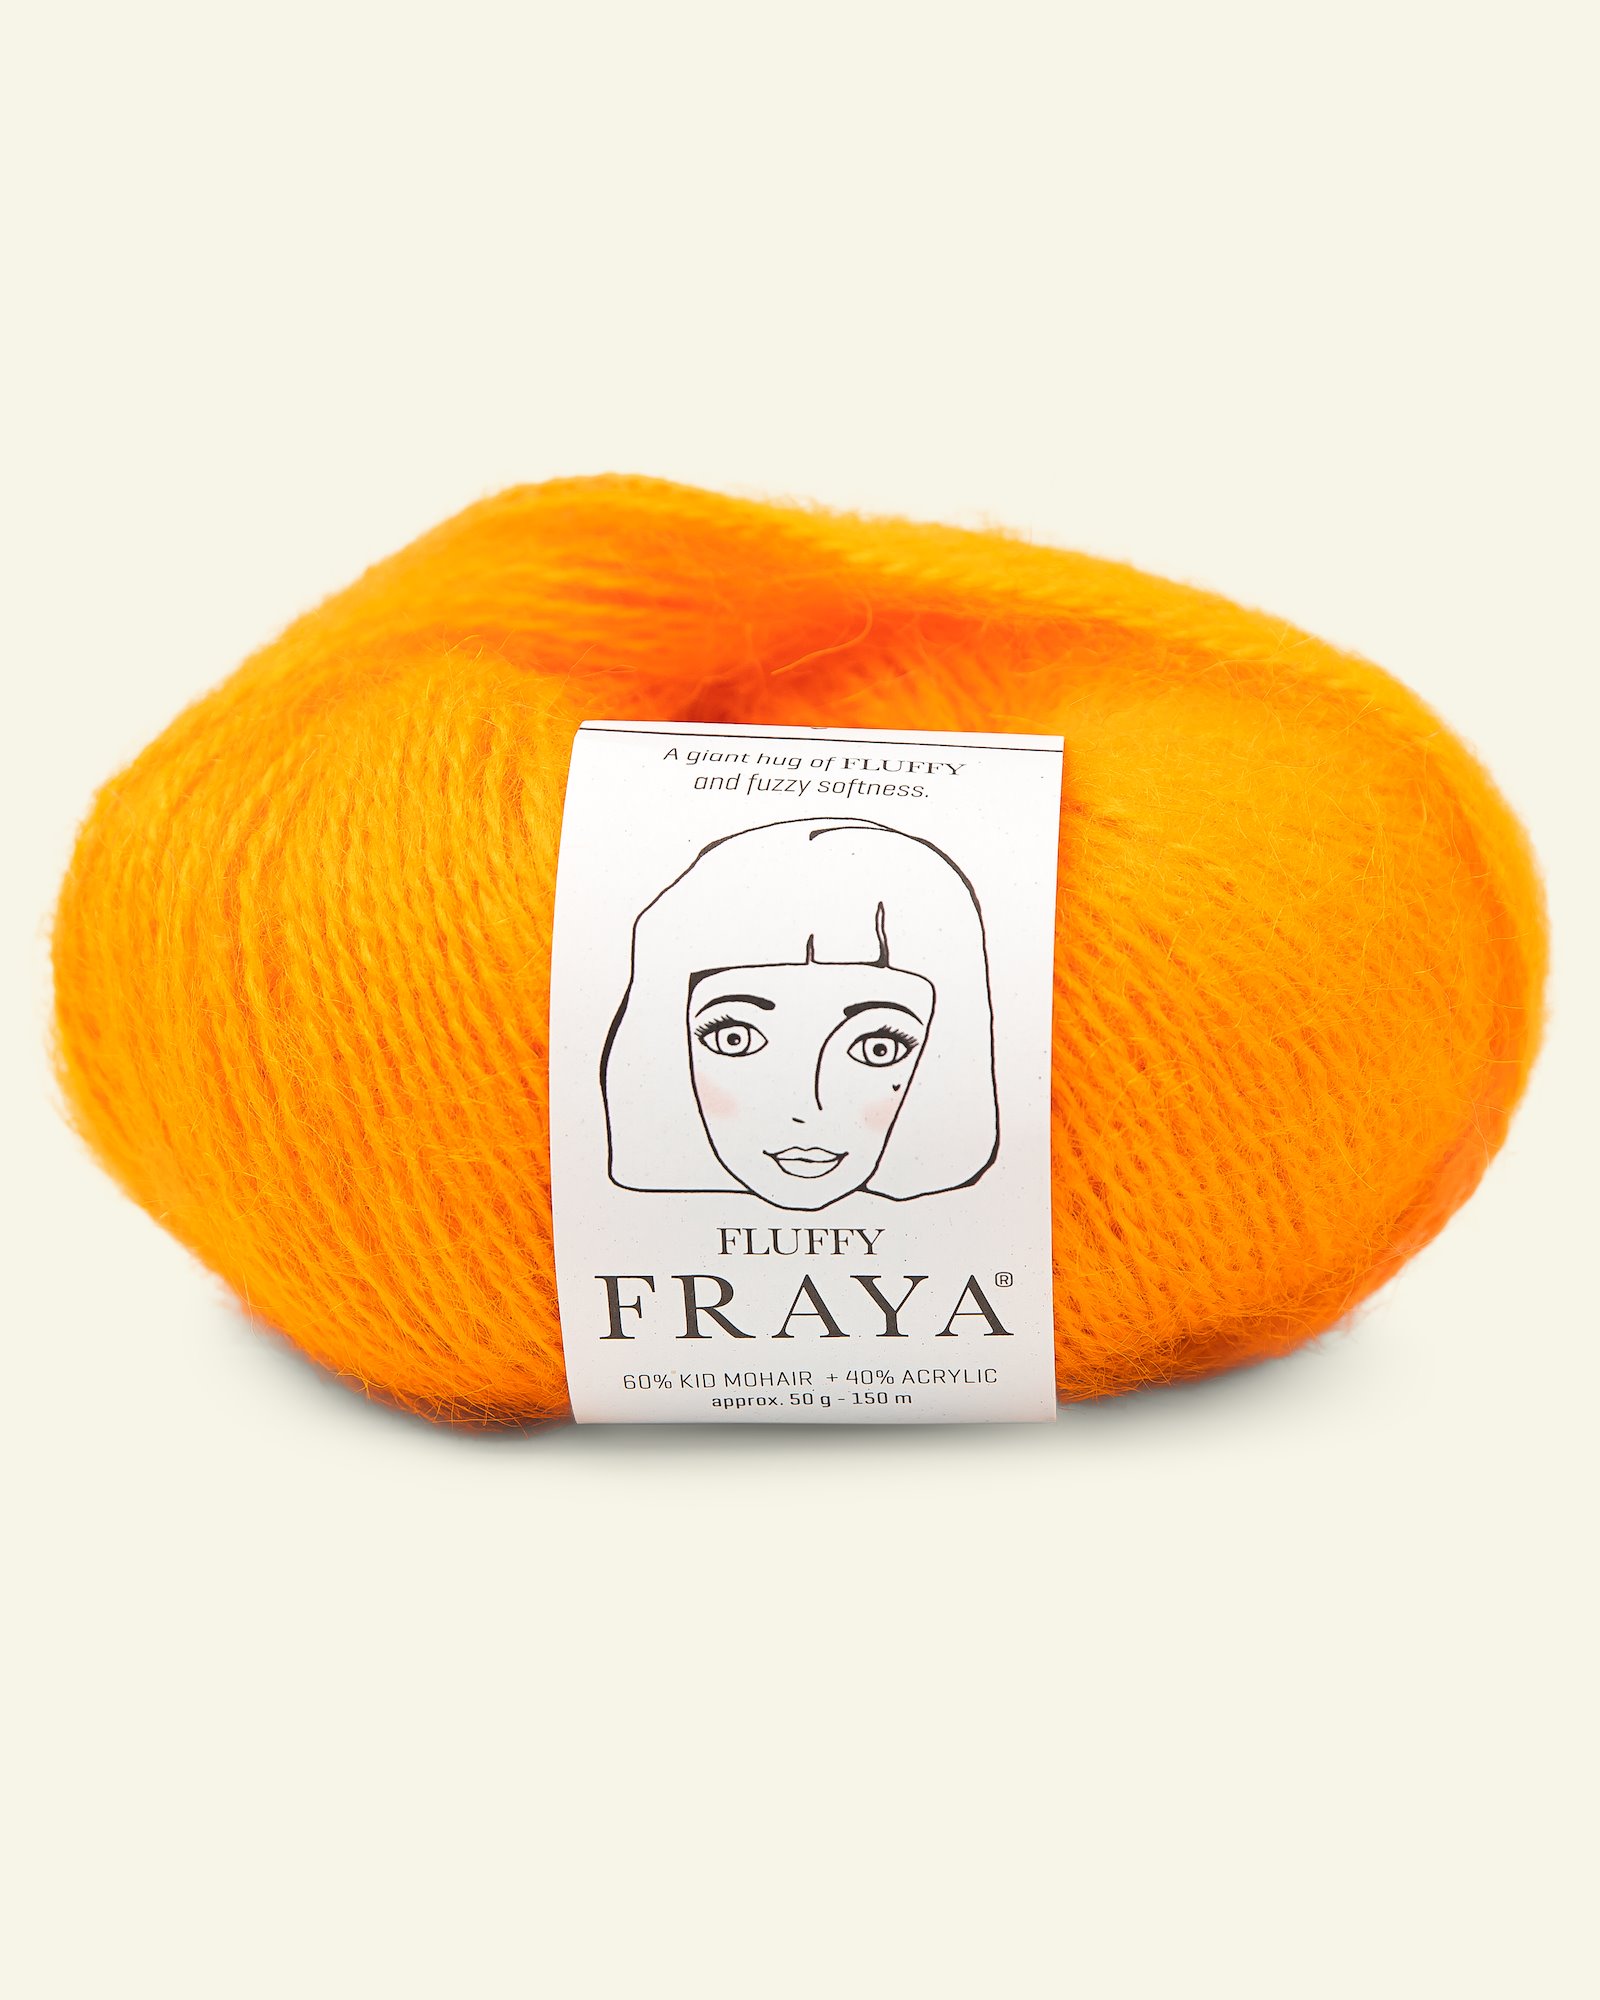
Selfmade®, formerly known as offers a wide range of punch needle materials – everything from fabric and hoops to punch needles (for coarse and for finer yarns). To learn more about punch needle products, click on the product.
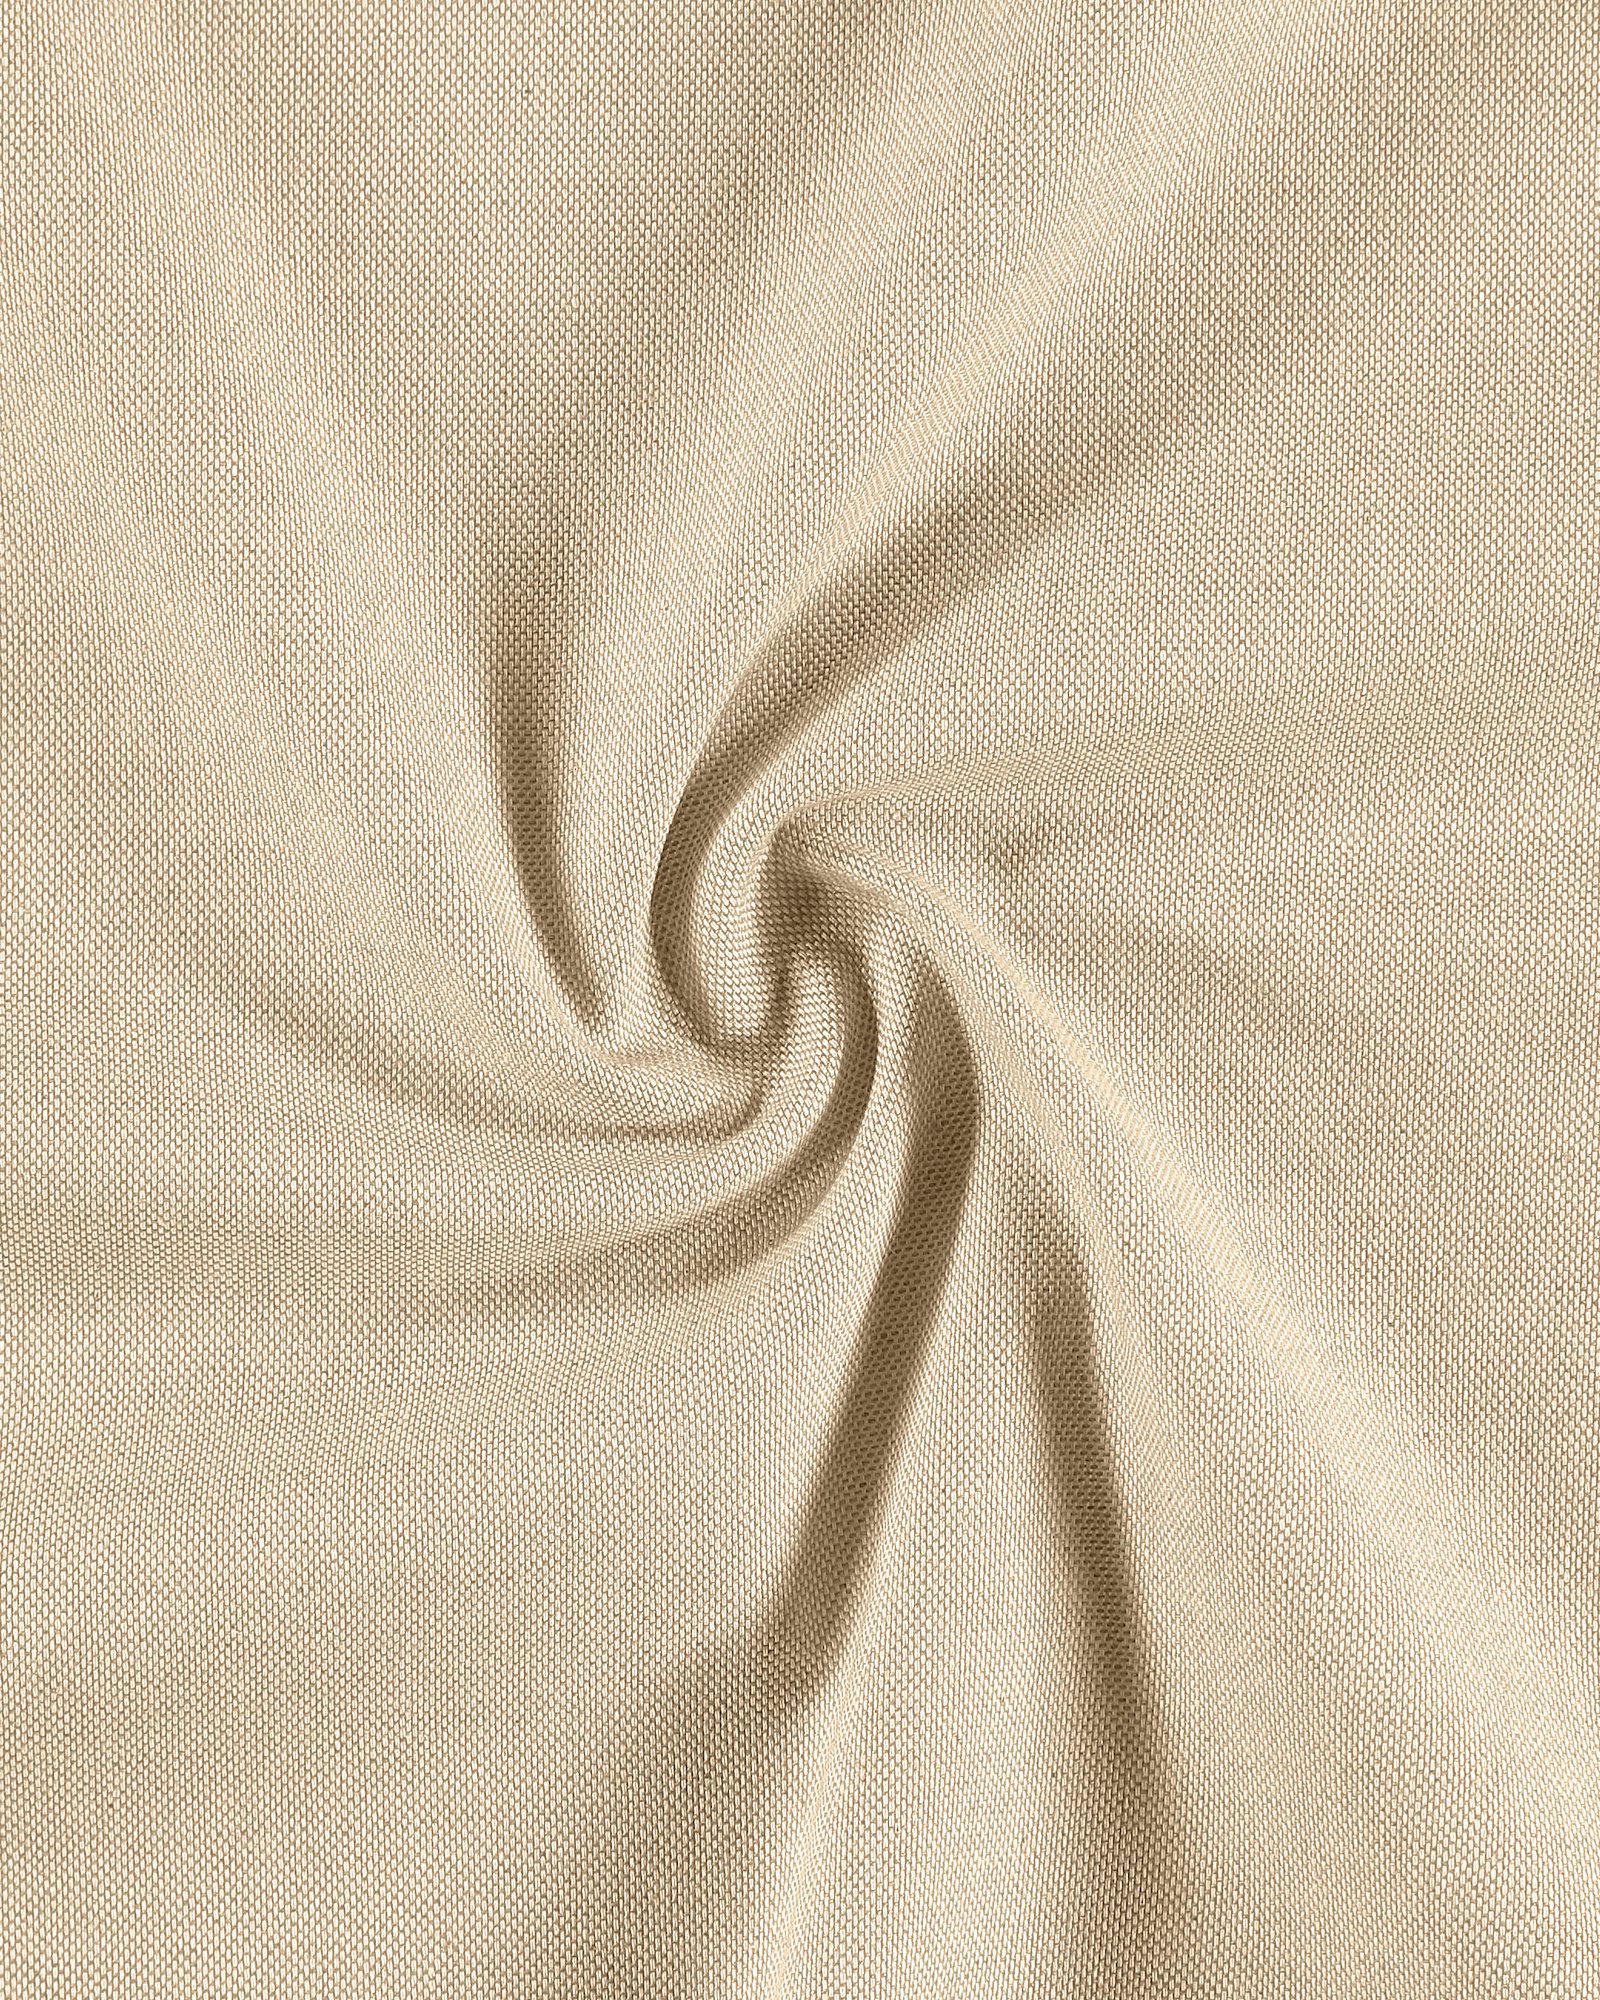
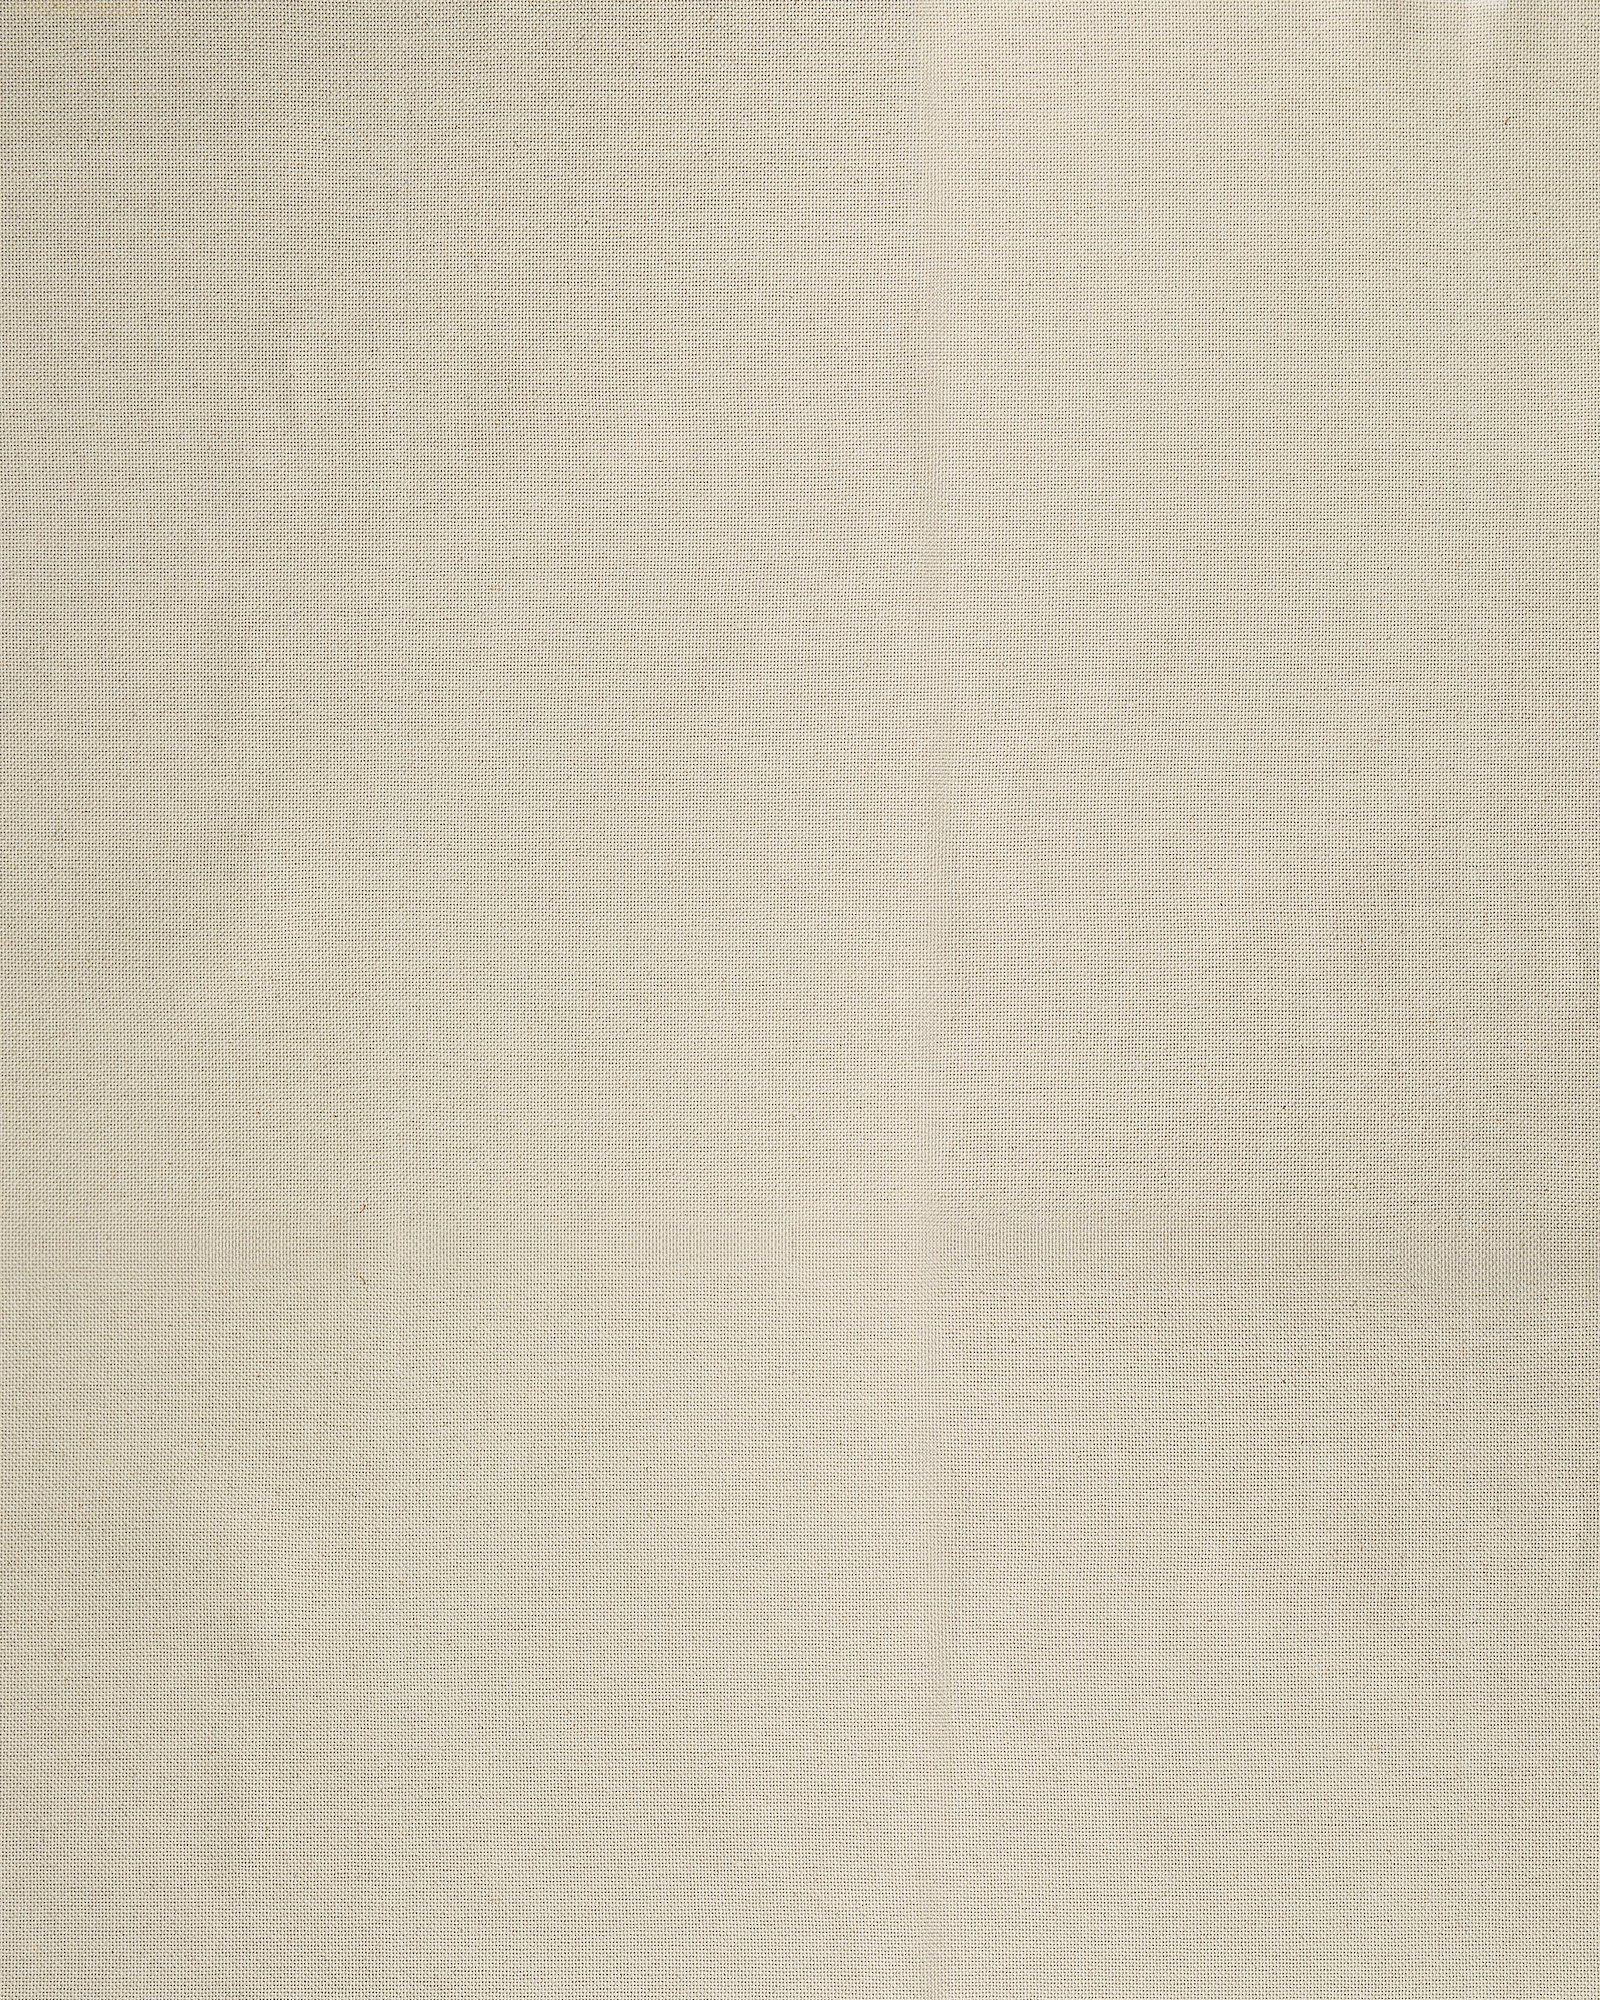
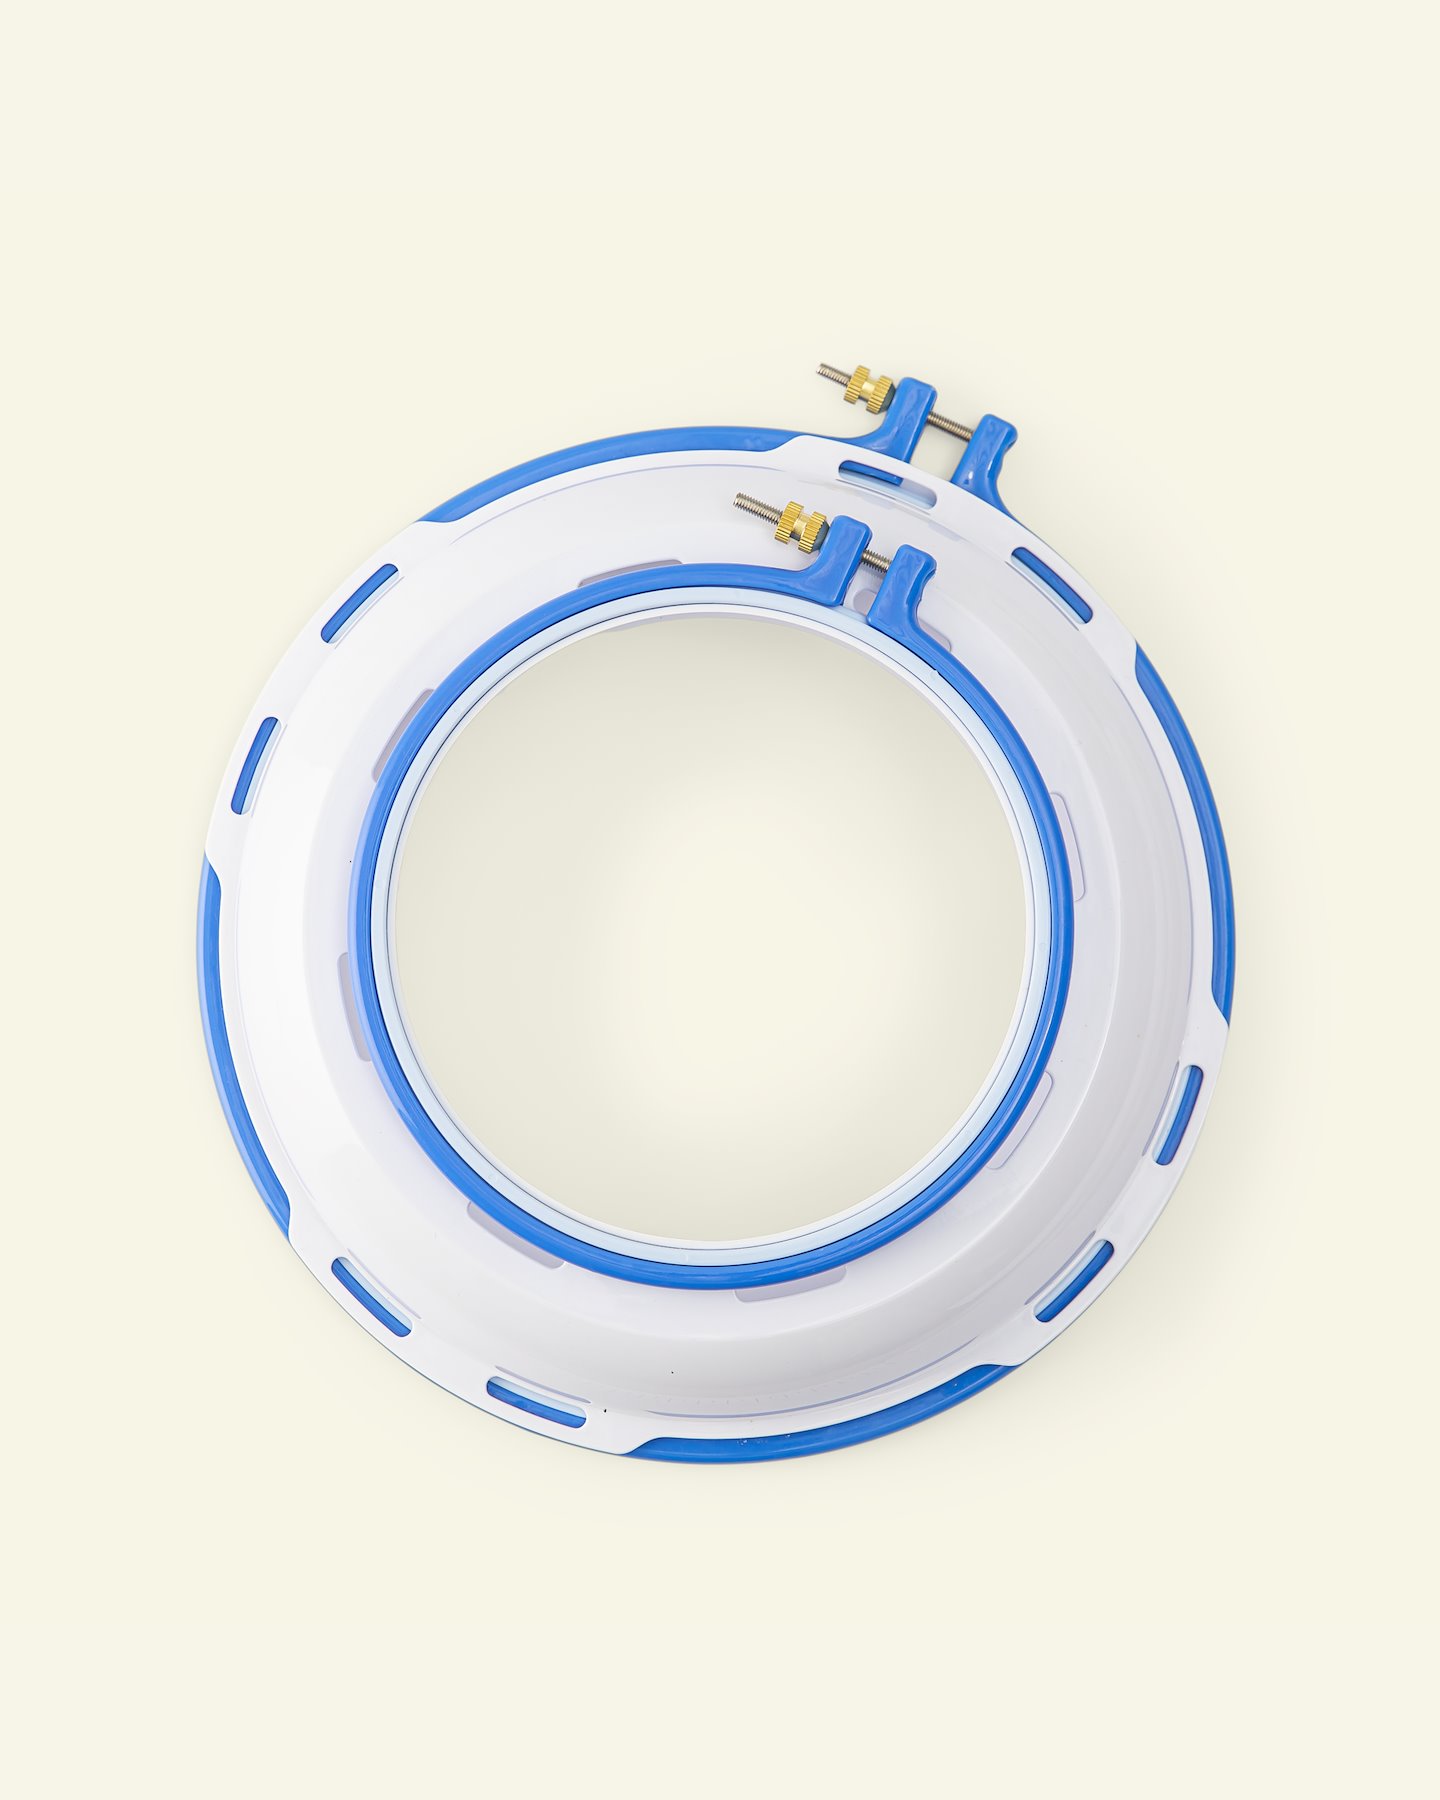
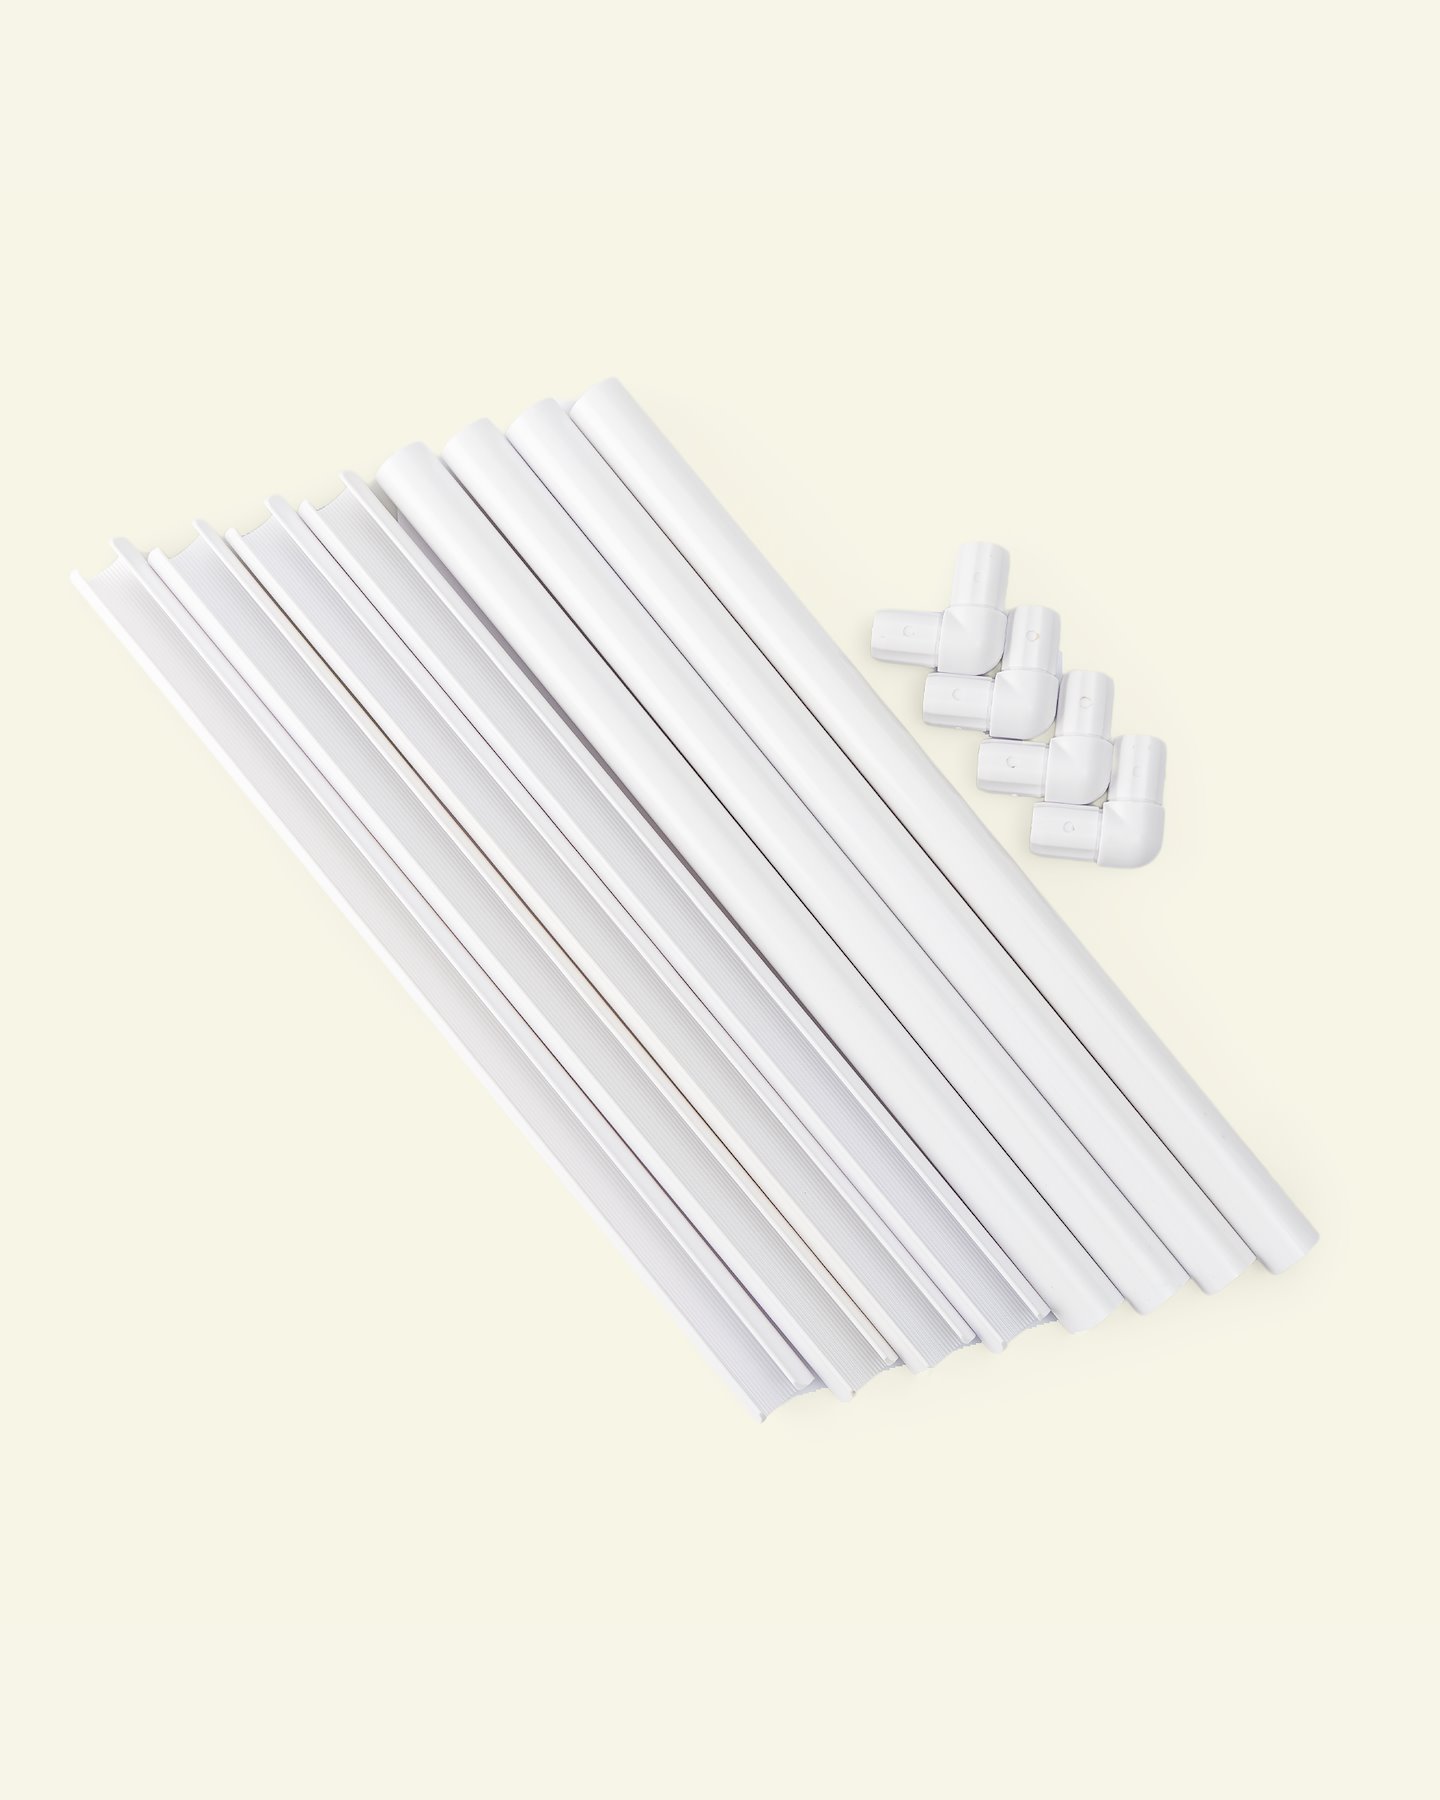
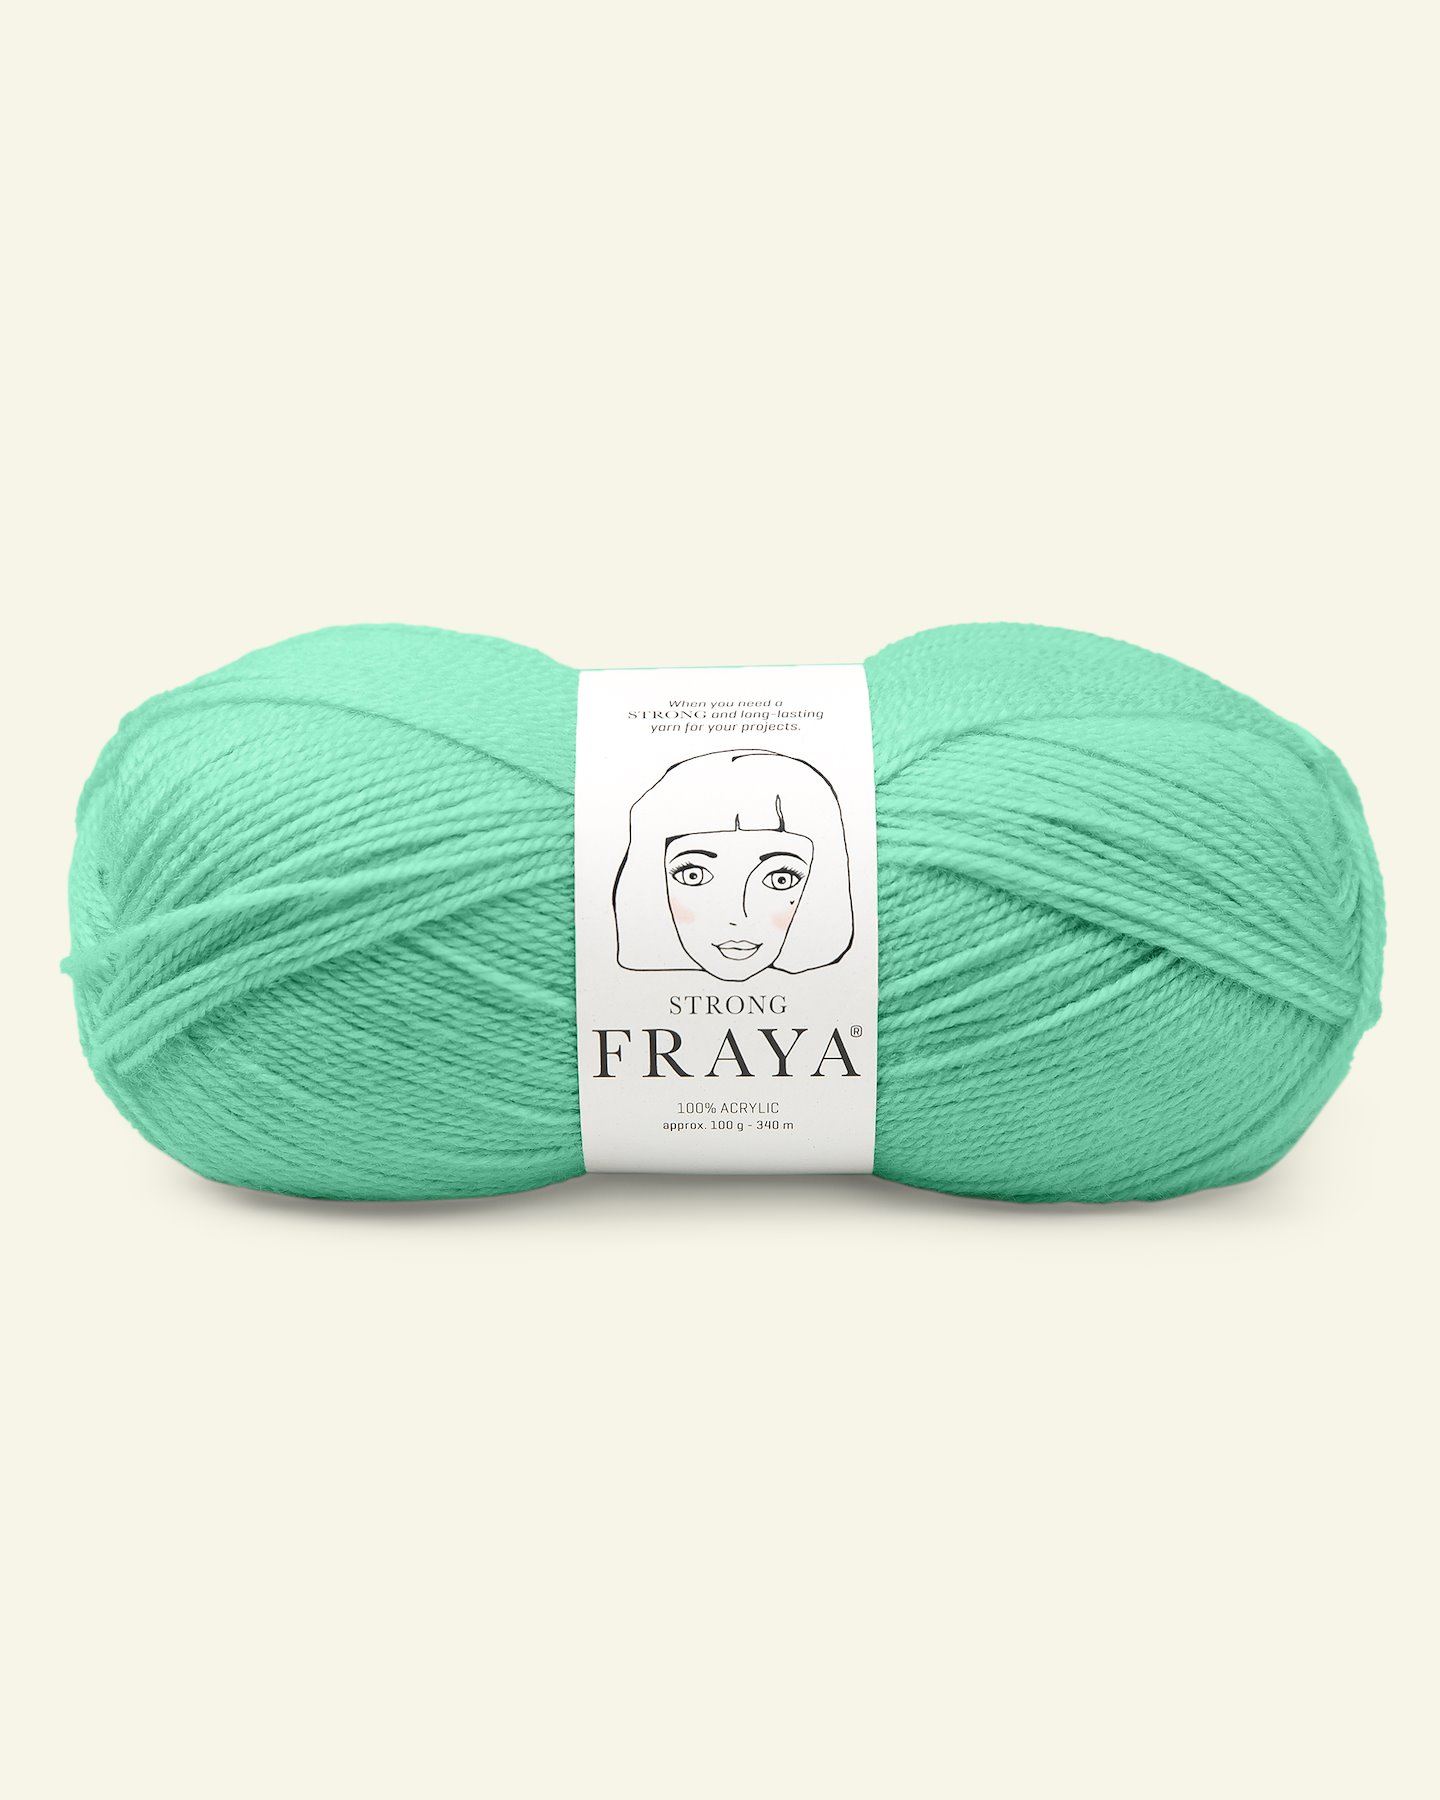
If you have the right fabric and hoops to keep the fabric taut, creative work is a breeze. Punch needle is a great way to use up remnants of yarn. If you change your mind and want to use a different colour or yarn, all you have to do is unravel your work.
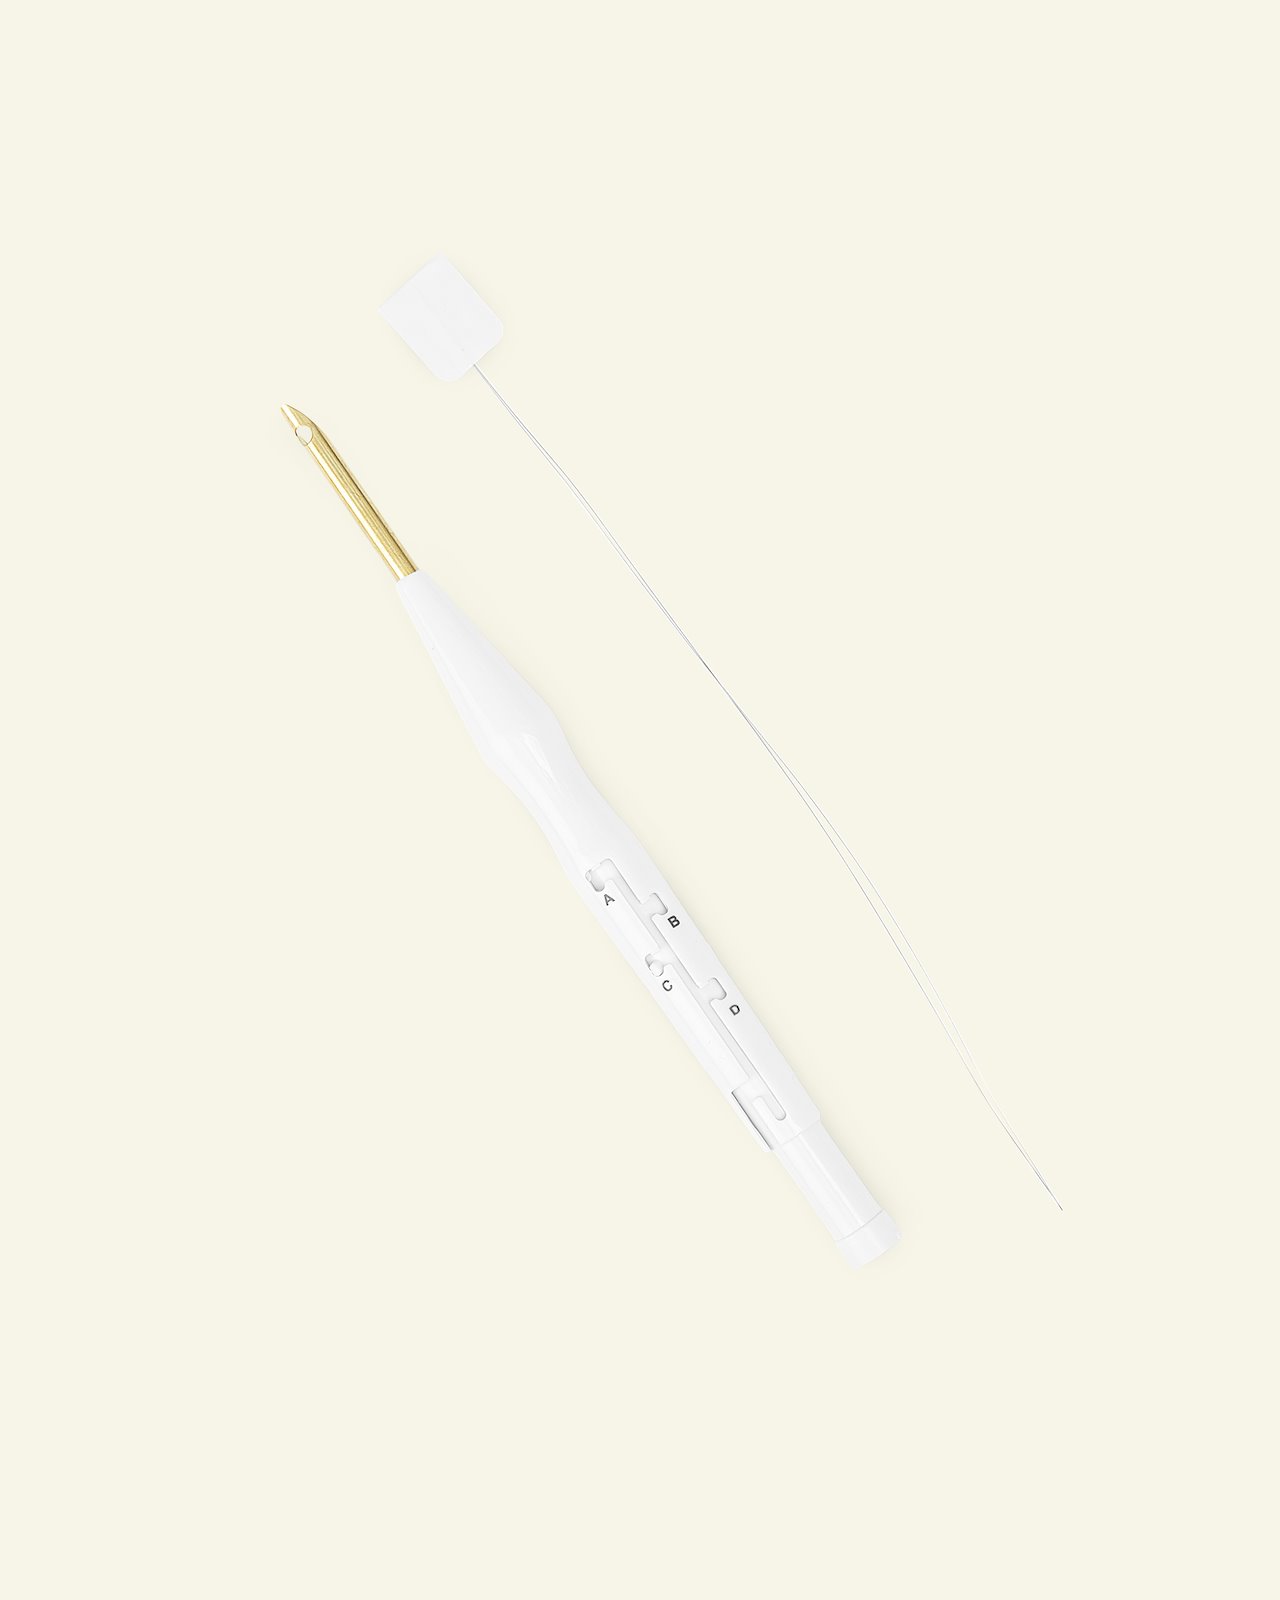
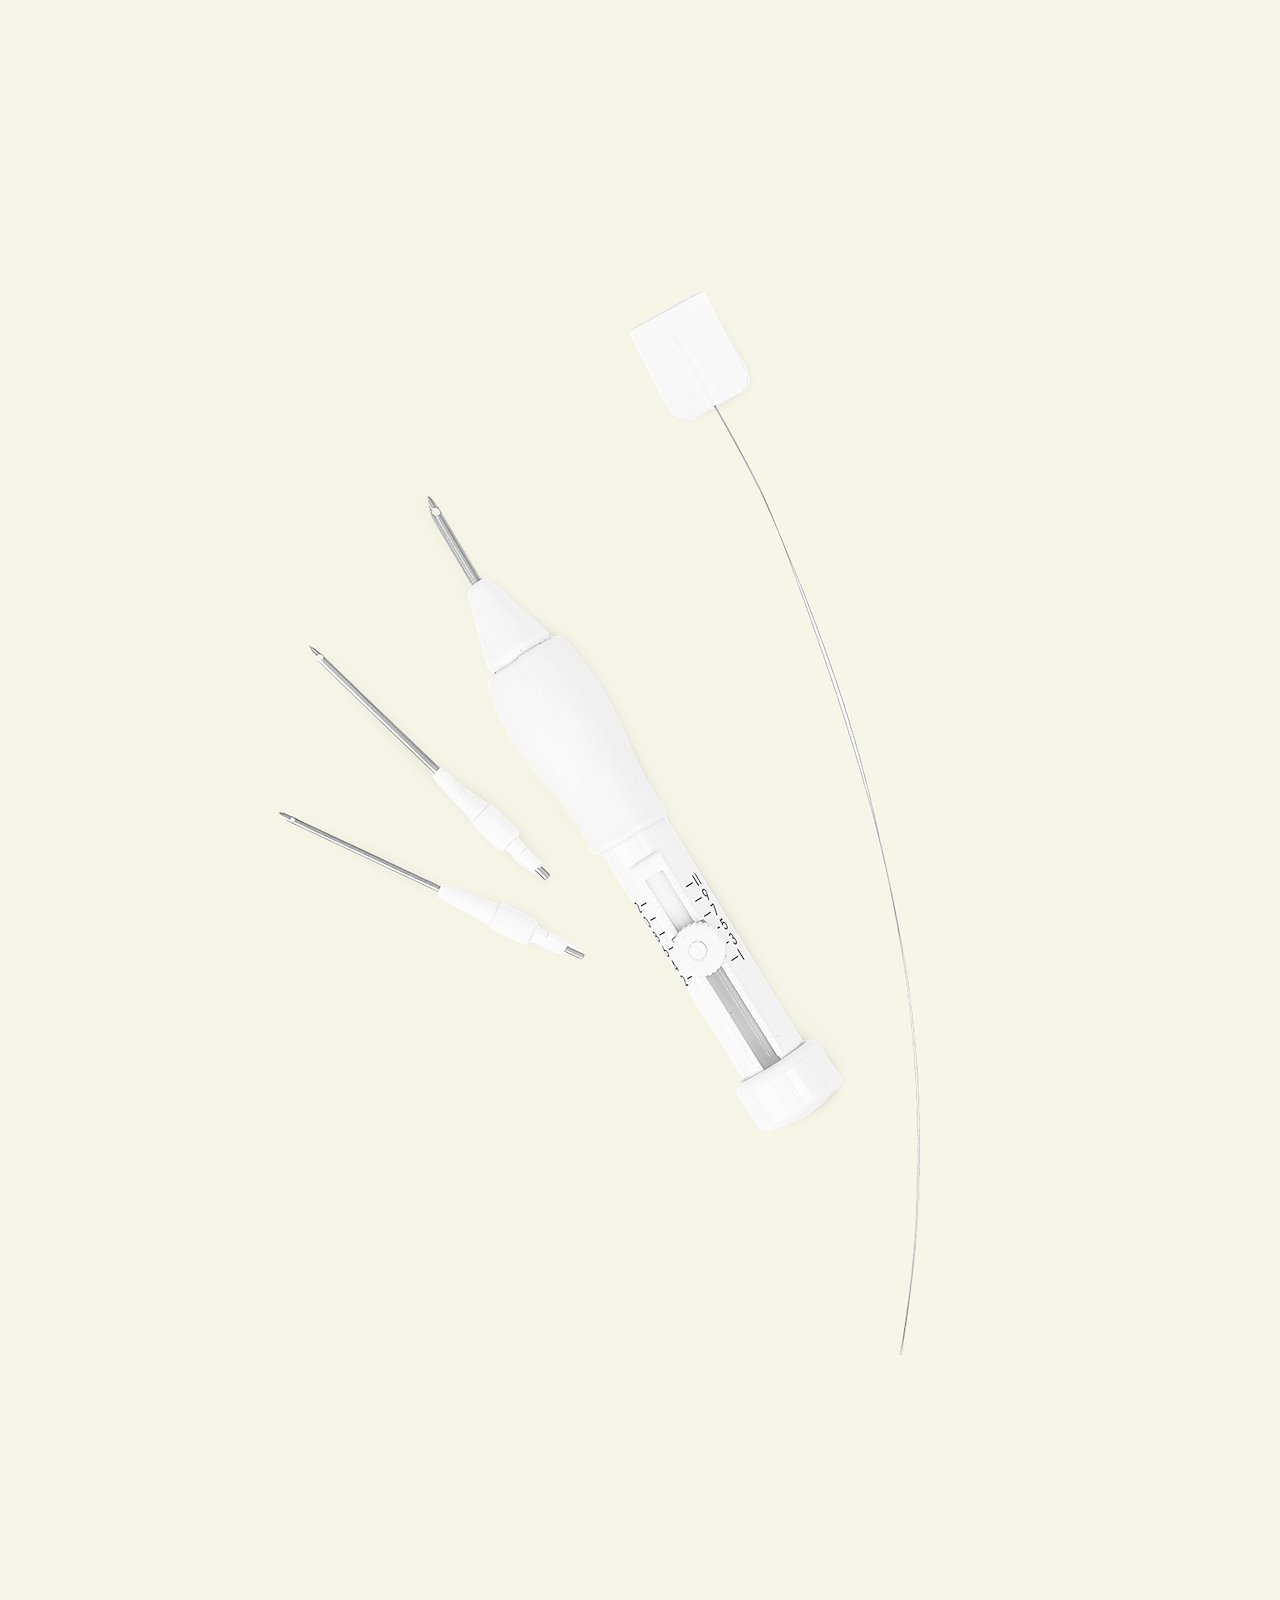
Get off to a great start with the right punch needle
To start your punch needle project, use a marker pen (item no. 29110) to draw a template on the wrong side of the fabric. You can also draw freehand. Do not forget to draw a mirror image of the image you want on the right side. Alternatively, using a marker pen, draw a template on water-soluble non-woven interlining on the right side of the fabric. Embroider over the interlining. When you have finished, rinse your project in cold water. The water-soluble interlining will dissolve. Remember to use a water erasable pen. The lines disappear when splashed with water.
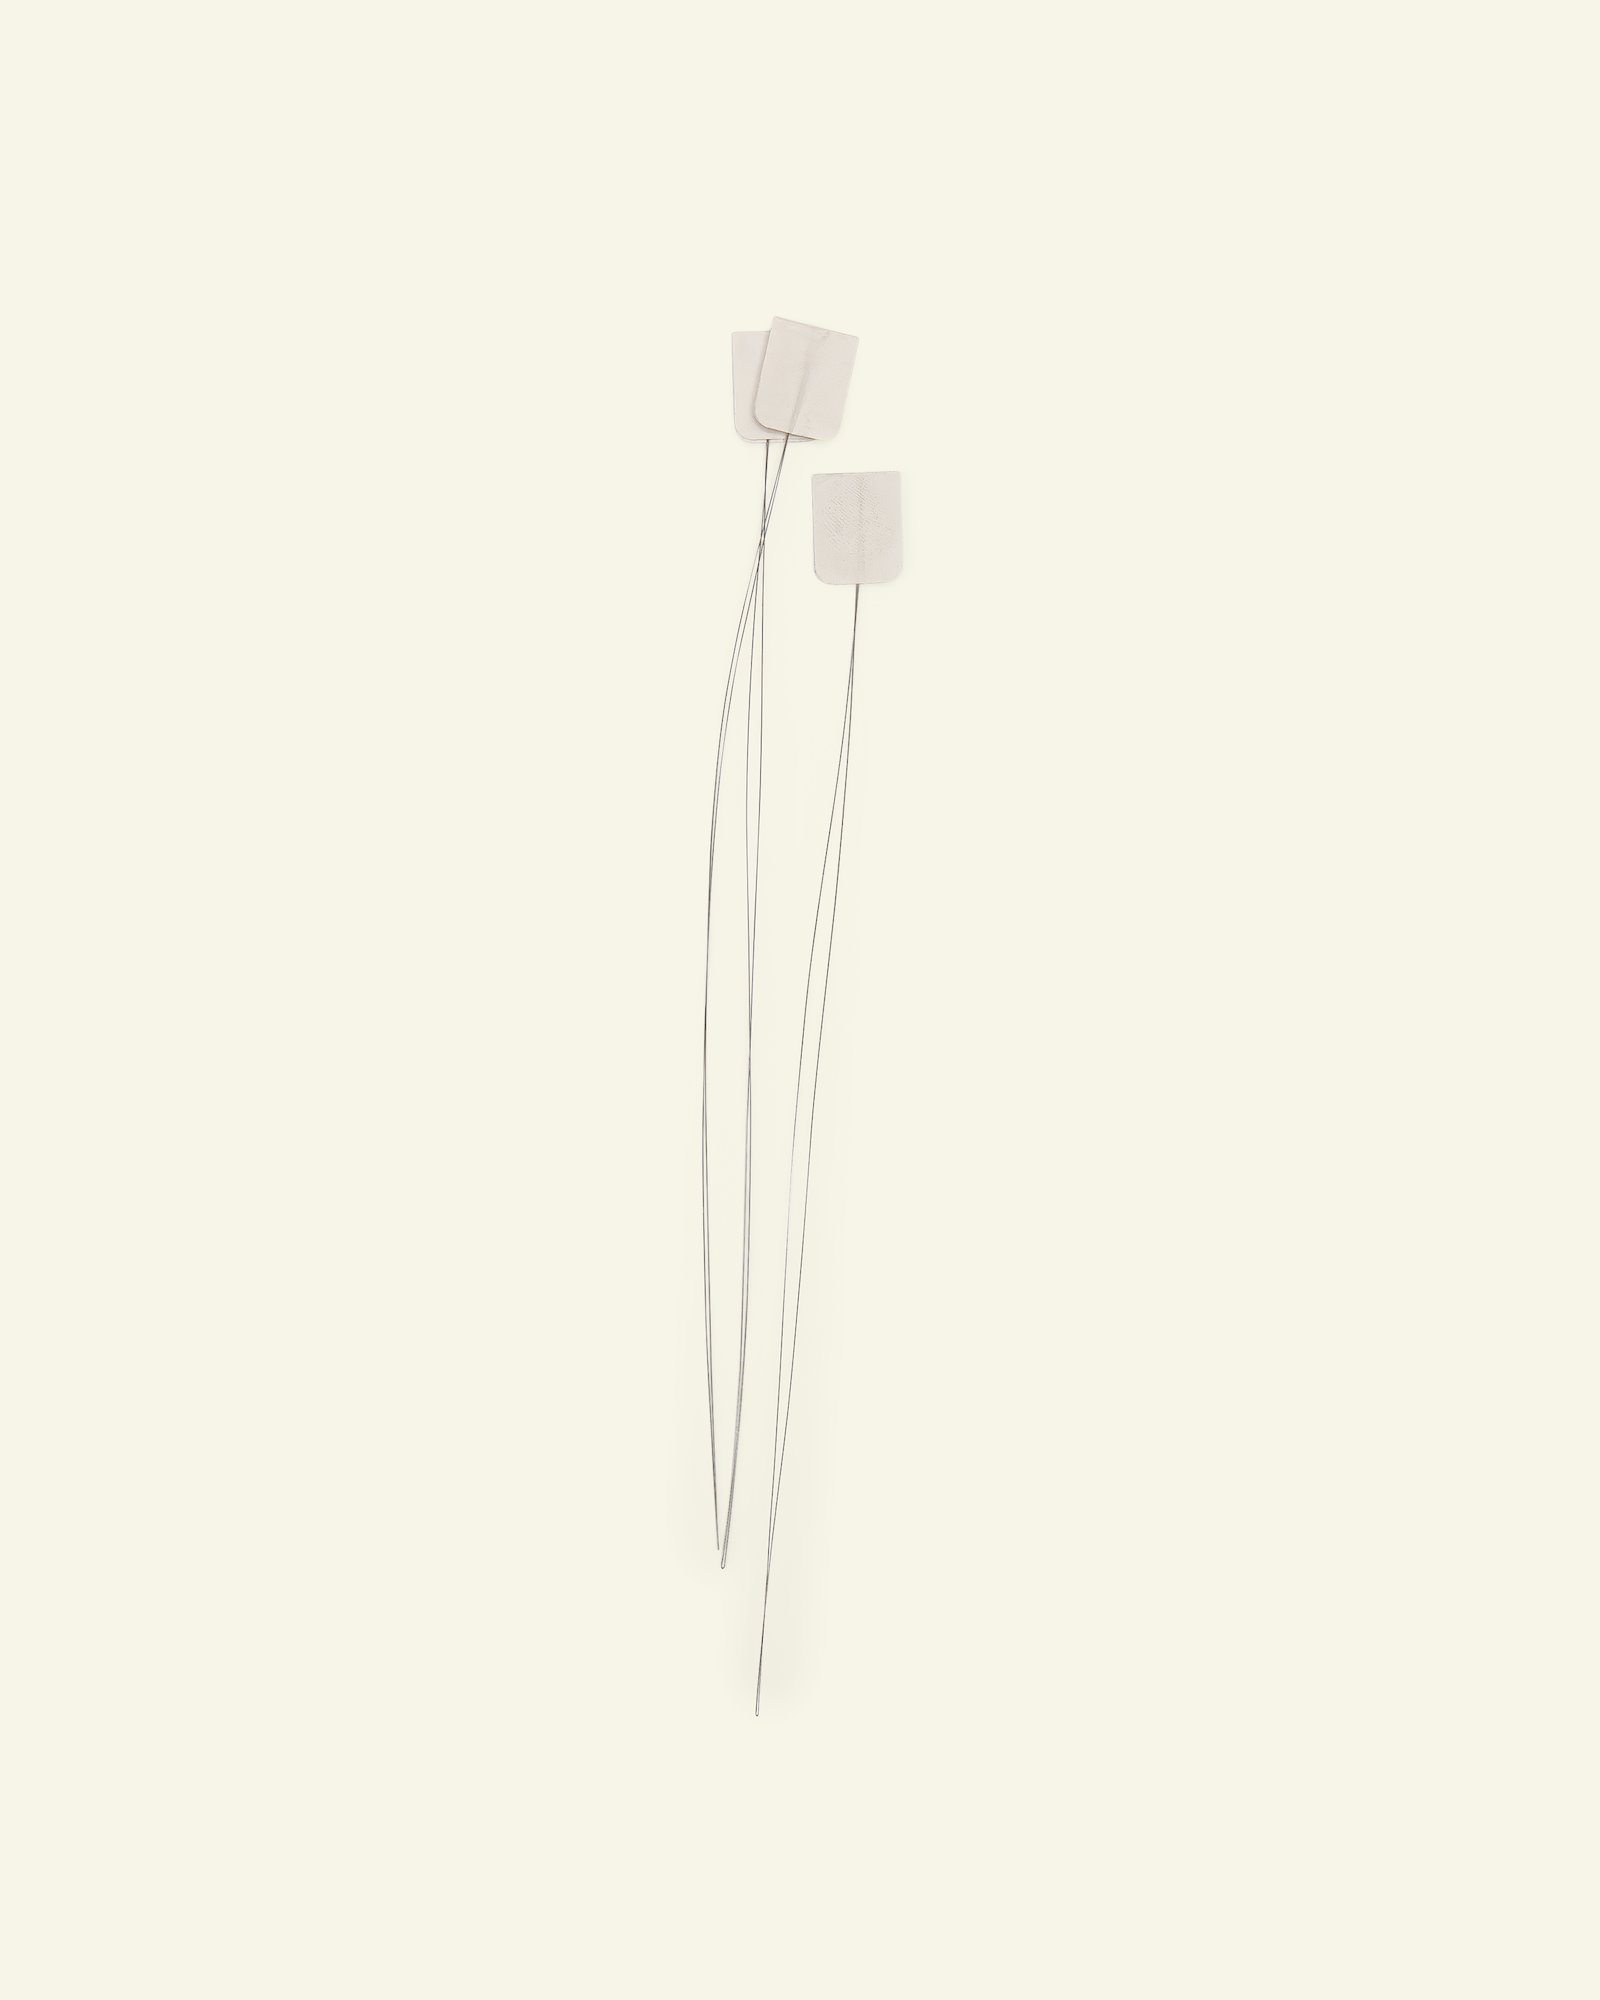
Select needle size according to the thickness of the yarn. To thread the needle, follow the instructions on the packaging. To vary the length of the loops, adjust the setting on your punch needle (length 4-12 gives the best results).
To give your embroidery a more conventional look, work from the right side. This is also a cool way to create variation as working on both sides of the fabric produces a 3D effect. Make sure that you push the needle right through the fabric. Do not raise the needle over the fabric as you withdraw it. If you do, loops will form on the wrong side. Make sure that your ball of thread/yarn is not tightly wound. If the yarn is wound tightly, the loops will unravel.
When the work is finished, trim any loose threads on the right side. Brush textile adhesive on the wrong side to prevent the work from unravelling. If you choose to cut the fabric close to the embroidery, brush textile adhesive on the edges to prevent fraying. Now you can use your project, precisely as you wish. For example, if you want to make key rings, cut the embroidery into shape. Apply glue to the edges. Cut a piece of felt of the same size. Glue the embroidery to the felt with a loop of ribbon between the layers. Slide a keychain or snap hook onto the ribbon. To make a pretty wall hanging, mount your work on a wooden embroidery hoop.