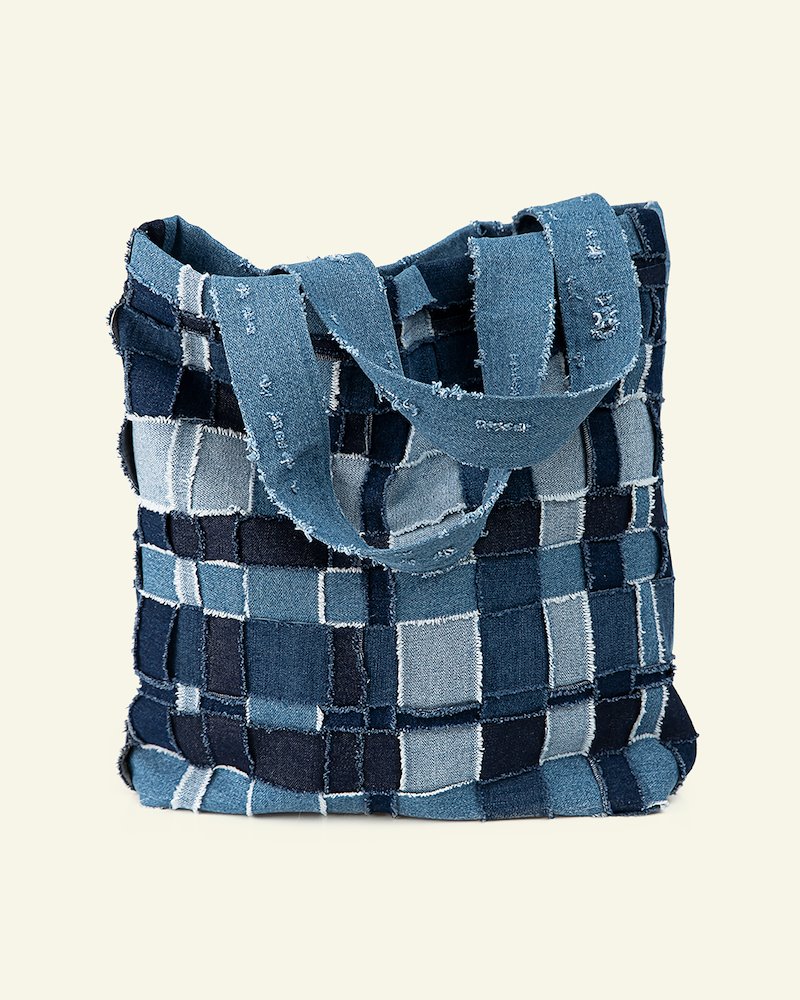
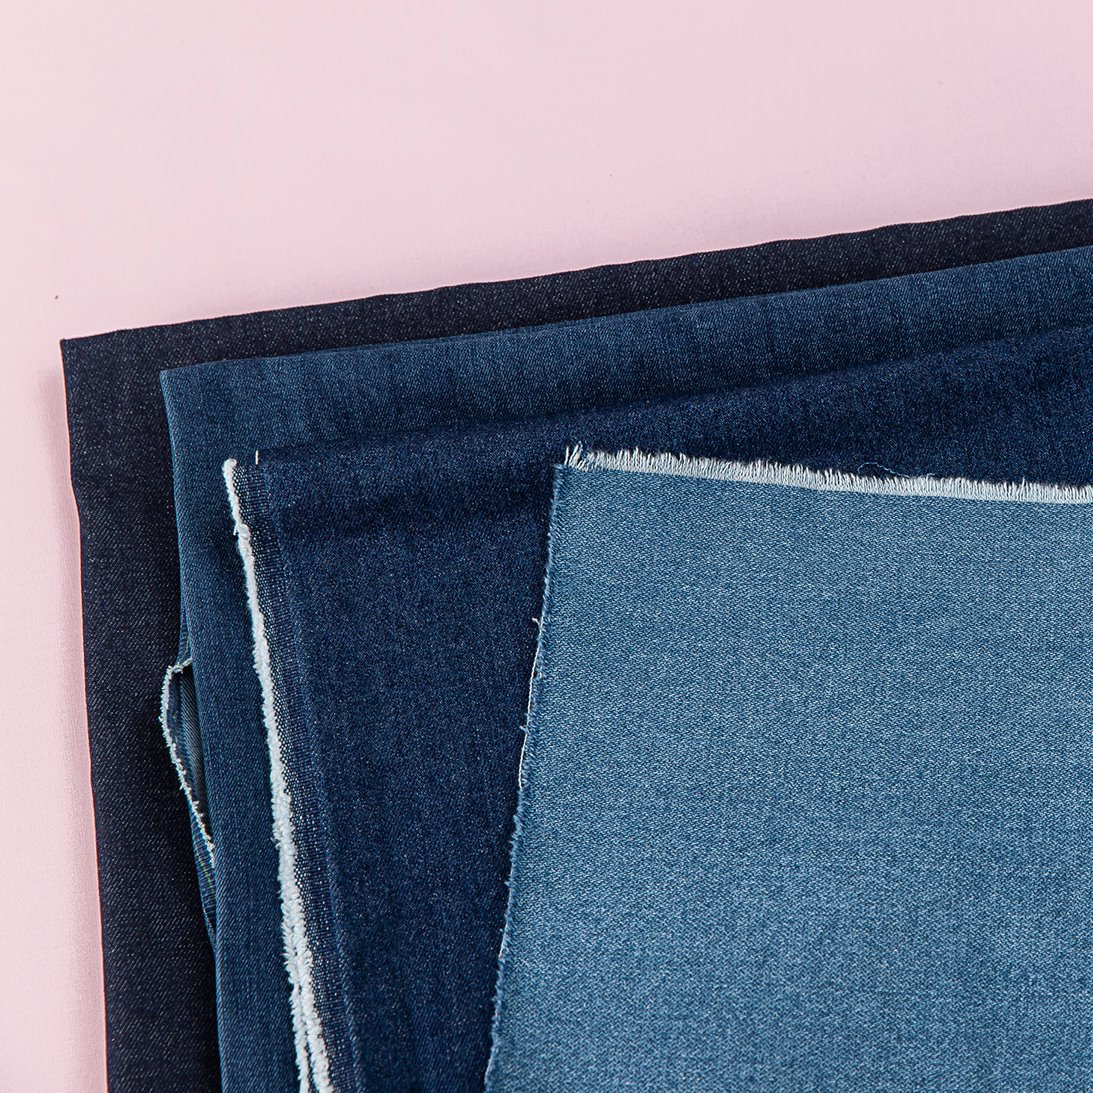
1.Make sure you have all the materials you need. Measurements and sewing instructions for the shopper in DIY7003. The lattice fabric piece is the front of the denim shopper. The light blue denim is used on the back. 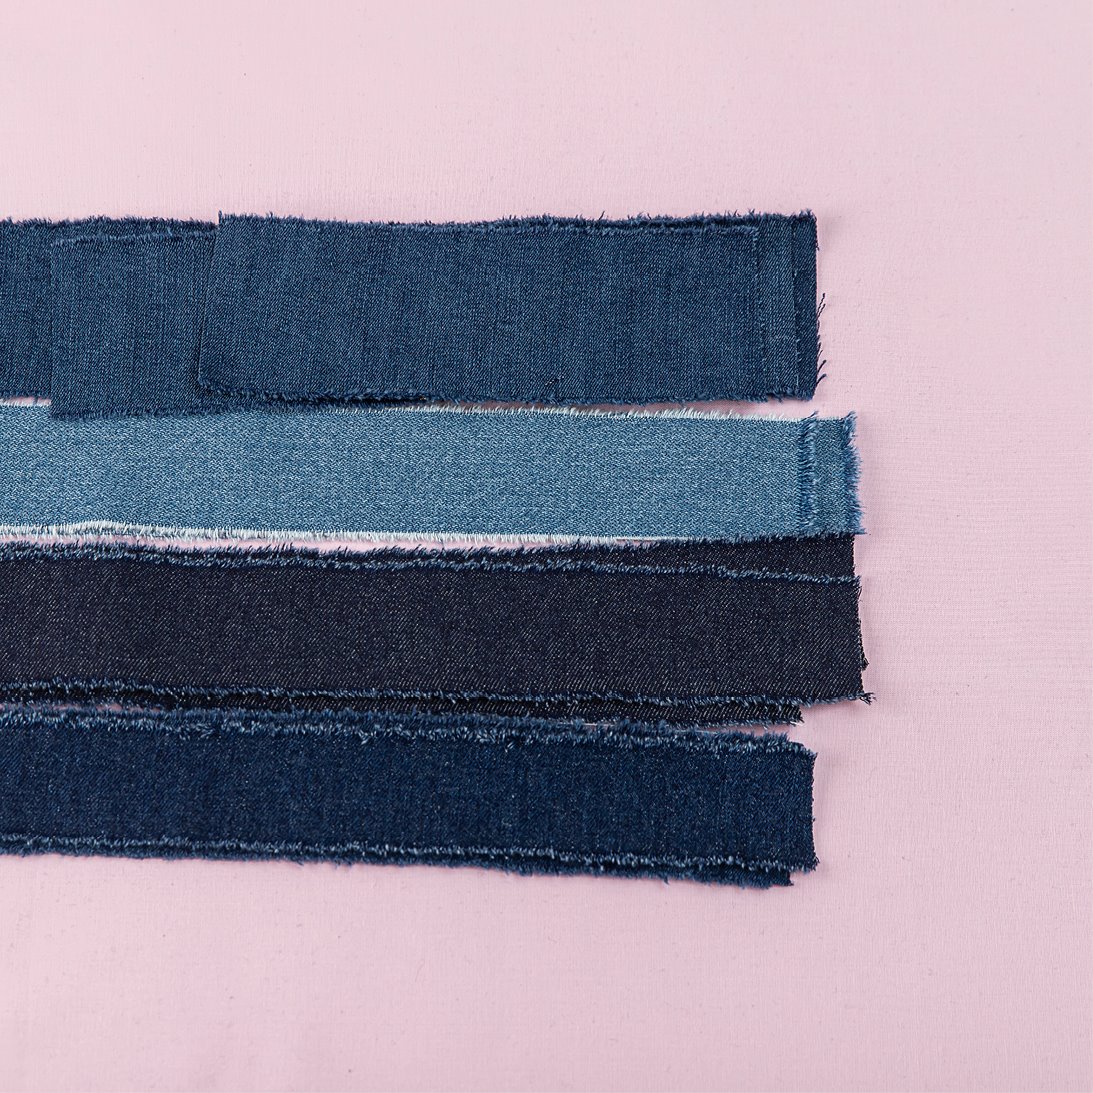
2.Tear strips of different widths (2-5 cm) and length 0.60 m. Press the fabric strips. 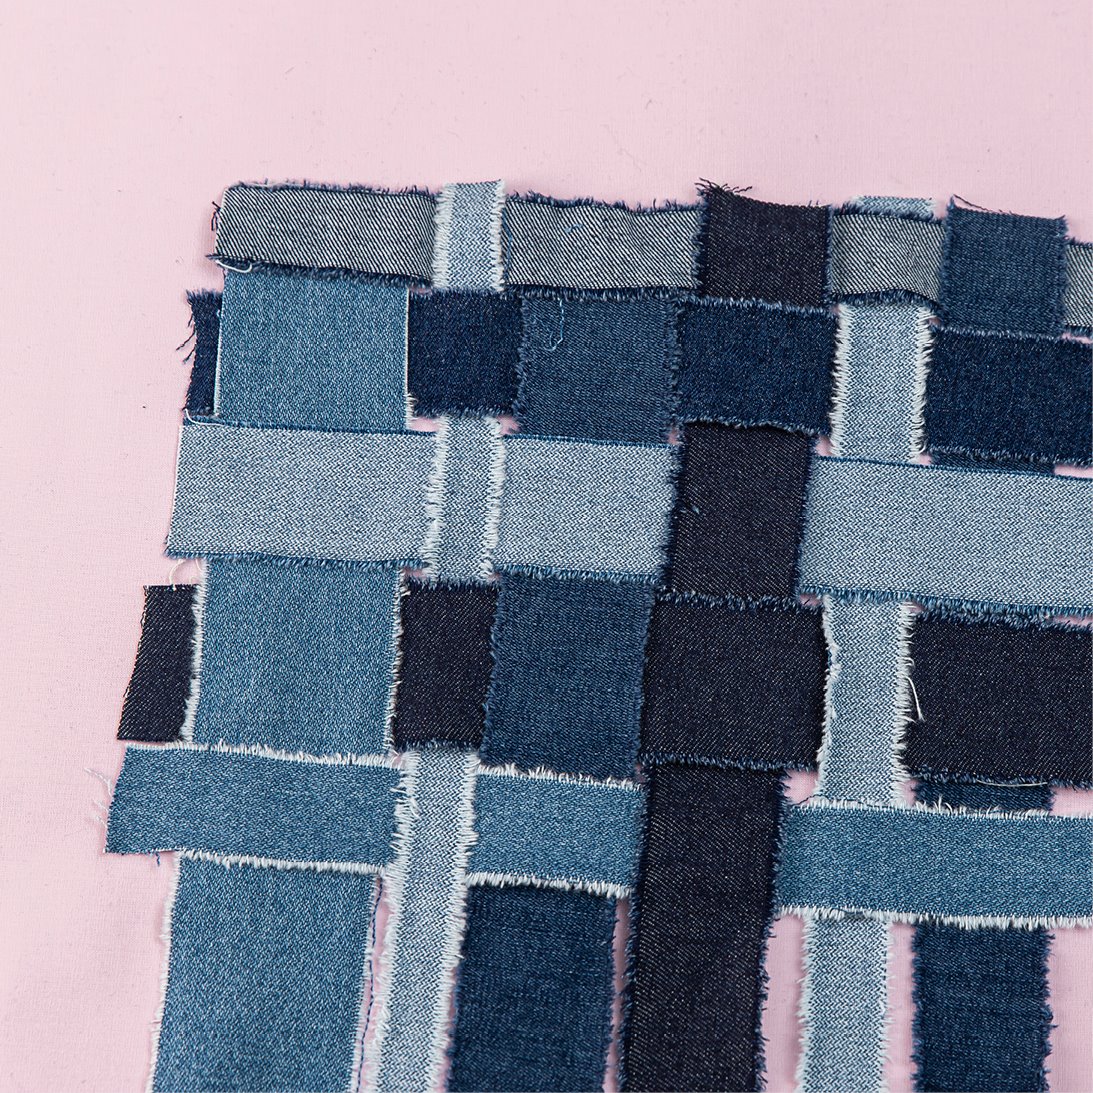
3.Plait the denim strips to form a lattice. To vary the look and textures, use some strips on the wrong side. 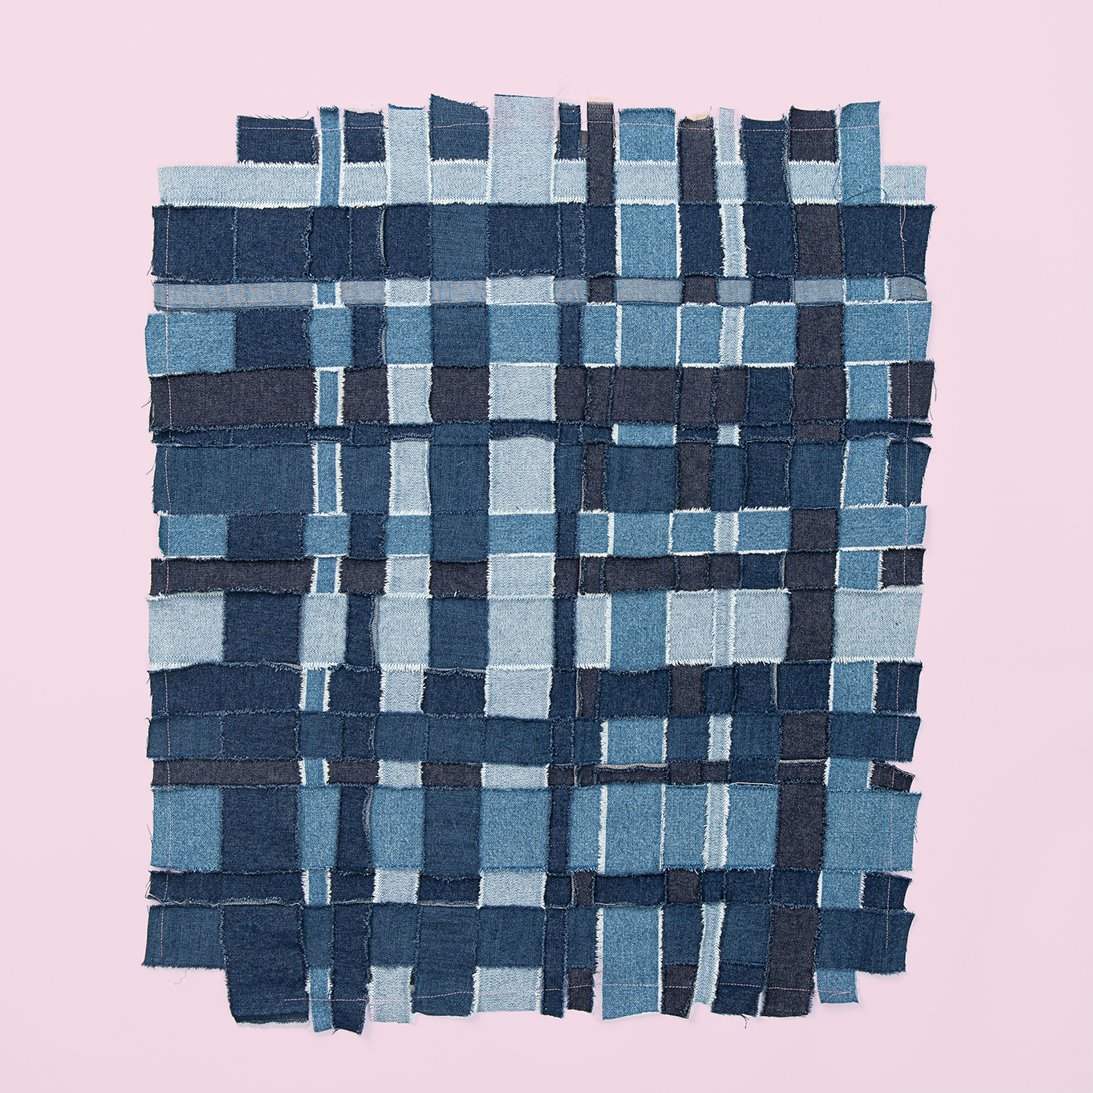
4.The finished fabric piece measures approximately 0.60 x 0.50 m. 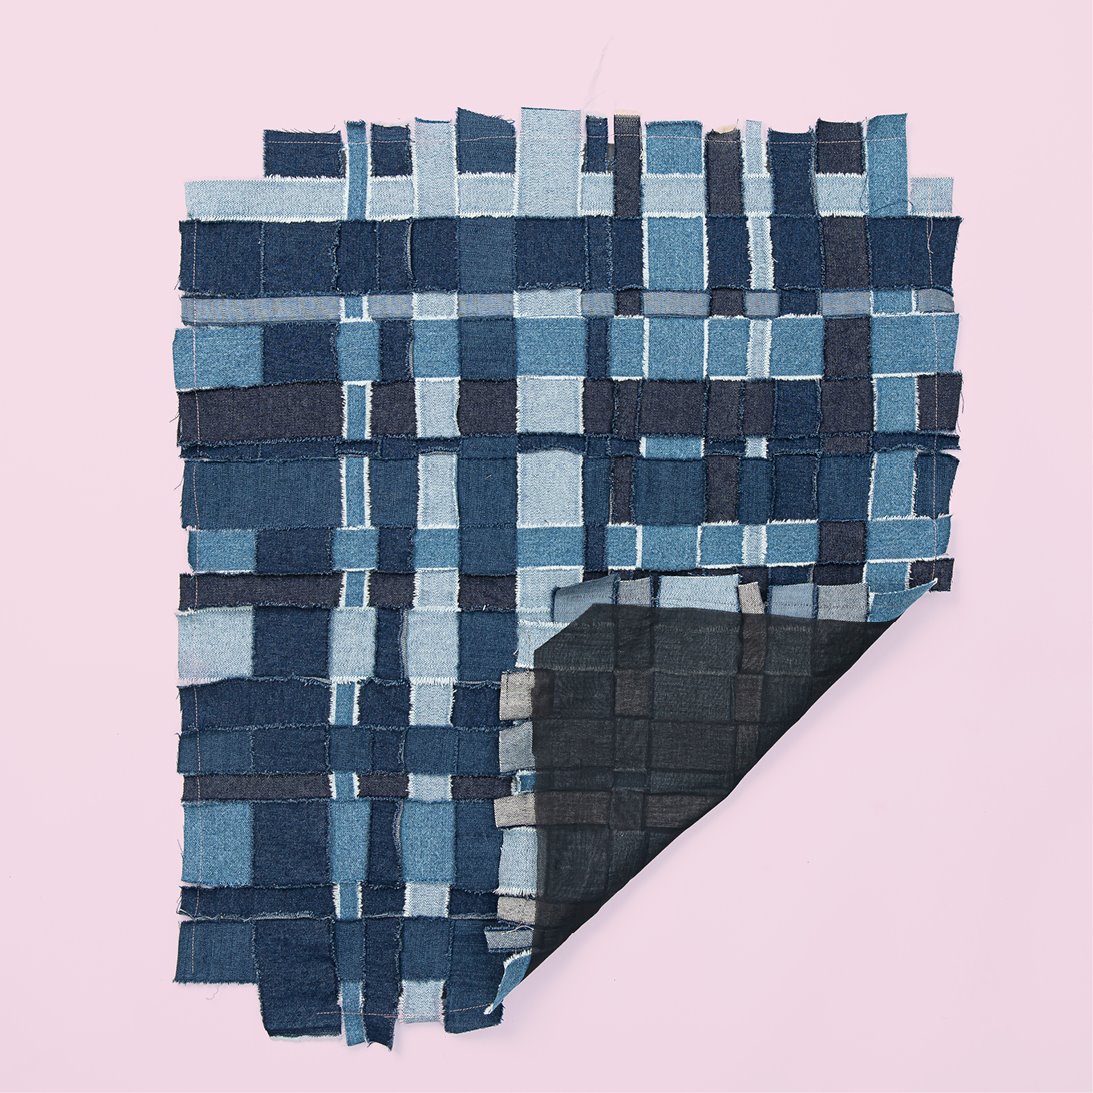
5.With your iron at medium heat setting, press the non-woven interlining to the wrong side. NB: We do not recommend that you wash the lattice front or the finished denim shopper. 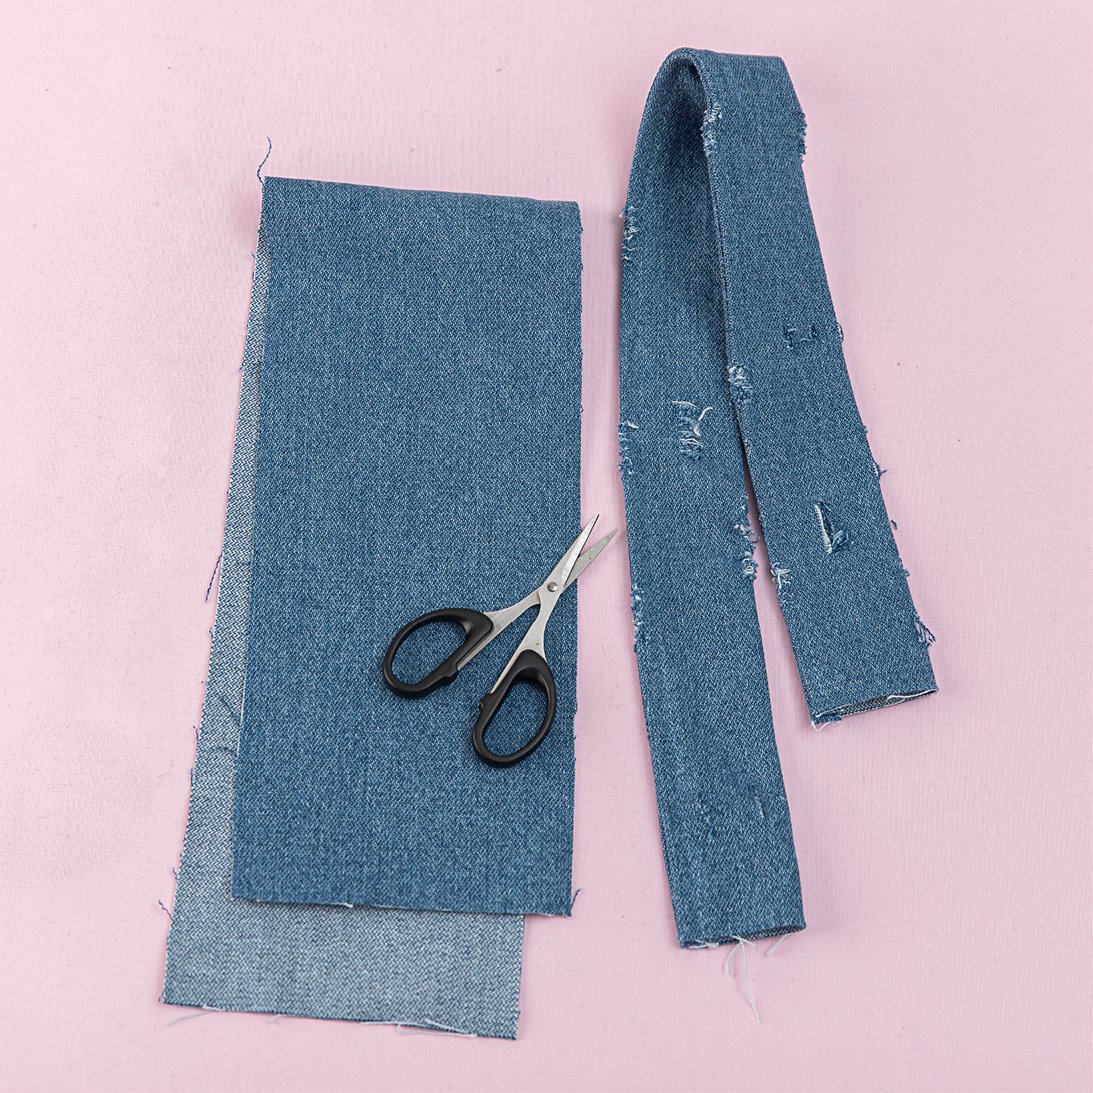
6.To create a shabby-chic look: Once you have sewn on the straps, cut small holes and slits using multi-purpose scissors or a seam ripper. Do the same on the back. Wash both these fabric pieces before sewing the shopper.