Installation of A-rail
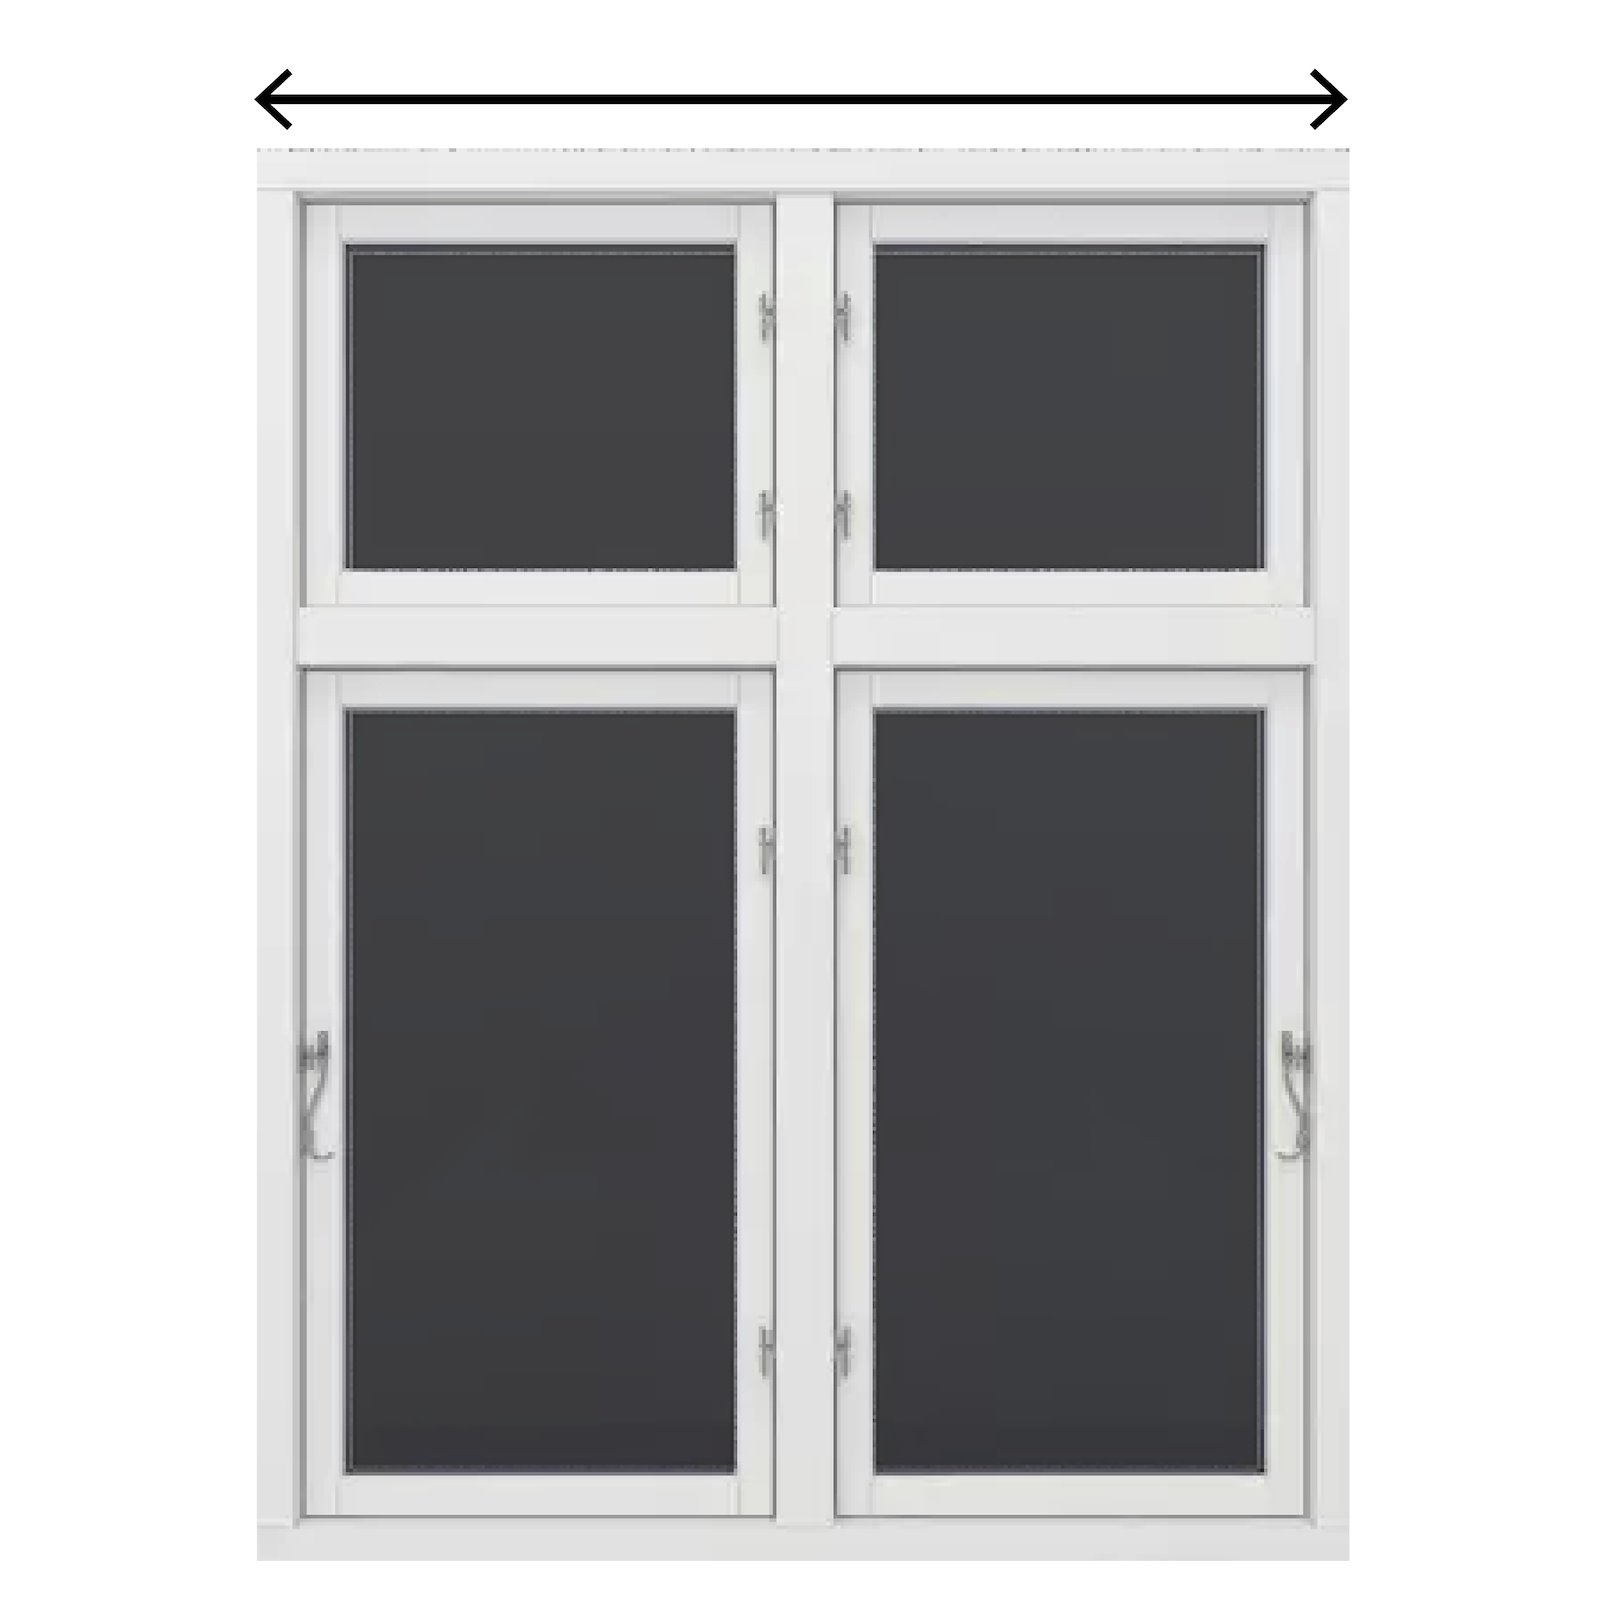
1.Measure how wide your window is. For installation outside the window frame, add approx. 20% or 20-30 cm more to the width. Cut the rail to fit your desired dimensions. 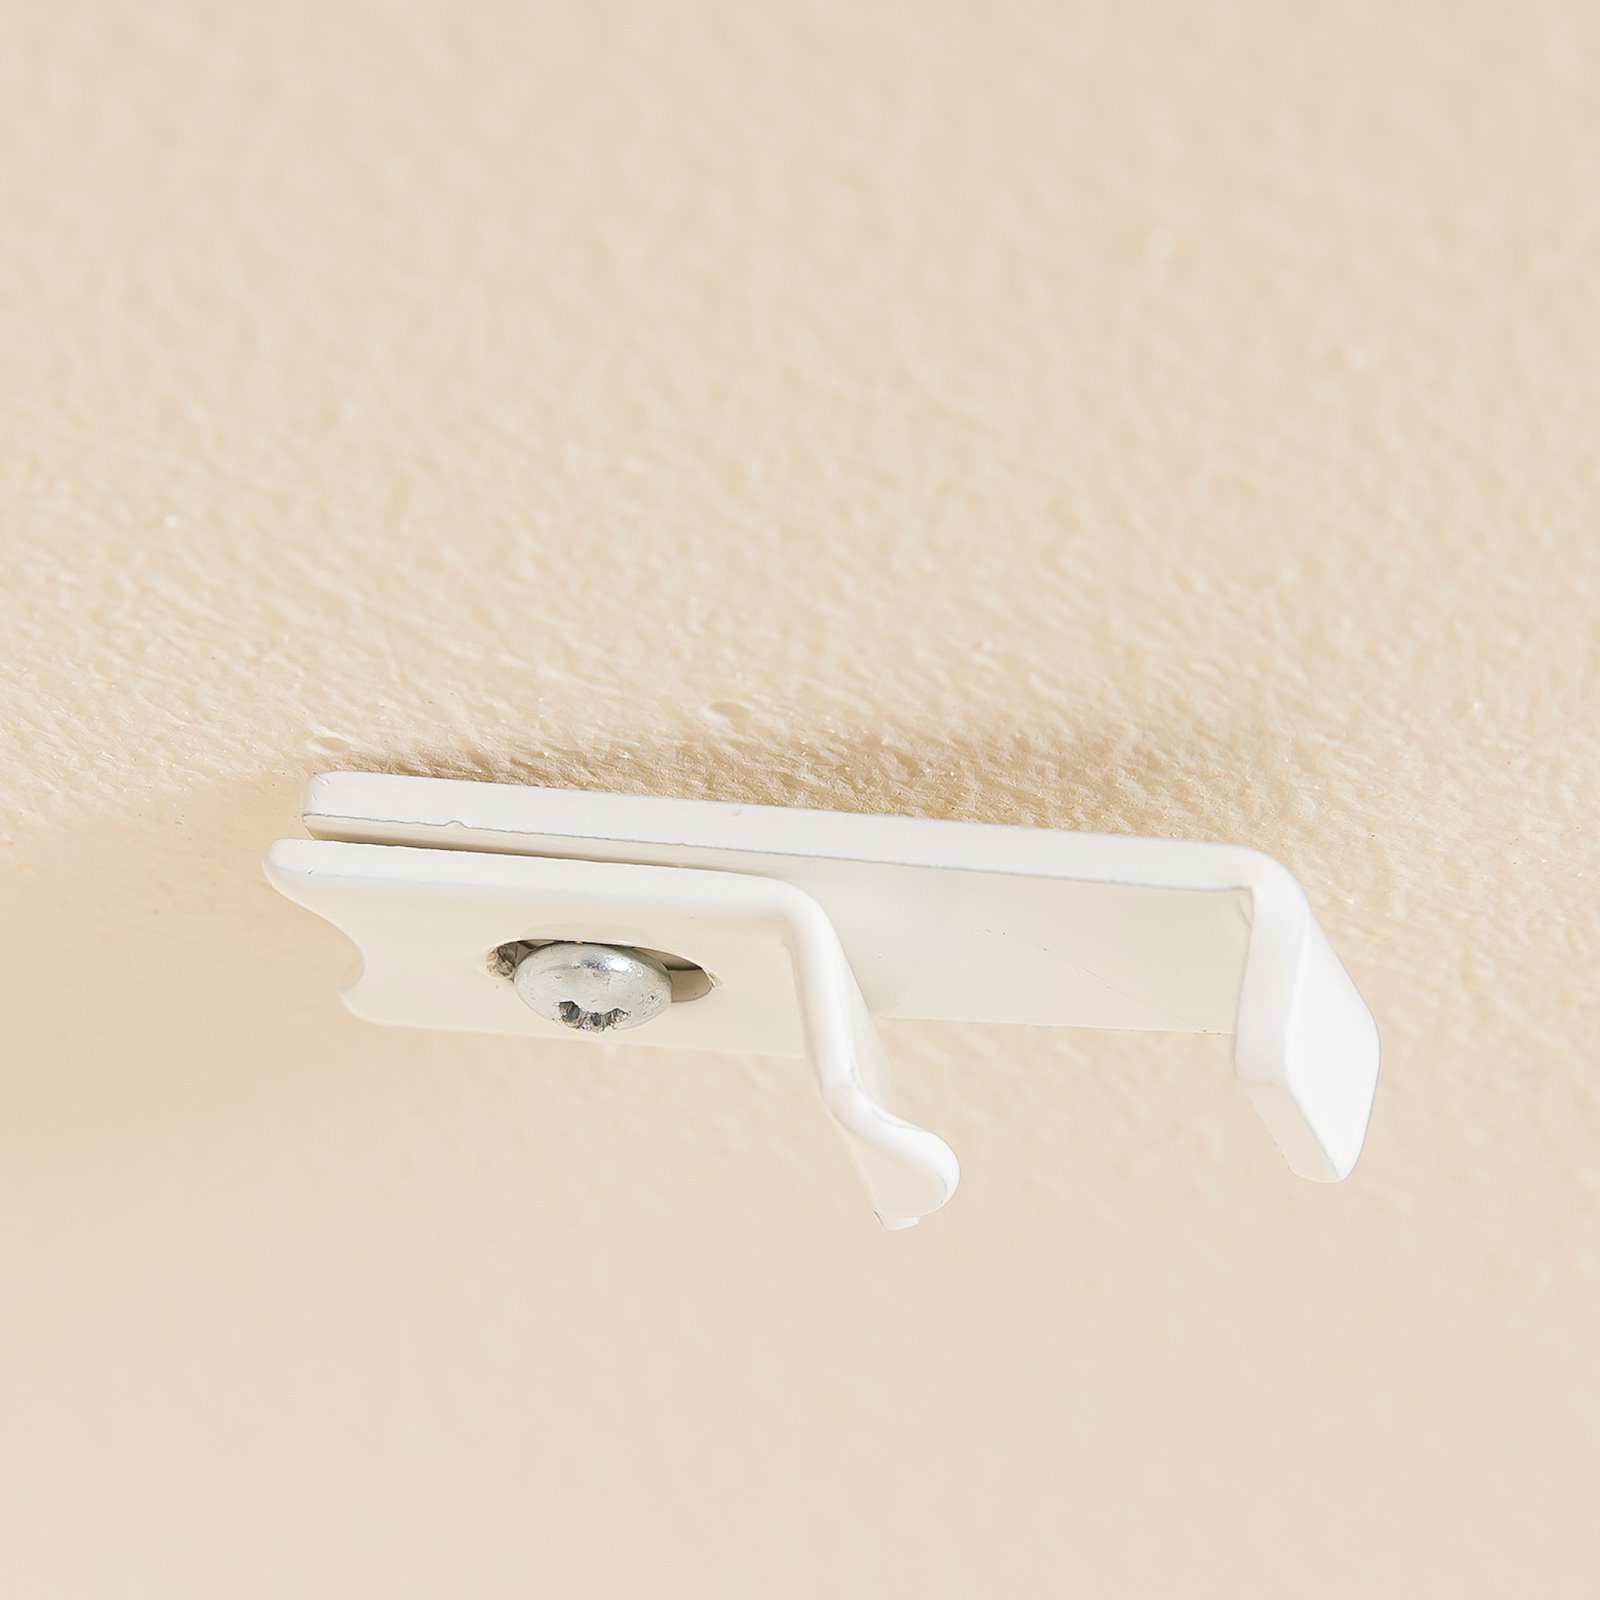
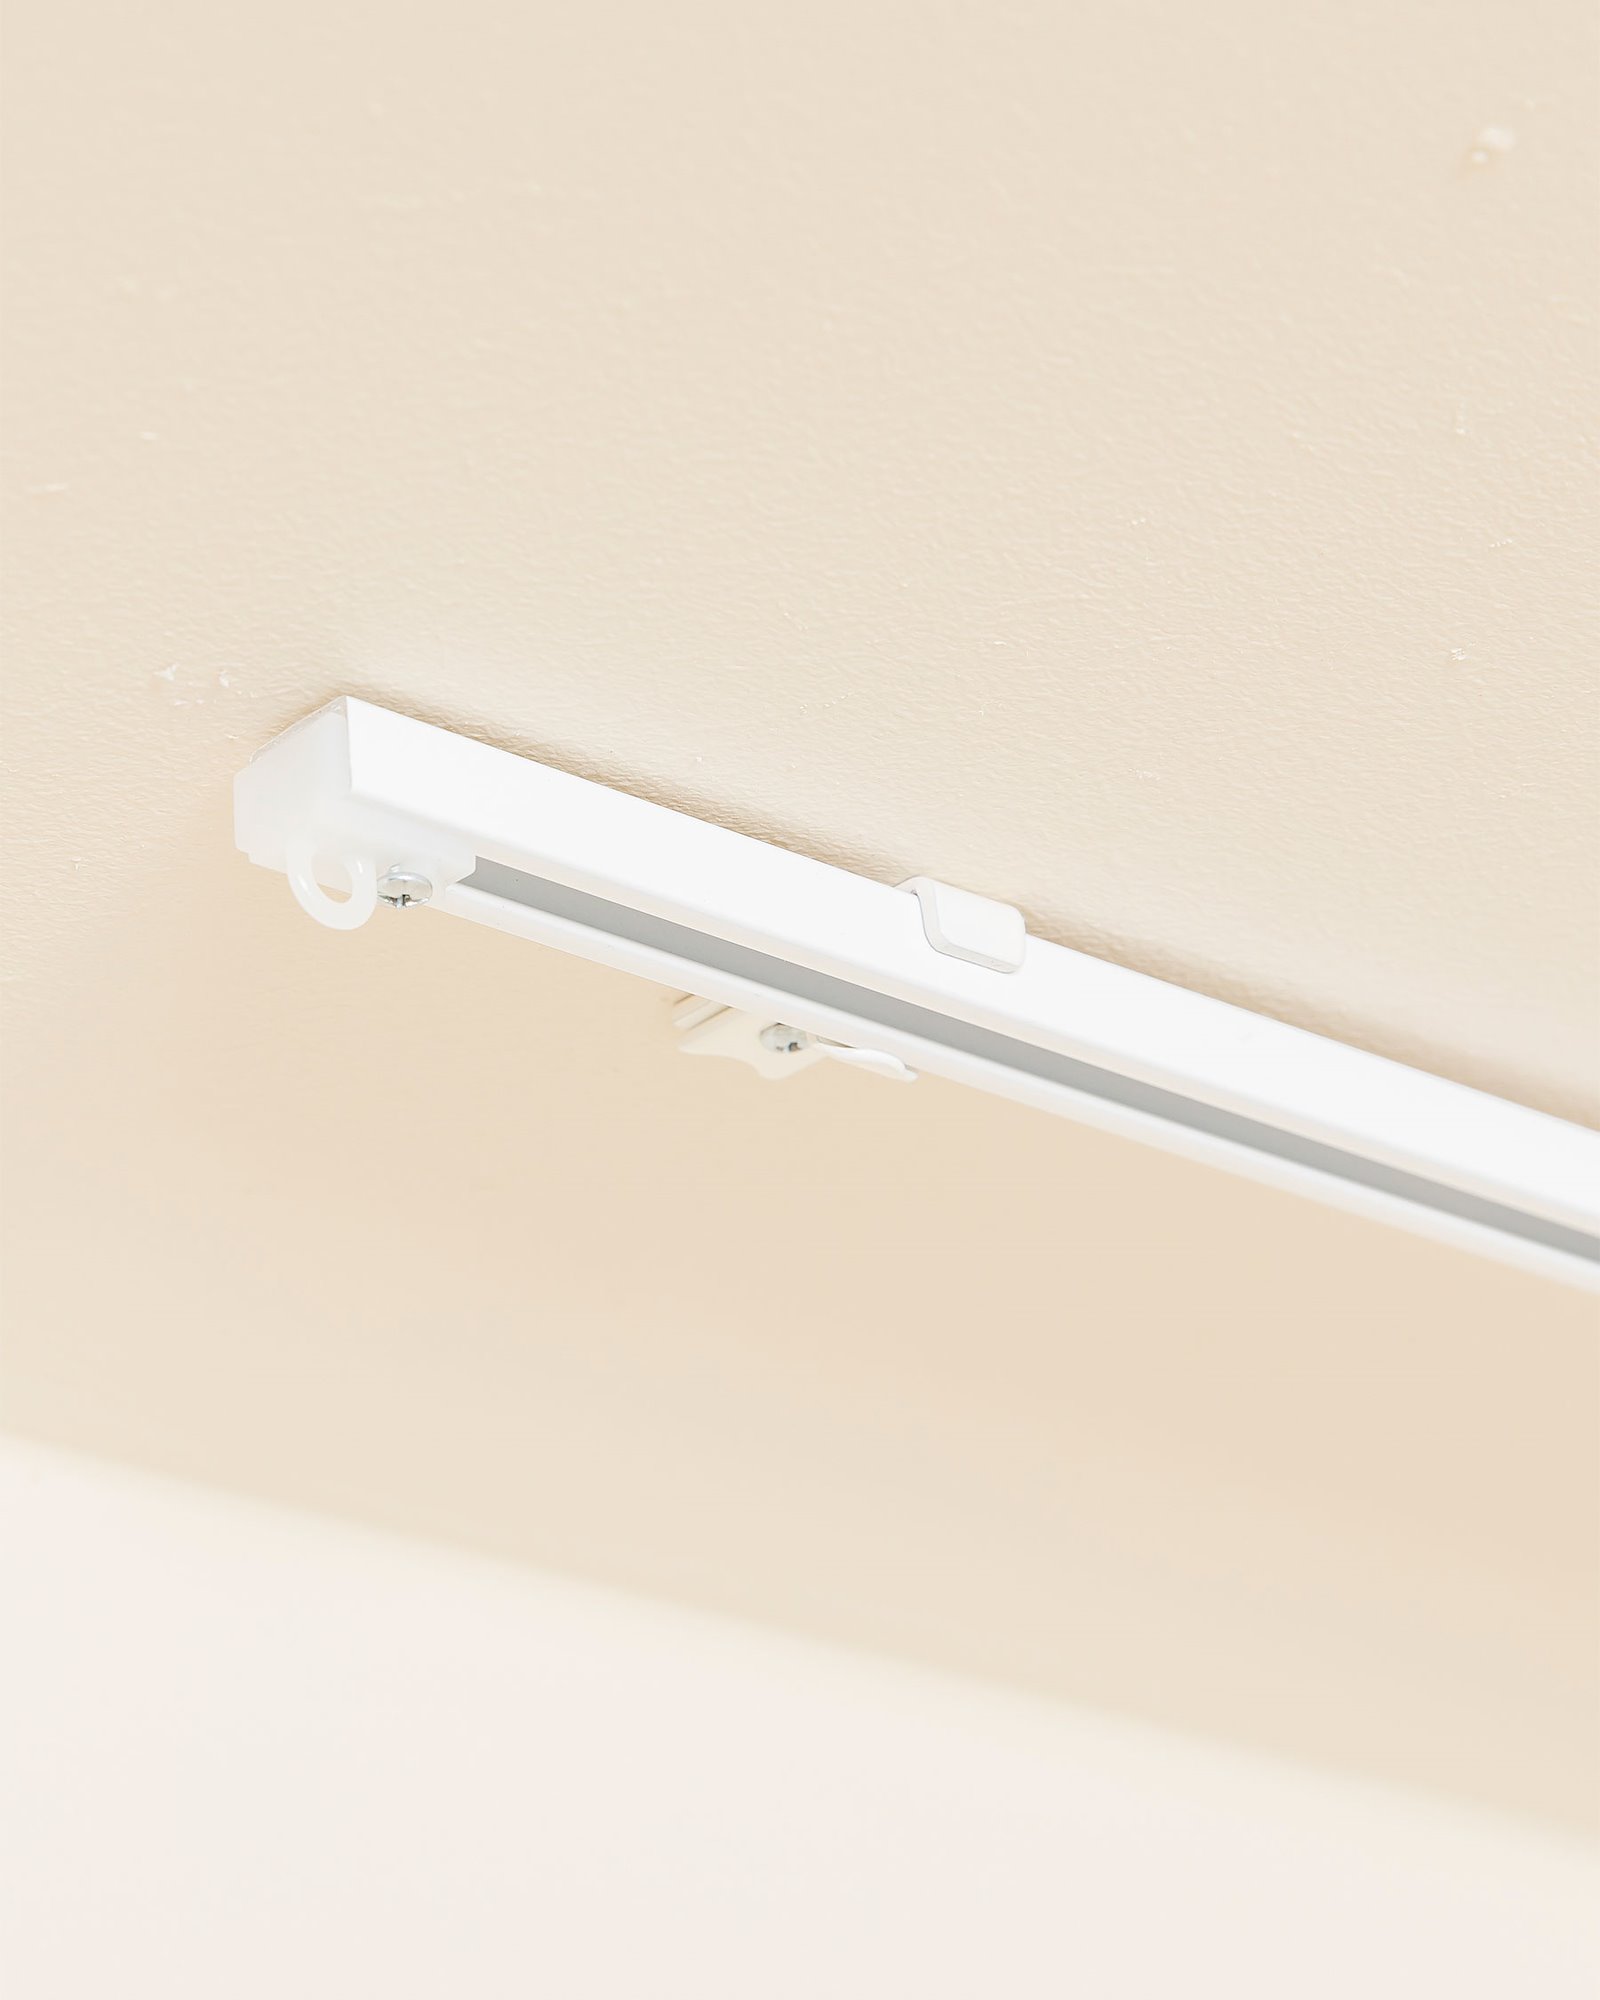
2.Decide how far from the wall you want the rail to be installed. Start by screwing all the brackets into the ceiling without tightening them all the way. We recommend a maximum of 50 cm between each bracket. 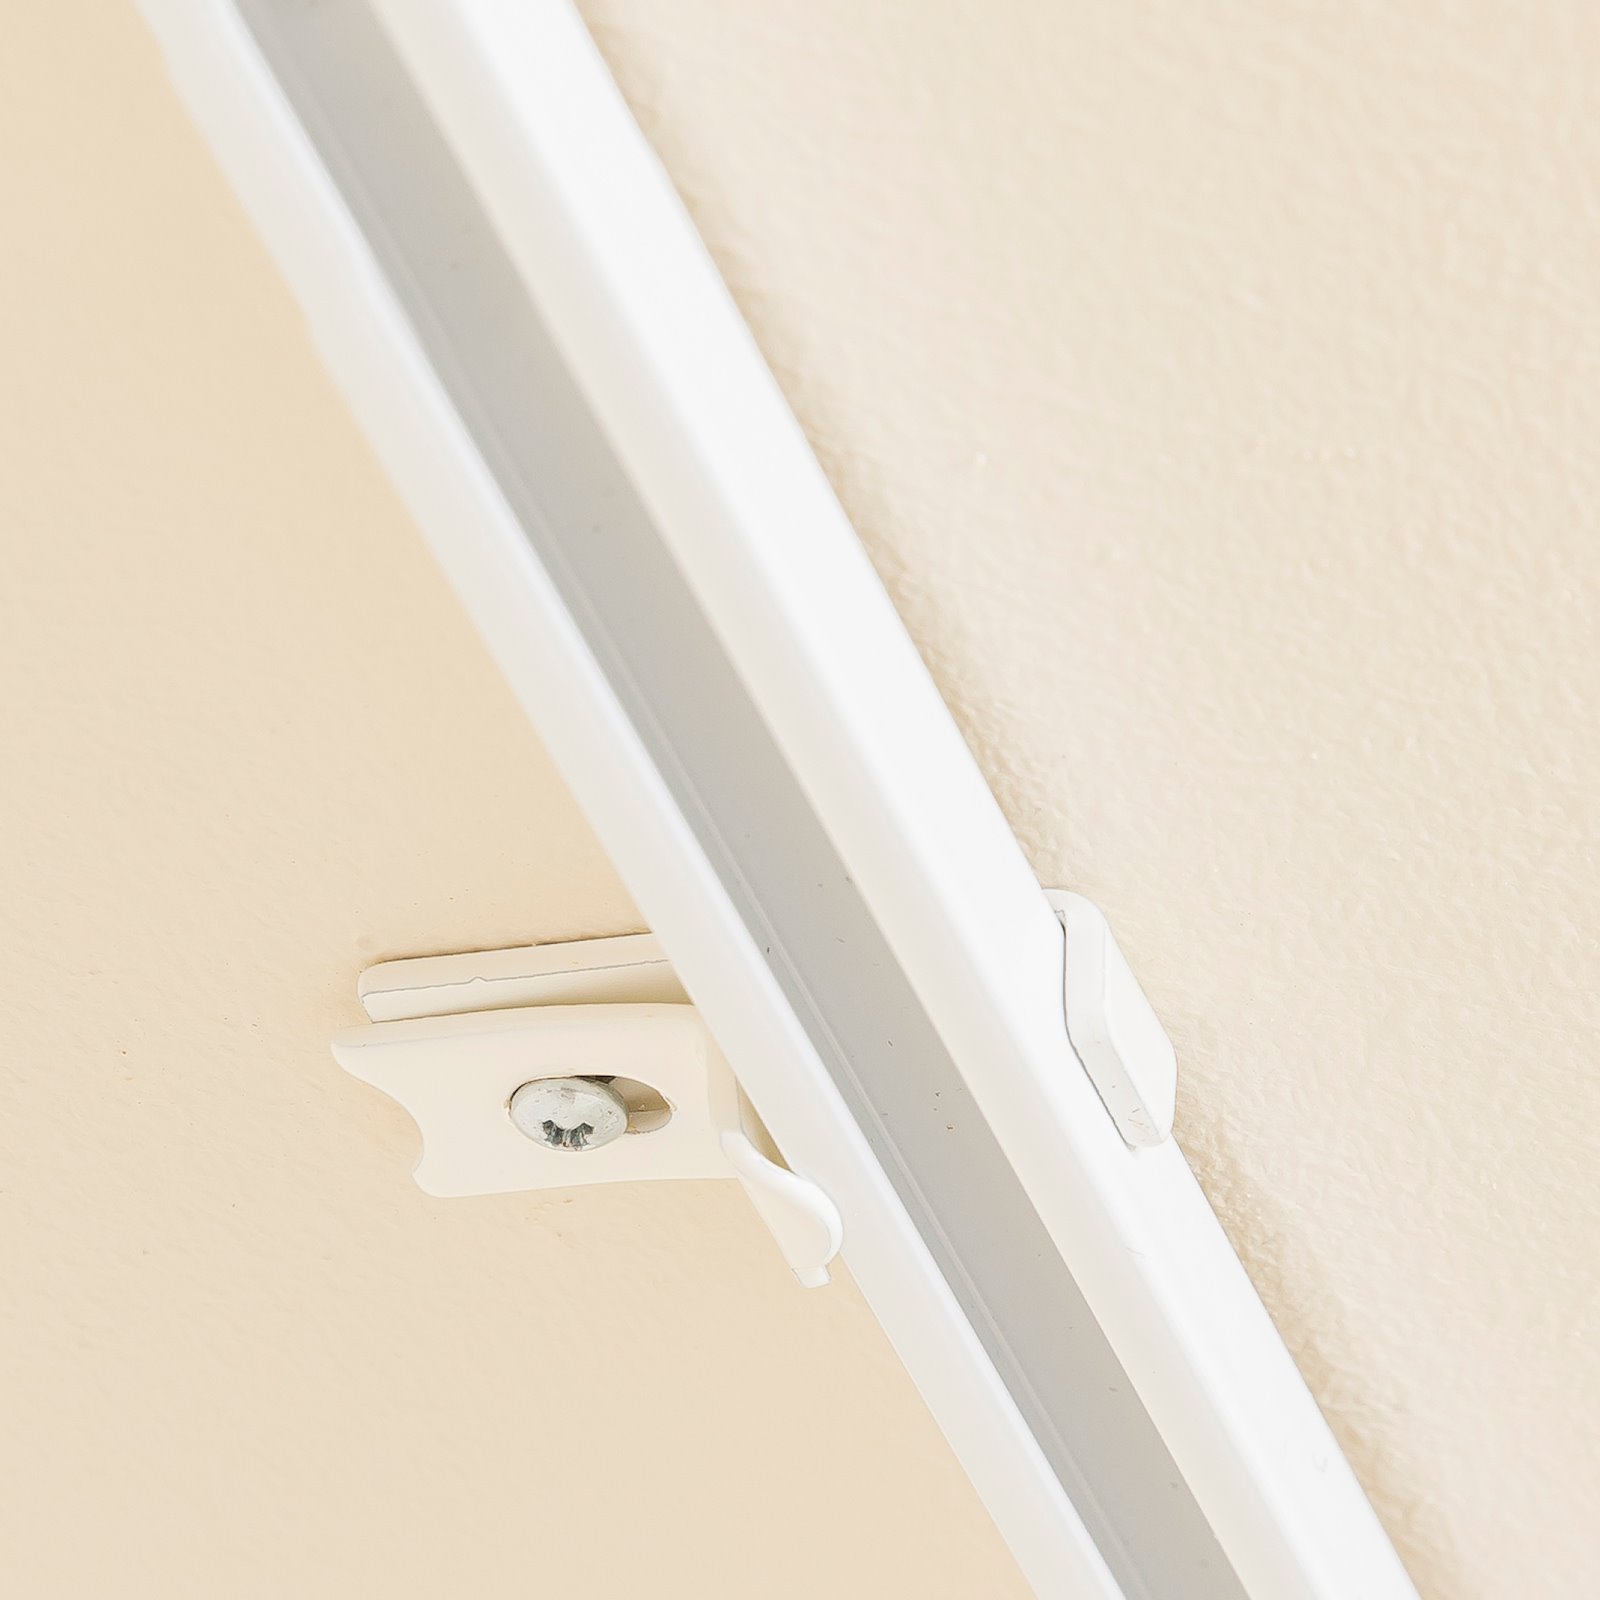
3.Now put the rail up in the bracket and then screw the screw all the way in so that the bracket tightens around the rail. 
4.Push the sliders into the rail. 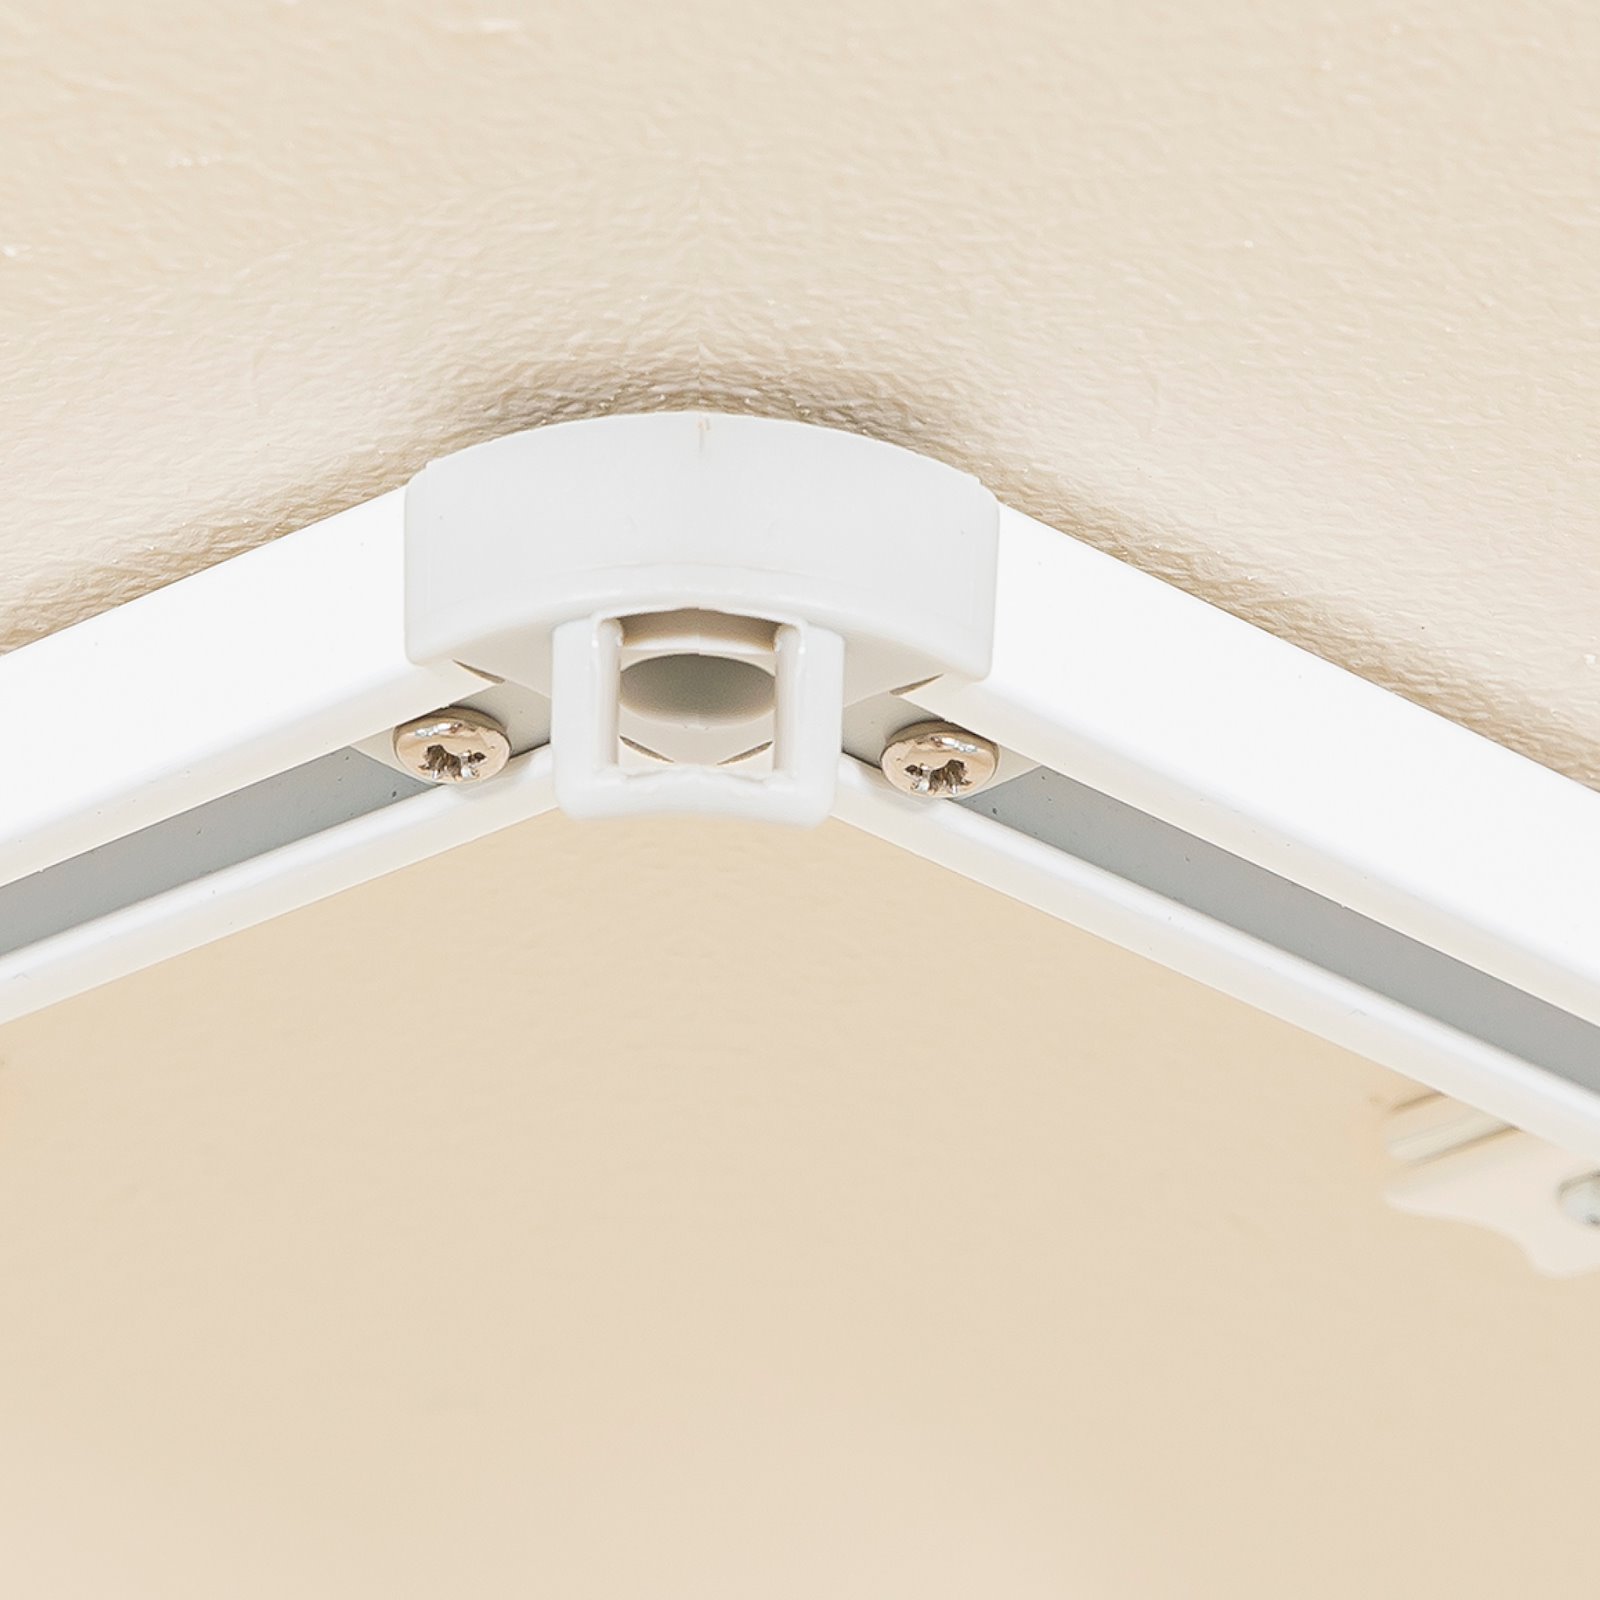
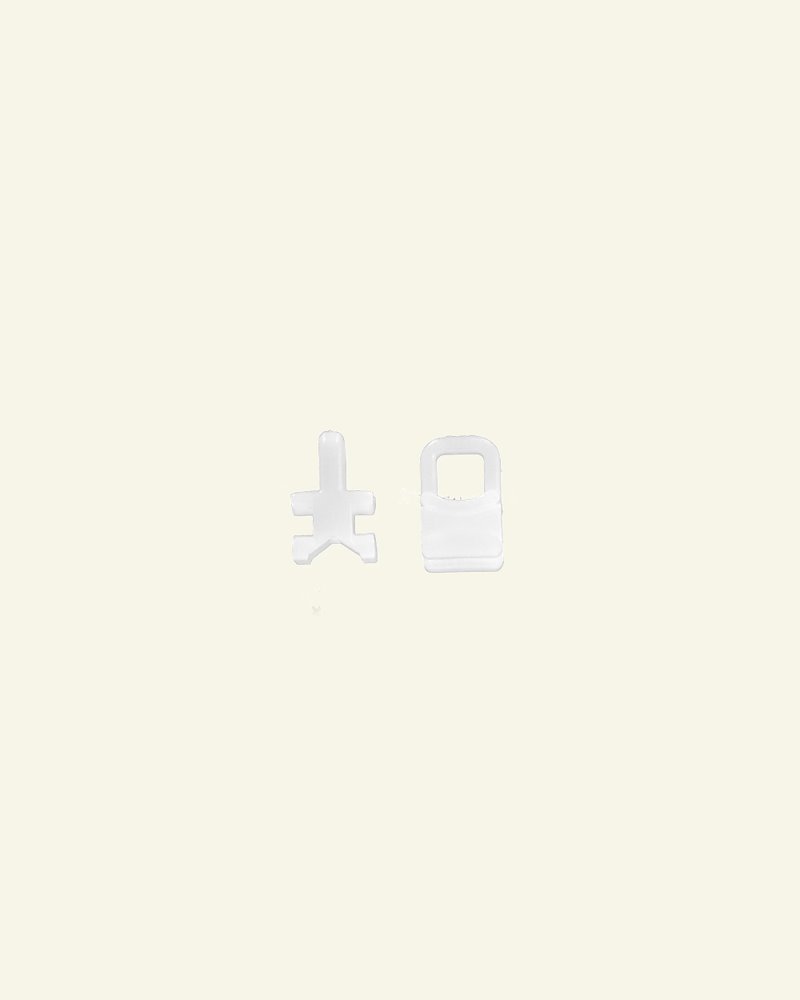
5.If necessary, mount a corner at the end of your A-rail with a joint. 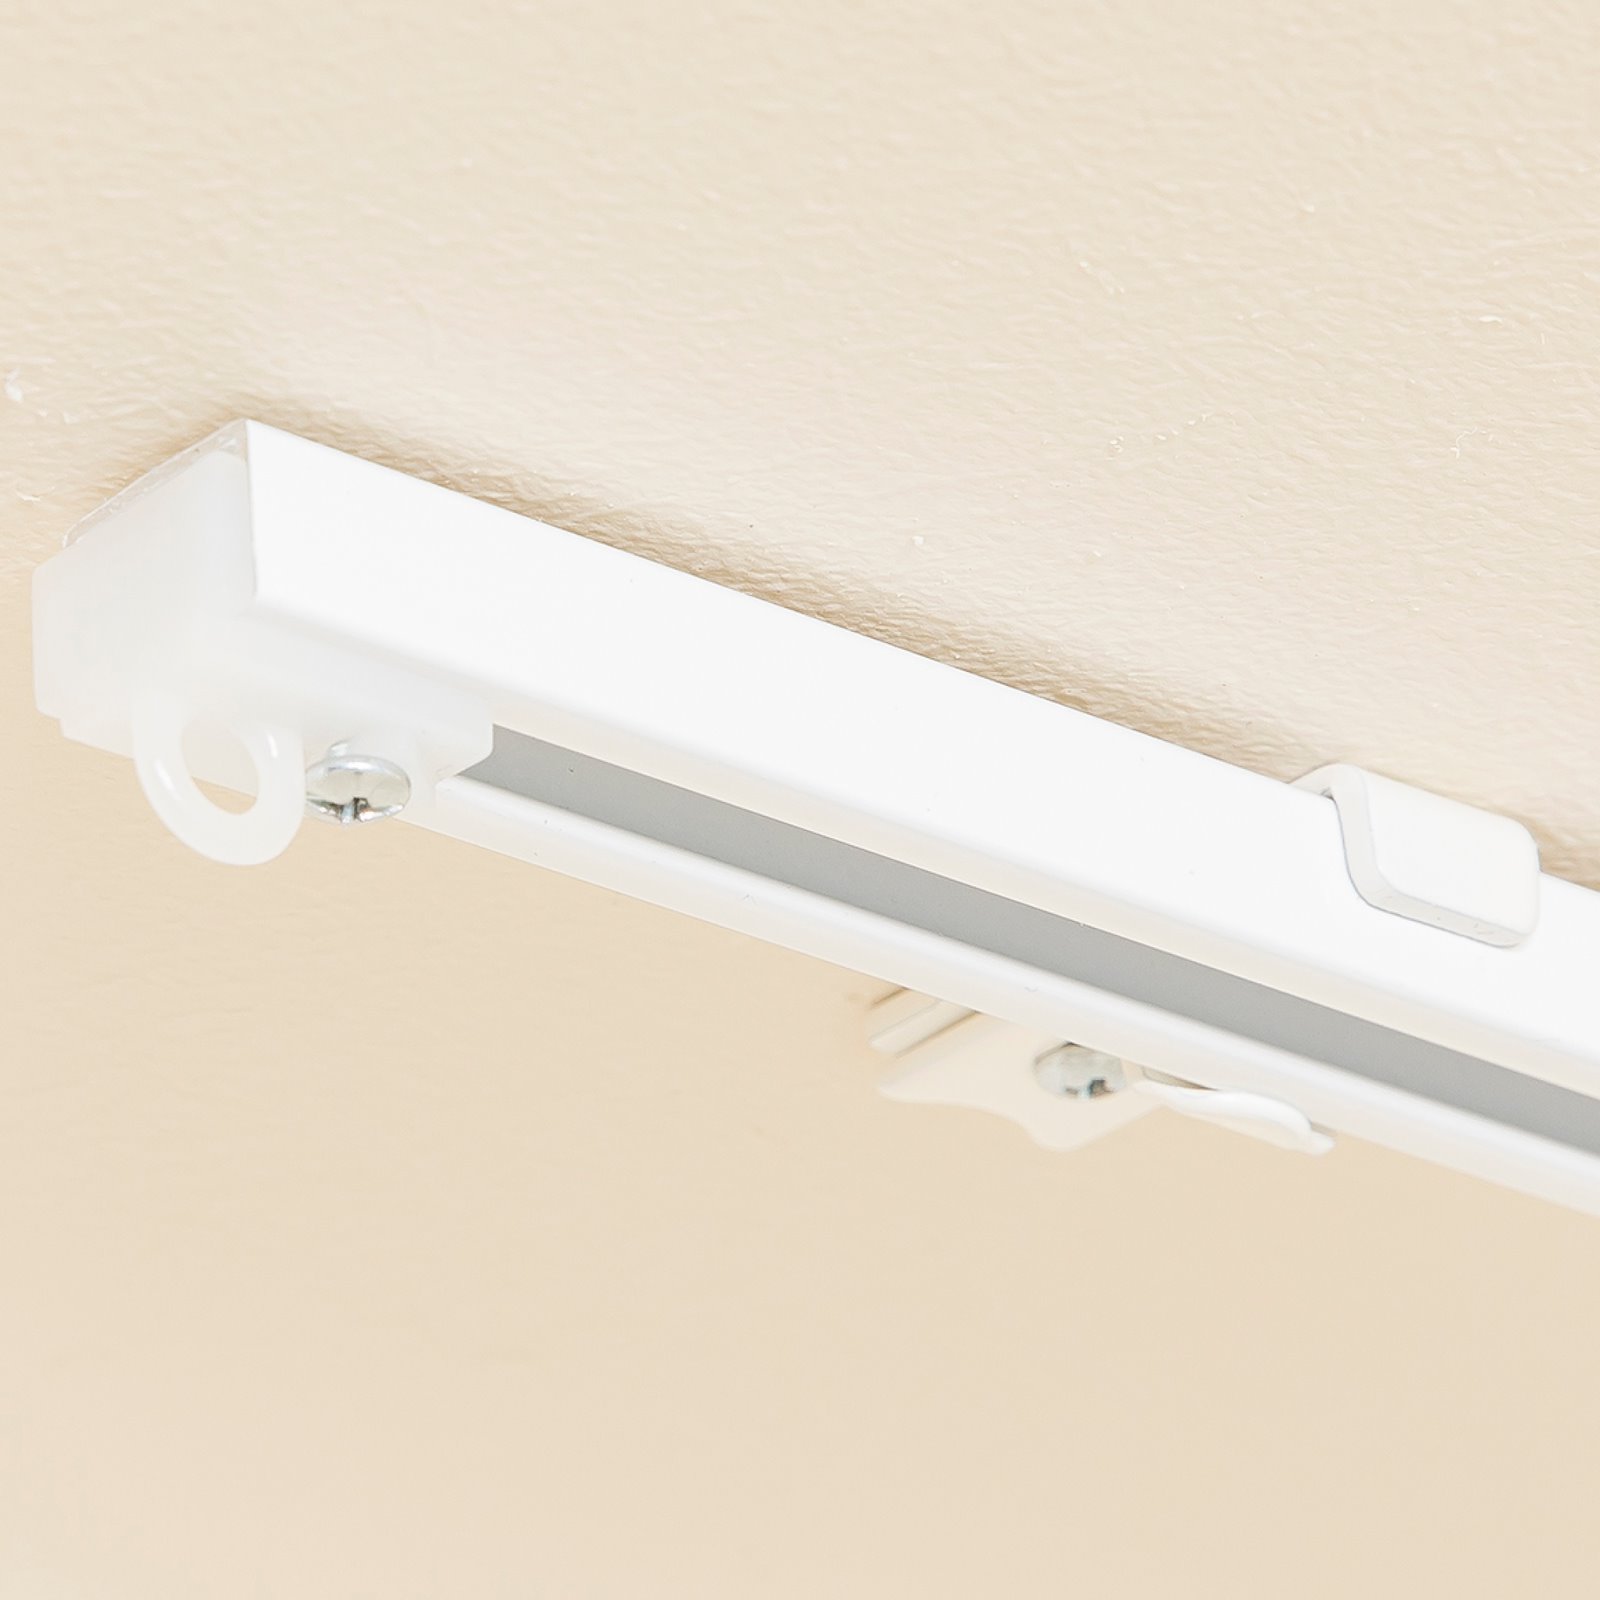
6.Push the end stop into the rail and tighten the small screw.