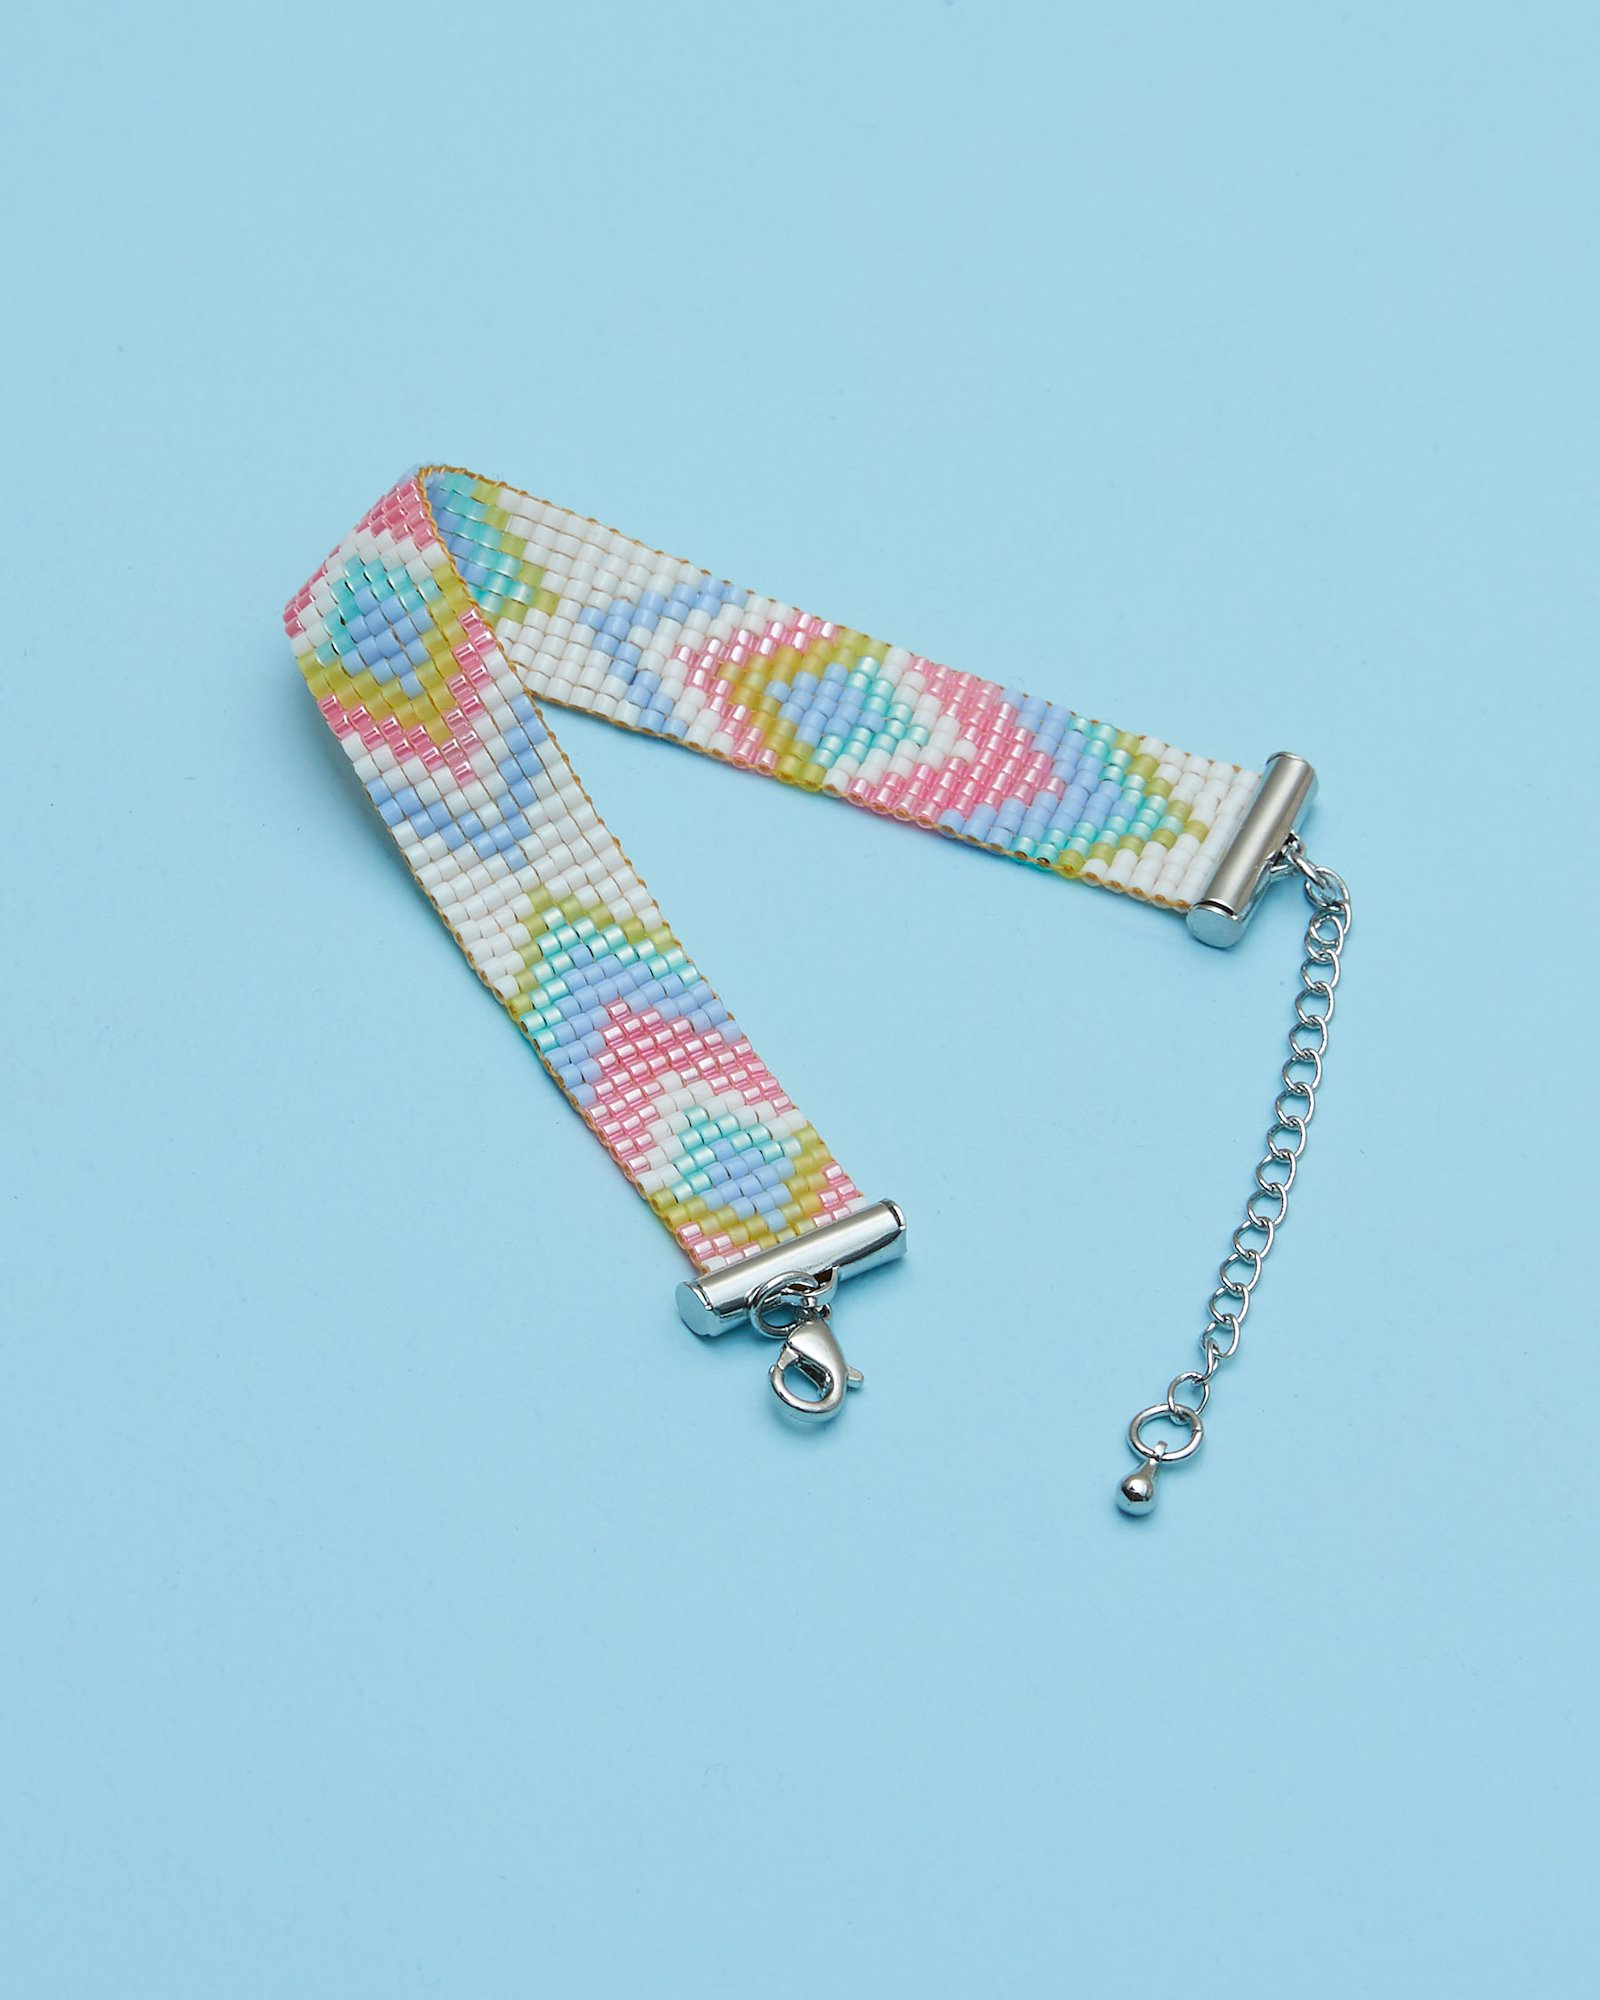
Materials
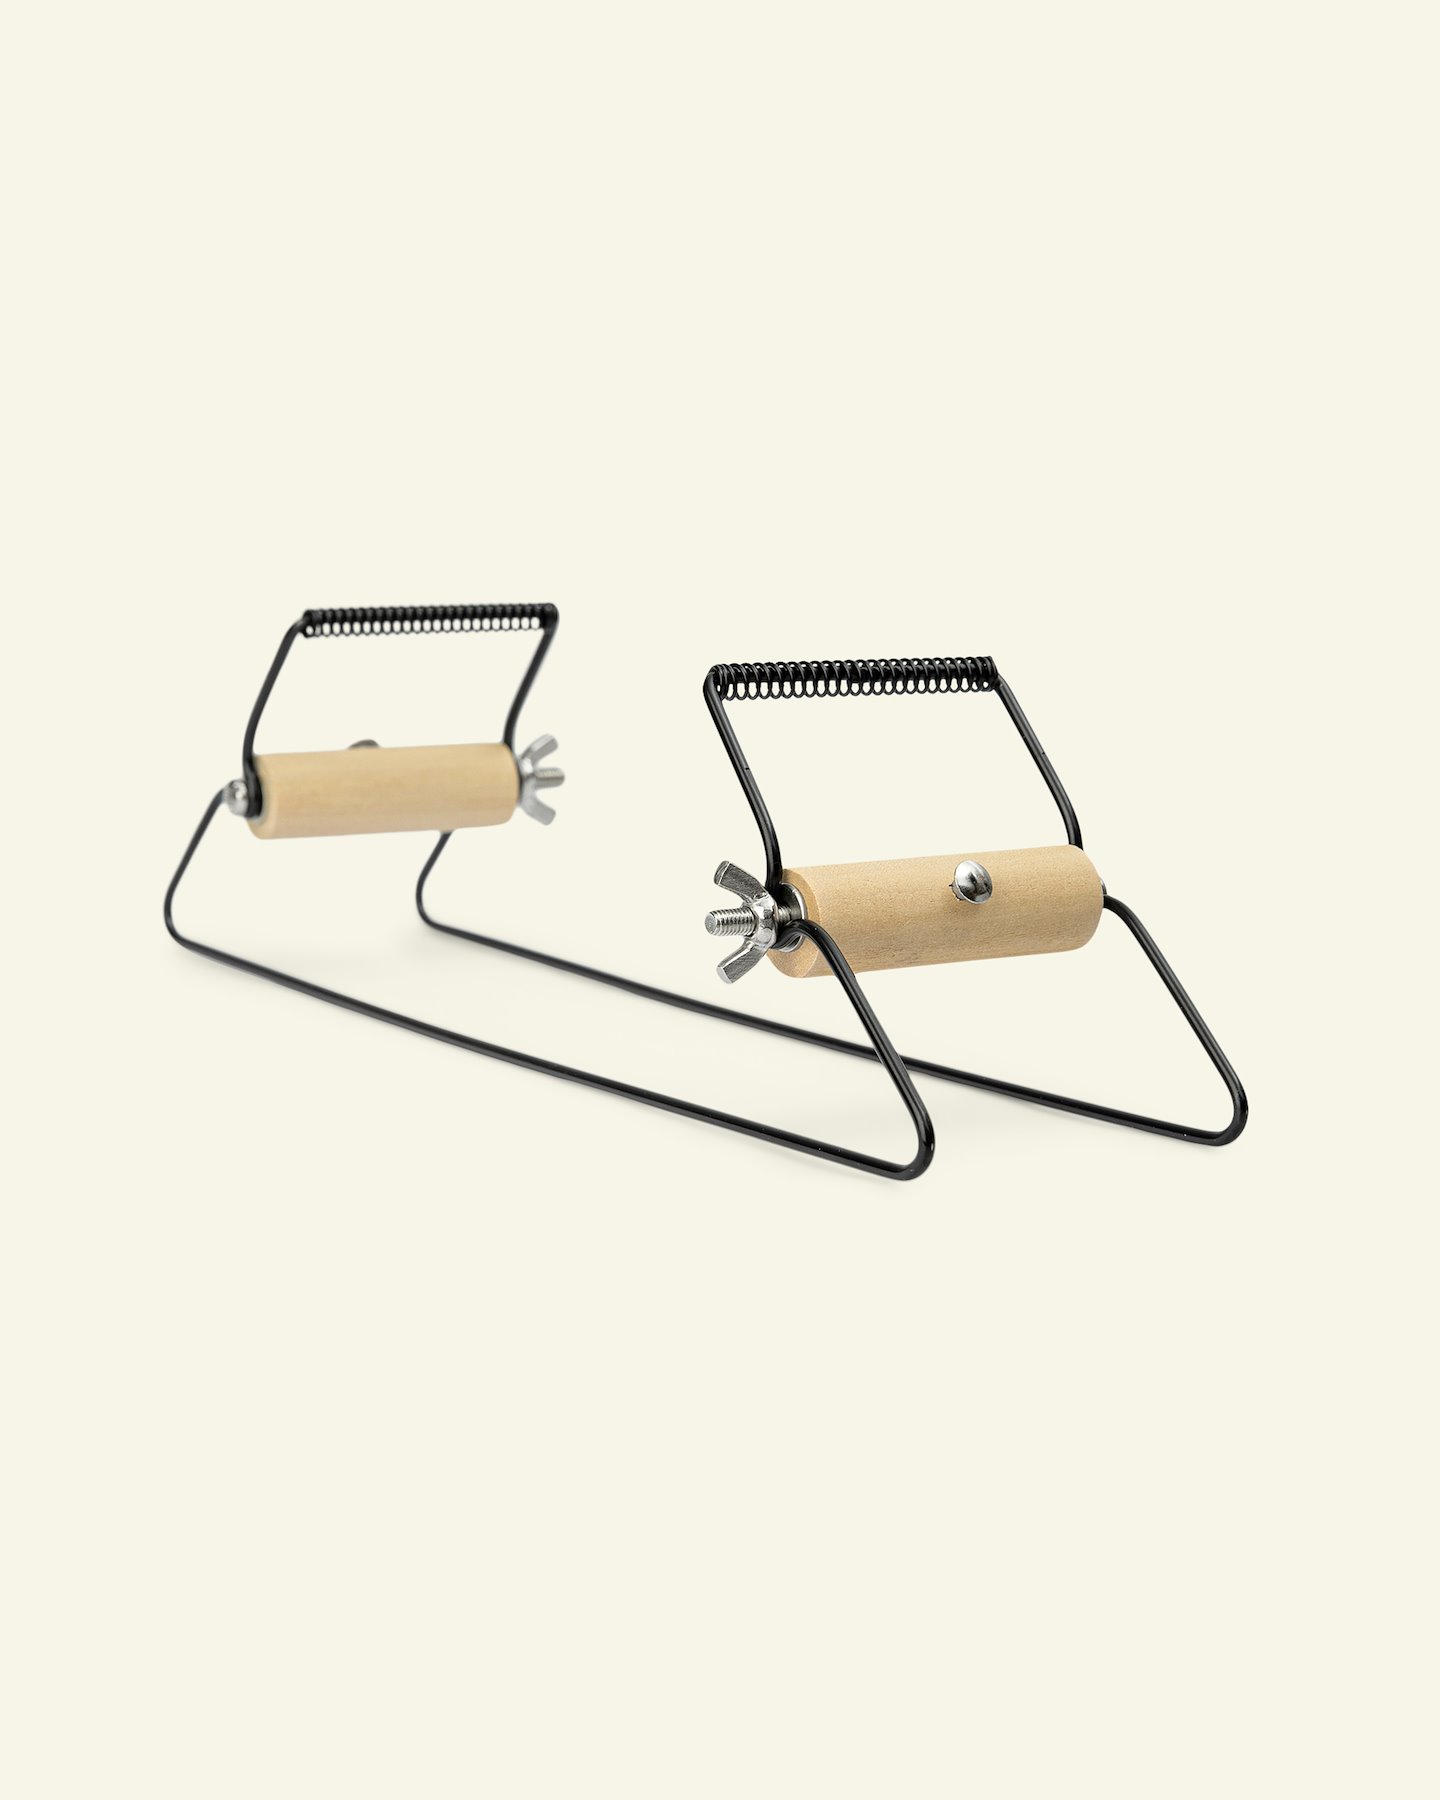
• Bead loom
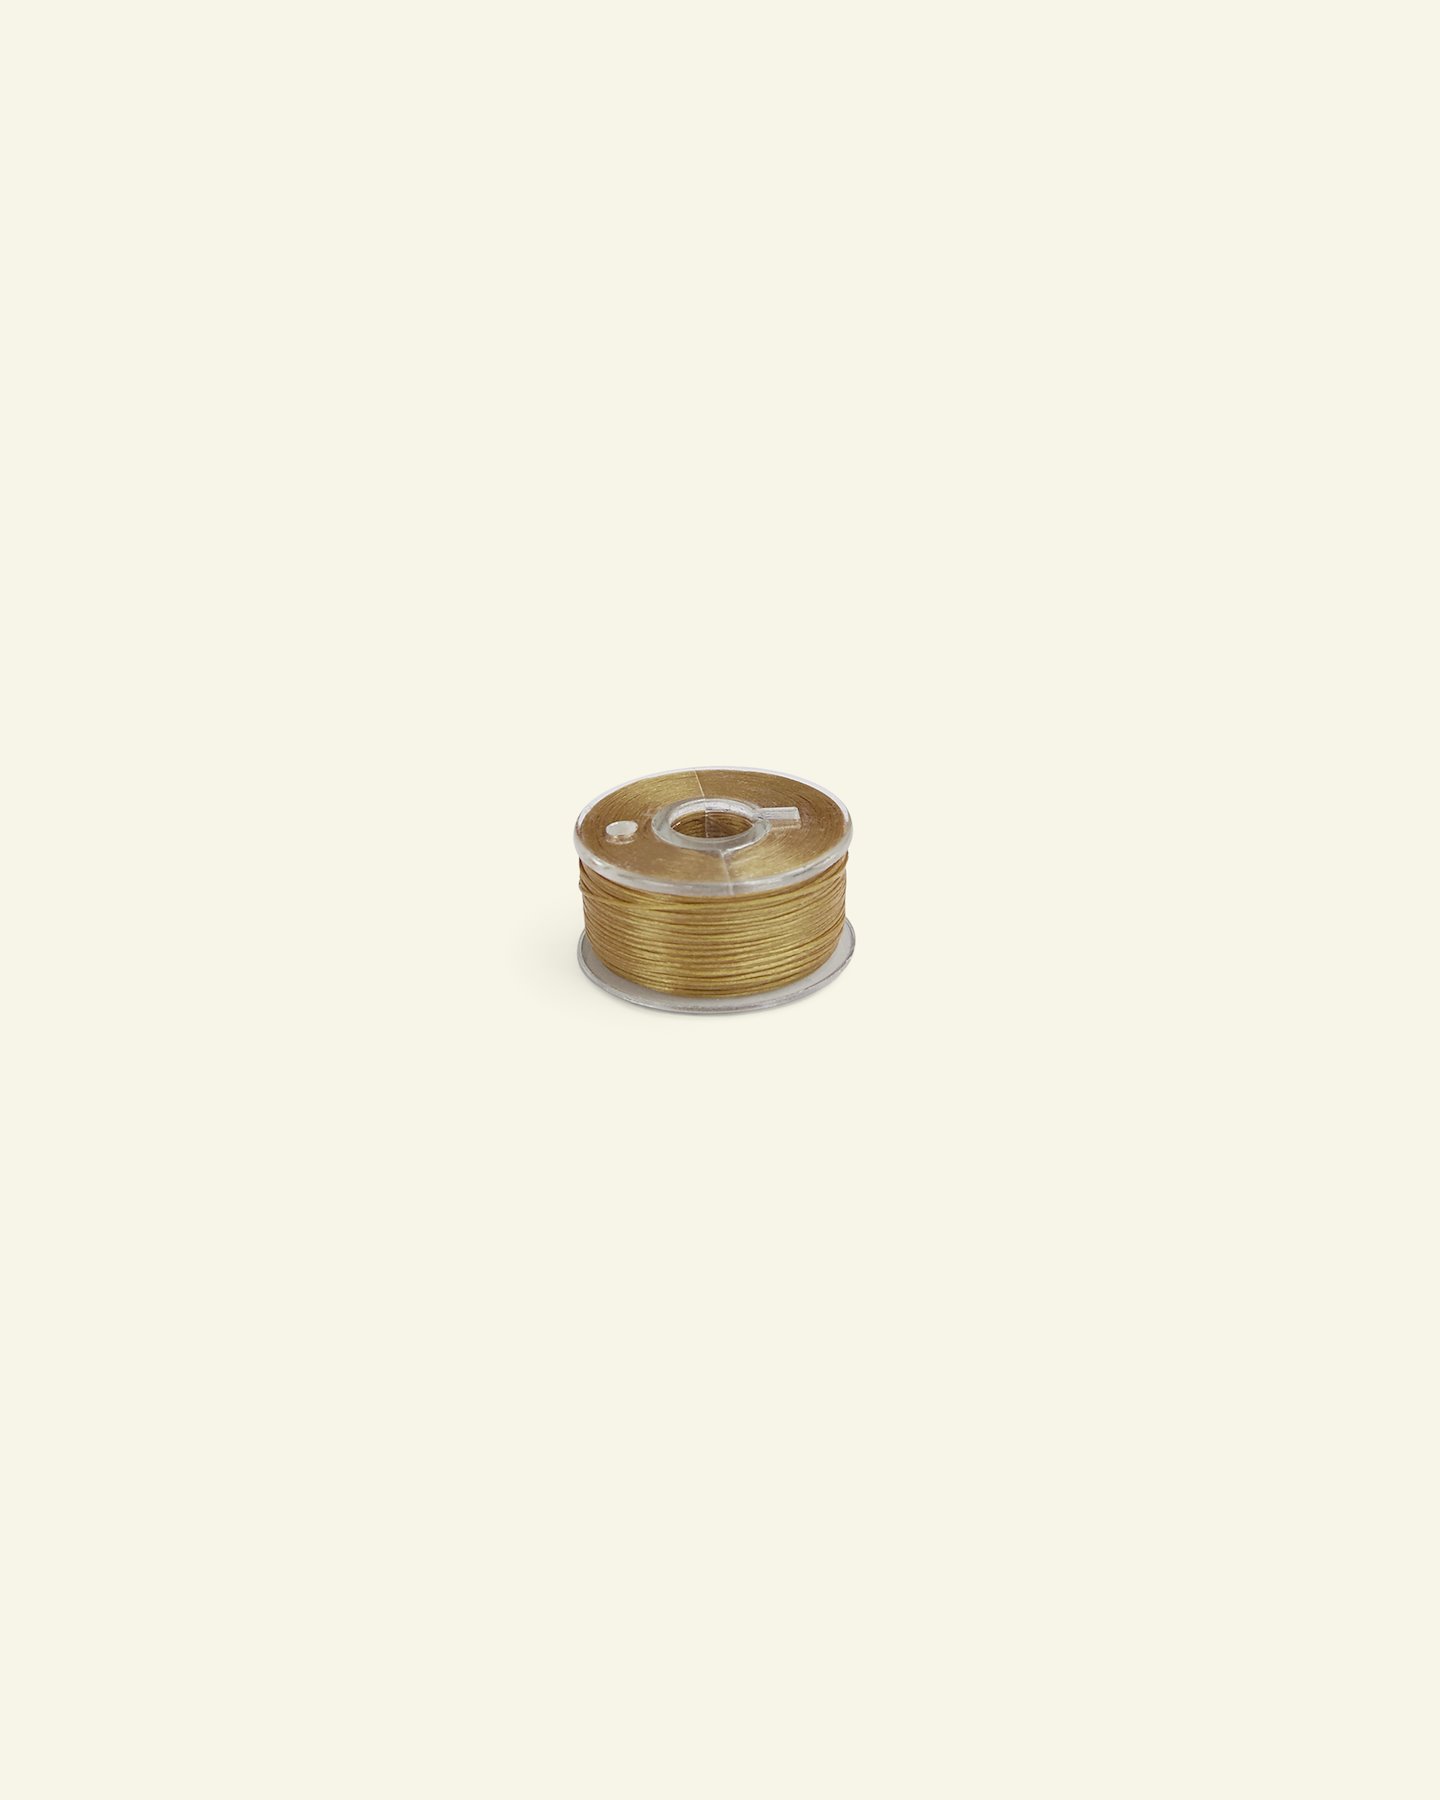
• Beading thread
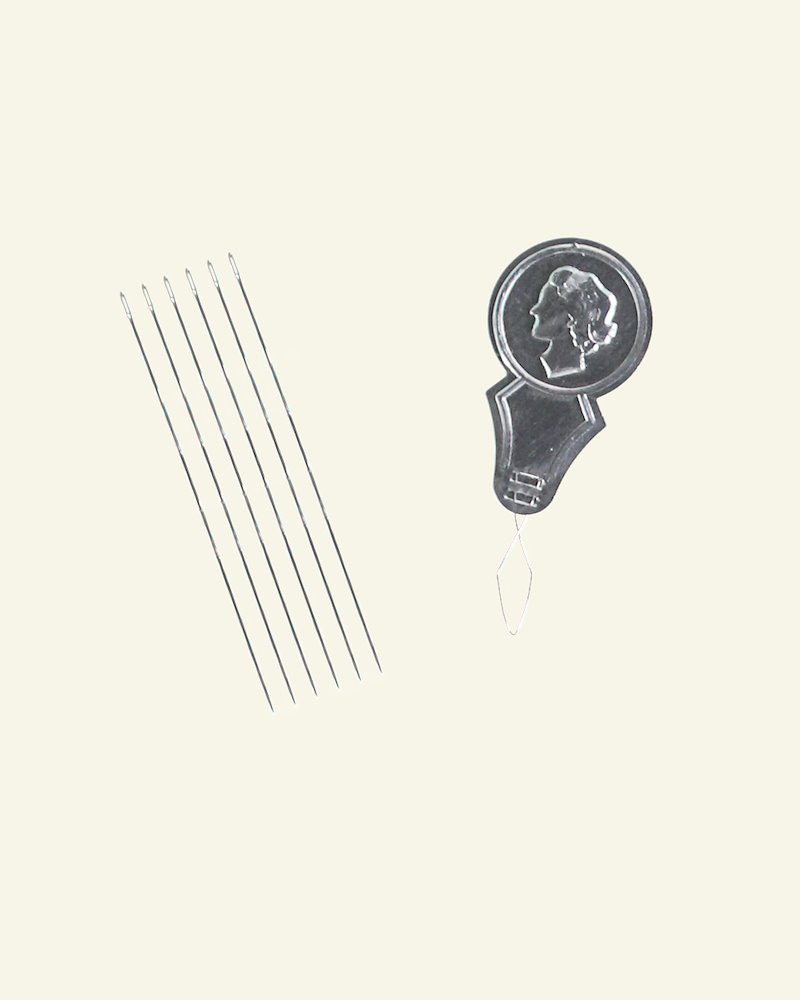
• Beading needle
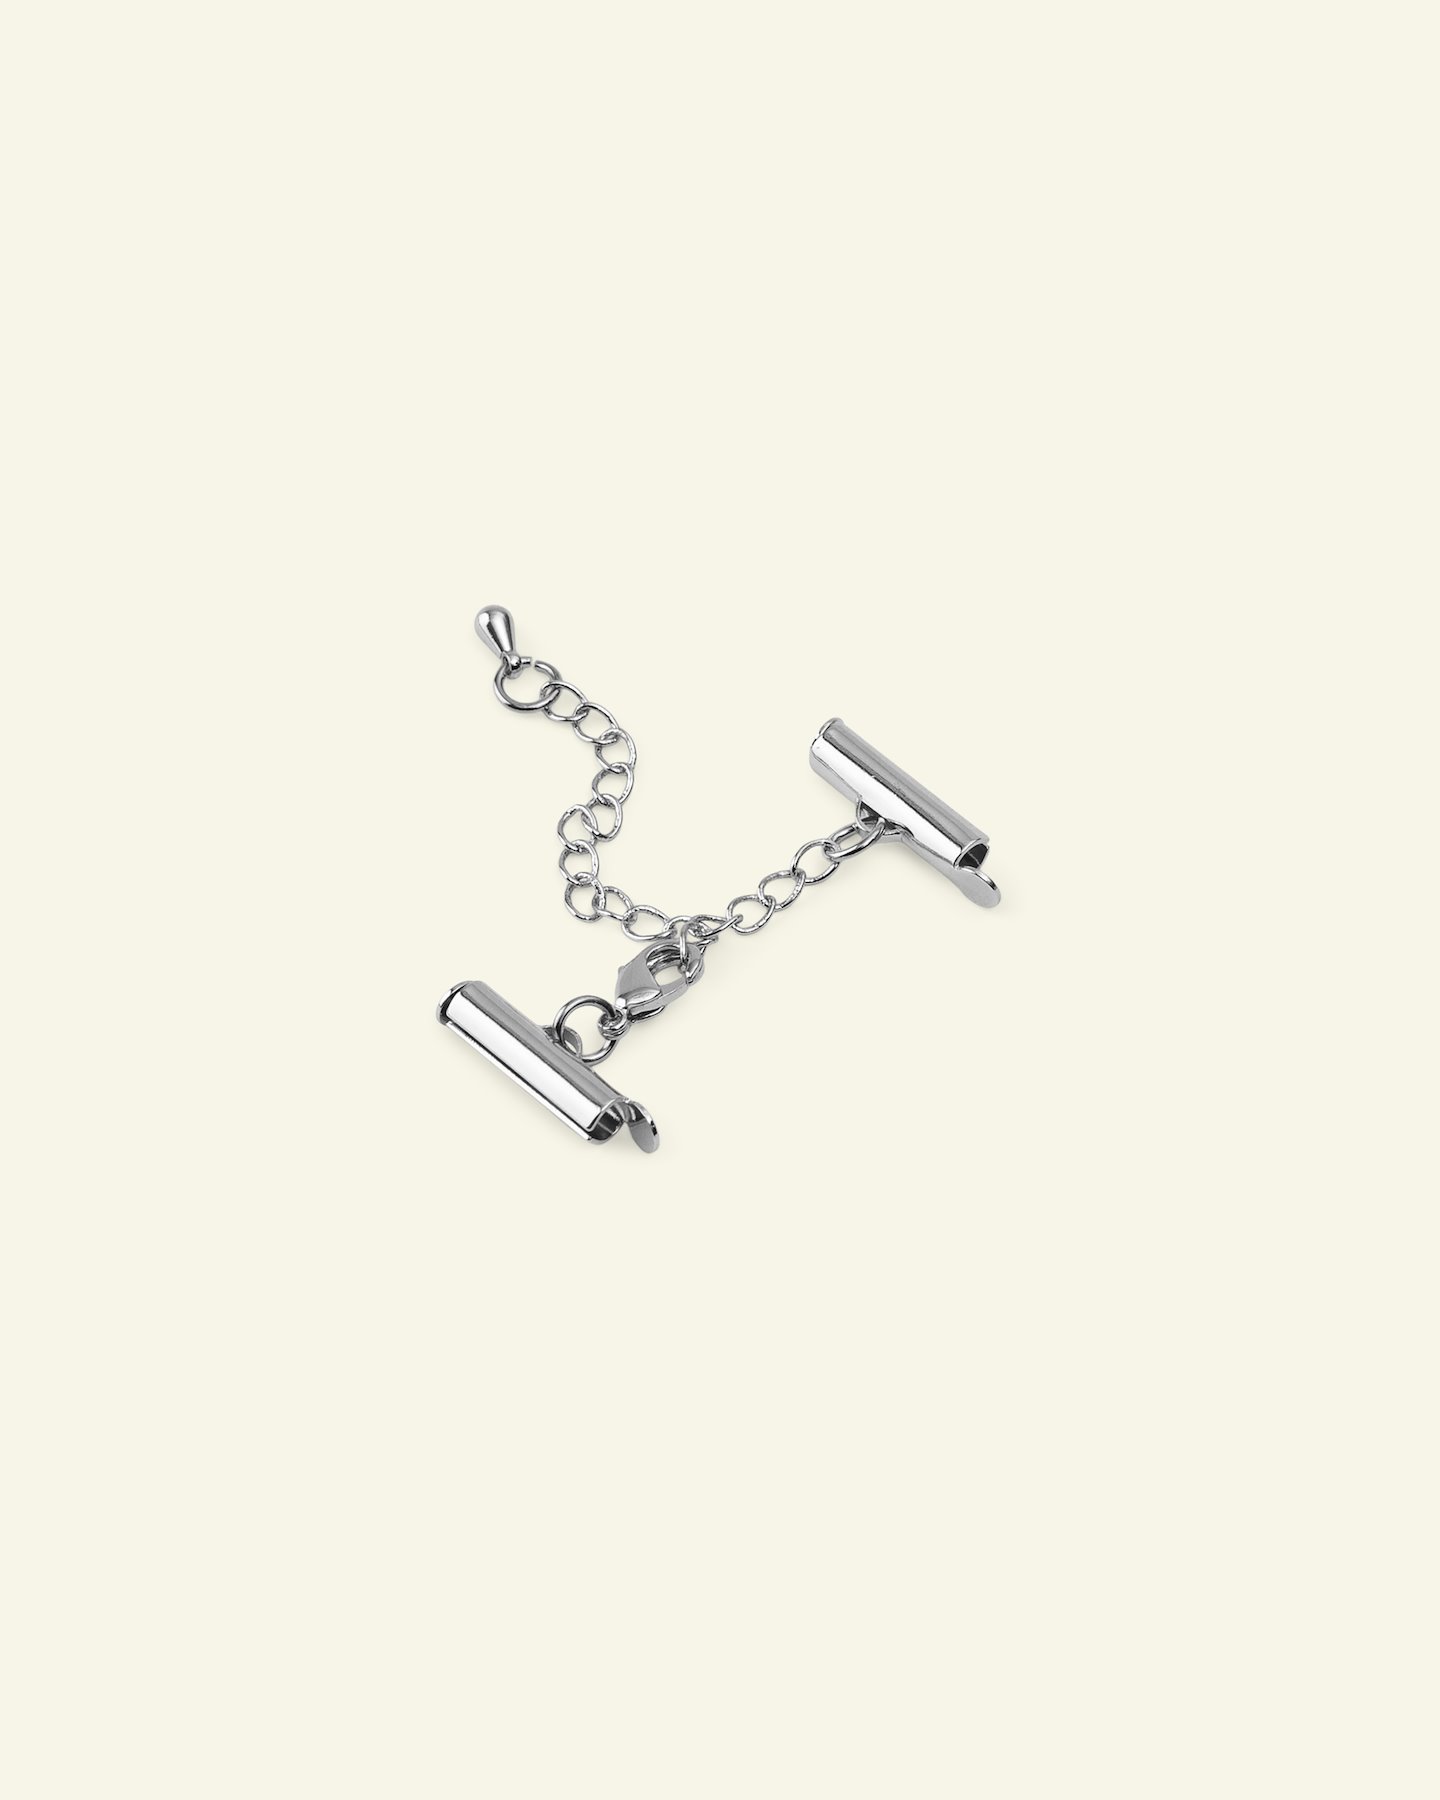
• Closure with lock
• Jewelry flat pliers
• Jewelry glue
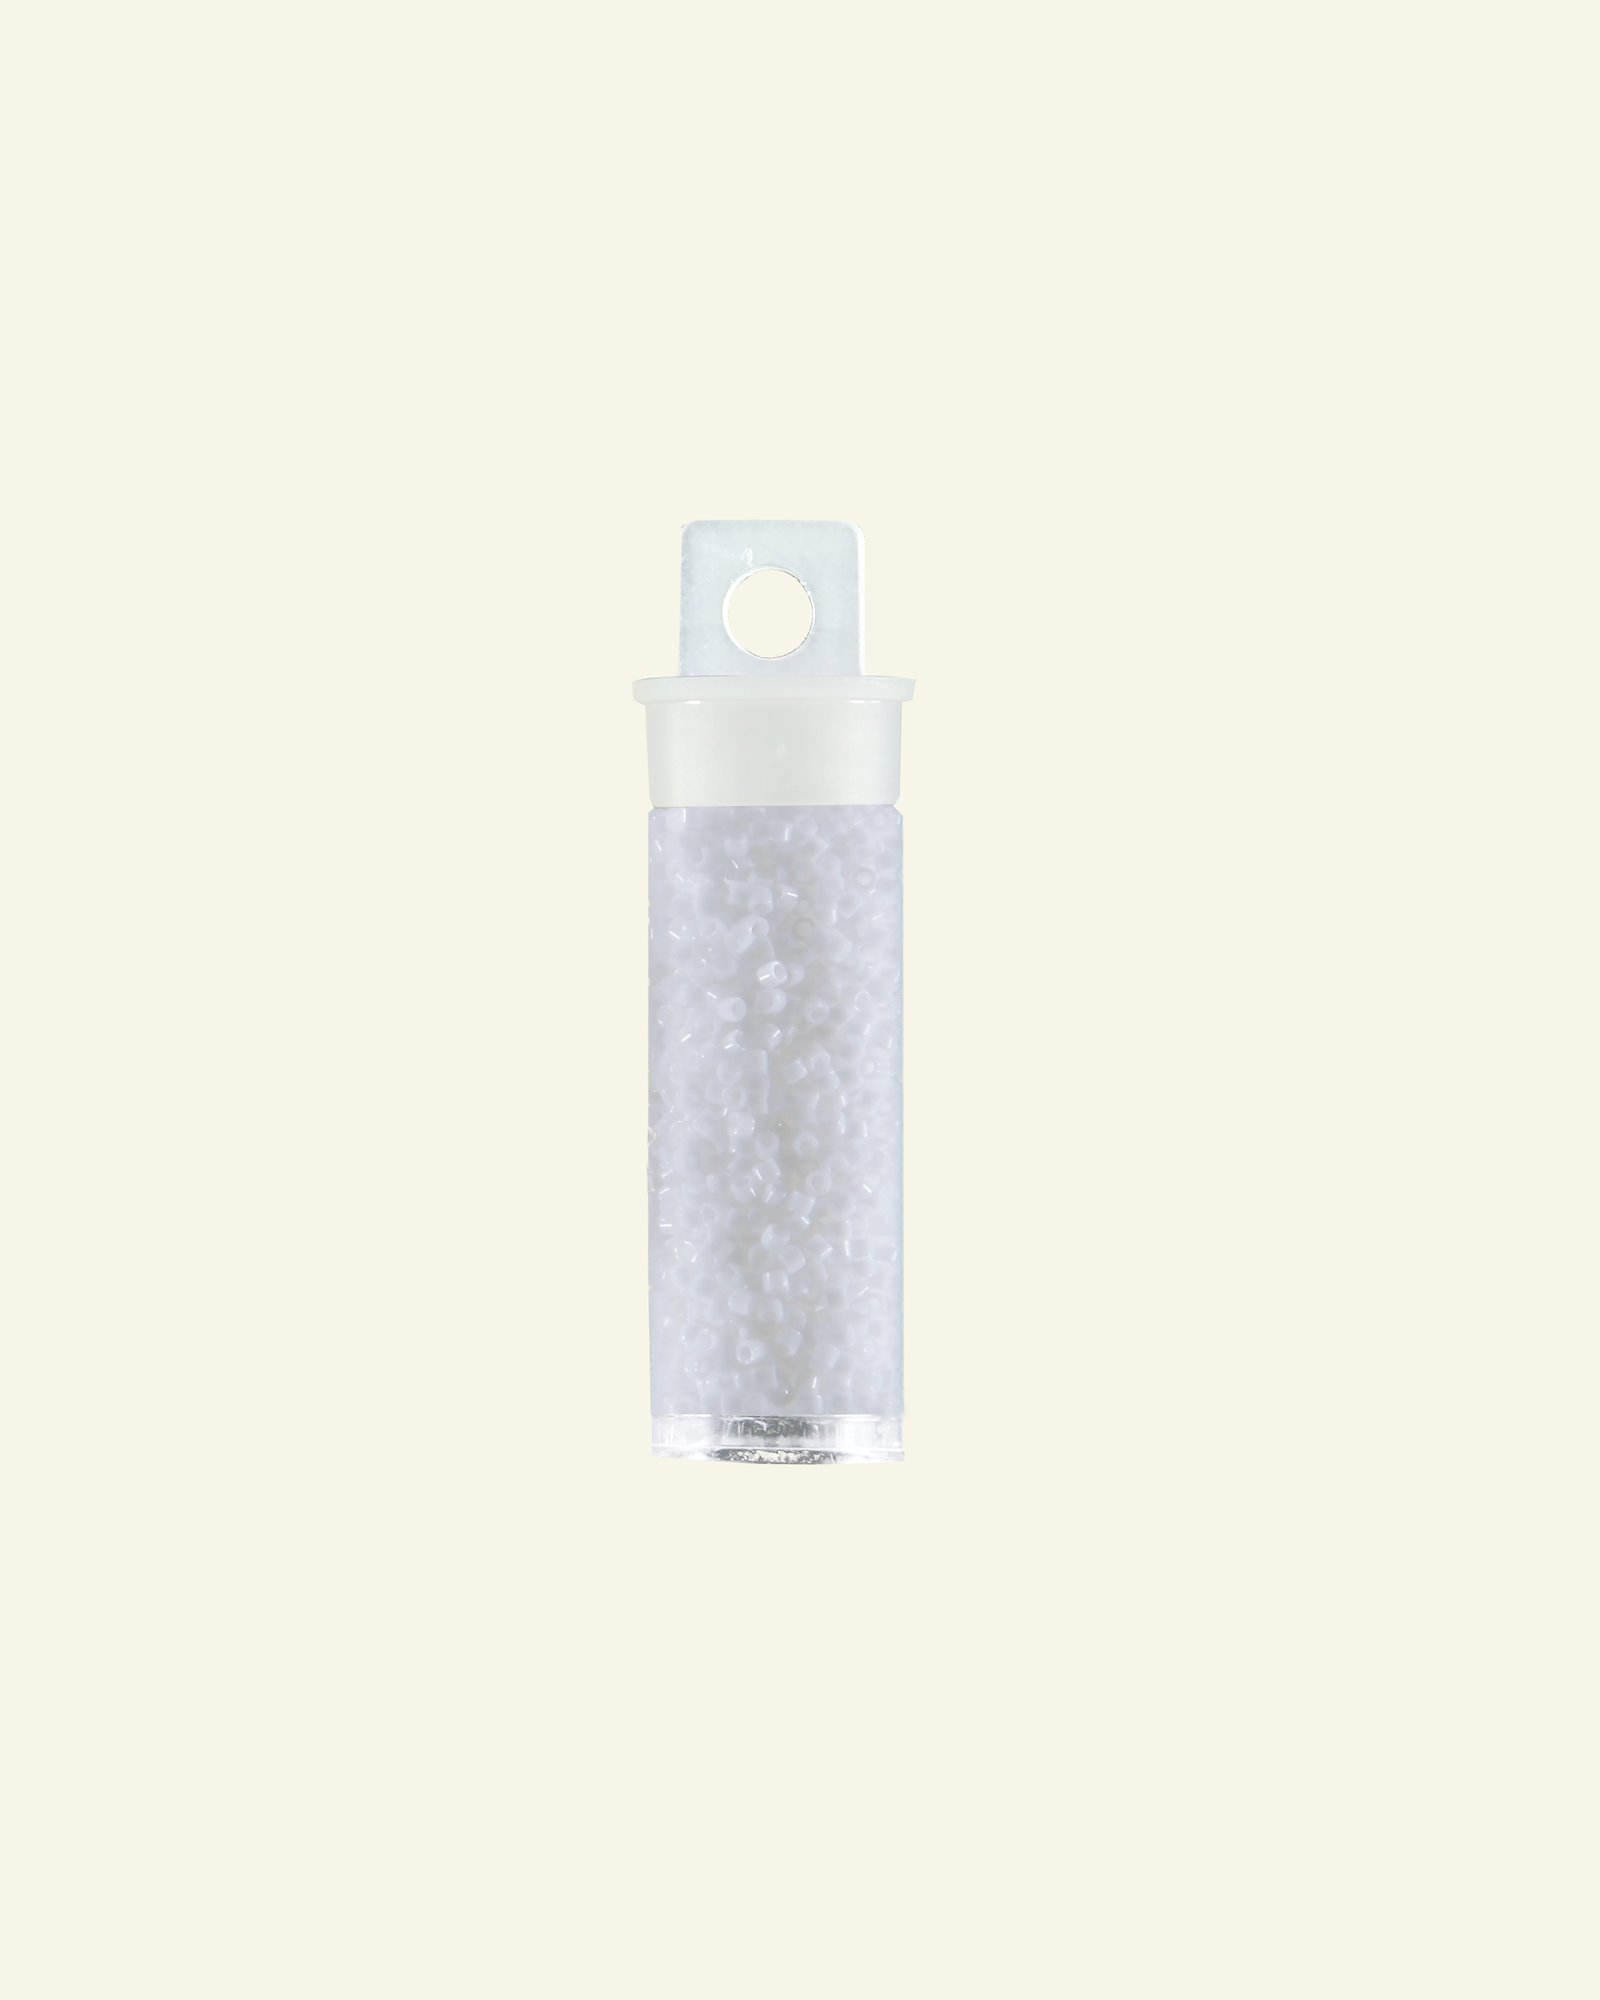
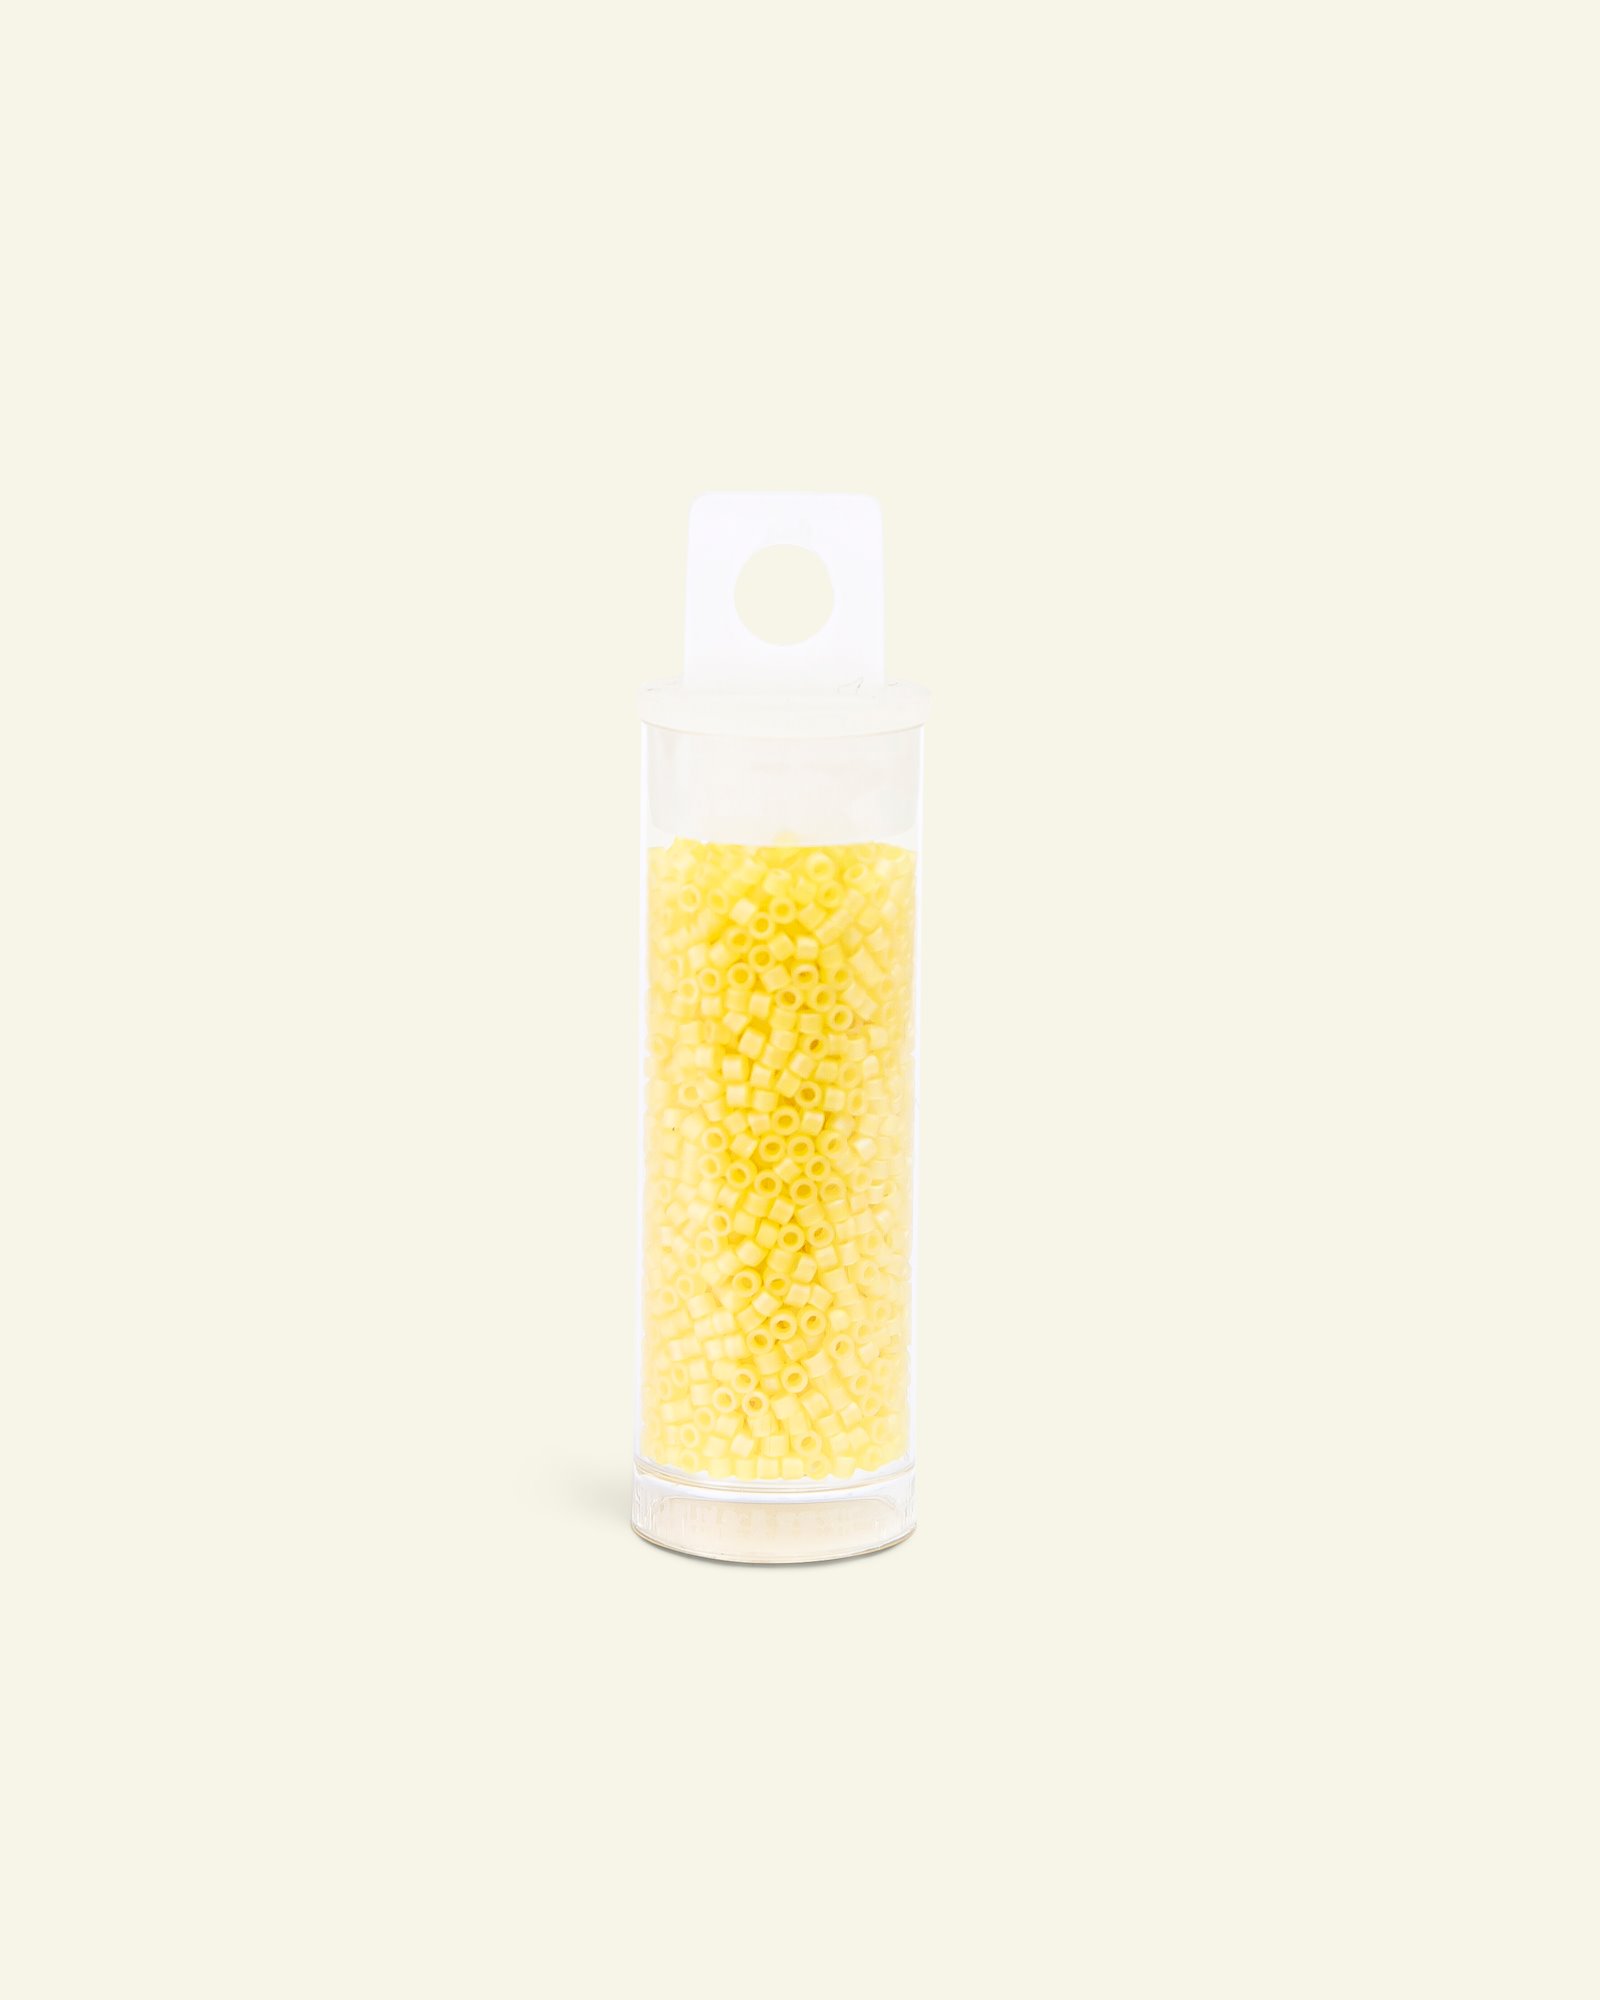
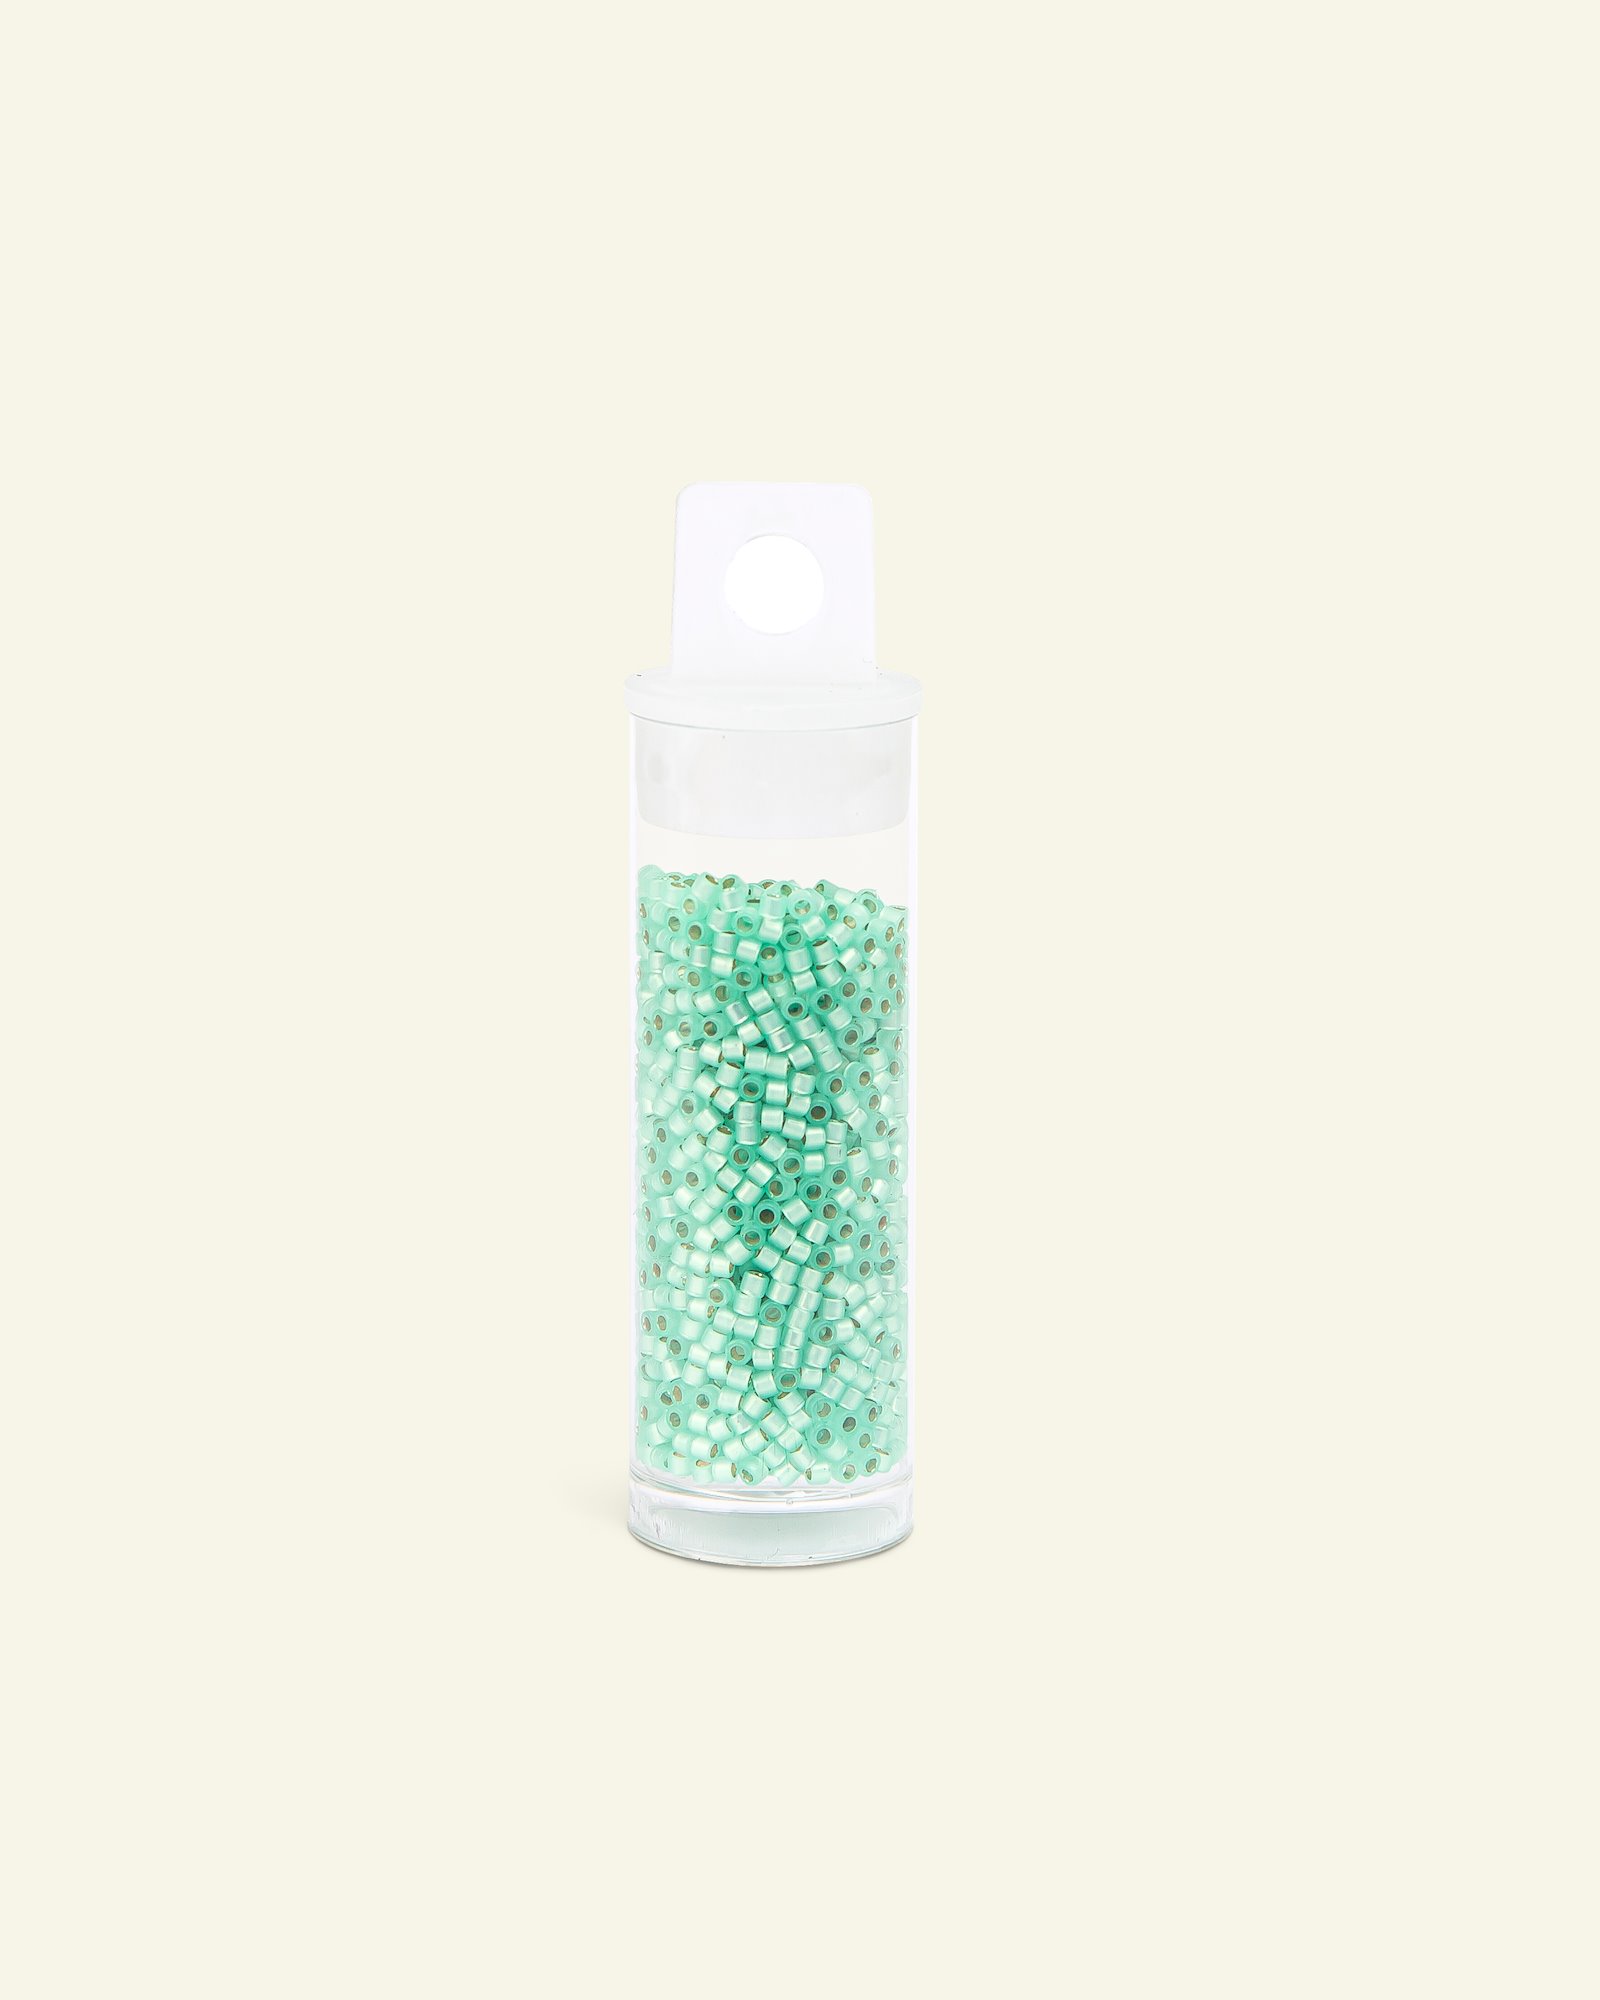
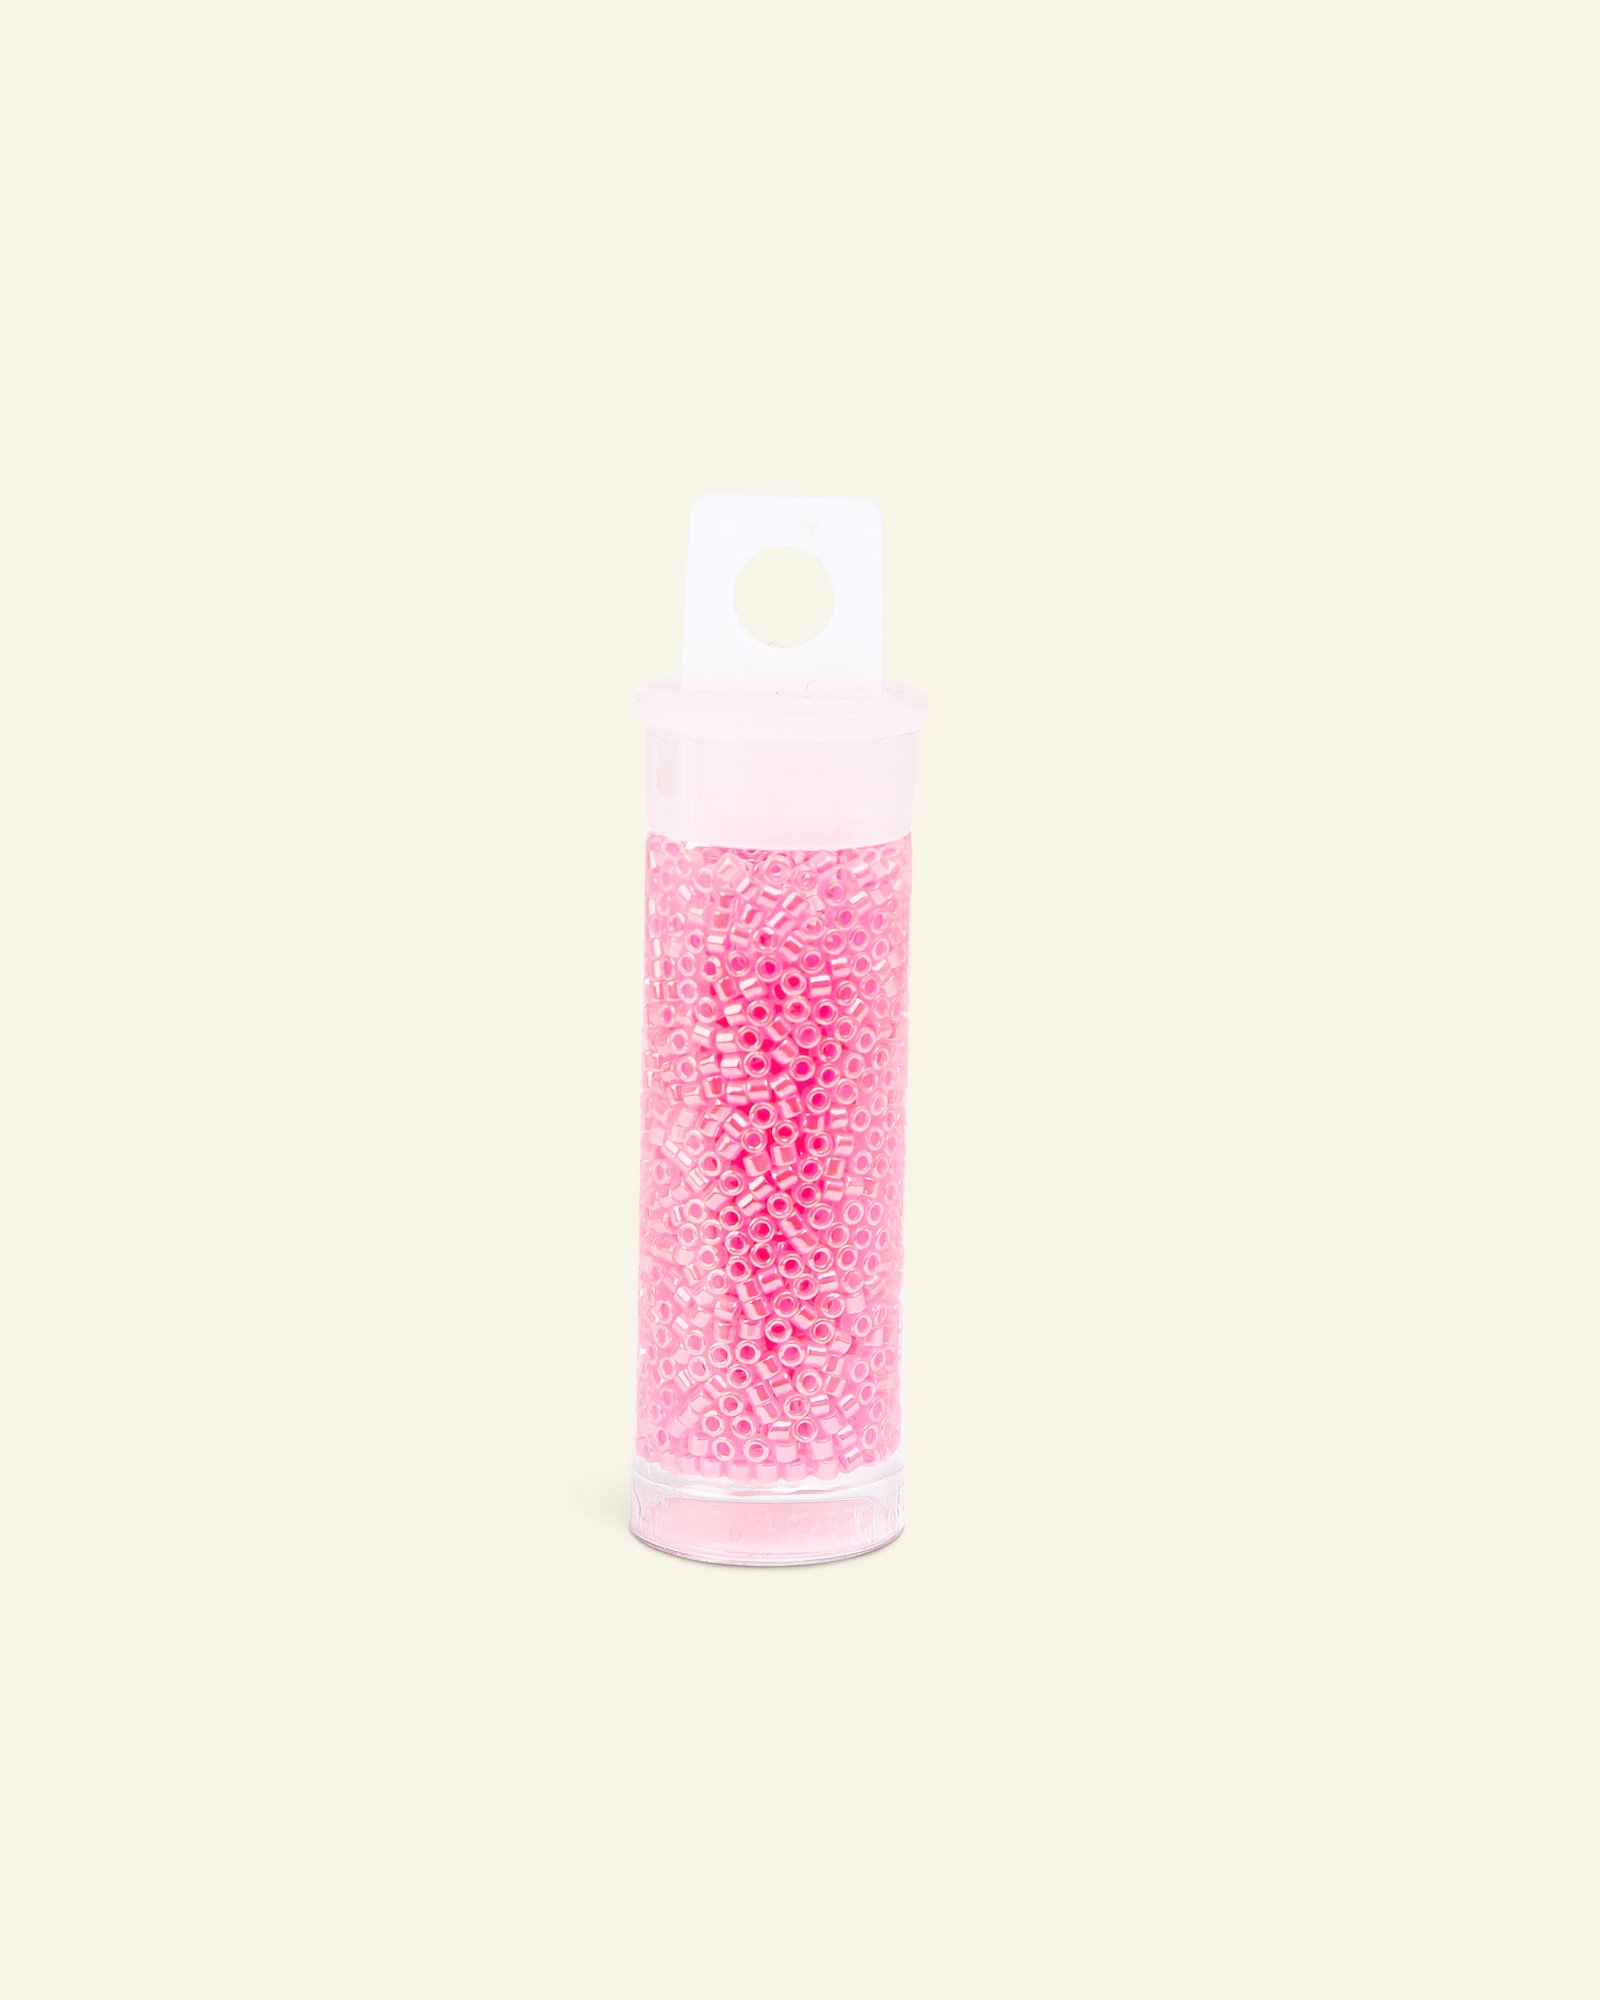
• Miyuki glass beads - choose your favorites and combine them however you like
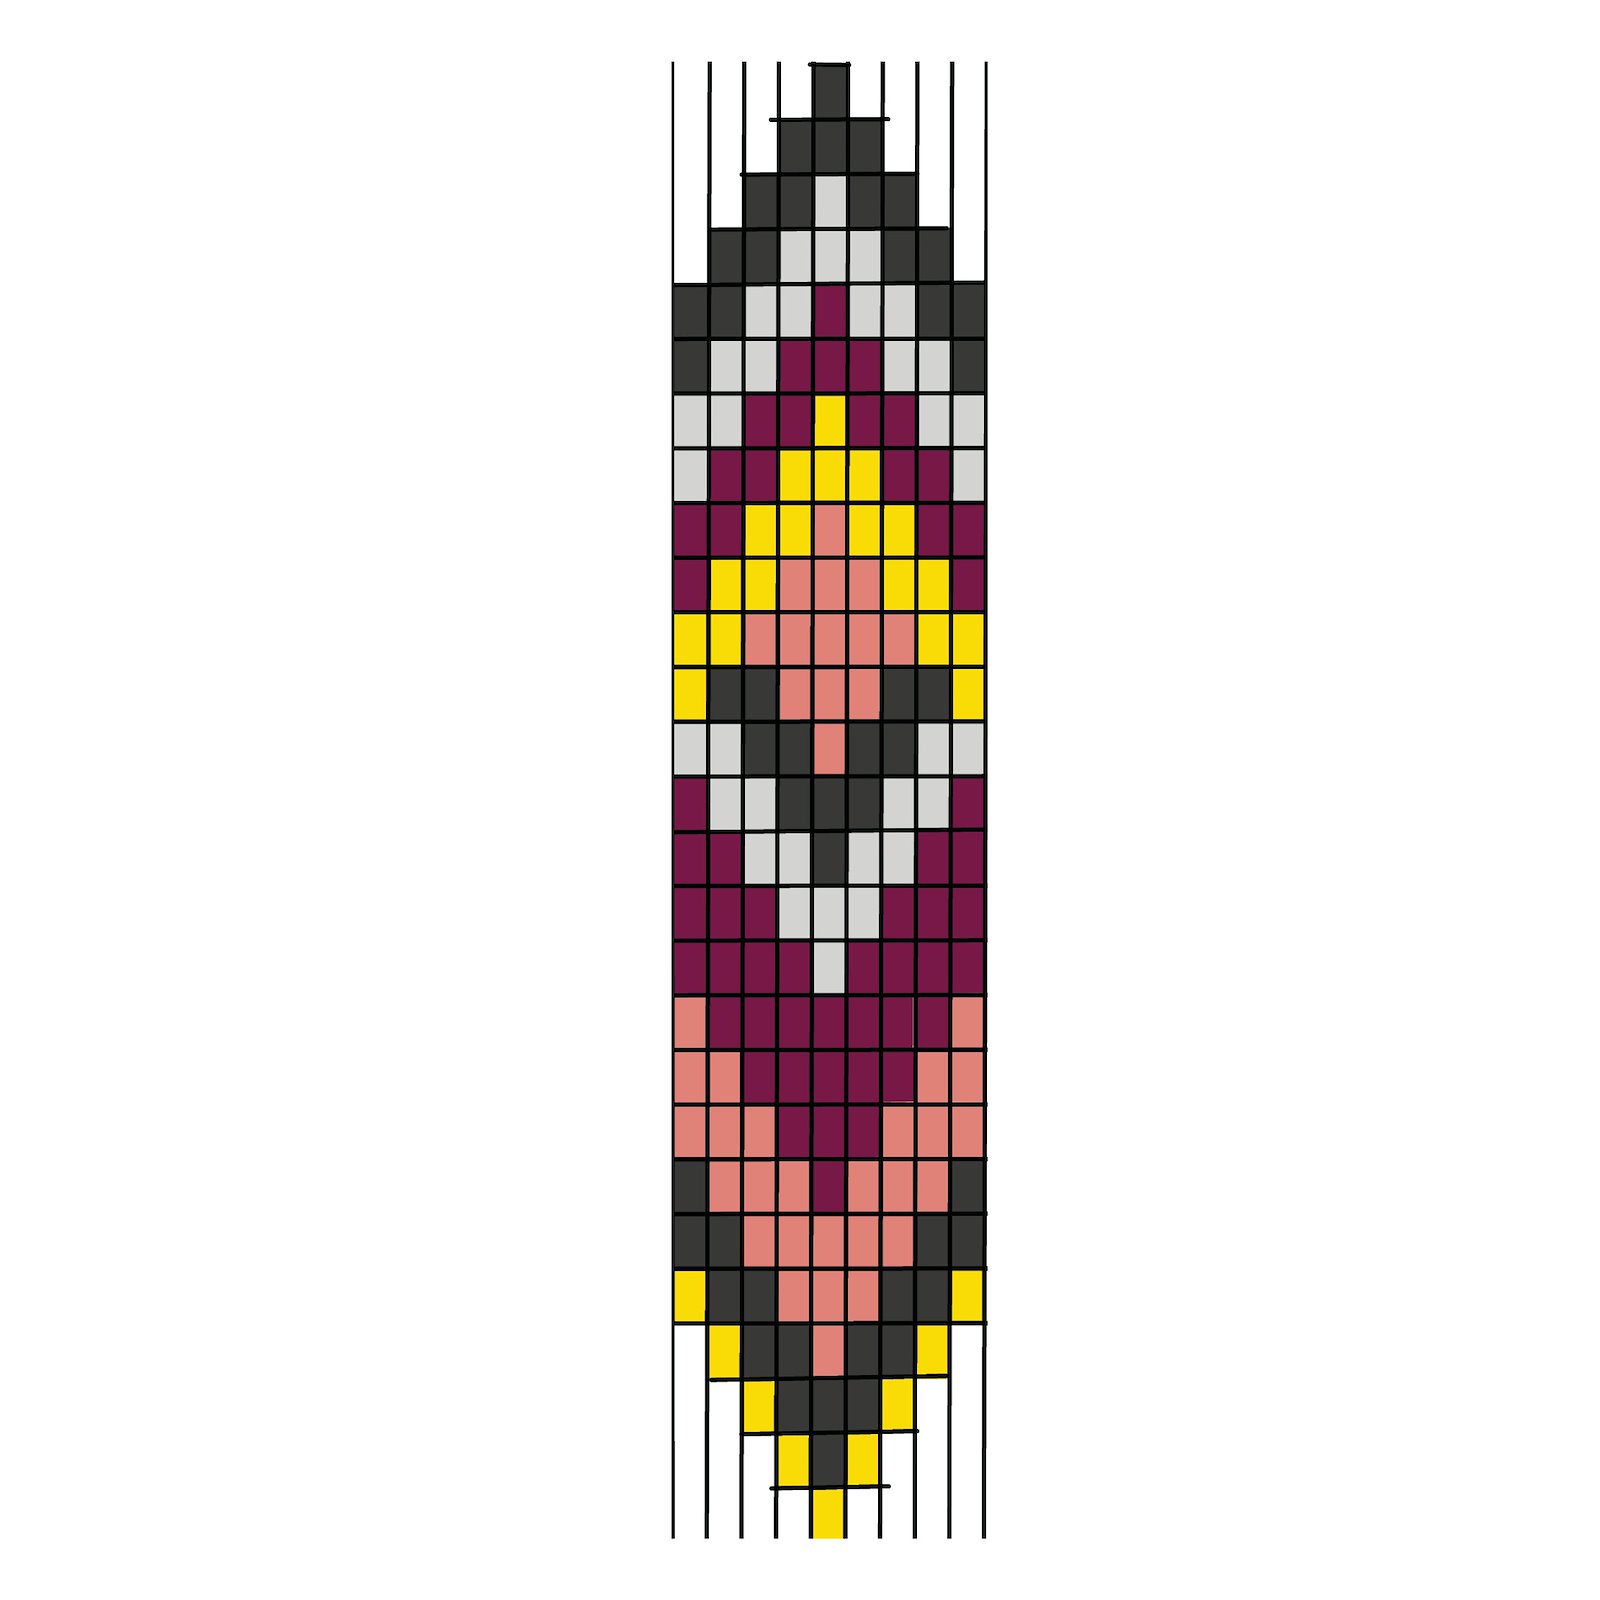
1.Make the bracelet in the pattern of your choice. Draw a sketch first and play with the colours in the combination you like. 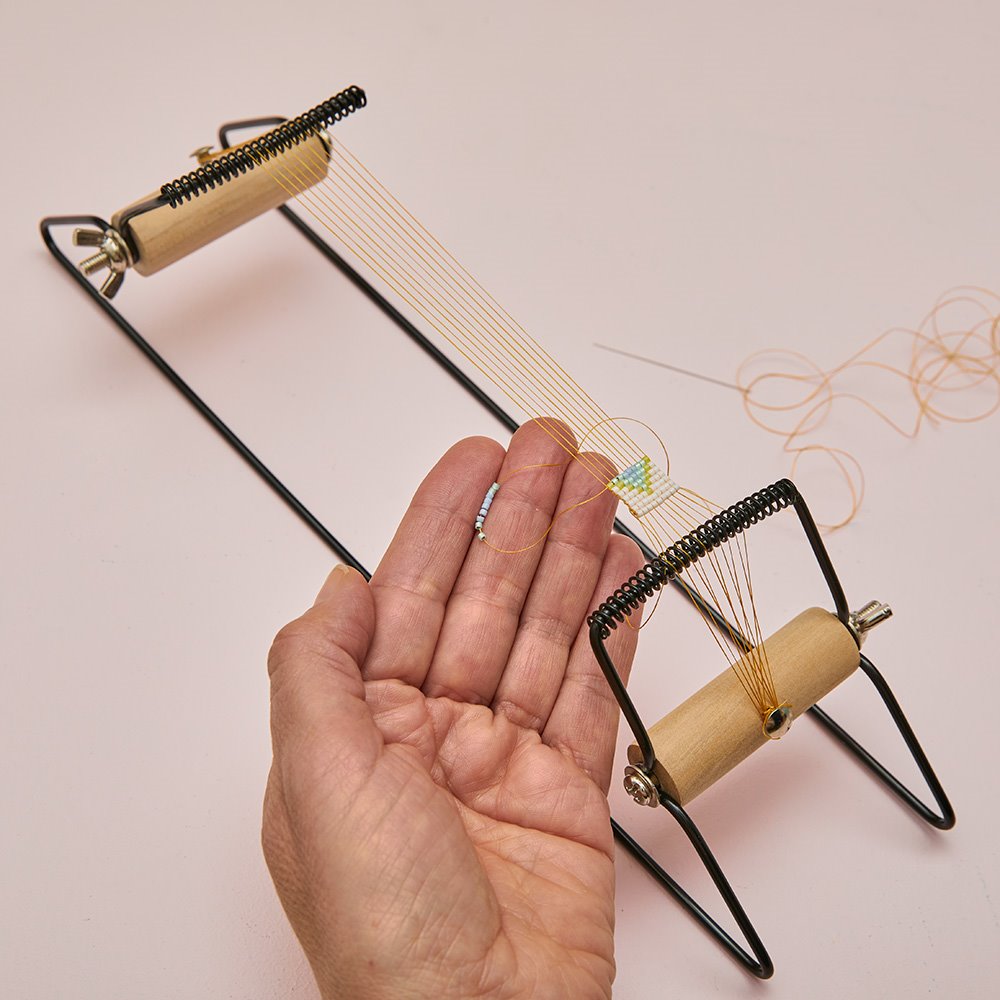
2.Thread the bead loom according to the manual that comes with the loom. Put beads on the needle, ready for a row, pull the thread through and tighten. 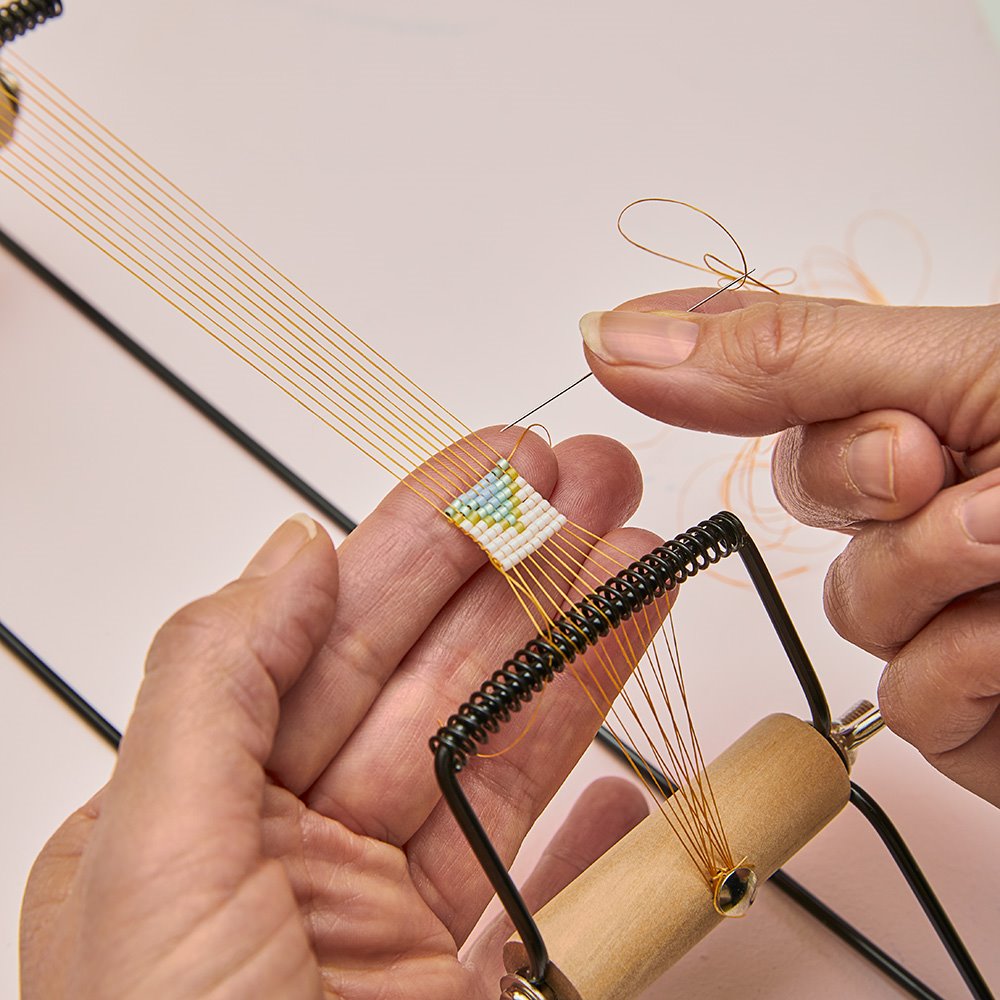
3.Place the beads in the spaces between the bead strands, pressing the beads upwards with a finger. 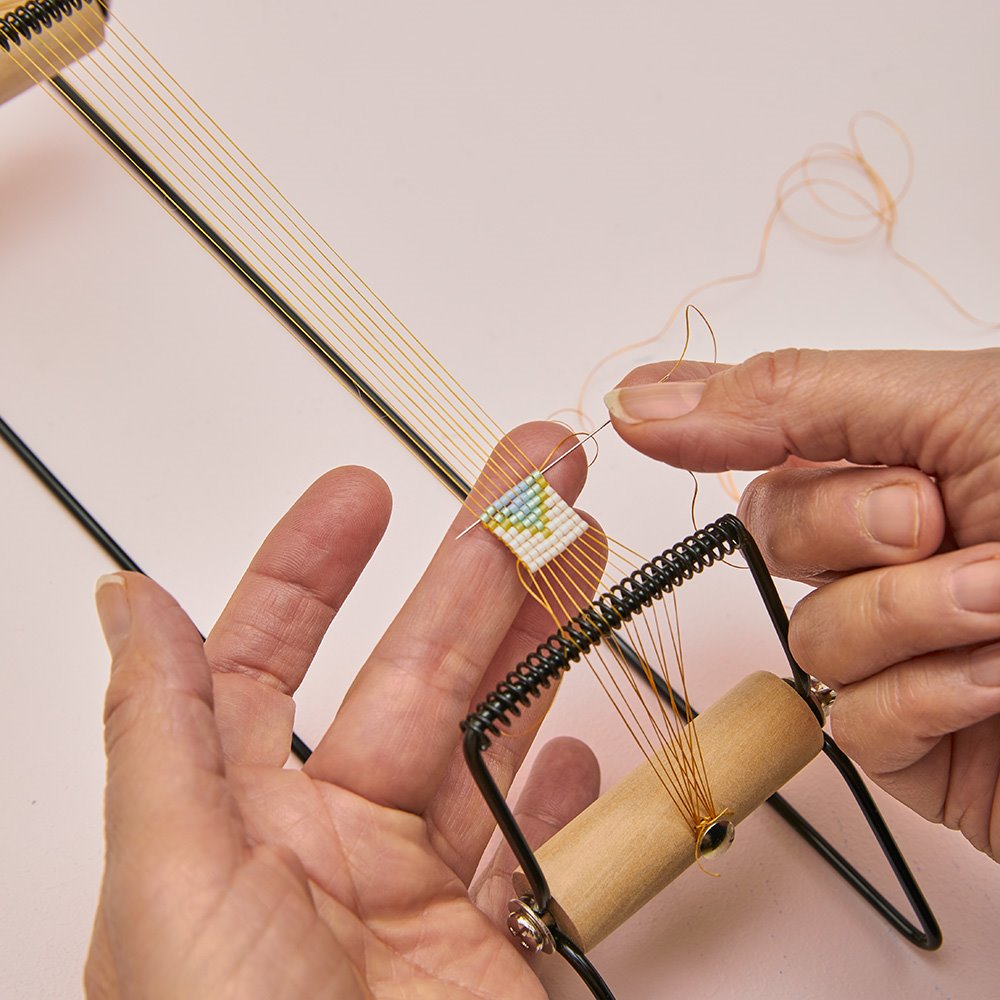
4.Now pass the needle back through the beads above the threads. In this way the row of beads is fixed. Then continue to the next row, following the pattern you have chosen. 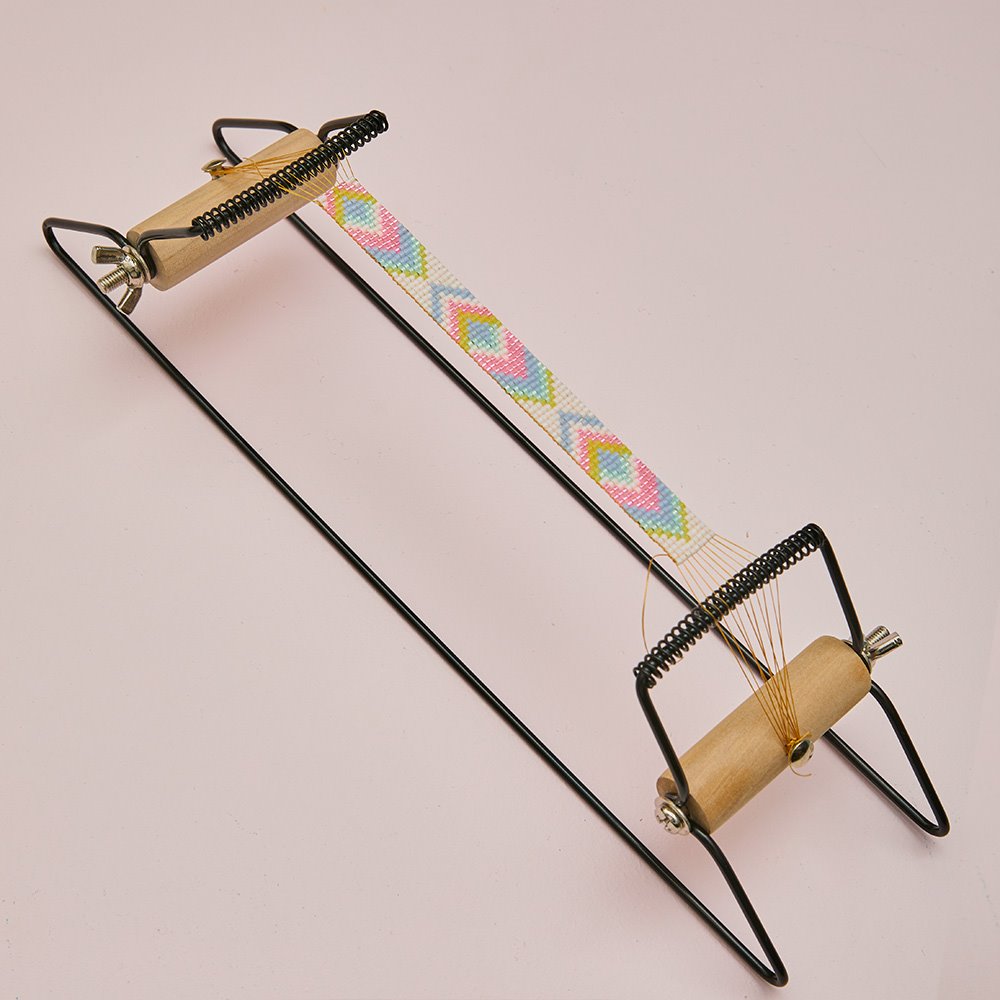
5.Make the bracelet in the length that suits you. Tip: If the thread on the needle needs to be renewed along the way, fasten it well before continuing. Weave the ends. 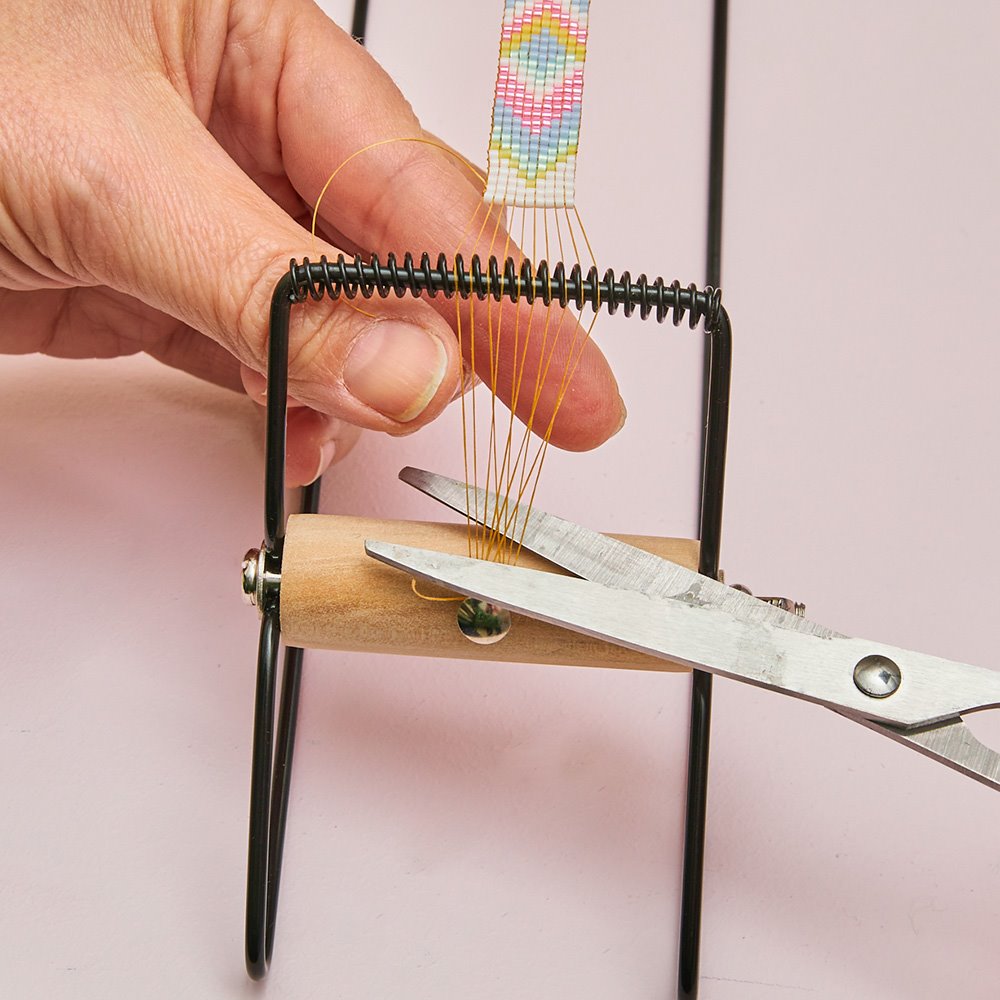
6.Dismantling: Cut the threads carefully. 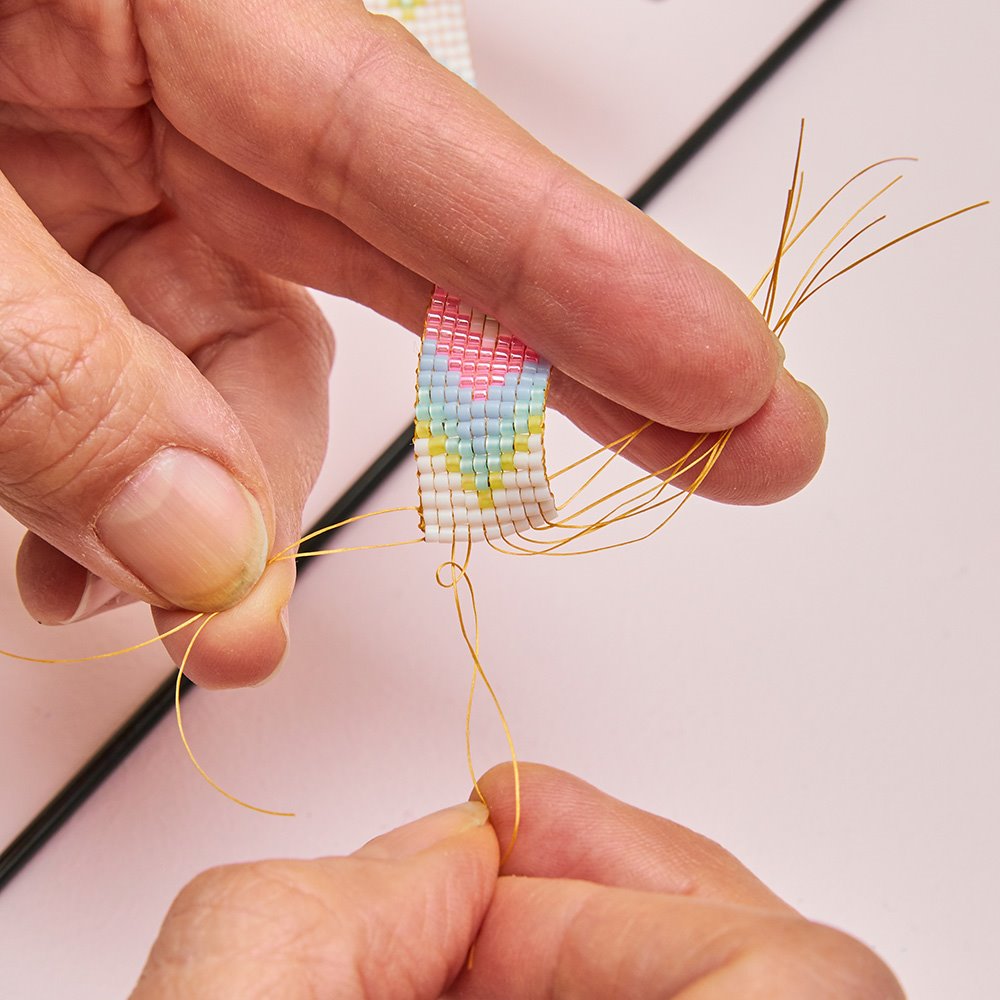
7.Tie double knots, two strands at a time, tighten. 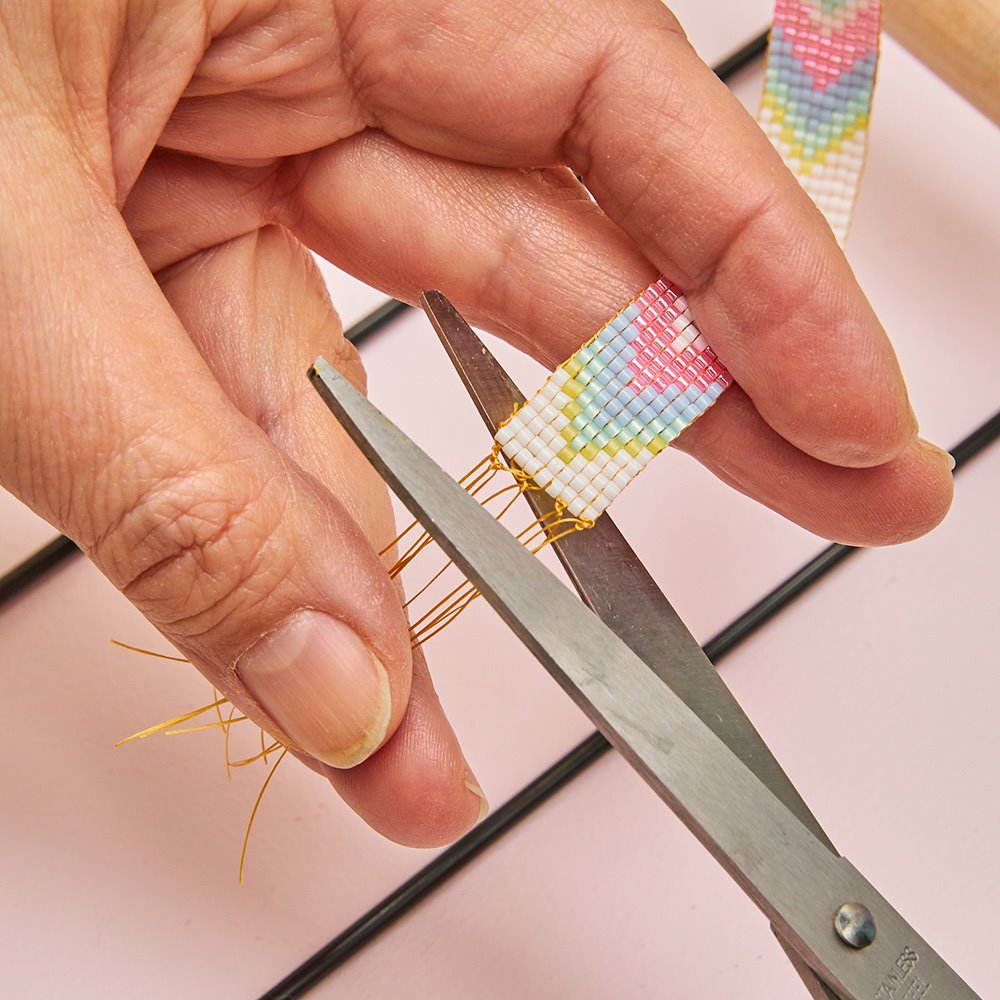
8.Cut off the ends about 2 mm from the bracelet. 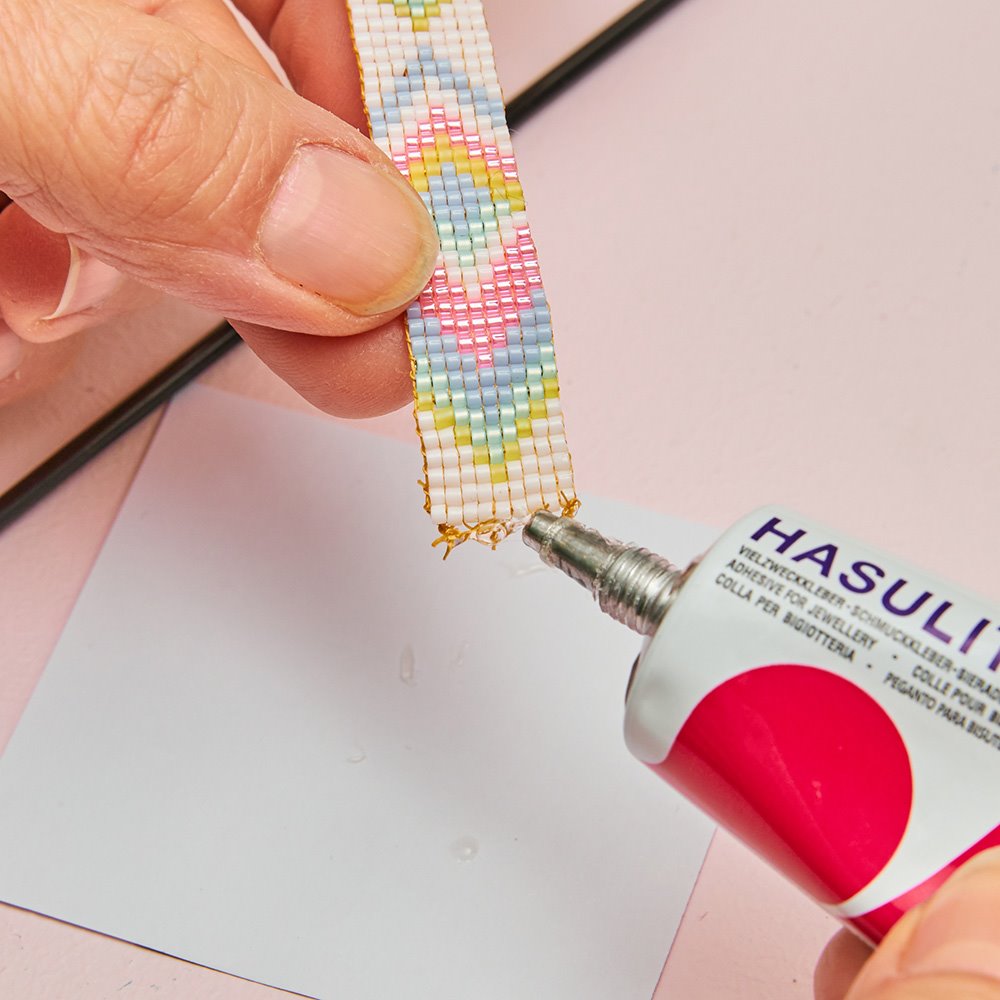
9.Glue the ends with jewelry glue and let dry. 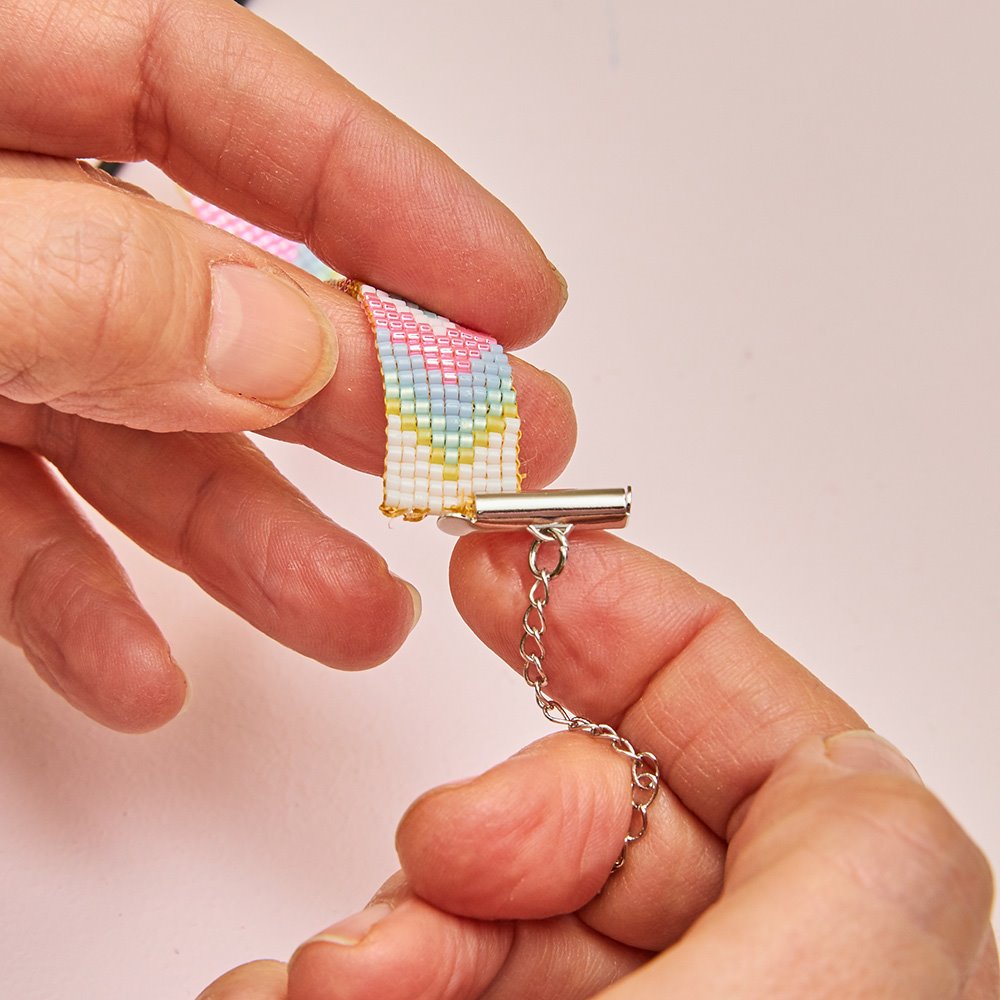
10.Pass the jewelry clasp over the wire ends and the first row of beads. 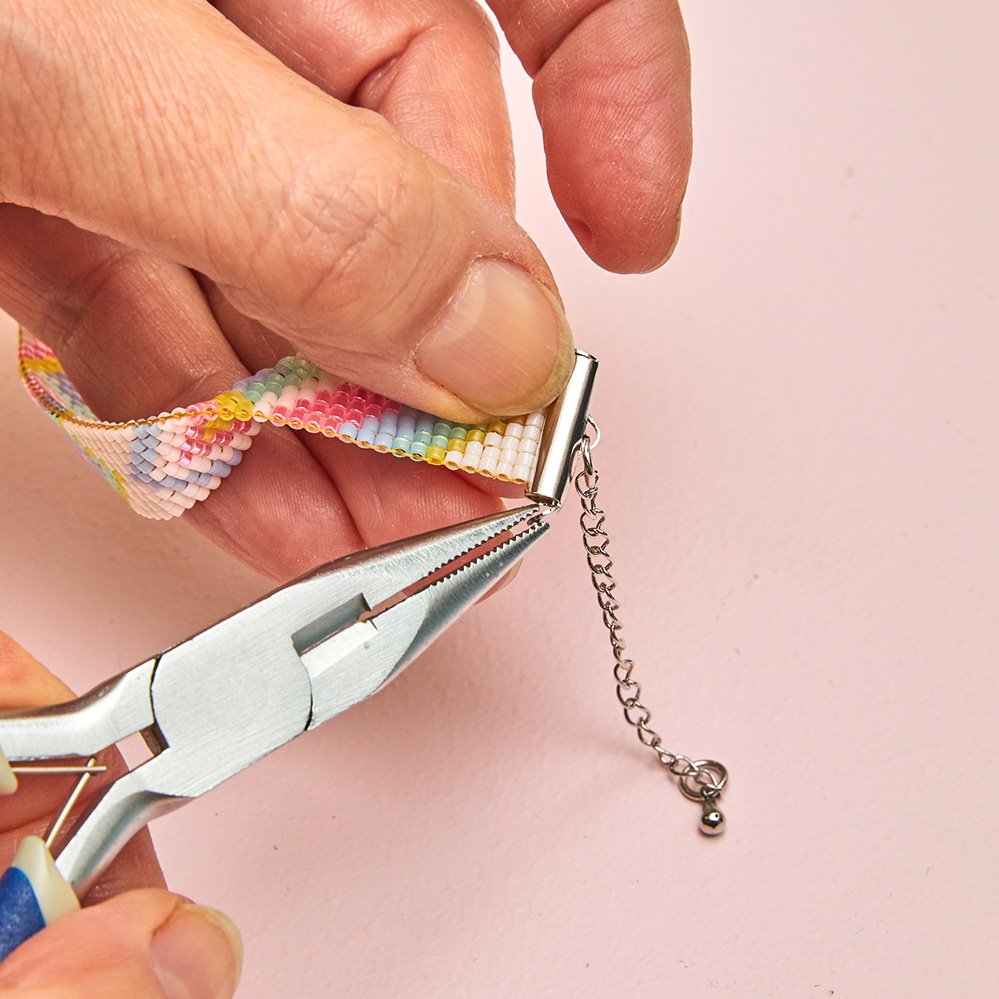
11.Close the end of the lock with flat-nose pliers.